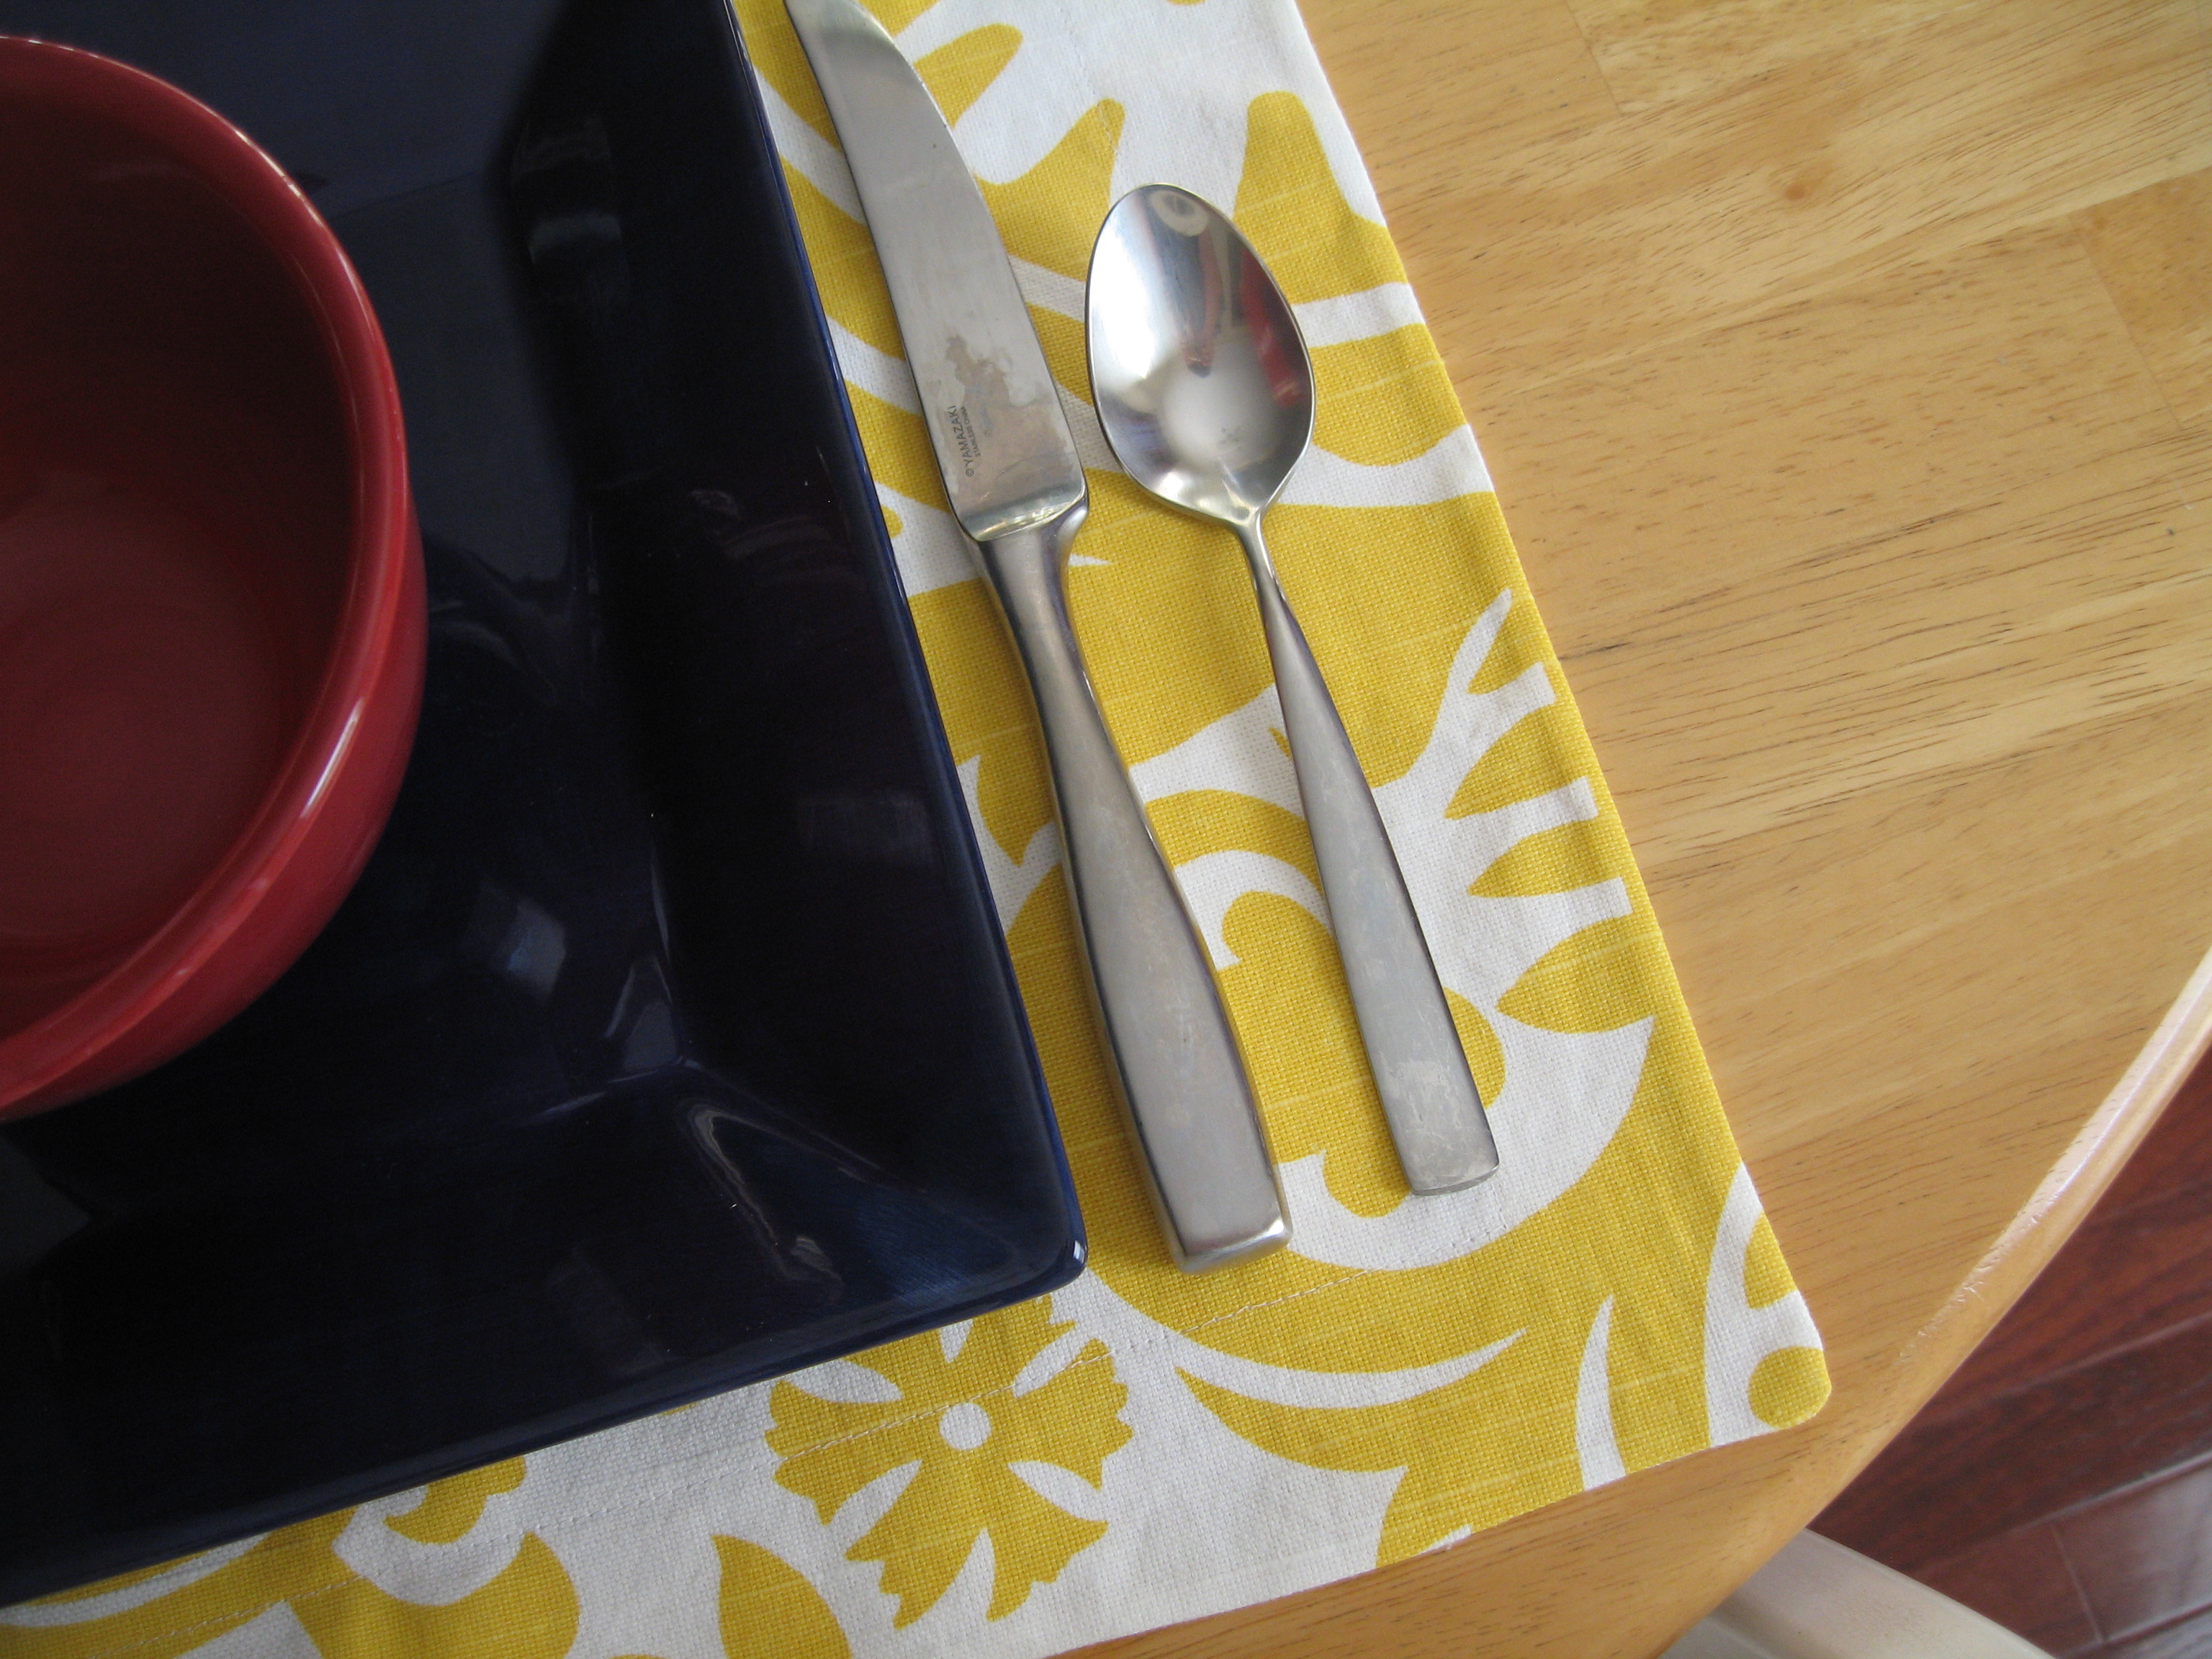
The first plans I had for my new batch of fabric were new placemats for our kitchen table. Our current placemats are a basic navy-ish blue; they don’t really match our dishes, or anything else in our kitchen, for that matter. I thought some fun yellow-patterned placemats would be just the thing to brighten up the kitchen.
As I’ve said before, I’m not really talented when it comes to sewing – my mom is. But with all of these new ideas swirling in my head, I wanted to give it a shot. The last time I sat down to a sewing machine was probably sometime in 2001 or 2002, when I took Home Ec in high school (yes, my all-girls Catholic high school still offered Home Ec). But placemats seemed easy enough for a beginner! And my mom is a willing teacher (thanks Mom!).
My mom and I studied the fabric’s pattern (Suzani Slub in yellow/white by Premier Prints) and compared various dimensions to decide how big we wanted our placemats to be. We decided a 13″ x 17″ double-sided rectangle would be the best. The double-sided decision was to give them a bit more stability and a more finished look.

pattern-planning

making my first cut!
I was too focused on sewing straight lines to take some in-progress photos. But here are some “glamour shots” of my new, handmade placemats on my kitchen table!

a cheery table setting

loving the yellow-green-orange combo

close-up
Instructions:
– Cut 2 rectangles for each placemat, 13″ by 17″
– Arrange pairs of rectangles so patterned sides are facing each other
– *Serge one of the long sides first, then unfold into a 13″ x 34″ rectangle and serge the 34″ side
– Fold back into a 13″ x 17″ rectangle and serge the remaining short side and long (17″) side
– Sew from the corner towards the center of the open short side about 3″ and back tack. Do this for both corners. (Those short seams make it easier to form the corners when you turn the placemat right side out.)
– Turn placemats so pattern is now facing out
– Hand stitch the opening closed.
– From here, the placemats could be finished, but we decided to stitch in a border to help keep the two sides more securely in place. I chose a 1.5″ border – measured this out, then stitched around, and… voila! placemats!
*NOTE: The placemats could be sewn entirely on the sewing machine without serging. The serging was done to prevent raveling.


