Throw Pillow Throwdown

**I’m going to start this post off with full disclosure: I don’t sew. I can sew, but I did not sew these pillows. My excellent mother did. While I probably would have been capable of sewing these, I would have needed her expertise/supervision, and then we both agreed it would just be easier for her to do them herself 😉  But, I did “design” these pillows! I will take credit for the “creative vision,” haha!

When we ordered our purple couches (technically – a sofa and a loveseat), we got to choose the fabric and color for the throw pillows. We selected a red, as we thought this would be a cool combination with the eggplanty purple of the couch fabric. Here’s what we ended up with for the 4 throw pillows:

The pillows weren’t as red as I hoped they would be. They weren’t even orange, which I would have liked. Instead, they were a weird middle ground, kind of a rusty red-orange color.

As soon as we signed the contract to build our home (maybe before), I started designing a “mood board” to capture ideas and wish-fors for our new spaces. I knew I wanted to give our family room palette a revamp – centered around our purple couches, of course! – and the rusty red-orange pillows would have to go! Thankfully, they have zippered covers, so I could keep the pillow form inside and just have new covers made.

This is where my talented mother comes in. After plenty of perusing and pinning on Pinterest, I sketched out a few ideas for new pillow covers, and off we went to the fabric store. I was hoping to score a fun purple print or pattern for 2 of the 4, and a solid neutral that I could embellish for the remaining 2. We came home with a black-and-white print, which I have already changed out in favor of a fabulous Waverly print I discovered on a return trip to JoAnn fabrics. The black-and-white covers will make an appearance in my office/library sometime in the future.

Here’s the Waverly throw:

waverly modern essentials luminary in lilac

and the neutral covers with embellishments:

a strip of faux fur for added texture

tulle flowers

And there you have it! A throw pillow throwdown that gives our favorite purple couches a fresh new look!

Vegging Out – Part II

I have finally taken the leap & planted my veggies in the ground! Eek! I know it sounds silly, but this was kind of a big deal for me, mostly because I have an uneasy feeling that every deer within a 10 mile radius is going to feast like there’s no tomorrow. And I’ll be left with a bed full of half-chewed leaves.

But anyways, let’s get to how it went down. First, I chose the area that I wanted to use, then Tom & I cleared it. I loosely referenced square-foot gardening guides, and decided to try a 3×6 area:

clearing the future garden space of leftover straw from the grass seeding

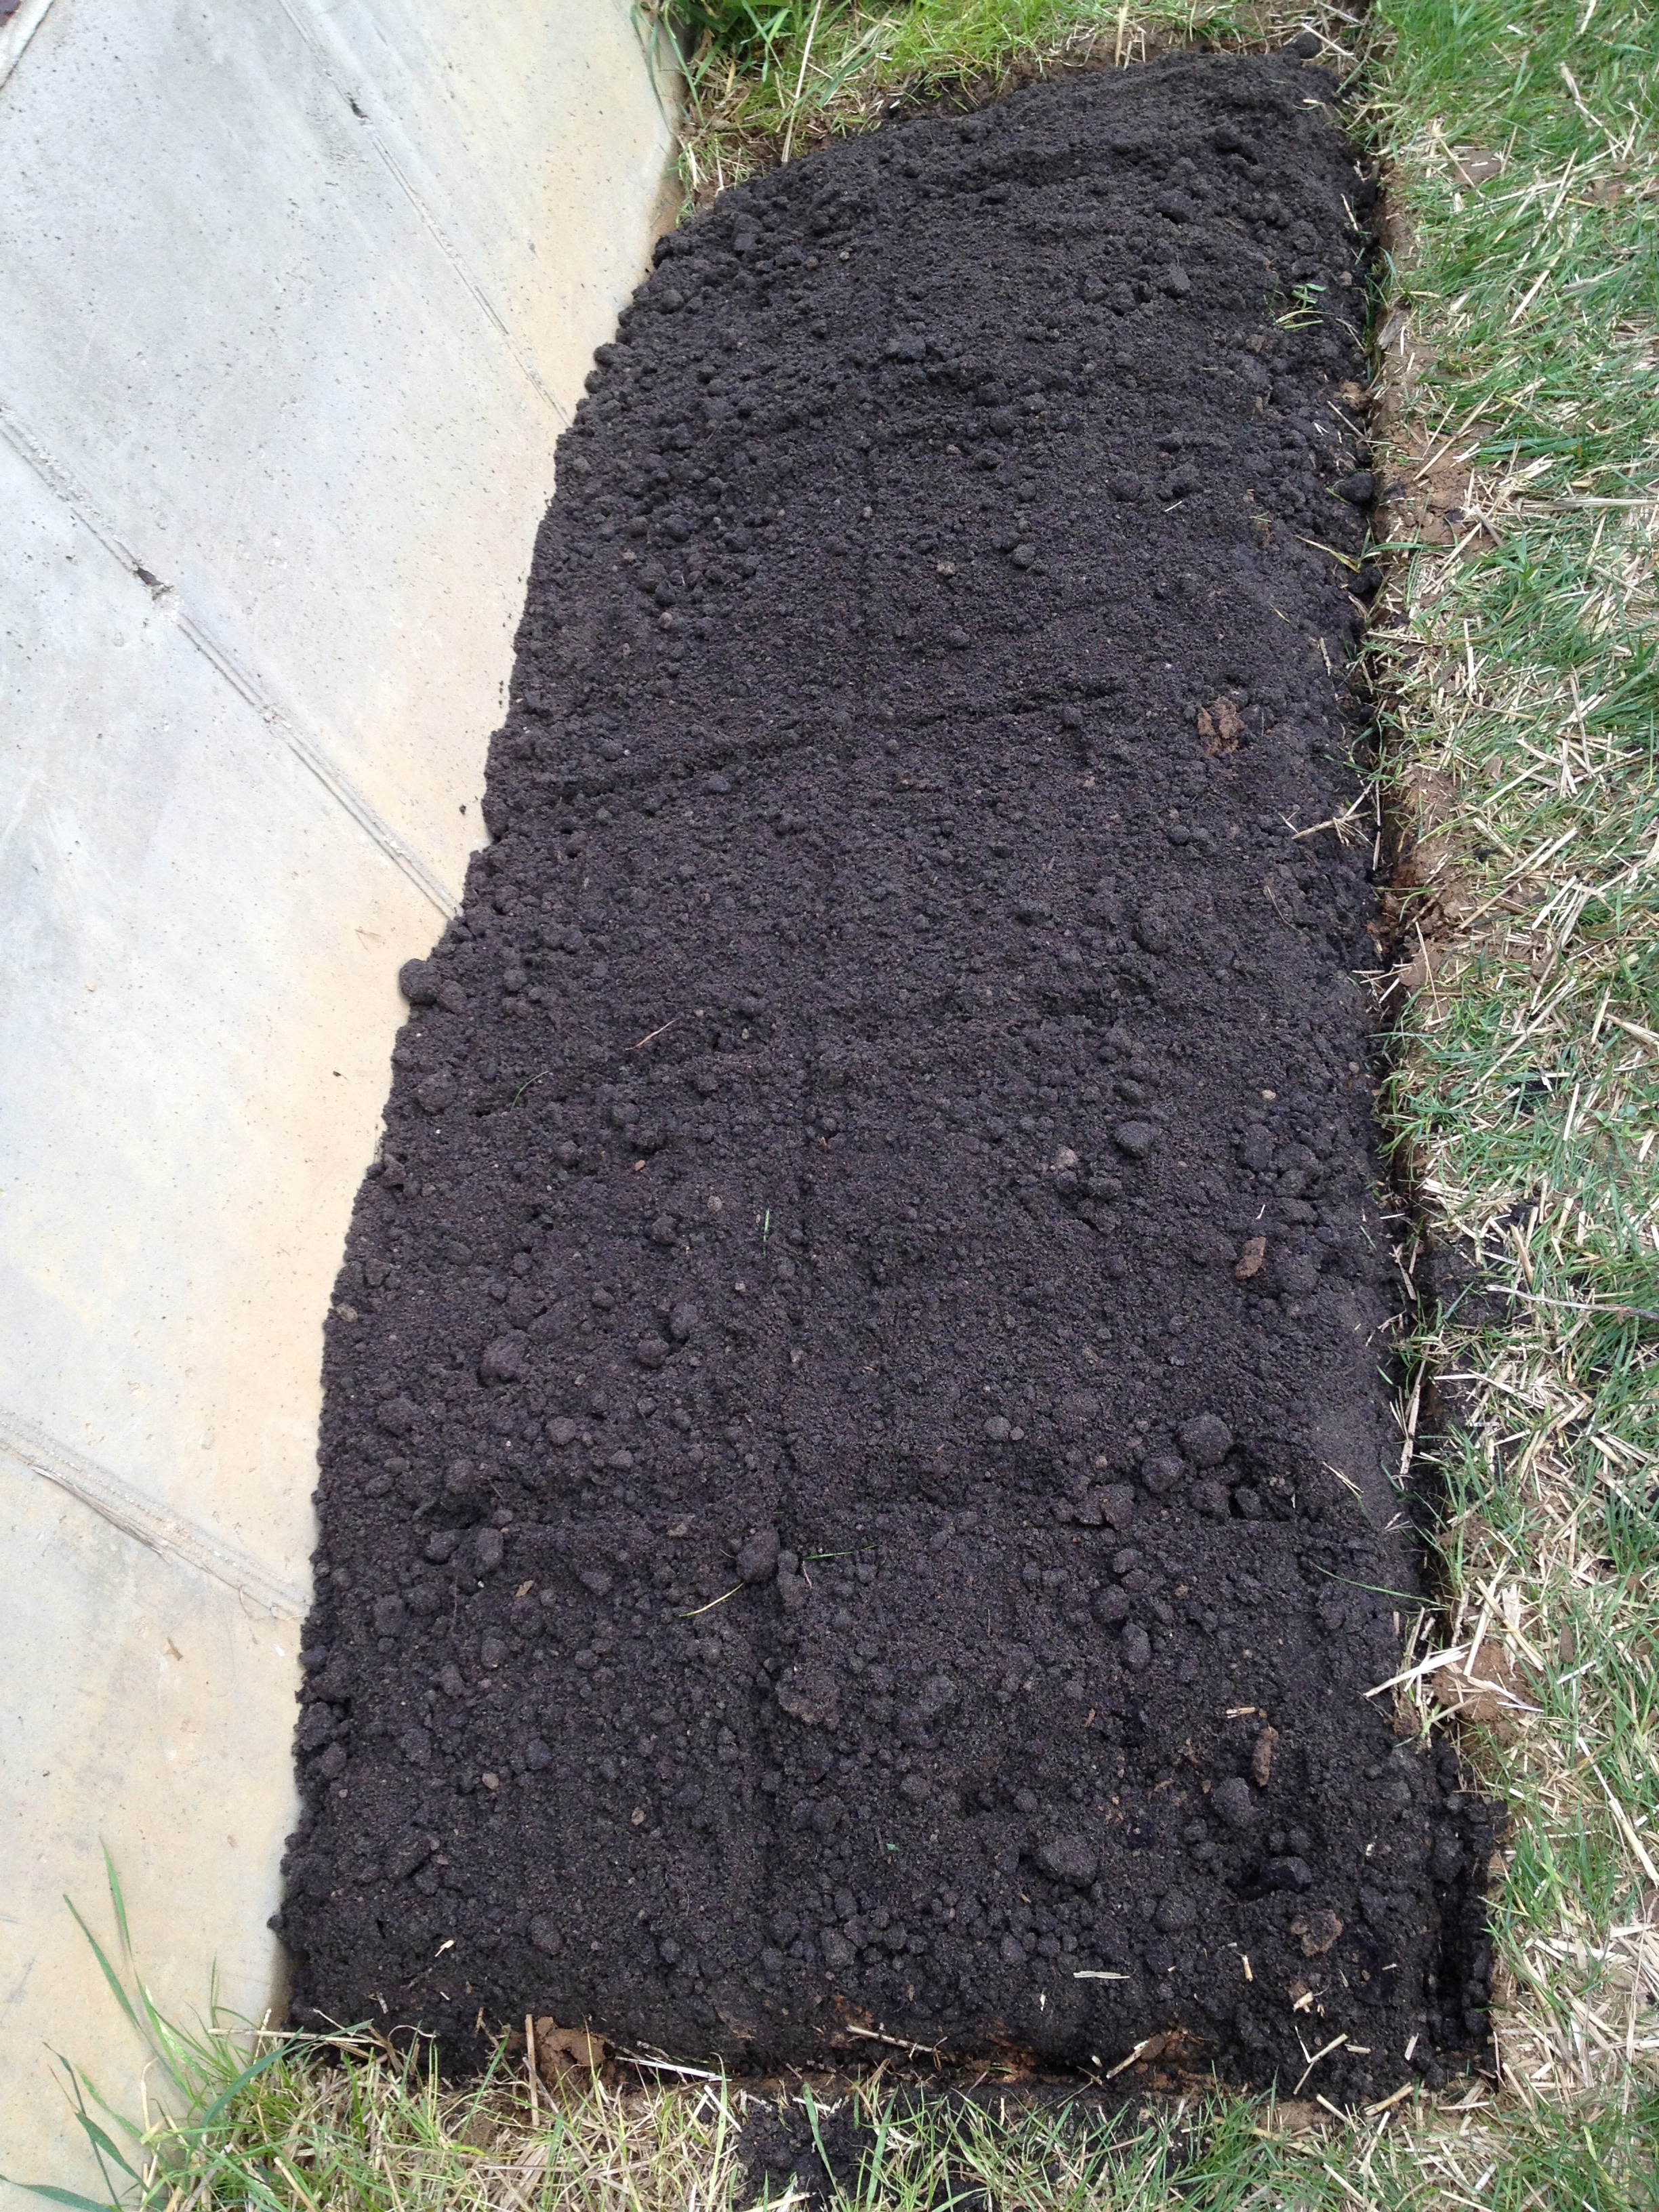
Tom used the end of a shovel to section off the area, and then we began digging up the grass. We added 4 bags of topsoil and mixed in 1 bag of manure. We bought the cheapest topsoil and manure we could find at Lowe’s (the brand is Gardener’s Pride). Once it was spread around to our satisfaction, we drew 1×1 foot lines in the soil with the edge of our shovel so I could break down plant placement within each square.

1×1 foot sections — ready for planting!

I lined up my plants, and once they were in the right spot, in the ground they went! Here’s a shot of the final product (before we draped them in netting to keep the critters out):

the finished product

I won’t insult your design-savvy eyes with the rudimentary Microsoft Word table I drew of the bed plantings. Just know that I have it for reference 🙂  Hopefully, in the next few weeks, we’ll be reaping in crops of tomatoes, green bell peppers, cucumbers, zucchini, cantaloupe and strawberries!

Have you ever tried square-foot gardening? What was your experience like?

Just popping in

We had a rather busy weekend celebrating my father-in-law’s recent retirement, which left little time for blogging (tear). But I have what I hope are some fun and interesting posts in mind for this week, including a throw pillow makeover, my amateur attempts at laying out a veggie garden (eek! it’s finally happening!), and another installment of Instagram Friday!


Stay tuned!

Instagram Friday

I’m trying out something new I’m calling Instagram Friday. I’m not super into Instagram, nor do I have my panties in a twist over Facebook’s recent purchase of Instagram. I just think it’s cool to play with the different filters to give your photos a cool effect. Right now, the only camera I use is the one on my iPhone 4s. It’s better than the actual camera we own (8 megapixels vs. 3 maybe?). So every photo I take, and every photo here on the blog, can be attributed to my iPhone camera. Maybe someday that will change, but for now, it’s part of my schtick.

So anyway, I thought I’d feature some fun shots of things around the house that I’ve “Instagrammed.”

lamp detail, dresser “face”, wood grain

You can follow me on Instagram @onuwriter06

Have a lovely weekend!

Trimming a Rug Pad

Even though I think it was the same dimension, our rug pad was slightly larger than our rug. The weekend that we moved in, we threw everything down just to get the furniture in the room, knowing we’d go back and finesse the placement later. But we never got around to trimming the rug pad, so you could see the ugly grey fiber pad peeking out at the edges.

see it there? near the bottom left?

Tacky, I know.

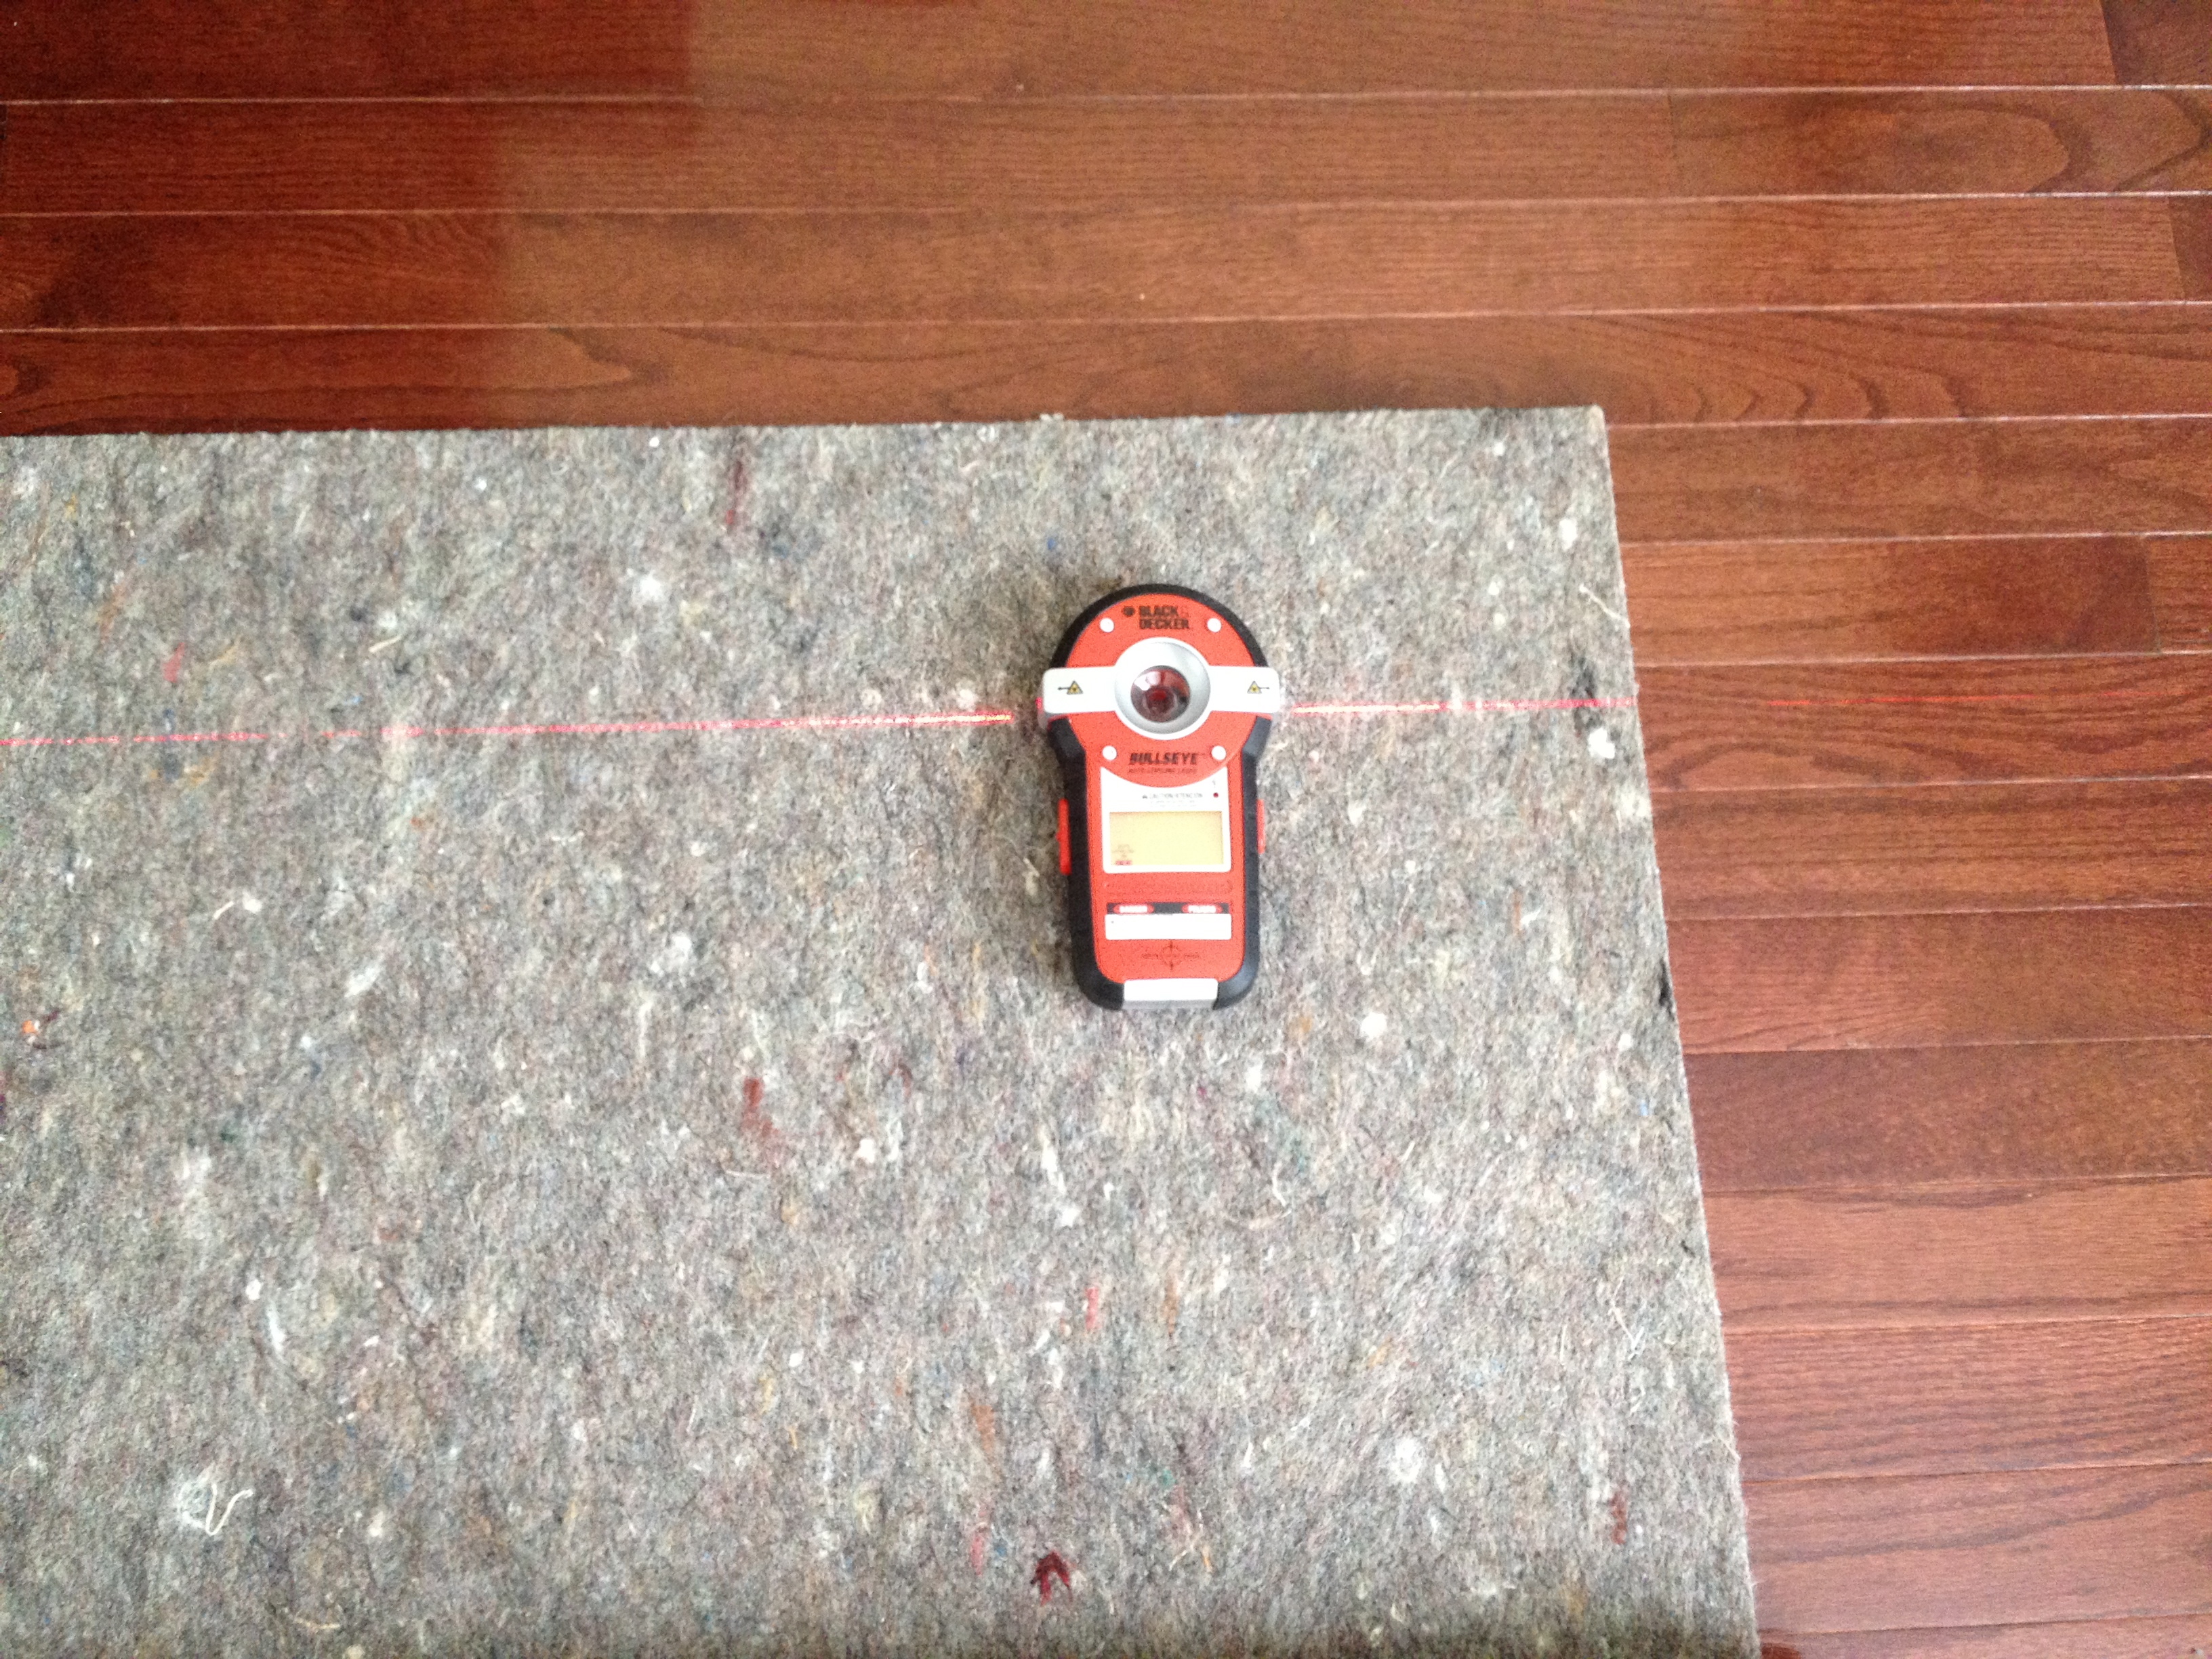
But, there’s nothing like a party to get your home whipped into tip-top shape! So I insisted that we trim the rug pad before having people over a few weeks ago. By now, our rug and furniture were placed precisely where we wanted them, so there were bits of pad sticking out on multiple sides. We moved the coffee table and couches, then repositioned the rug so that we’d only have to make 2 cuts instead of 4. But then we were stumped with how to measure it so we’d get a nice, straight line. Tom quickly put on his engineer hat and devised this genius move: using our laser level as a cutting guide!

genius idea, right?

nice ‘n straight

And there you have it! An easy way to trim a rug pad!

Much better!