
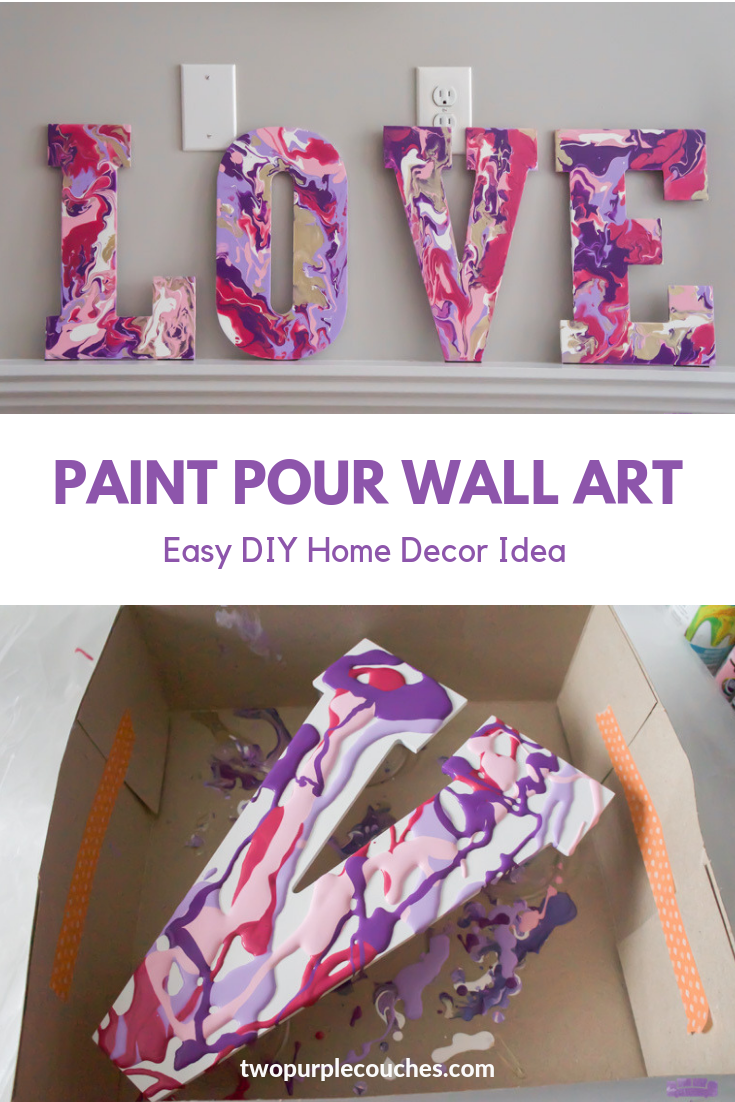
Paint pour letter art idea for Valentine’s Day decorating. Learn how to make these painted letters with acrylic paint pouring.
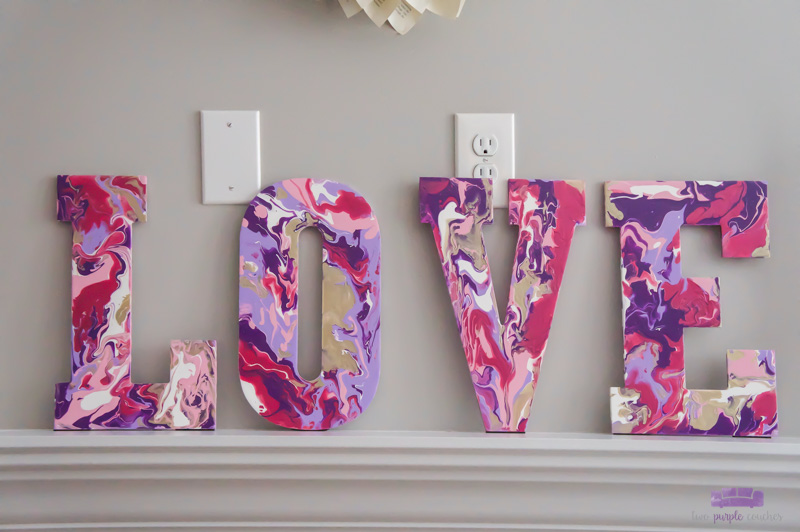
Paint pour letter art like these L-O-V-E letters are a fun and colorful way to decorate your walls for Valentine’s Day. You can personalize your paint pour letters with any colors that you love. I chose pinks, purples and gold to create a bold, modern look for our Valentine’s Day mantel.
Paint pouring has quickly become a new obsession of mine. Back in December, I made my first paint pour project—Click here to see my paint pour Noel sign—and ever since I have been dreaming up all kinds of different paint pour projects, including this paint pour letter art for Valentine’s Day. (I’ve also completed two more paint pour projects for Celia’s upcoming 1st birthday—see, I told you I’m obsessed!)
Creating paint pour letter art is just as easy as paint pouring on canvas. These make such neat, modern monograms, or you can spell out a word, as I did with this L-O-V-E wall art for our Valentine’s Day mantel this year.
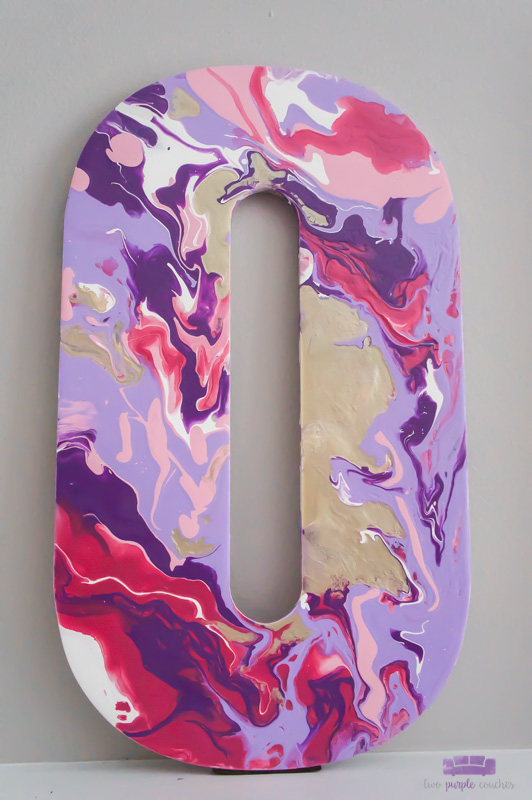
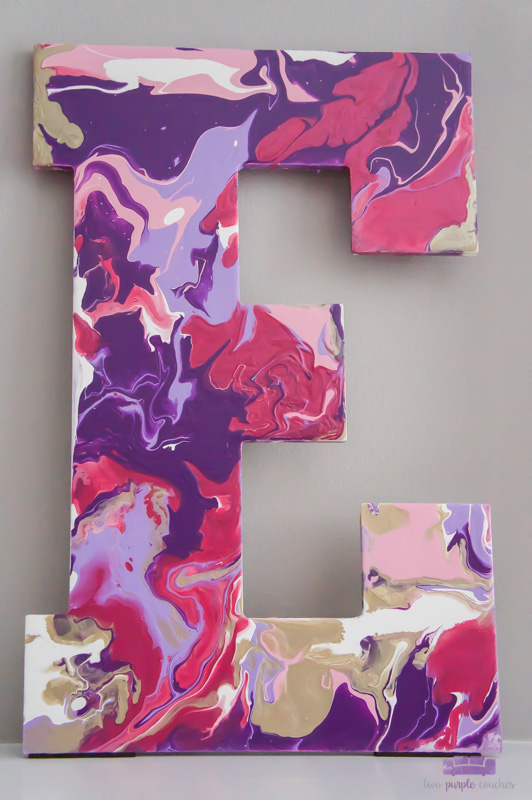
I love the variety of colors and pours from letter to letter here, like how the gold is more prominent on the “O” and the big sections of bright pink on the “E”. If I stare at these long enough, they start to look like bold, pink and purple topographical maps!
I could stare at these all day, but I’d rather share the tutorial with you so you can get started making your own paint pour letter art!
This post contains some affiliate links for your convenience. Click here to read my full disclosure policy.
How to create paint pour letter art
Materials Needed:
- Wooden letters
- DecoArt Acrylic Paints:
- Extreme Sheen in Pink Tourmaline
- Matte Metallics in Champagne
- Multi-Surface Satin in Lavender Fields and Eggplant
- Americana Acrylic in Baby Pink and Snow White
- DecoArt Pouring Medium
- Small plastic cups
- Craft sticks or plastic spoons for stirring
- Gloves
- Plastic bag or old tablecloth to protect your workspace
- Cardboard box
Tutorial:
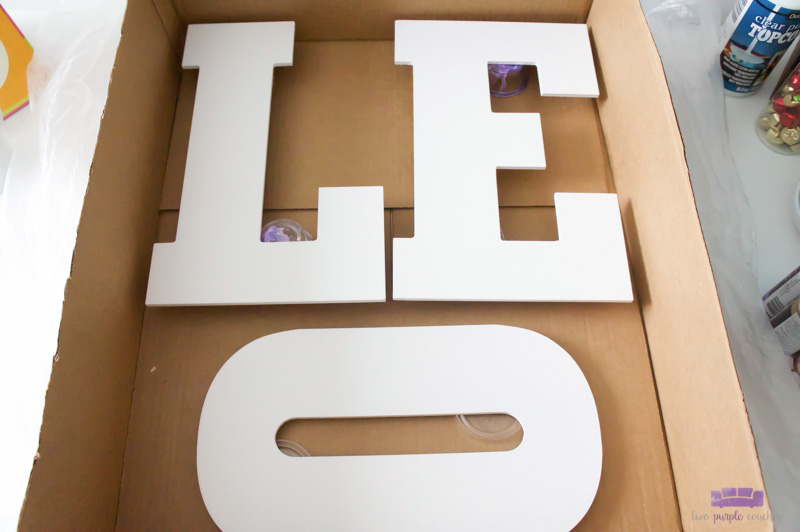
1.) Paint pouring gets messy, so it’s a good idea to prep your workspace by covering it with a plastic bag or tablecloth. Place a few small plastic cups upside down in a cardboard box—you’ll prop your wooden letters on these to dry. Wearing latex or rubber gloves is also a good idea!
2.) Add one paint color each to a small plastic cup, then add about the same amount of the DecoArt Pouring Medium. You’ll want about a 1:1 ratio of acrylic paint to pouring medium. Mix well with a craft stick until the mixture is thin enough to flow easily over the letter. Add more paint or pouring medium as necessary to get it to a good consistency.
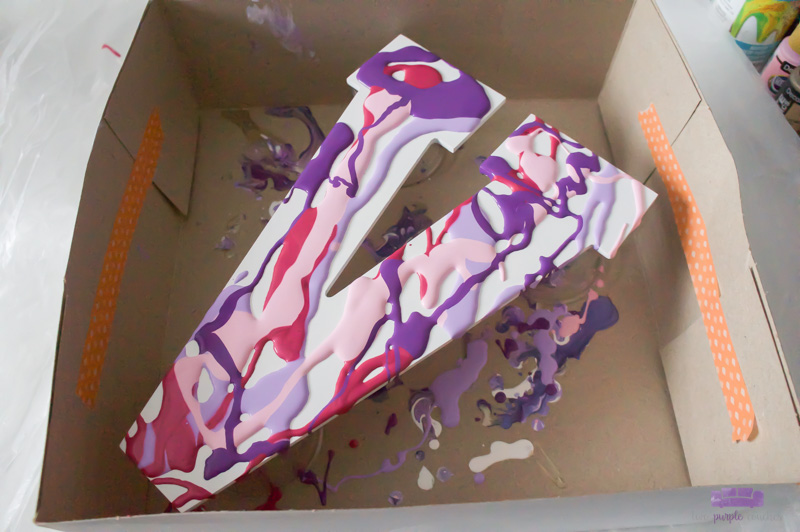
3.) For this pouring method, pour one paint color at a time over the wooden letter. Then pick up the letter and tilt it to the right, left, forward and backward until the entire surface is covered with paint. You can add more paint to bare spots, or break up a large section of one color by adding other colors to it. There’s really no right or wrong way to paint pour—have fun with it!
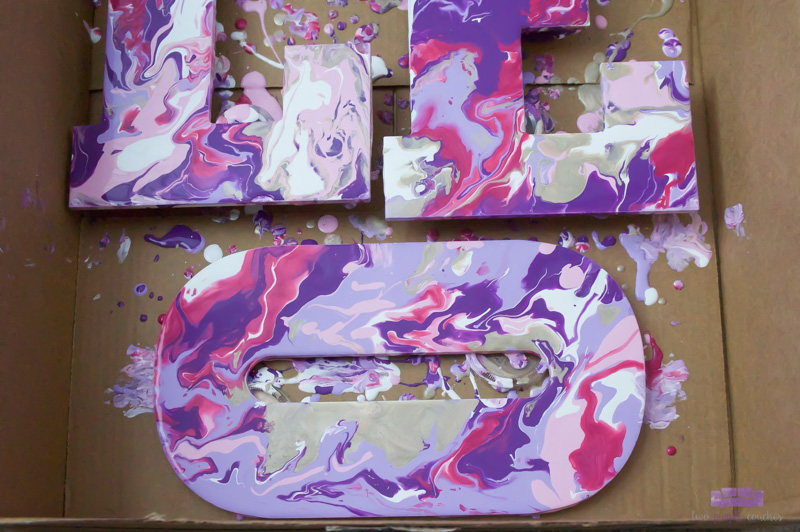
4.) Once the wooden letter is covered, prop it up on the small plastic cups and allow to dry at least 24 hours before handling. If you are spelling out a word or name, you can paint pour all of the letters at once, or work individually—it’s completely up to you! I did three letters at once because that’s how many I could fit inside one cardboard box, and then I did the fourth letter separately.
If you missed it earlier, Click here to see my Valentine’s Day Mantel featuring these paint pour L-O-V-E letters.
Don’t forget to Pin this project or Bookmark it for later!
I love your Paint Pour Letters. I have seen this technique on You Tube and it looks like fun. Thank you for sharing this idea.
Thank you, Debbie! It’s a fun process!
Love the colours, these look gorgeous.
Thank you so much, Claire!
Pingback: Paint Pouring Mistakes (+Video) | Madness & Method