Chip It! by Sherwin-Williams

One of my co-workers tuned me in to a pretty sweet new widget by Sherwin-Williams (thanks Nick!).

If you haven’t heard about Chip It!, then please let me have the honor of introducing you. Chip It! is a widget that you can add to your toolbar/bookmark bar, just like Pinterest’s “Pin It” widget. Chip It! allows you to extract Sherwin-Williams paint chips out of photos or images. Then you can choose to save the chipcard for future reference.

I tested it out on this print from butterflyfood on Etsy:

If you want to see more paint chip options, you can click on “More Colors” tab to see a secondary palette:

You can download Chip It! here!

*Note: I have in no way been paid to promote this widget, and have no affiliation with Sherwin-Williams.

Instagram Friday

While I was sewing my placemats at my parent’s house, I had to take a quick break to snap a few shots of this Rose Mallow in their garden. These plants are part of the Hibiscus family (love those!), and the blossoms are incredible. This one was larger than my head, probably about 10 inches in diameter! How can you help but smile when you see one of these enormous blossoms!?

Even the buds are huge! Like the size of golf balls!

And here’s a Gerbera from my backyard – I love this bright red-pink color!

Have a wonderful weekend!

Placemat Project

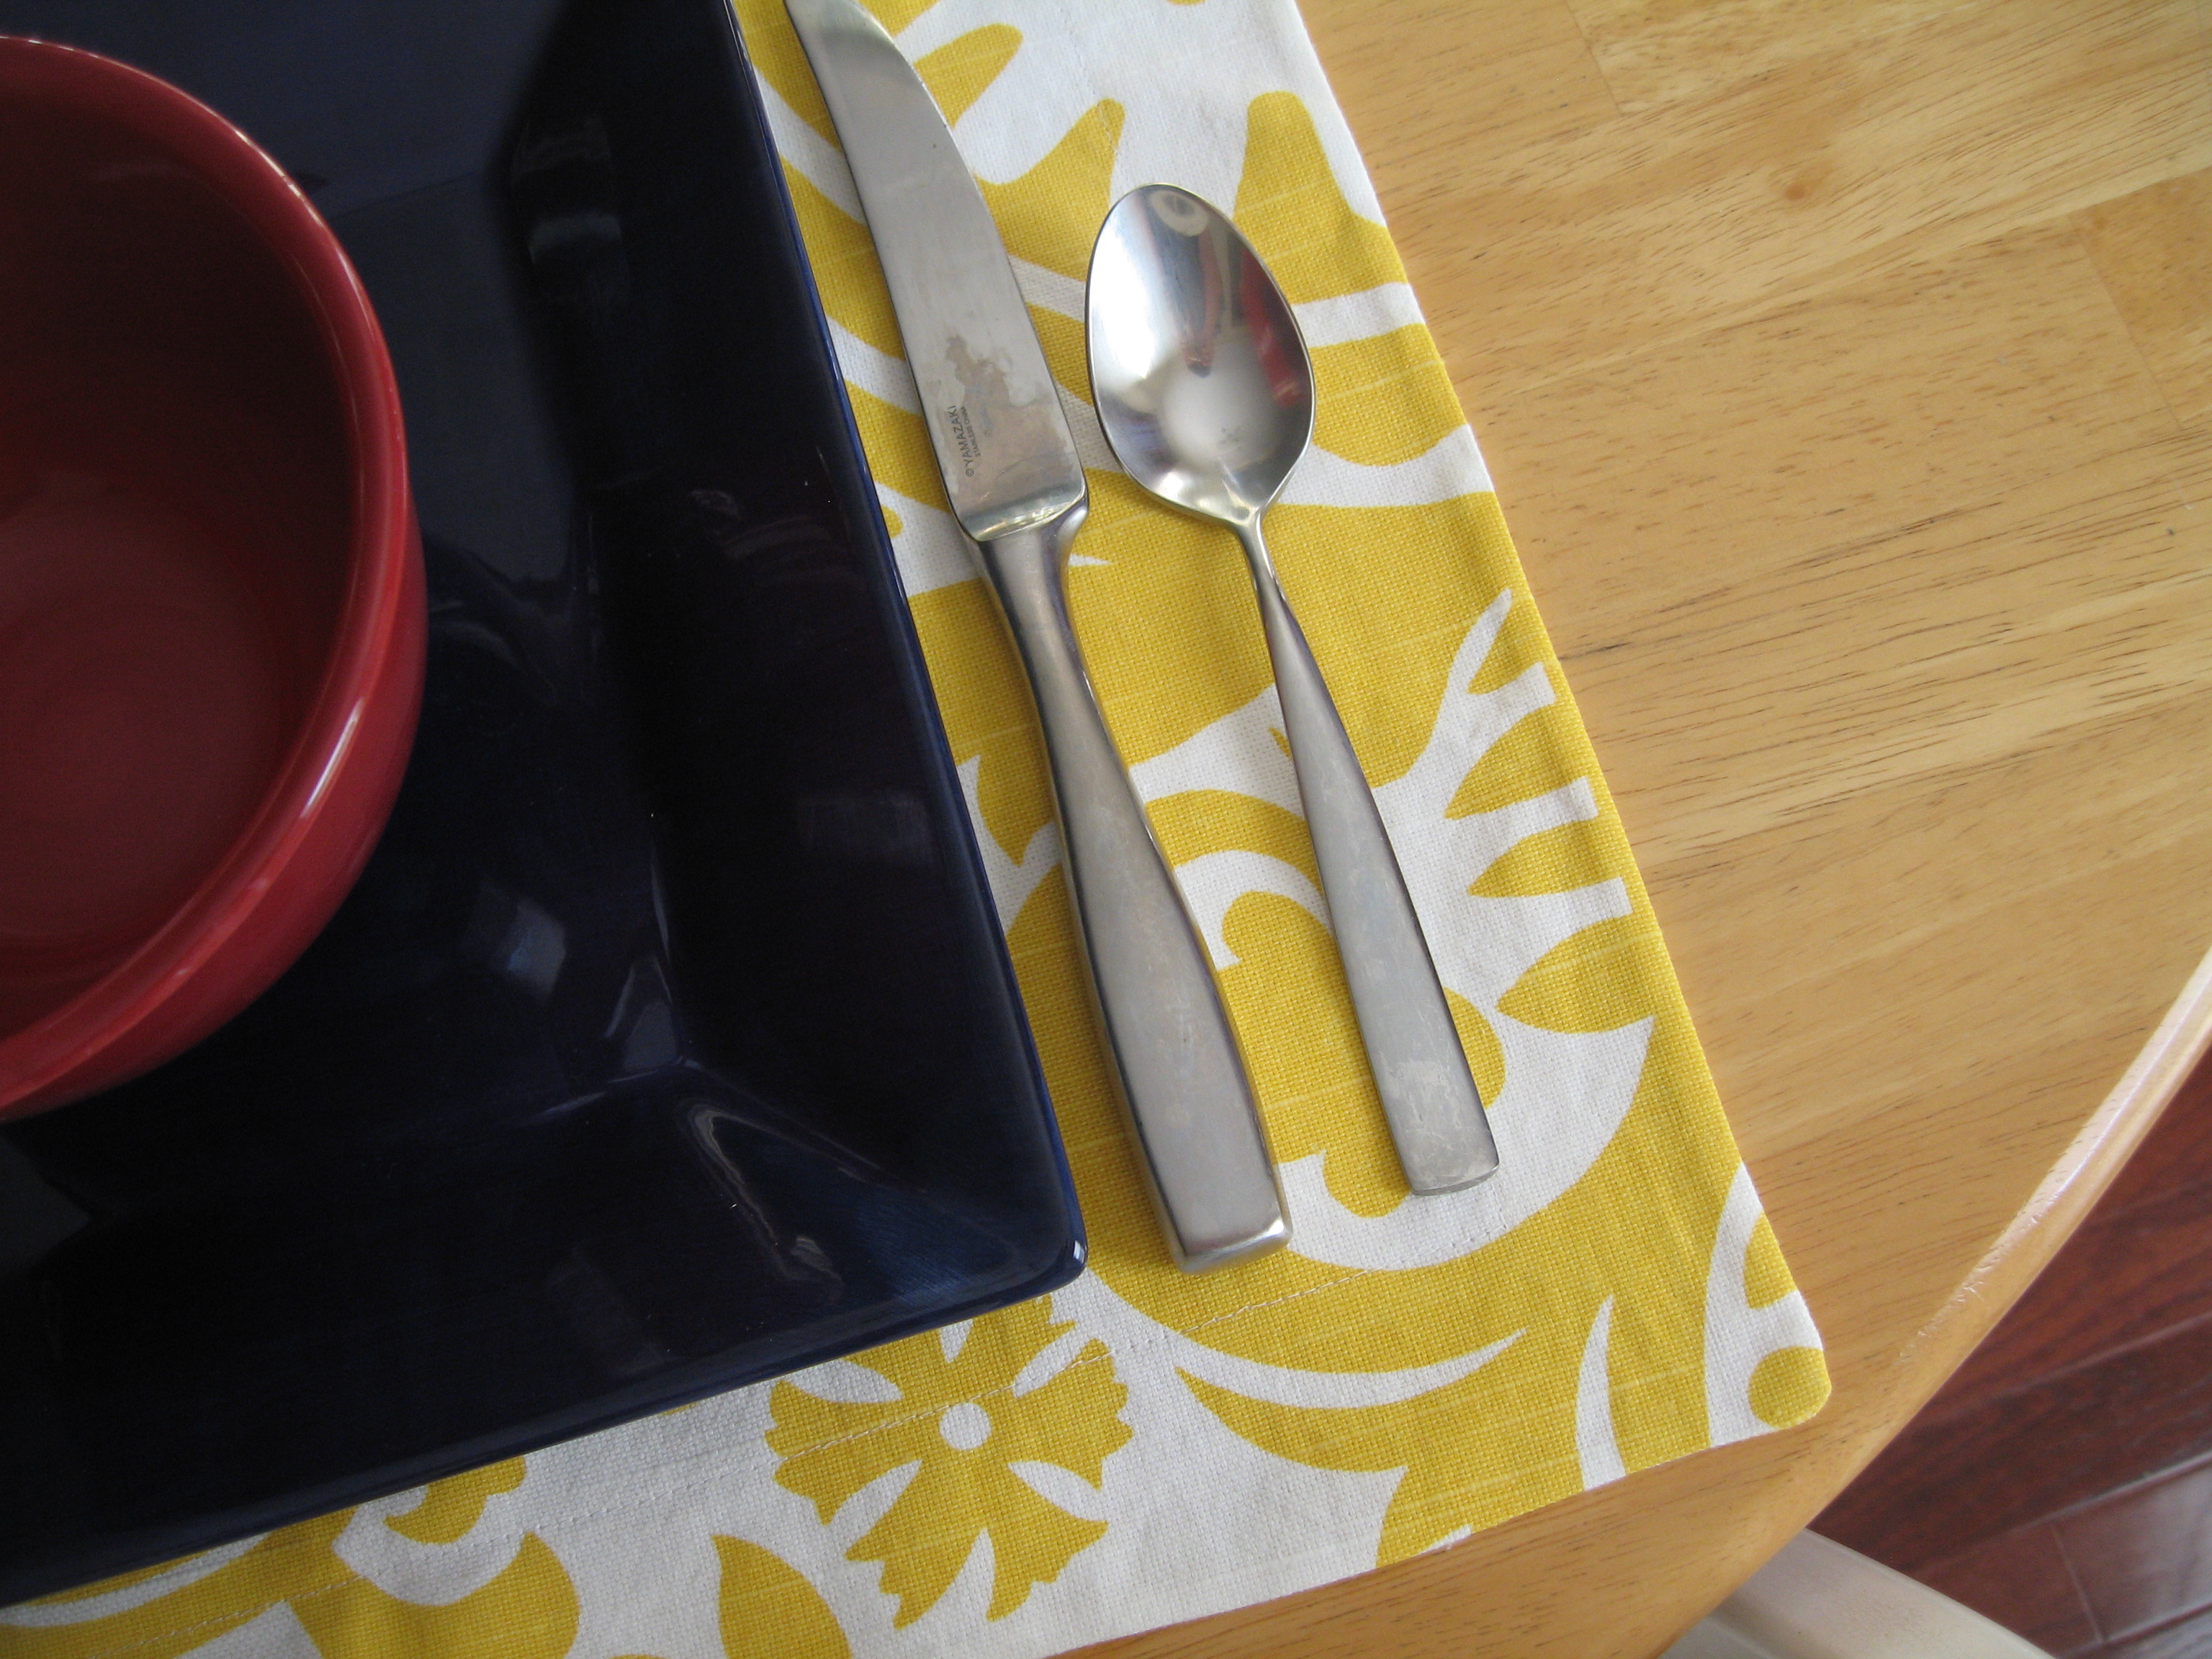
The first plans I had for my new batch of fabric were new placemats for our kitchen table. Our current placemats are a basic navy-ish blue; they don’t really match our dishes, or anything else in our kitchen, for that matter. I thought some fun yellow-patterned placemats would be just the thing to brighten up the kitchen.
As I’ve said before, I’m not really talented when it comes to sewing – my mom is. But with all of these new ideas swirling in my head, I wanted to give it a shot. The last time I sat down to a sewing machine was probably sometime in 2001 or 2002, when I took Home Ec in high school (yes, my all-girls Catholic high school still offered Home Ec). But placemats seemed easy enough for a beginner! And my mom is a willing teacher (thanks Mom!).

My mom and I studied the fabric’s pattern (Suzani Slub in yellow/white by Premier Prints) and compared various dimensions to decide how big we wanted our placemats to be. We decided a 13″ x 17″ double-sided rectangle would be the best. The double-sided decision was to give them a bit more stability and a more finished look.

pattern-planning

making my first cut!

I was too focused on sewing straight lines to take some in-progress photos. But here are some “glamour shots” of my new, handmade placemats on my kitchen table!

a cheery table setting

loving the yellow-green-orange combo

close-up

Instructions:
– Cut 2 rectangles for each placemat, 13″ by 17″
– Arrange pairs of rectangles so patterned sides are facing each other
– *Serge one of the long sides first, then unfold into a 13″ x 34″ rectangle and serge the 34″ side
– Fold back into a 13″ x 17″ rectangle and serge the remaining short side and long (17″) side
– Sew from the corner towards the center of the open short side about 3″ and back tack. Do this for both corners. (Those short seams make it easier to form the corners when you turn the placemat right side out.)
– Turn placemats so pattern is now facing out
– Hand stitch the opening closed.
– From here, the placemats could be finished, but we decided to stitch in a border to help keep the two sides more securely in place. I chose a 1.5″ border – measured this out, then stitched around, and… voila! placemats!

*NOTE: The placemats could be sewn entirely on the sewing machine without serging. The serging was done to prevent raveling.

My Skills of an Artist

(how many of you picked up on the Strongbad reference? Anyone? Anyone?)

I have never been a particularly good artist. I enjoyed the art class I took in high school – we explored pretty much every medium, from drawing to oil painting to sculpting and printmaking. My stuff was okay, but I certainly wasn’t going to be displaying my works in a gallery anytime soon!

My relationship with art is very similar to my relationship with crafting, probably because these two are cousins. I get wild ideas about painting a scene or sketching little works in a notebook. But the outcome is never how I picture it in my head. And, yet again, my husband has a knack for art – sketching out little logos for the apps he develops or little characters on scraps of paper around the house.

But when some friends told me about an art studio that’s as much about painting as it is about a fun night out, I knew I wanted to check it out! If you’re in the Cincinnati, OH area, you need to check out Cheers to Art! You can sip your adult beverage of choice, groove to the music and hang out with your friends, all while painting a work of art! The best part is that the instructor gives you step-by-step instructions, so you’re not left to fend for yourself if you feel less-than-sure of your skills.

My friends and I planned a Girl’s Night Out to paint the “Paris Stamp.” We started off by layering in the background colors. First yellow, then red, then green.

Then we added some brushstrokes of white and the black scalloped edge to give it a “stampy” feel:

Then came the hard part – the lettering and the Eiffel Tower! I was too focused on keeping a steady hand to snag some in-progress pictures, but here’s me with the finished product!

I’m not sure where I’m going to hang it yet. None of the colors match anything in our home at the moment (I would have chosen other paint colors if that option had been available). So, I just stuck it in between the double sinks in our spare bathroom to add a splash of color!

Happy Painting!

Weekly Wishlist

Lately, I’ve been admiring the Pouf Trend, and specifically, the Moroccan-style leather poufs. Whenever they pop up on Joss and Main, which is often, I gaze longingly at the array of colors and toy with the idea of adding one to my cart. The only problem is that I have no idea where I would put one in our house. I’m starting to convince myself that it would be a great stand-in for an accent table between the two accent chairs in our family room, but I’m not sure Tom’s on board with that idea yet.. So, I guess I’ll continue to dream for a while! In the meantime, I’ve pulled together a few different poufs for your viewing pleasure. Let’s start with a traditional style…

Lookin’ sassy in metallic! Moroccan pouf by John Derian Company

Or, you can go for a different shape and fabric all together! I like that this feels like a modern evolution of a bean bag chair. And the print is pretty amazing, too.

A fabulous grey and ivory print at West Elm

If you prefer a more traditional ottoman, why not get one that doubles as storage? I’ve seen some that come with built-in pockets for shoe storage. Sounds like a perfect accent for a custom closet or dressing area! (and yes, I’m hoping to add one to my closet someday)

Fashionable and functional? How nice! This beauty was found at Joss and Main

What home accent items have you been crushing on lately?