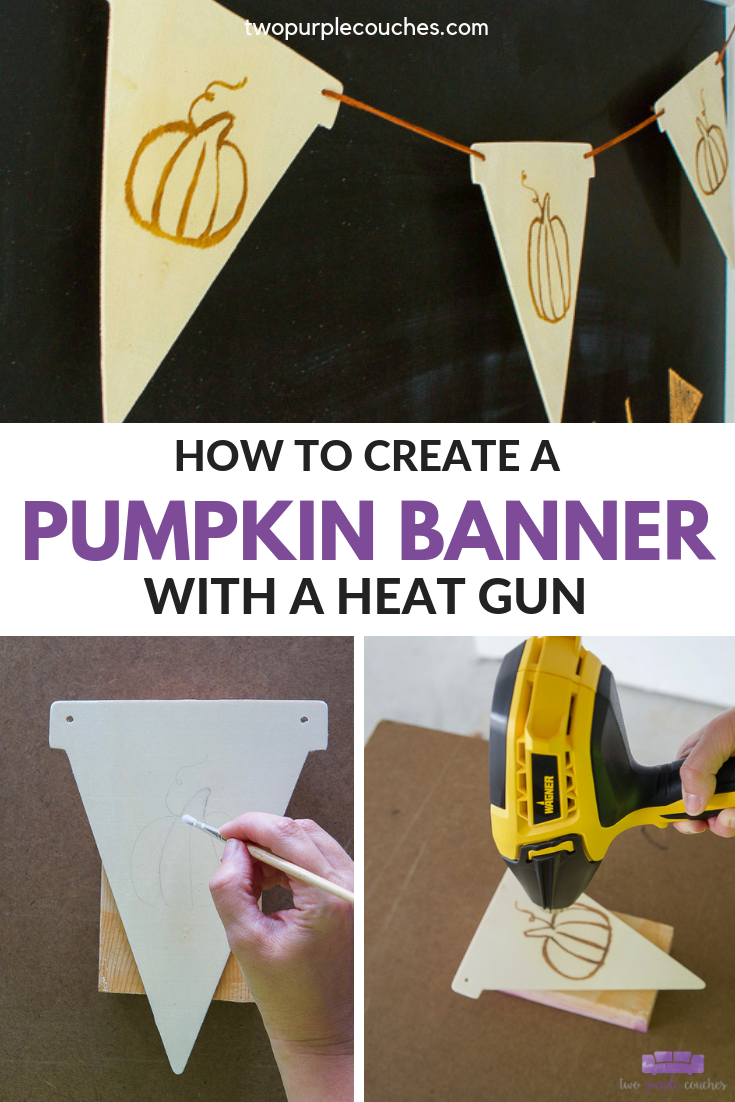
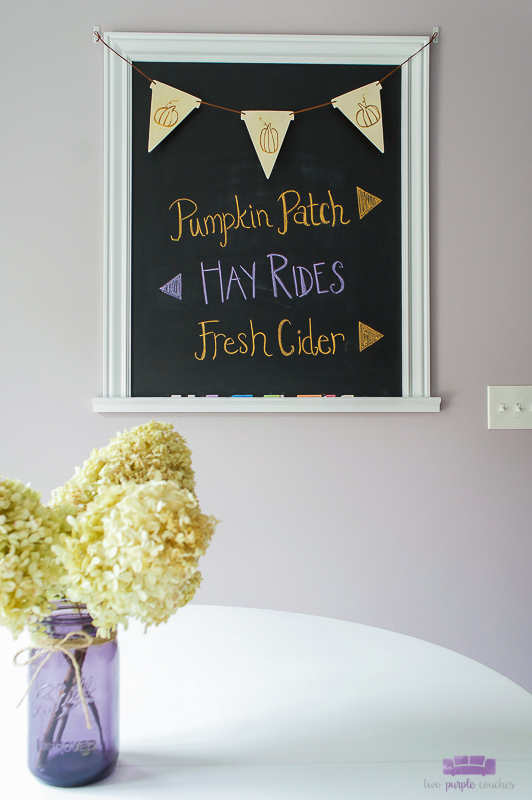
DIY Pumpkin Banner Fall Craft Idea. Make your own autumn home decor with this simple wood burning technique using a heat gun.
This DIY Pumpkin Banner makes Fall decorating easy! Grab a wooden banner kit and a heat gun and follow along with this tutorial to learn how to make your own cute wood burned pumpkin banner.
Thank you to Wagner SprayTech for sponsoring this post. All content and opinions expressed here are my own. Click here to read my full disclosure policy.
To me, Fall is crafting season! This is my favorite time of year to craft and make, whether it’s something for our own home or thinking ahead to holiday gifting. Even though I own plenty of seasonal decorations, I always find myself making a few new things. This season, I’ve been excited to try a new-to-me technique: wood burning using a heat gun. I’ve been intrigued by this process for a while, and making a simple DIY pumpkin banner seemed like a great way to introduce myself to wood burning.
For this project, I got to use my new Wagner FURNO 750 heat gun. The FURNO series offers a few special features like more precise temperature settings, an easy-to-read screen, and unique cool-down mode. I also really appreciated the comfortable ergonomic handle and the built-in stand, which makes it easy to set the heat gun aside while you’re working. The FURNO 750 heat gun comes packed in a storage case that doubles as a hands-free stand, and also has additional nozzles for more specific projects.
As I was reading through the manual, I was so surprised at all the things I can do with a heat gun. I know it’s a great tool for removing paint, but did you know you can use a heat gun to roast your own coffee beans? Or shrink wrap a gift? How cool is that!?
I’ll admit, at first I was a bit intimidated by the FURNO 750. I’ve always been extra cautious when working with very hot things (fireplaces, ovens, gas grills, etc), so I made sure to read the operating instructions several times. Once I turned on the heat gun and got comfortable with the settings, I discovered it’s a pretty easy tool to use. I started and finished my DIY pumpkin banner in about an hour, which makes this mama super happy! Read on for how you can make your own:
This post contains some affiliate links for your convenience. Click here to read my full disclosure policy.
How to make your own Wood Burned DIY Pumpkin Banner
Materials Needed:
- FURNO 750 heat gun (similar model available here)
- Wood pennant banner kit
- Ammonium Chloride
- Small paintbrush
- Suede/leather cording (optional, if you don’t want to use the jute twine that comes with the banner kit)
- Cup of water
- Fine grit sandpaper (optional)
- Extension cord
Tutorial:
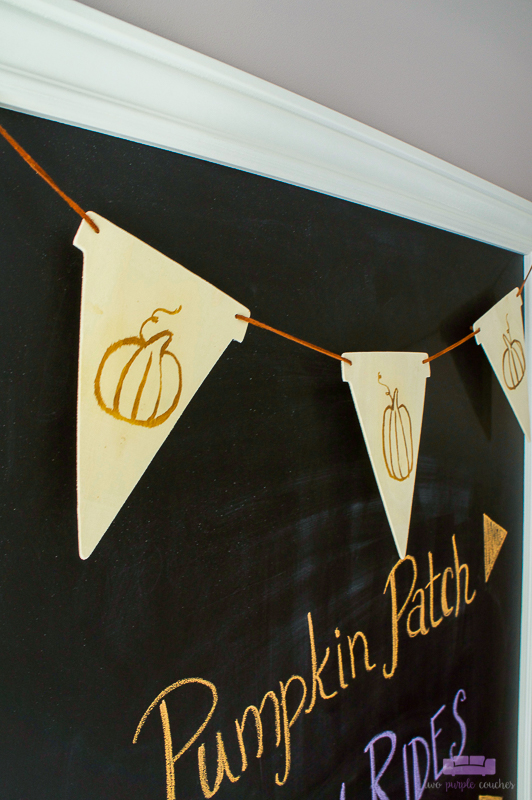
1.) Using a pencil, lightly sketch a pumpkin in the center of each pennant. If the edges of the pennants are splintery, go over them with fine grit sandpaper to smooth them down.
2.) Mix 1 TBSP Ammonium Chloride with ½ cup water. Dip a paintbrush in the ammonium chloride mixture and lightly paint over the pencil lines. Note: As I was reading up on how to do this wood burning technique, I found a couple different recipes for the ratio of ammonium chloride and water. I tested a couple and this one (1 tbsp AC and ½ cup water) worked the best for me.

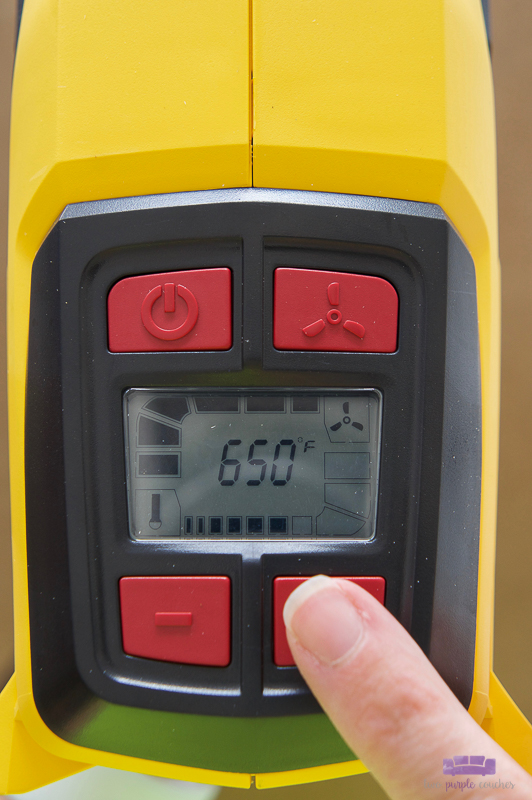
3.) Plug in the FURNO 750 heat gun and press the power button. The heat gun will automatically heat to 650-degrees. I raised the temperature on mine to 750-degrees. A higher temperature will result in a darker burn. You can experiment with different temperatures on a piece of scrap wood to get the look you want.
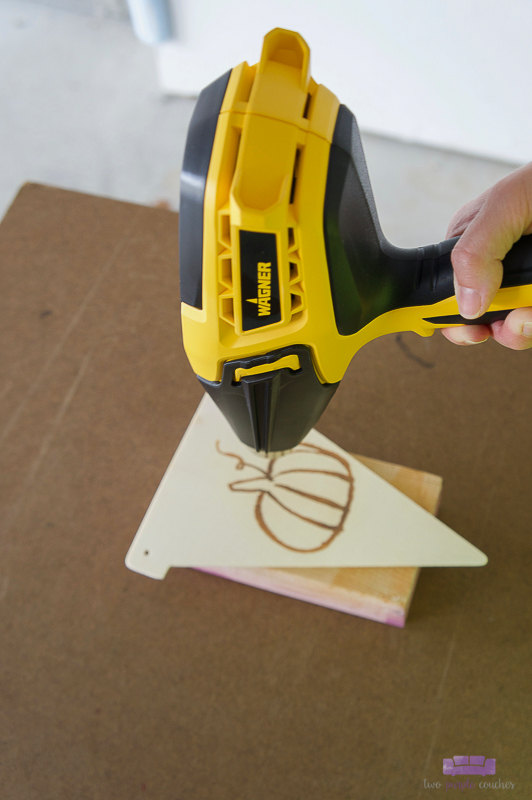
4.) Once the gun reaches the set temperature, hold it about two inches above the pennant and slowly move it back and forth over the pumpkin shape. After a few minutes, the heat will react with the ammonium chloride mixture, and the sketch will turn a yellow color, and then begin to burn. Continue applying the heat gun until the wood is burned to your desired color/darkness. I wanted a darker look, so I kept apply heat over the design until it reached this amber-brown color.
5.) Work on one pennant at a time, letting each cool slightly before handling.
6.) When you’ve burned each pennant for your DIY pumpkin banner, press the power button once to put the FURNO 750 into cool down mode. You’ll see the temperature bars flash and tick down as the gun cools. It will turn itself off once it has gone through the full cool down cycle, or you can override the cycle by pressing and holding the power button for a few seconds. I am extra cautious with hot things, so I let the heat gun sit and continue to cool for about an hour before packing it back into the case. I don’t know if I needed to wait this long, but I figured I was better safe than burned!

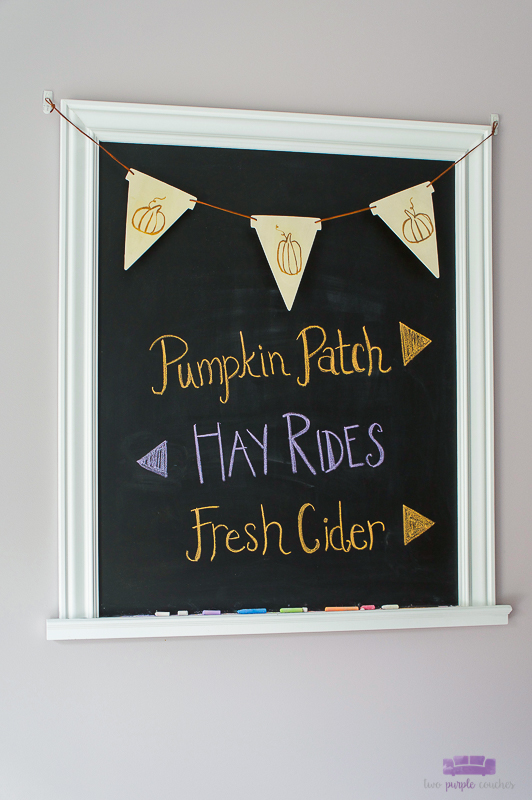
7.) Use jute twine or suede cording to string each pennant together and hang your banner.
And that’s how you make a wood burned DIY pumpkin banner with a heat gun! What sort of faux wood burning project would you like to make?
Love this project? Don’t forget to Bookmark It or Pin It!