Tag Archives: homemade

DIY Mother’s Day Print

framed print

Hello there! Hope everyone had a lovely weekend. Today I’m sharing a little gift made for my mom: a diy Mother’s Day print.

I’ve known for a few weeks that I wanted to make something for my Mom but I wasn’t sure what it should say. I finally settled on this phrase. Which is actually quite appropriate because my parents are moving in a few months (out of what is pretty much my childhood home. i’m adjusting to the idea…)

First I started with a sketch:

letter sketch

Then I translated it onto a higher quality sketchpad paper. I’ve used acrylic paint and a paintbrush to do lettering for some previous prints, but I wanted to try something different and easier to handle this time. I chose a broad-tipped opaque marker from Michael’s Crafts (from their Recollections brand). I would have preferred a paint pen, but I could only find them white, silver, and gold. (anyone know of any paint pen brands that come in colors??)

home is where your mom is

And there you have it! Just pop it in a frame and boom!… Instant Gift! Did you diy something for your mom/grandma/friend/special person for Mother’s Day?

PS – there’s still time to enter my Blogiversary Giveaway! Read about the prizes and how to enter here.

Chalk Art Notebooks

I’ve been at it again! Still loving the chalk-art look, on any surface or in any medium I can muster 🙂

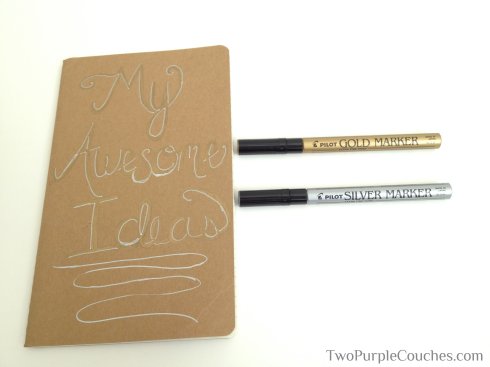
paint-pen diy notebooks -- TwoPurpleCouches.com

I used paint pens to create this one. I’d love to play around with different colors and combinations of paint pens – I think the effect could be really cool!

diy notebooks -- TwoPurpleCouches.com

I used a black pencil for these; I liked the contrast with the bright washi tape.

Now that I’ve got the hang of the lettering down a bit better, I want to play with embellishing the space, with flourishes or ribbons or things like that. Have you tried chalk art lettering? Any tips to share? I’ve yet to try it on an actual chalkboard, haha!

Sharing this post at:

The Shabby Nest

DIY Washi Tape Notebooks

Washi tape seems to be the hottest thing in crafting right now. So I recently bought a few rolls to see what the fuss was all about. I don’t know if I’m hooked, but I’m definitely having fun coming up with crafts and ideas to use it! I’ve seen a few “dressed up notebooks” around Pinterest and Etsy lately, so I thought I’d try my hand at creating my own washi tape notebooks!

diy washi-tape notebooks -- TwoPurpleCouches.com

diy washi notebooks -- TwoPurpleCouches.com

washi notebooks -- TwoPurpleCouches.com

I found sets of 3 Moleskine kraft journals on Amazon for a pretty good price. I chose the kraft covers because I thought the tape would adhere best to this surface, and because the fun tape colors and patterns really pop against the neutral kraft paper! I especially love how the purples and blues look! These are my favorite combos.

dog, for scale -- TwoPurpleCouches.com

Molly was my “photo assistant” for the day. Here, she wants you to see how cute these miniature rolls of washi tape are!

Are you a washi-fan or a washi-foe? What sort of cool washi-projects have you done? I’d love to know/see pictures!

Looking for more simple crafts and gift ideas? Try these easy silver-rimmed bowls (perfect for jewelry, lip balms and small trinkets) or a set of beautiful gilded votives that can be made in minutes!


I’m linking up to:
The Shabby Nest

DIY Valentine’s Garland

DIY Valentines Garland

This homemade DIY Valentine’s Day garland is SUPER simple to make and pretty cheap, depending on what you’ve got lying around your craft bin/room. This project cost me a whopping $0.58 + tax!!! I had every item on-hand except the red felt for the hearts. CanIgettawhoopwhoop???

What you need:

– yarn, in your choice of color(s)

– felt

– baker’s twine

– craft glue

What you do:

Make 4-6 yarn pom-poms (or as many as you want for the length of garland you’ll have).

Cut 12-16 hearts out of felt, in any size you want. I wanted my hearts to be slightly larger than the pom-poms, and I decided to use 2 felt hearts to create a front and back, glueing just the top and bottom edges so I could thread the baker’s twine through the center.

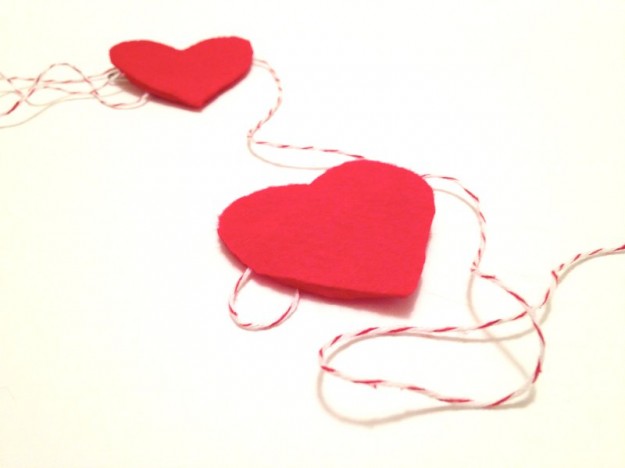
felt and twine

Measure out your baker’s twine, leaving extra for the swag (if you want swag, that is).

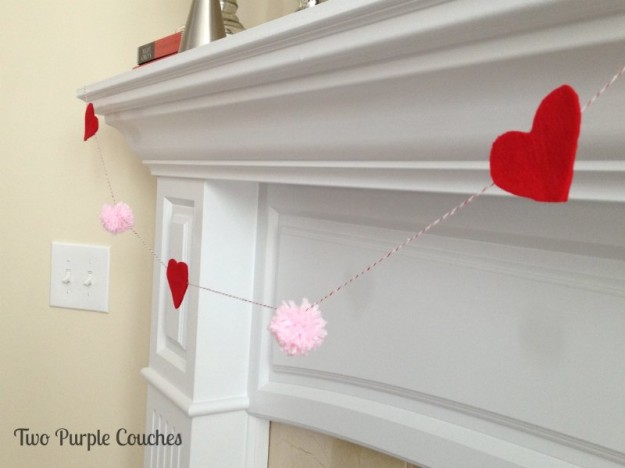
Then, thread on the felt hearts, tie on the pom-poms, hang, swag and ta-da! You’ve got garland!

Felt heart and yarn pom garland

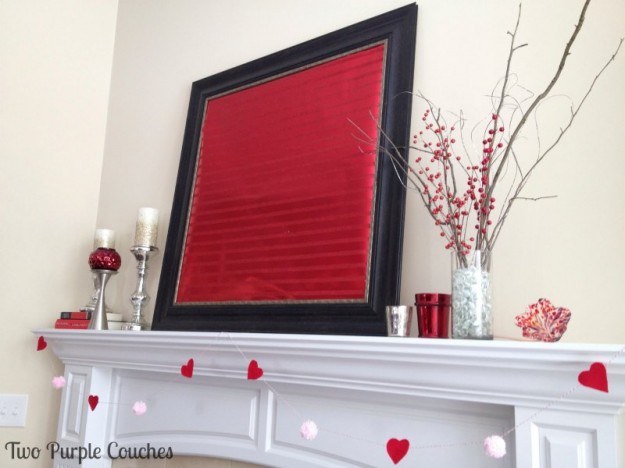
Valentines Garland

Update: Linking up to the following parties:

The Shabby Nest

Scents of the Season: Homemade Potpourri

www.twopurplecouches.wordpress.com

I’ve seen a few of these simmering stovetop potpourri recipes floating around Pinterest lately, so I thought I’d give one a go. I looked up a few recipes to gauge amounts of ingredients, but ad-libbed the one above.

Cinnamon, Clove & Clementine Potpourri:

– 2 clementines, cut into fourths

– 2 sticks of cinnamon

– 3-5 whole cloves

Cover with water, then bring to a boil. Once boiling, reduce to a simmer for as long as you like!

After doing a bit more reading, I think I should have used just the clementine peels instead of the whole fruit (the pulp starts to disintegrate after a while). I kept it out on the stove (but turned the burner off, of course) to see if I can fire it up again over the weekend. Hopefully it holds up! If  not, it was pretty easy to throw together. I’d also like to experiment with lemons, limes, apples, herbs and spices. I bet adding vanilla or peppermint extract would be awesome, too.

Have you ever tried a stovetop potpourri? If so, what’s your favorite recipe?

Inspiration via: Picky Palate / Make It Do / JanDee Crafts

Linking up to:
The Shabby Nest