Tag Archives: crafting

Valentine’s Day Mantel

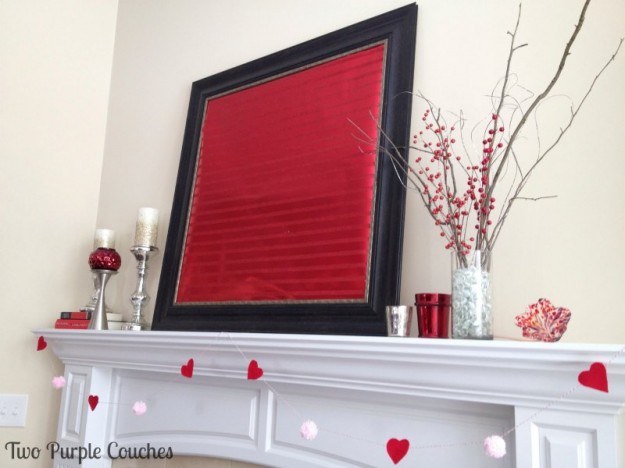
I held out on the “winter” decor as long as I could, but it’s time to transition our fireplace mantel to Valentine’s Day!

Valentine's Day Mantel -- TwoPurpleCouches.com

I kept a few of my favorite things from my Christmas/winter scheme, like the mercury glass pillars and the natural elements/twigs (spruced up with a few sprigs of red); then added the awesome red mercury glass Target clearance items, a blown-glass flower, and some red-and-black books for height and color. I also brought Edgar back into the mix. I mean, elephants are a symbol of love and affection, right? No? Oh well. Call it a new tradition, then.

Valentine's Day Mantel -- TwoPurpleCouches.com

Full Disclosure: I fully intended to add a lovey phrase to the red wrapping paper background inside the frame. But the stars, err Cupid?, were against me. I had a phrase all picked out and typed up. I played with font sizes until I got them big enough to show up. And then things started to fall apart – when I tried to print them, the pages were all out of whack, thus splitting one letter onto two pages. When I finally got that sorted out, our printer was out of ink. Or rather, out of black ink. And would only print in blue. Bah! Call me lazy, accuse me of not being a finisher. I don’t care. I’m fine with the hit of red as it is. And who knows, maybe I’ll find renewed energy, and a black ink cartridge, over the weekend!

Are you a finisher or an un-finisher?


Lovey-Dovey Chalkboard Art

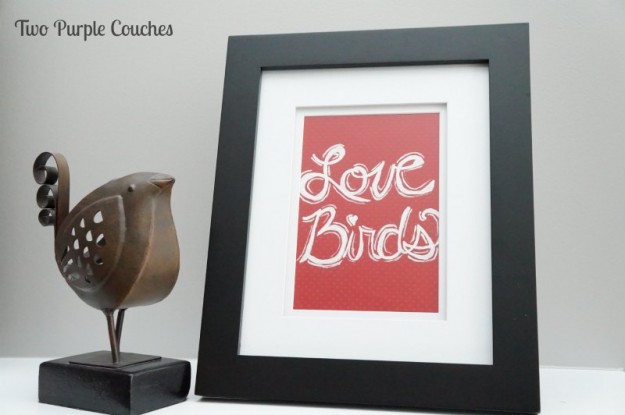
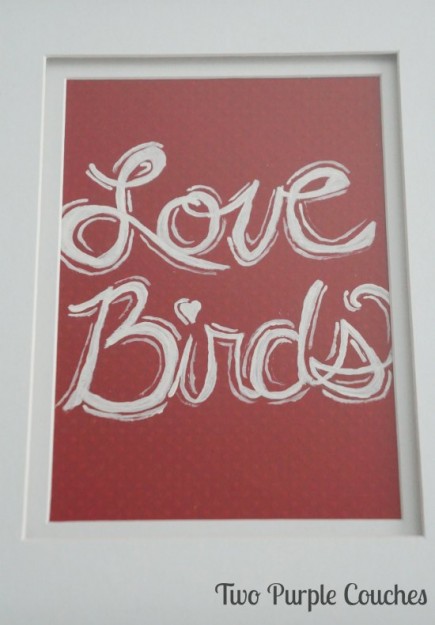
Love Birds Valentine's Art

The chalkboard bug bit again!

This one was simpler than my Christmas endeavor. Once I knew what I wanted to write, I cut scrapbook paper to size, lightly wrote the words in pencil, and then went over it with white acrylic paint and a fine brush. Easy-peasy.

Love Birds DIY art

Have you tried your hand at chalkboard type?

Update: linking up to these parties:
The Shabby Nest

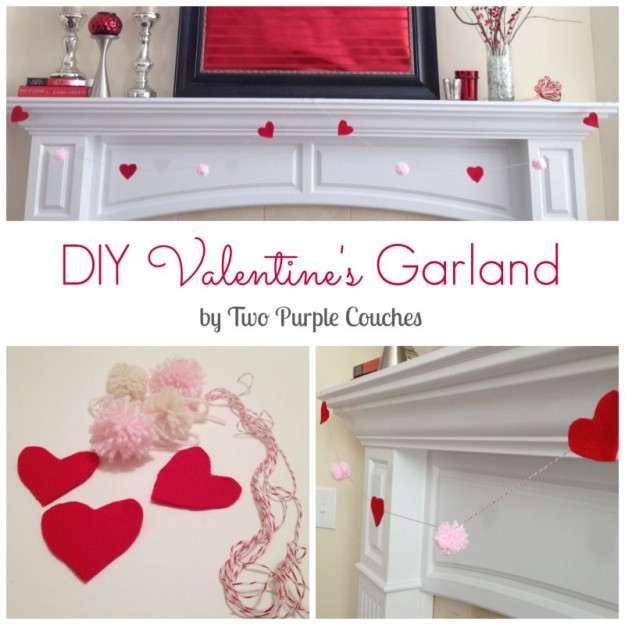
DIY Valentine’s Garland

DIY Valentines Garland

This homemade DIY Valentine’s Day garland is SUPER simple to make and pretty cheap, depending on what you’ve got lying around your craft bin/room. This project cost me a whopping $0.58 + tax!!! I had every item on-hand except the red felt for the hearts. CanIgettawhoopwhoop???

What you need:

– yarn, in your choice of color(s)

– felt

– baker’s twine

– craft glue

What you do:

Make 4-6 yarn pom-poms (or as many as you want for the length of garland you’ll have).

Cut 12-16 hearts out of felt, in any size you want. I wanted my hearts to be slightly larger than the pom-poms, and I decided to use 2 felt hearts to create a front and back, glueing just the top and bottom edges so I could thread the baker’s twine through the center.

felt and twine

Measure out your baker’s twine, leaving extra for the swag (if you want swag, that is).

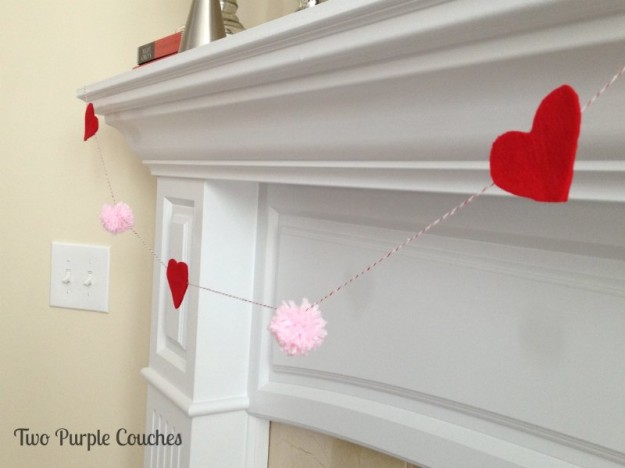
Then, thread on the felt hearts, tie on the pom-poms, hang, swag and ta-da! You’ve got garland!

Felt heart and yarn pom garland

Valentines Garland

Update: Linking up to the following parties:

The Shabby Nest

A Hoot of a Handmade Gift

Image

I originally wanted to post these for the Dare to DIY: Give Homemade challenge, but I didn’t want the recipients to see them before they received their gifts!

I saw a pin on Pinterest a while back for homemade fabric owls, and I thought they were cute as can be. So, with some major help from my mom, I decided to give them a go. We had some challenges figuring out how to create the pattern (the images from the original blog post were difficult to read), but after some trial, error, and image enlarging, we got them to be the size we wanted! We followed the rest of the blog tutorial to put them together.

Image

Linking this project up to:
See Vanessa Craft

Chalk It Up to the Holidays

If you saw my recent Weekly Wishlist, or follow me on Instagram (@onuwriter06), then you know that I’ve got a thing for Chalkboard prints. It’s a recent thing that has come on quite strong, too. And once you’ve fallen head-over-heels for a typographic print, there’s only one thing to do… try to recreate it yourself.

I started off by trying to free-hand my own versions of ones I’ve found online (mostly on Esty), carefully studying how the letters are created, connected and filled out. Here’s one example from my “sketchbook:”

www.twopurplecouches.wordpress.com

The next step was to decide on the phrase I wanted to write (so hard! there are sooooo many great Christmas song lyrics), and sketch it out. This way I could decide which words I wanted to emphasize, which would be serif or sans serif, etc. I also had to decide on a color. I didn’t want to do a black background because I wanted the colors to feel a bit more Christmasy. I chose Americana Hauser Light Green Acrylic paint (purchased at Michael’s, and also used on my clay lollipop ornaments. Such versatile paint…). I think the canvas size is 14″x18″, if you’re wondering.

www.twopurplecouches.wordpress.com

I prepped the canvas by painting the whole thing with the green paint. I only did one coat, and didn’t worry about making it too perfect or uniform. So some parts are darker/have more coverage than others. One of my friends described it as “rustic.”

Then I used a pencil to lightly sketch out the words “Christmases” and “White” to get the placement where I wanted them. And then it sat on my kitchen table (i.e. crafting space) for a few days while I got up the courage to put paint to paper, err, canvas.

www.twopurplecouches.wordpress.com

Here’s an action shot. Lucky for me, Tom was hovering with my iPhone camera on.

www.twopurplecouches.wordpress.com

And here’s the finished product:

www.twopurplecouches.wordpress.com