You know how “throwback” is all the rage these days? Well, all these throwbacks got me thinking of all the crafting I did as a child, and of my favorite childhood craft supply: puffy paint! Though I think now it’s referred to as “dimensional craft paint” because I guess that sounds fancier?
Anyways, my brain has been coming up with all kinds of puffy paint diy projects to try. Then one day I was musing on my love of throw pillows. And this crafty brain-child was born… a puffy paint diy throw pillow!
I originally shared this project over on The Thinking Closet, but I didn’t want you guys to miss out on all the puffy goodness!
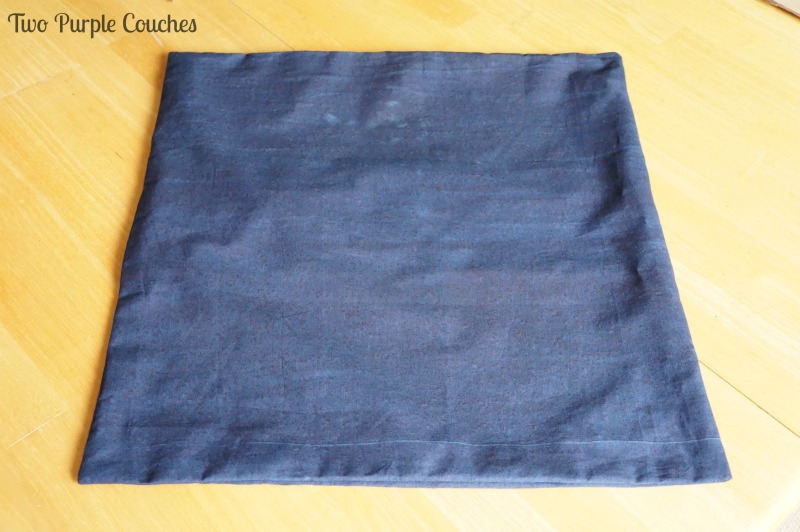
With our master bedroom makeover starting to get underway, I though I’d craft up a throw pillow to suit our new space. Now that I am the proud owner of my mom’s old sewing machine, I decided to stitch up my own envelop pillow cover. With my mom’s help. Because I’m nowhere near ready to embark on sewing projects unsupervised!
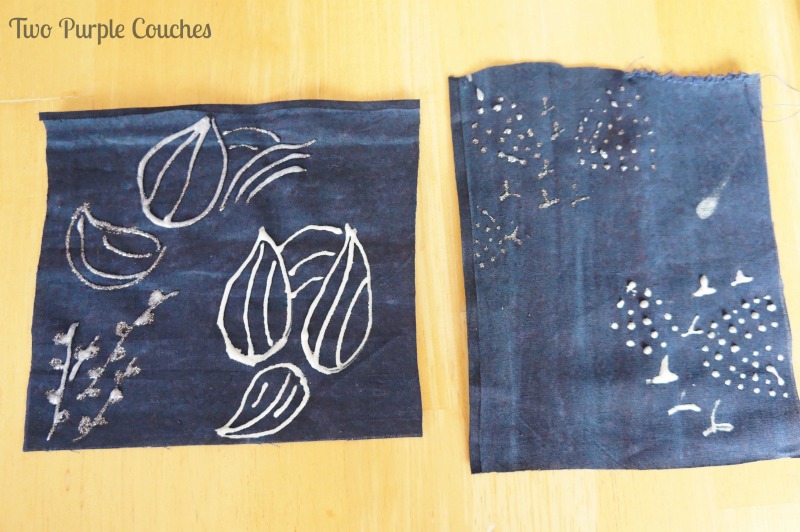
Once the cover for the throw pillow was made, it was time to bust out the puffy paint! As much as I wanted to dive right in, I decided to sketch out a few patterns and designs first. Then I practiced on a few pieces of leftover fabric, just be sure the paint would show up the way I was hoping it would. I played around with two colors of paint: a basic white and a deep gray-silver. It’s a good thing I practiced on fabric first, because the gray-silver paint dried sort of clear (see top of the right swatch). I wanted a more bold effect, so white it was!
Warning… here’s where my dabbling nature took over. I started out creating a dotted design, like the ones above, on my pillow cover. But it just wasn’t working. The paint was getting globbed up. And instead of getting dots, they were come out more like blobby shapes. Not what I was hoping for.
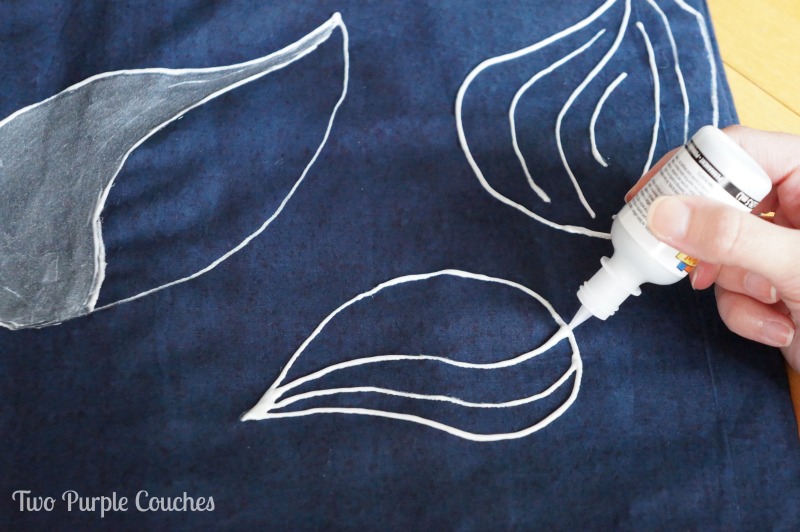
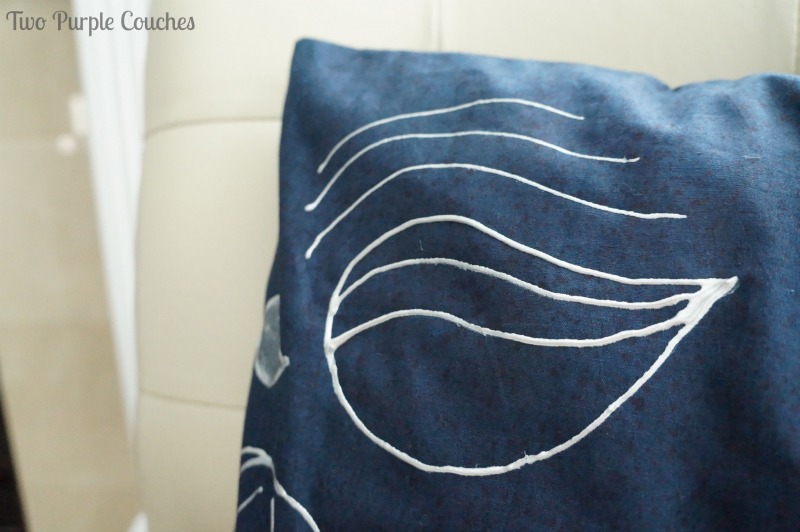
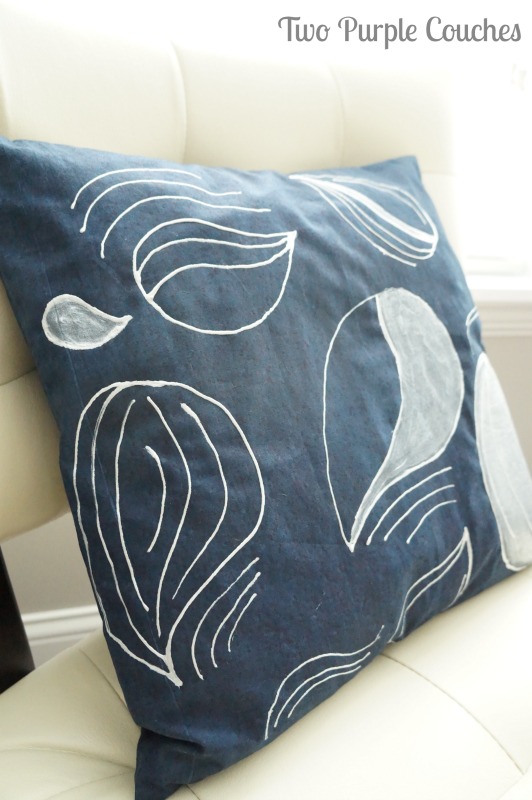
So, I switched it up and tried another design: a freeform, almost leaf-like-slash-paisley shape, which worked much better. And I was able to blend over my first attempt! Huzzah! A near craft-fail turned victory!
Lesson learned: don’t be afraid to change things up mid-process if it’s not going the way you want it to! As Tim Gunn always said, “Make it work”.
And if Tim Gunn says to make it work, I’m gonna find a way to make it work!
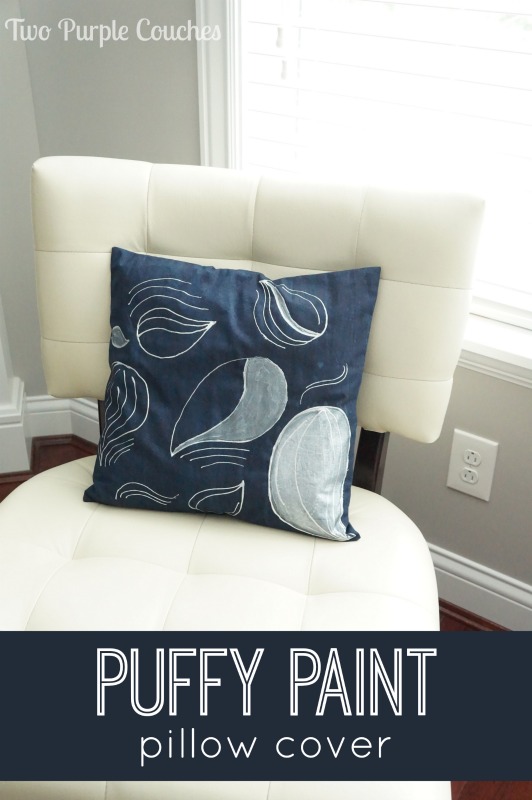
So I pressed on with my freeform half-leaf half-paisley shape until I covered the front of my pillow case.
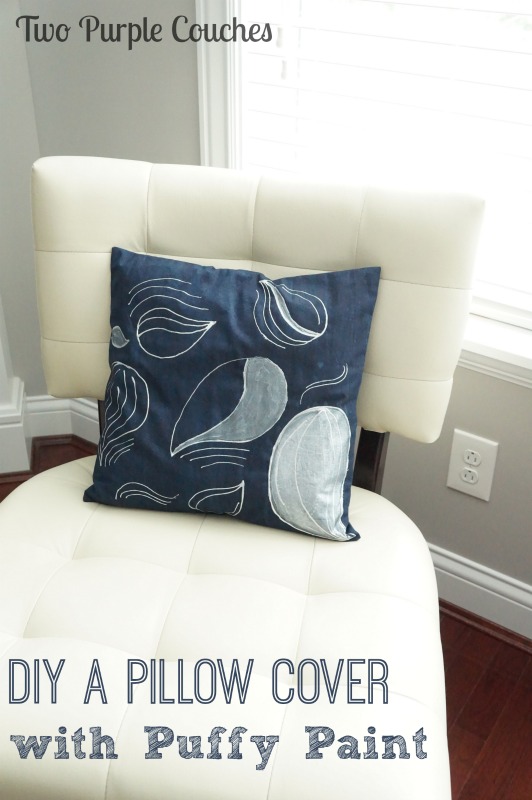
Then I let it dry, popped a pillow form in, and ta-da:
A newly pufficized throw pillow 🙂
So, I’d love to know… what were your favorite childhood crafts or crafting supplies? Any other lovers of the glorious 3-dimensional paint??
Sharing with: Creative Spark / Work It Wednesday / Outside {the Box} / Weekend Retreat / Share It Sunday

Loved it when it first appeared on The Thinking Closet this August…love it still! Seriously, you have inspired me to really think outside the box when I re-do my living room throw pillows. I may need to try your puffy paint method! It’s so retro chic. 😉
Lauren @ The Thinking Closet recently posted…“You Make Beautiful Things Out of the Dust” Mirror Decal & Silhouette Promo
Thank you Lauren! And I have to say, it was pretty exciting to dive back into the world of dimensional craft paint possibilities! You, my friend, could create some seriously awesome throw pillows, or anything else, with puffy paint! Can’t wait to see what you come up with 😉
Love these pillows Emily! Can I place an order? 🙂
Danny recently posted…Soft Sour Cream Dinner Rolls with Cinnamon Butter
Thank you Danny! Maybe I’ll open up a shop one of these day! And yes, I’ll sell throw pillows 😉
Love these pillows Emily! What a fun way to use puffy paint.
Kelly Hedgespeth of Simply Kelly Designs recently posted…Summer Scrapbooks by Kids Using Project Life
Thank you Kelly! I seriously want to puffy paint all. the. things. right now 😉