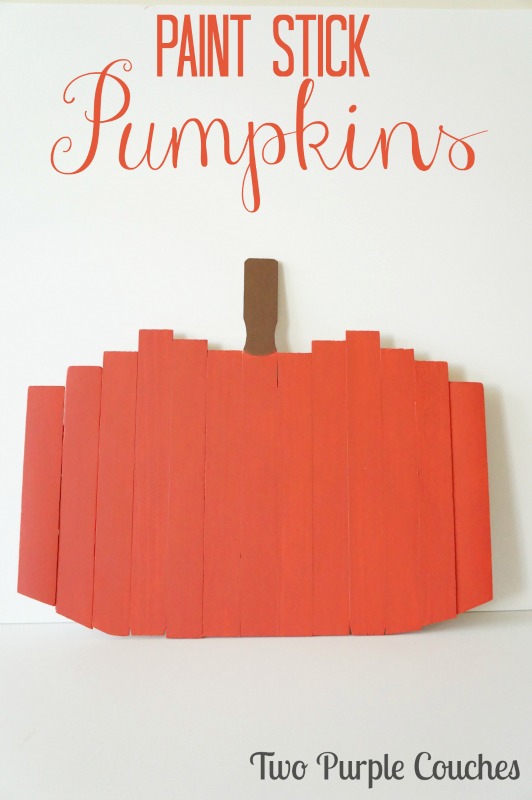
This weekend has truly felt like Fall here in Cincinnati, and in between sipping hot lattes and enjoying pumpkin-flavored baked goods, I was inspired to create a fun pumpkin craft—these Paint Stick Pumpkins—to celebrate the season.

I’m also participating in a very special Home for Fall Blog Hop, so be sure to scroll to the bottom of this post to check out my fellow bloggers and their awesome Fall projects, tablescapes, crafts and more! But not before I show you how to make these Paint Stick Pumpkins for yourself (wink).
What you’ll need:
- about 13 paints sticks (depending on how wide you’d like your pumpkin to be)
- wood glue
- acrylic craft paint
How to make paint stick pumpkins:
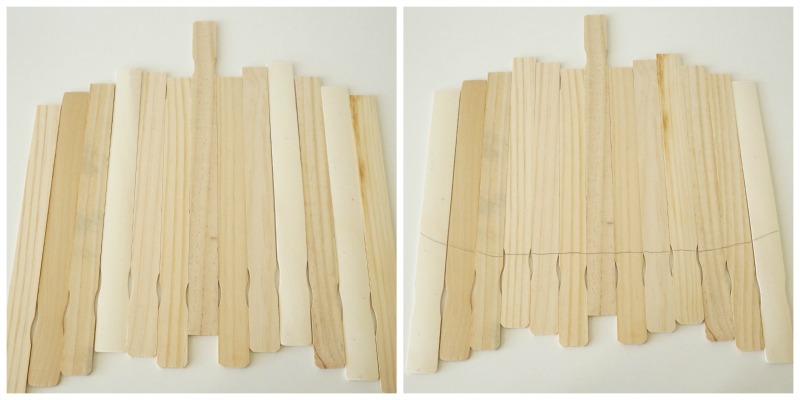
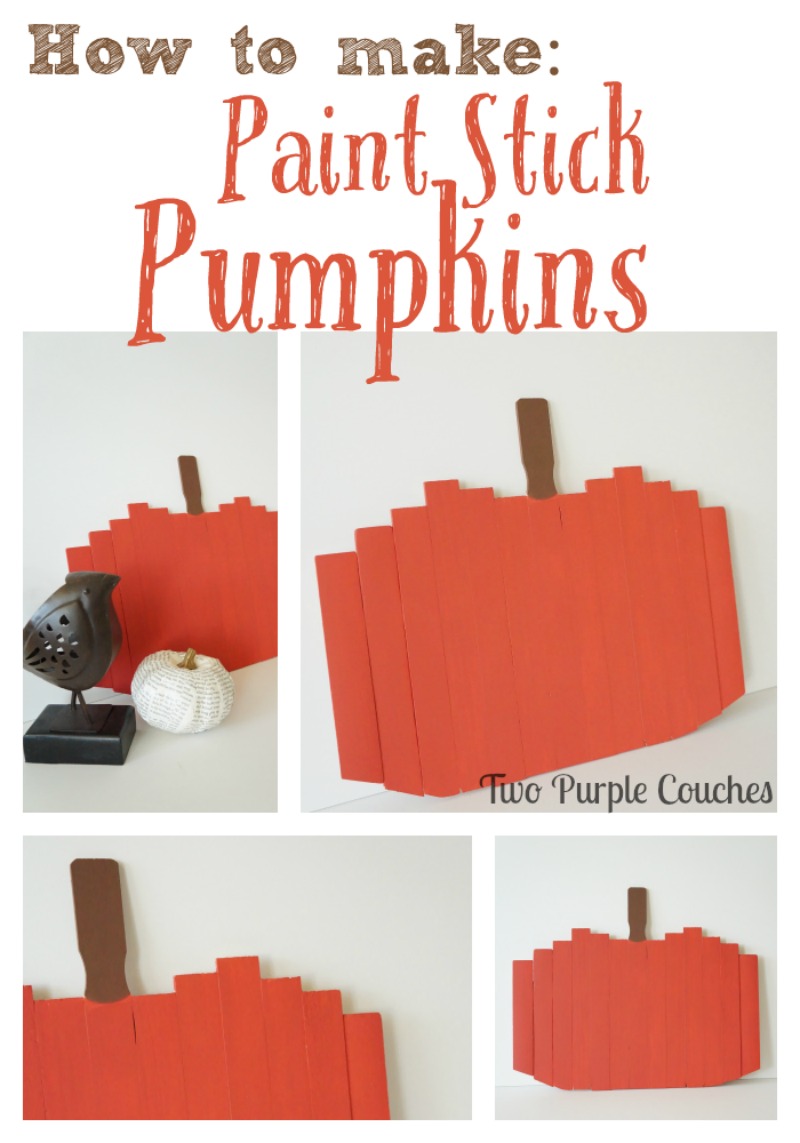
Step 1: Lay the paint sticks out into a pumpkin shape. I started by selecting one for the center and placing the notched part at the top. This will be the stem. Then place additional paint sticks to either side of the center stick, working in pairs and staggering the heights. Flip the sticks around so that the notched side is at the bottom. (these will get cut off)
Step 2: Once the pumpkin shape is as wide as you’d like it, use a pencil to draw a curved line that will be the bottom of the pumpkin. Then, using a compound miter saw, use the pencil lines as a guide to cut away the excess paint stick.
Tip: I’d suggest labeling each paint stick, i.e. C for center, 1L, 2L, etc, to the left and 1R, 2R, etc, to the right. I got halfway through my cuts and had to puzzle-piece my pumpkin back together!
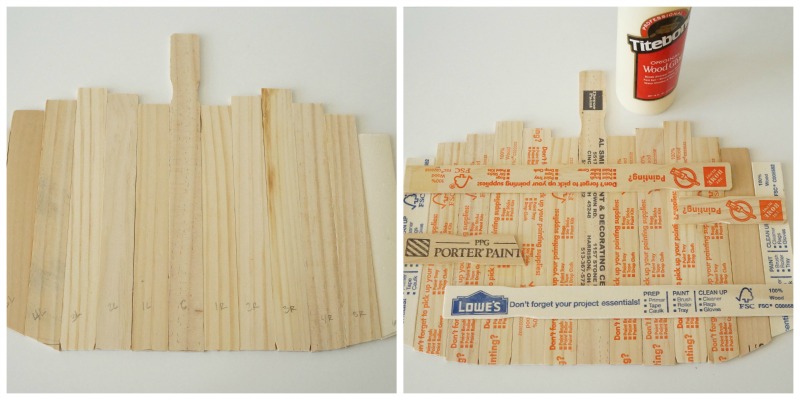
Step 3: Re-assemble the paint sticks into the pumpkin shape, then flip over.
Step 4: Using wood glue, glue extra paints sticks or the excess cuts across the back of the pumpkin. Once dry, paint with 2 coats of acrylic craft paint. I mixed a reddish-orange and yellow to create my deep-orange color.
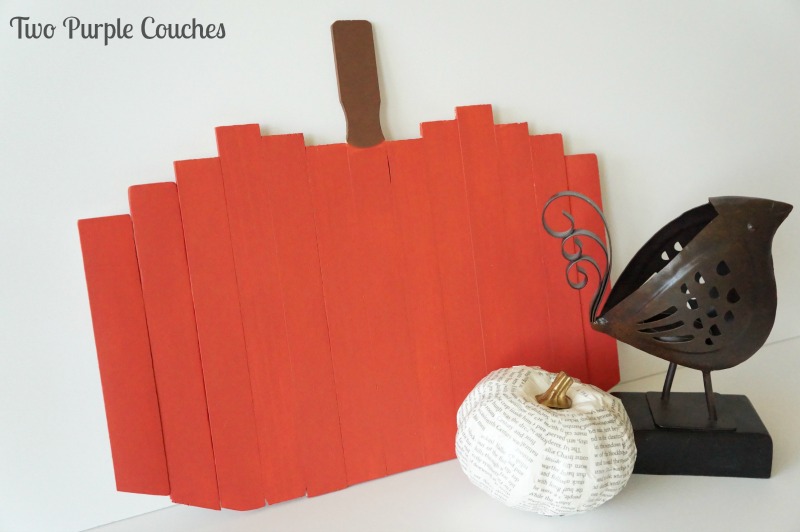
These paint stick pumpkins look so cute as part of a mantel or shelf display. Or you could add twine or ribbon to create a door hanger! Happy Fall!
Don’t forget to check out the other awesome Fall projects being shared for our HomeTalk Home for Fall Blog Hop! You can also search the hashtag #homeforfall on social media to see more!
Love this!
Lindsay Eidahl recently posted…Repurposed Fall Wall Art
Thanks Lindsay!
What a sweet idea! Love a good woodsy pumpkin and the paint sticks are clever!
Funky Junk Interiors recently posted…An illuminated cabin resort sign for a fall mantel
Thank you so much 😀
This is just too cute – love it. Cathy
Cathy recently posted…Fall in the Entry and the Home for Fall Blog Hop
Thank you Cathy 🙂
How clever! Love this great pumpkin and so cheap to make. LOL
Vanessa recently posted…Fall Pumpkin Flag – Home For the Fall
Thanks Vanessa!
Such a cute idea, Emily! I’ve got a handful of those paint stirrers that I’ve been trying to develop an idea for–you’ve got me thinking again 🙂
Thanks Diana! It never hurts to have these around – you never know when inspiration will strike 😉
hi emily! such a gorgeous paint stick upcycle project! i always love paint sticks and you have inspired new ideas in me! thank you! =)
ananda recently posted…Make Wreath #2 : Grapevine Old Book Wreath
Thank you Ananda!
What fun! Love this creative project!
Jill Flory recently posted…How to Create a Fall Centerpiece
Thank you Jill!
Really cute (and oh so clever)! And this may be a silly question but, did you have to pay for those paint sticks or did you get them for free? I know you get some free if you buy paint, but I always feel bad about taking them if I’m not making a paint purchase. Maybe I’m just a goody-two-shoes. 😉
Christine | Where The Smiles Have Been recently posted…Candy Corn Ruffled Felt Pumpkin
Thanks Christine! The paint sticks are free. I asked the people working at the paint counter if I could have a few. So in this case, it took me a few trips, but I happened to have to go to multiple hardware stores in multiple days. The person working the paint counter at Lowe’s even asked me how many I’d like! Home Depot had a bucket of them just sitting out on the paint counter. I would’ve felt bad grabbing a dozen or more at a time, but over the course of a couple of days, I got what I needed pretty quickly 😉 And from now on, I’ll always ask for a few extra when buying paint, just to have them on hand!
What a clever fun idea and so resourceful! Your tutorial was also excellent and easy to follow. I can see all kinds of possibilities making them different sizes and shades of orange. Thank you for sharing!
Thea recently posted…Easy Fall Outdoor Floral Arrangement Tutorial
Thank you so much, Thea! I think a whole grouping of these would look so cute on a mantel or console table!
How fun! So creative, too. I would have never thought of using paint sticks to make a pumpkin. Thanks for inspiring me 🙂
Meegan recently posted…September Highlights
Thanks Meegan 😀
I love how easy this looks… plus I work at Sherwin Williams so I’m always looking for a great paint stick project! Thanks for the inspiration! So glad to “meet you” through the Home for Fall blog hop! Pinning for reference!
Betsy @ Happily Ever After, Etc. recently posted…Complete Gift Guide: Over $2,000 in Giveaways
Thanks Betsy! This is pretty simple to put together, and how awesome that you have unlimited access to paint sticks 😉 Thank you for pinning!
Pingback: 20+ Fun DIY Wood Pumpkin Ideas for Fall Decoration - Anika's DIY Life
Pingback: 20+ Creative No-Carve Pumpkin Decorating Ideas