Today I’m super-excited to participating in another Silhouette Challenge! So after you’ve checked out my spring-inspired project, please go check out all the other incredible projects that my bloggy buddies have created to get you excited and inspired for this fresh new season!
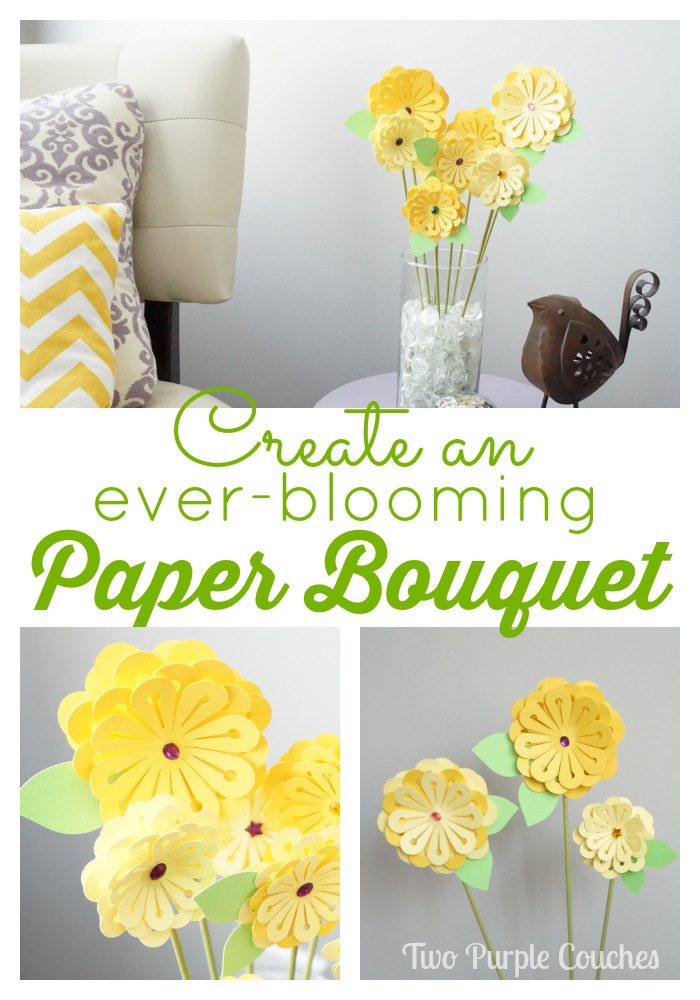
One of my favorite things about Spring is planting my garden. It’s like Spring’s version of Christmas Day… heading to the nursery, picking out all kinds of colorful blooms and filling up every pot and bed in our yard. Since it’s still just a bit early here in Ohio, and the temperatures still a tad unpredictable, to plant our garden, I created a sunny paper bouquet to tide me over until I can head out to my favorite nursery!
When I came across this 3D flower design in the Silhouette store, my wheels started turning. At first, I wanted to create some sort of 3D artwork, but after finding some superskinny 1/8″ dowel rods at the craft store, I wanted to try a bouquet.
This was definitely the most involved project I’ve tried yet with my Silhouette Cameo, and most of the work was really in the assembly. Except for the half of a sheet of petals that got messed up when my cutting mat inexplicably went askew while cutting. I swear, my machine is like a toddler… when I’m watching it, it’s fine. But as soon as I step out of the room, the mischief begins.
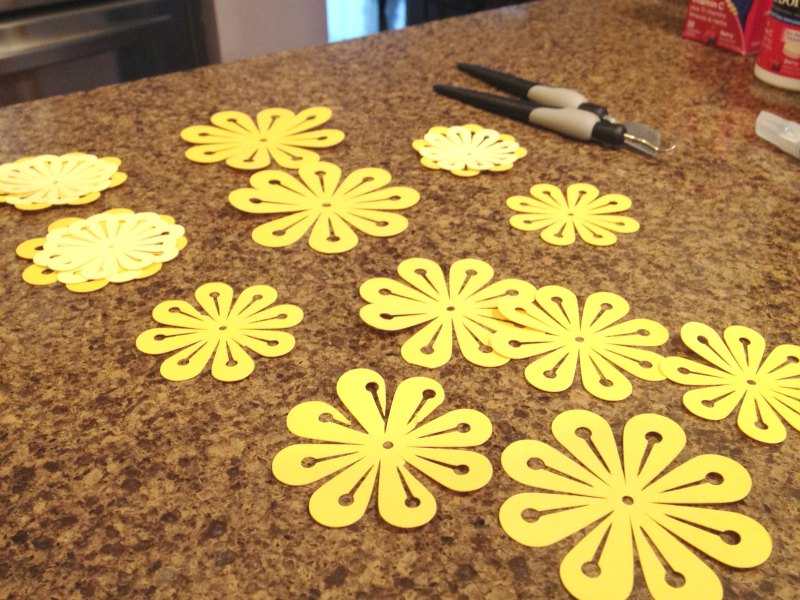
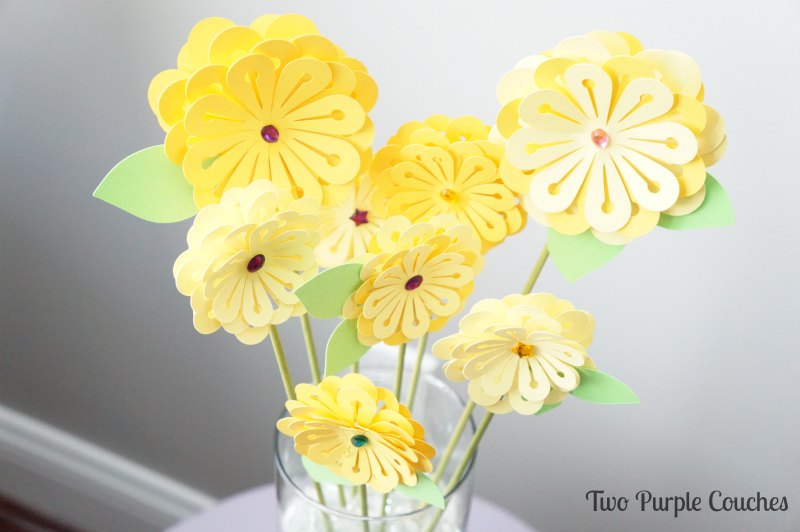
Anyways, here’s how I put my paper bouquet together: I started by cutting out what felt like a bajillion layers of flower petals, but, in reality, was about 3-sheets-of-card-stock worth. I used two different shades of yellow card stock so I’d have some variety in my blooms. I also enlarged the original template for some of the sets so I’d have a variety of sizes as well.
As the flowers were cutting away, I painted the dowel rods with some green acrylic paint I had on hand. Then I started the tedious task of weeding out all my petals, matching up layers, and Mod-Podging them together.
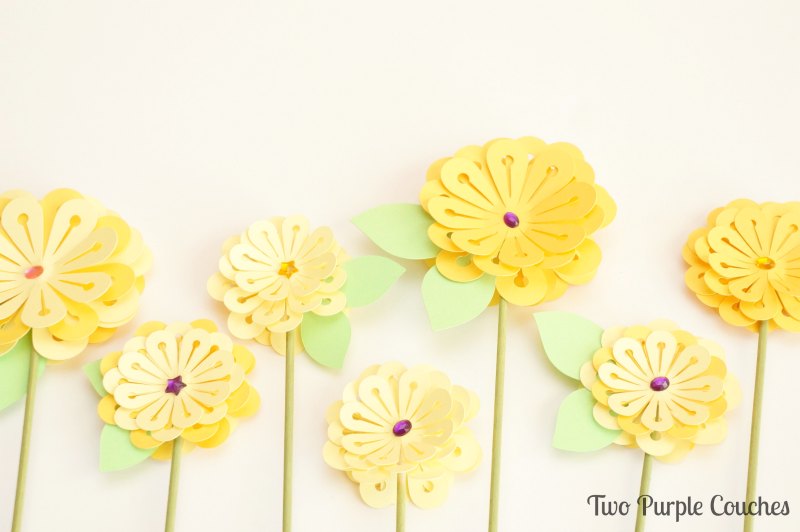
I used two full flowers (at three layers each) to create the bouquet blossoms. (so if they’re 3D to begin with, are they 6D when you put two together??)
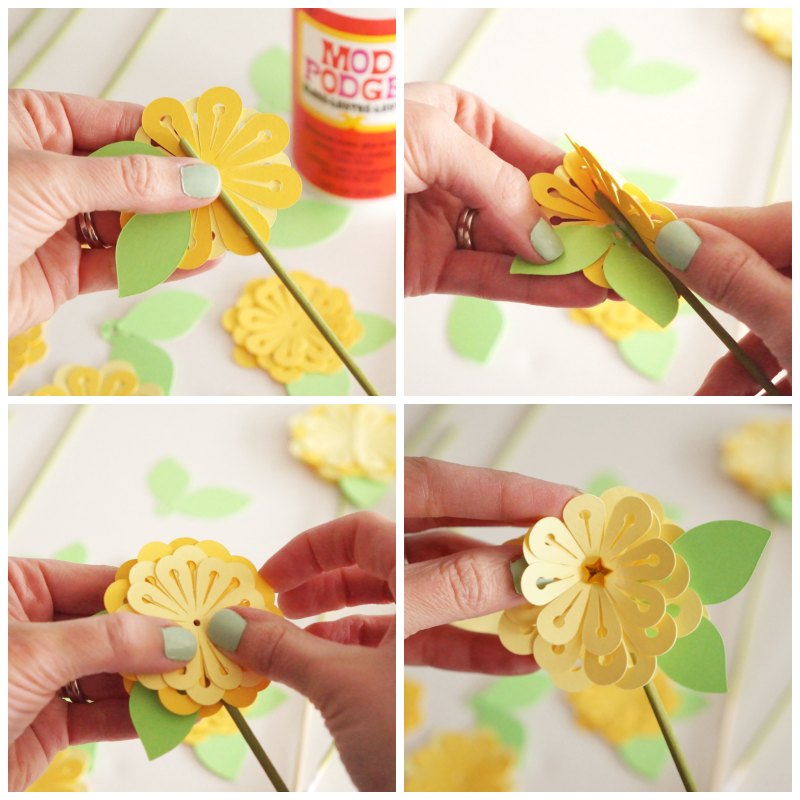
You’re essentially creating a flower-and-dowel-rod sandwich: place a dowel rod at the center back of one full flower. Dab some Mod Podge on either side of it, then add the second full bloom back-to-back over top. You can also add a leaf for some extra color and flair.
Once each stem is created, you can add a gem or other accent to the center and then “fluff” up the layers of petals by gently folding them toward the center.
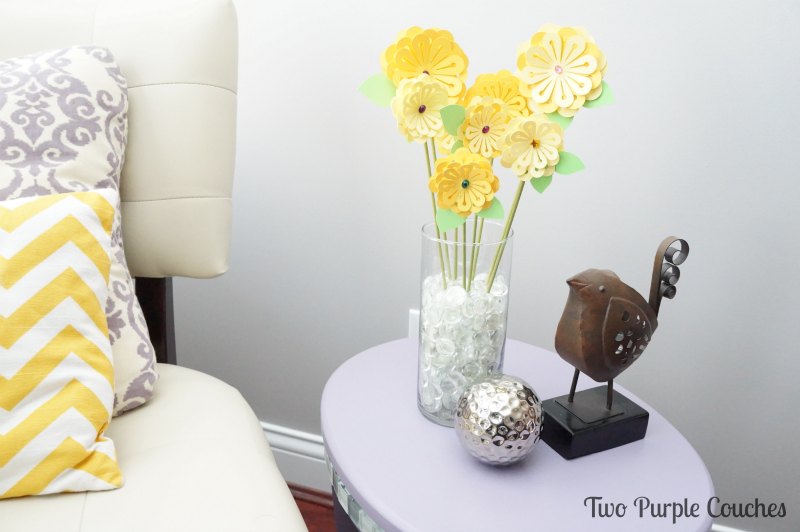
Now grab a vase and start styling your bouquet!
I think this would make a lovely, cheerful centerpiece for any Springtime event, from an Easter dinner to a baby or bridal shower to a Mother’s Day brunch!
Remember how I mentioned that there was plenty more Spring inspiration to be had? Well, here it is!
Want to Check Out More Silhouette Projects?
My Silhouette Challenge buddies and I are all sharing projects on our blogs today, so peruse the projects below for a wealth of Silhouette inspiration!
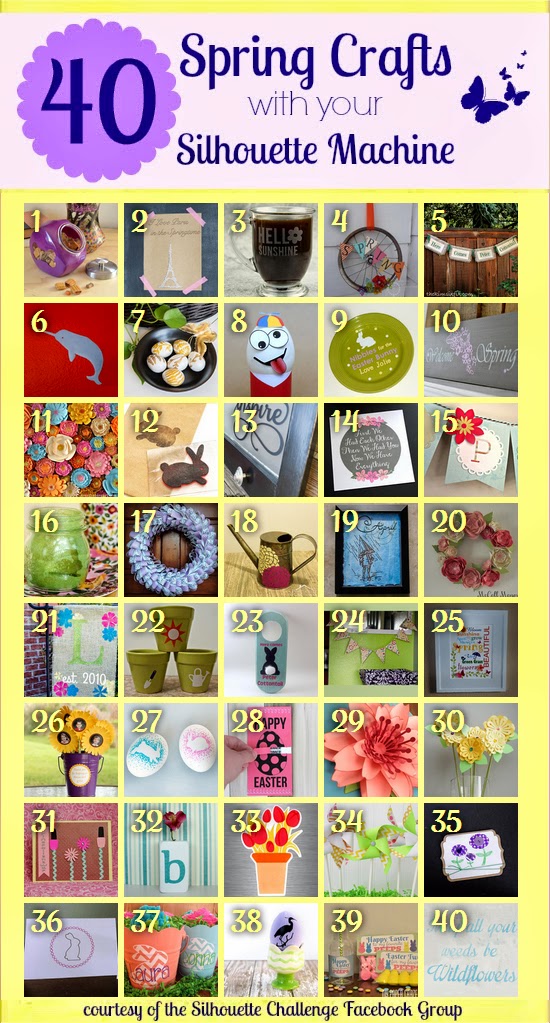
1. Dream a Little Bigger // 2. So Much Better With Age // 3. Adventures in All Things Food // 4. Creative Carnival // 5. The Kim Six Fix // 6. feto soap // 7. One Dog Woof // 8. The Experimental Home // 9. From Wine to Whine // 10. Architecture of a Mom // 11. Grey Luster Girl // 12. Minted Strawberry // 13. Designed Decor // 14. Tried & True // 15. Silhouette School // 16. Bringing Creativity 2 Life // 17. Weekend Craft // 18. Practically Functional // 19. Please Excuse My Craftermath… // 20. McCall Manor // 21. unOriginal Mom // 22. Creative Ramblings // 23. A Tossed Salad Life // 24. A Glimpse Into Barb’s Life // 25. Kate’s Paper Creations // 26. Simply Kelly Designs // 27. Cutesy Crafts // 28. Persia Lou // 29. Whats Next Ma // 30. Two Purple Couches // 31. The Frill of Life // 32. Nearly Handmade // 33. Get Silvered // 34. Ginger Snap Crafts // 35. Life After Laundry // 36. The Sensory Emporium // 37. Monograms & Cake // 38. The Thinking Closet // 39. My Paper Craze // 40. Chicken Scratch NY
Sharing with:
Monday Funday

Emily! These are so stinkin’ cute! Pinning and sharing 😉
Hugs,
Jamie
Thanks Jamie 😀
This bouquet would cheer up anyone! Thanks for sharing! I think I’ll be making loads of paper flowers next winter to keep my spirits up!
Rachel @ Architecture of a Mom recently posted…Welcome Spring – A Sign from Tile
You certainly can’t go wrong with paper bouquets! They’ll last all year long 😉
This bouquet is such a fresh burst of spring! I love it! And you had me chuckling with your comparison of your machine to a toddler. That’s SO true of mine, too! They’re not to be trusted on their own, that’s for sure.
Glad you persevered because this really turned out fabulously, friend!
Lauren @ The Thinking Closet recently posted…Bird Nerd Easter Eggs
Haha, no they are not!! I think I’m starting to pick up on its tricks 😉 Thank you Lauren!
Gorgeous! Love that it accents your chevron throw pillow! You are so well coordinated!
Michelle from Weekend Craft recently posted…DIY Mother’s Day Wreath and Silhouette Challenge
Haha, thanks Michelle! I do love to be color-coordinated 😉
I love paper flowers and yours are absolutely gorgeous! Great job and great presentation too. Hope you’ll check out my project at http://www.katespapercreations.com/2014/04/spring-has-sprung-subway-art.html
Thank you Kate! I’m heading over right now to check out yours!
The flowers look great! Love the two shades of yellow card and agree with the others that your styling is perfect 🙂
Pam – GetSilvered recently posted…Cute Chicks Printable Gift Tags – Free File Friday
Thank you Pam 🙂
Love the ever blooming bouquet! I’m particularly enamored with the yellow paper you chose and those gorgeous gems in the center. Plus, what a creative idea to use the dowels as your stems! One thing I have a love hate relationship with on challenge day – I want to make all the things!
Kristy gd recently posted…April Showers Sketch Pen Printable
Thank you so much Kristy! I know the feeling of your love-hate relationship — I get more excited & inspired with each project I see!
These flowers are so happy and scream spring! We both did flowers for this month’s challenge and next month’s challenge theme is floral! Can’t wait to see what you do for that one!
Kelly of Simply Kelly Designs recently posted…Tips For Cutting A Race Shirt
Thanks Kelly! I figured I should’ve waited on this project until next month, but I just couldn’t! We’ll have to come up with something cool 😉
So glad I popped on over on ‘Share it Sunday’ to see these amazing flowers. I am a bit of a paper junkie so these are right up my alley. Lovely and so spring time. Your choice of yellow paper is just perfect.
Barb recently posted…What’s inside Your envelope?
Thank you so much Barb! They make such a cheerful bouquet to add to any room 🙂
Emily,
Your flowers are such the breath of spring I need after an awful winter! I can totally see making your flowers and using them to gift wrap a package too. So pretty!
Michele @ Our Rosey Life recently posted…Share It Sunday {25}
Thanks Michele! I have been craving signs of Spring for a while, too! Glad winter’s finally making its way out!
I am MEGA late, but I looooove this!!! Super cute bouquet and such a great idea to use as party decor… I was envisioning flower stir sticks for the summer time! Great job, lady! You are rocking this Silhouette!!!
Thanks my friend! Oooh, I LOVE the idea of Flower Stir Sticks for a summer party!! Great idea 🙂
Pingback: Silhouette Sketch Pens Peony Prints | two purple couches
These flowers make me smile Emily! There’s something about the yellow color I think.
Kelly Hedgespeth of Simply Kelly Designs recently posted…Completed Personal Yearbooks For 2014-2015
Thanks, Kelly! Yellow is just one of those always-cheerful colors!