I sort of feel like Easter has snuck up on me this year! Maybe it’s because we’re going to be out of town before the holiday gets here, but I haven’t even done so much as get a single decorative bunny out of my Easter bin.
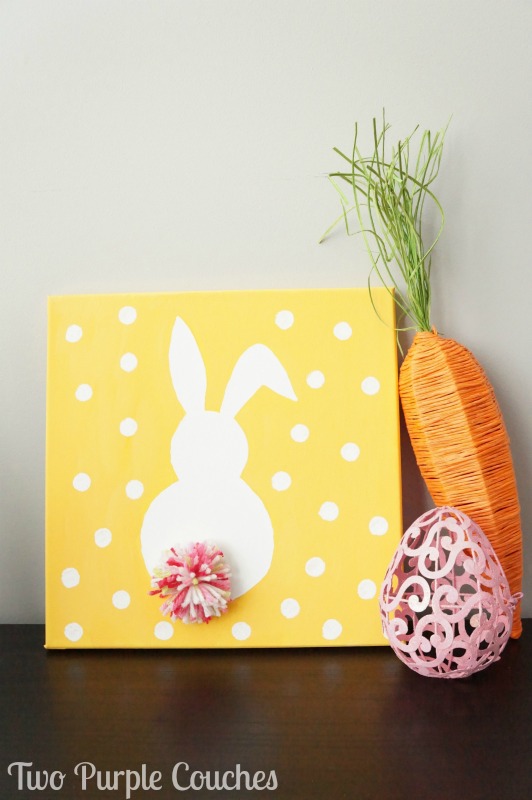
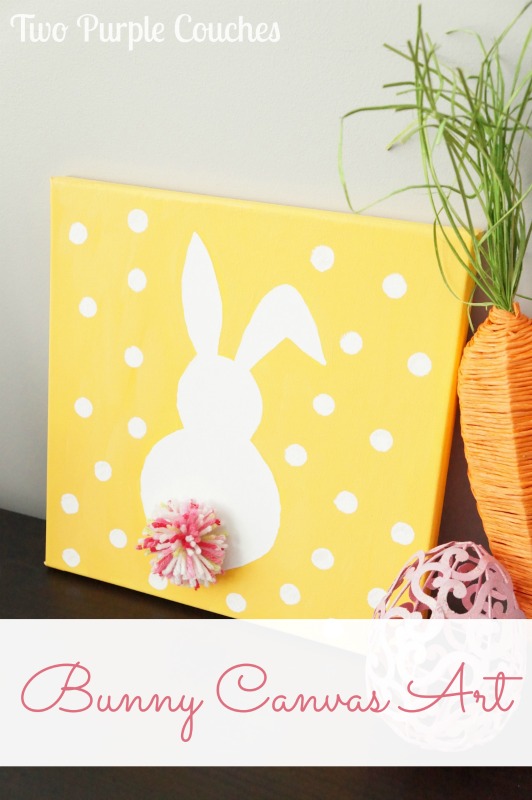
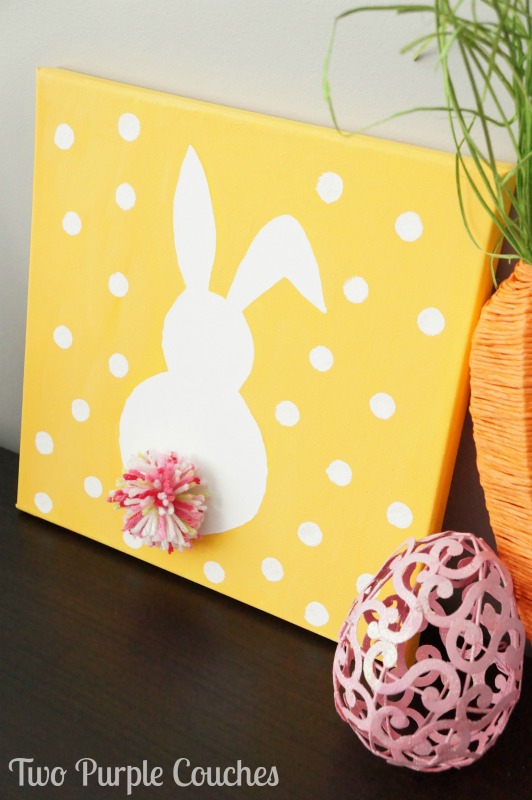
But I did manage to paint this adorable Easter Bunny Canvas Art during a girl’s night crafting session several weeks ago!
Also, due to the girl’s night festivities (i.e. wine), I may have forgotten to take step-by-step photographs. Oops. But thankfully it’s not a complicated art project!
My friend Katie and I both (separately) came across this idea via Pinterest (great minds, right!?). She followed the original, using burlap & wood plaques, and I decided to put my bunny on an art canvas. Katie was nice enough to print out a few different-sized bunny silhouettes for us to use. There are lots of different bunny silhouette options to be found if you do a search through Google Images. Just find one you like and print out a size that will fit your surface!
This post contains some affiliate links for your convenience. Click here to read my full disclosure policy.
How to Make Bunny Canvas Art:
Materials Needed:
- Stretched art canvas
- I used a 12″x12″ but any size would do!
- Acrylic craft paints in assorted colors
- Paint brush
- Foam spouncers
- Multi-color yarn
- Bunny silhouette
- Hot glue gun and glue stick
Tutorial:
1.) Start by lightly tracing the bunny silhouette on the canvas with a pencil. This is a 12″x12″ canvas that I picked up my local craft store. I like to stock up when they’re on sale 😉
2.) Paint the background of the canvas in any color of your choice. I chose a sunny, springy yellow and painted two or three coats for complete coverage. You could do this step first, but if you want your bunny to be white, it might be easier to paint around the silhouette that you’ve traced.
3.) When the background is dry, fill in the bunny silhouette with white acrylic craft paint. Using a small foam spouncer, add some polka dots to the rest of the canvas (optional).
5.) Make a yarn pom-pom for the tail and attach it with hot glue once all of the paint has completely dried.
And there we go! At least I have one Easter-y thing in the house! Now if my mantel could just decorate itself…
Just a little side note: I would like to say a huge thank you for all of your sweet comments and well-wishes on my upcoming surgery. Every single note, thought and word of encouragement means so, so much to me!


Hello friend. Pinned and sharing. Love this canvas art! Great job.
Denise recently posted…Sunday Features {18}
Thank you Denise!
Pingback: Amazing DIY Easter Decorations - DIYCraftsGuru
Pingback: 17 Cute and Simple Easter Bunny Crafts - Krafty Owl
Pingback: Bunny Butts for Easter! | Chickabug
This is a great canvas! The bunny is perfect and the color scheme is so Spring.
Sherry Nappa recently posted…Merry Monday #97
Thank you Sherry!
How did you attach the tail to the canvas?
Hi Becky, I used a hot glue gun to attach the tail.
Absolutely love it. I think even I could manage this, it’s just so darn cute I have to try!
Thank you Jackie! I hope you give it a try!
Pingback: 10+ DIY Easter Decor Ideas - Inside the Fox Den
Pingback: Easter bunny crafts - A girl and a glue gun
Pingback: 10 Charming Ideas for DIY Easter Decor - Megan Morris
Pingback: My Favorite DIY Easter Craft Ideas | Designer Trapped