Friends, I am not exaggerating. This is seriously the easiest-ever DIY chalkboard sign. It’s one step away from buying one, but better because you can totally customize it! And the majority of the time involved is waiting for paint to dry, but that’s typical in the life of a DIY-er, am I right?
Are you ready to see how easy this really is?
This post contains some affiliate links for your convenience. Click here to read my full disclosure policy.
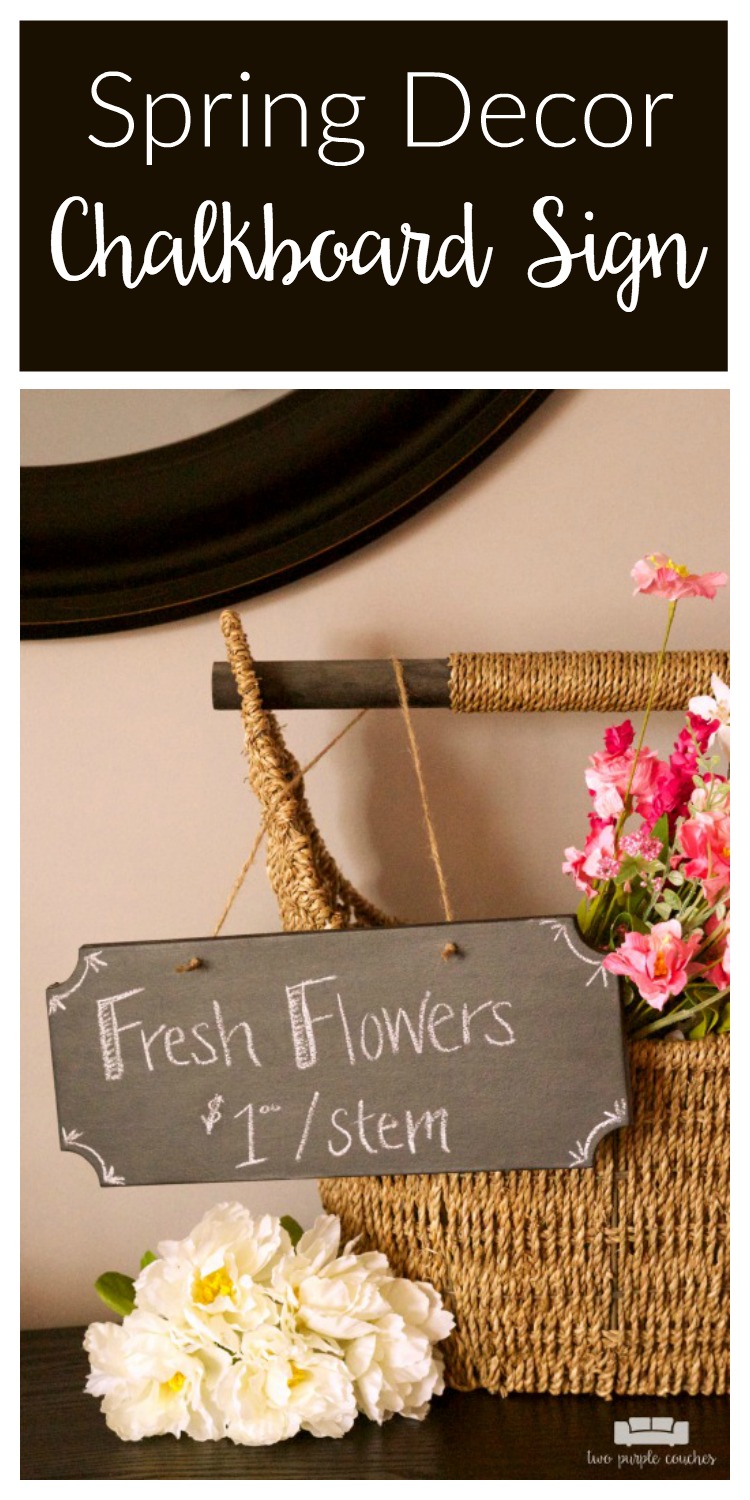
How to make a DIY Chalkboard Sign
Materials Needed:
- Chipboard sign
- Chalkboard paint
- I used some Valspar paint I already had on hand, which is similar to this kind from Rust-Oleum.
- Drill and a 5/32nds drill bit
- Jute Twine
- Crayola Chalk
- It might sound strange, but the Crayola chalk is seriously so much better than other chalks I’ve used!
- Scissors
- Paintbrush
Tutorial:
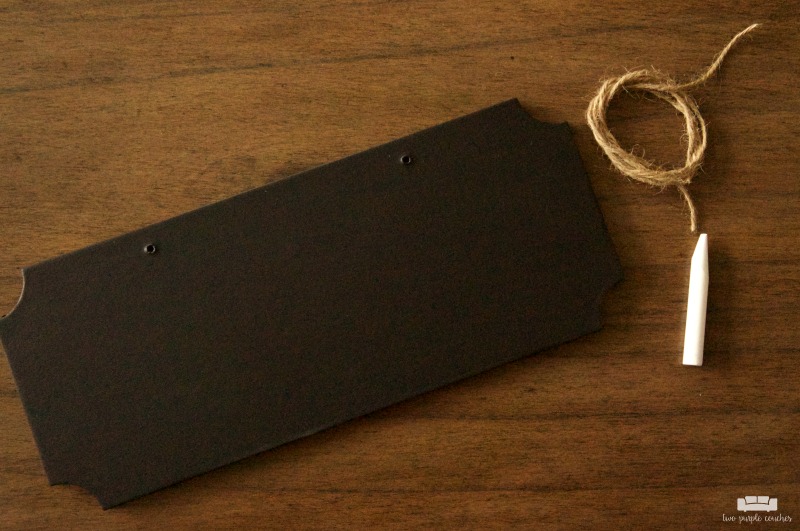
1.) Start by drilling two holes through the top of your chipboard sign. I picked this sign up on one of my many trips to the craft store. Tip: these are great items to pick up on clearance. They come in so many shapes and sizes & are pretty affordable (especially when they’re on sale).
2.) Paint the sign with two coats of chalkboard paint. Don’t forget to paint the top and sizes as you may see these when it’s hanging.
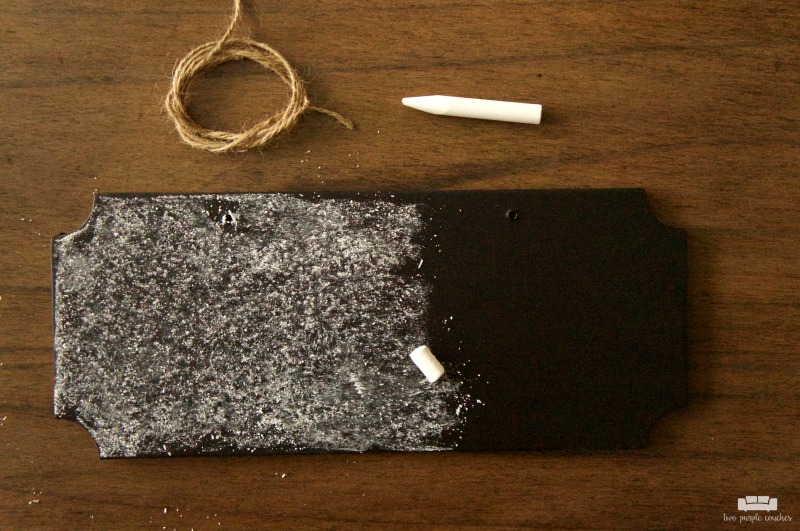
3.) Once the last coat of paint is fully dried, be sure to season your chalkboard surface. This is actually a really important step, otherwise your message will be “ghosted” onto the chalkboard forever. You season the surface by rubbing a piece of chalk horizontally, then vertically across the whole surface. Wipe the chalk off with a dry paper towel and now you’re ready to write whatever message you like!
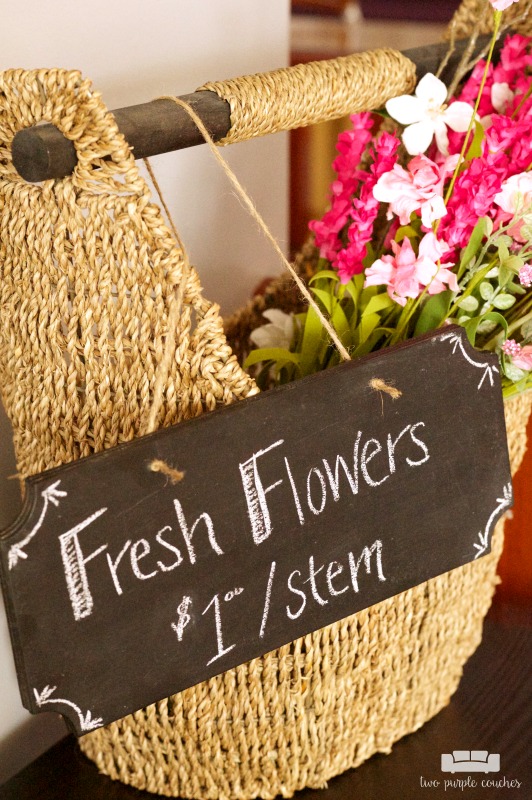
4.) Cut a length of jute twine, feed it through each drilled hole and tie two knots to secure it.
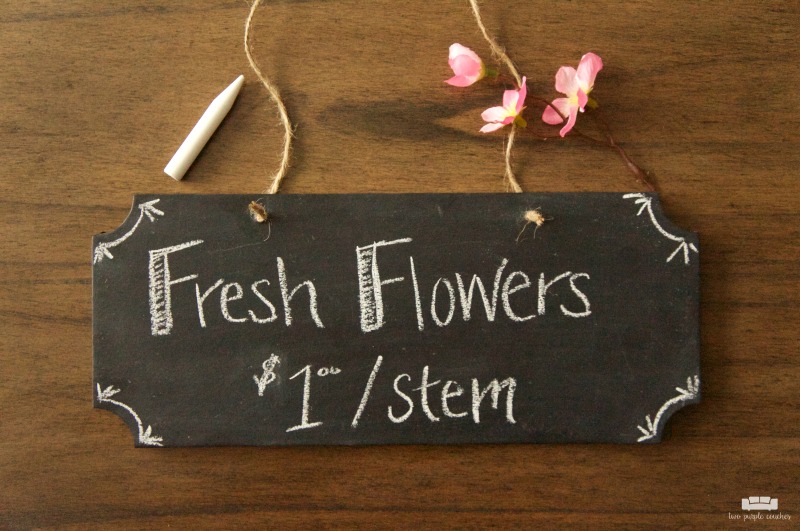
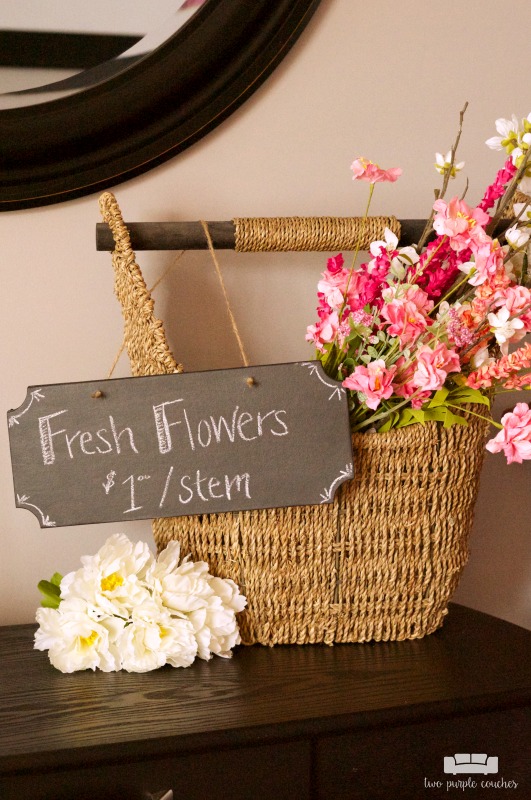
Now your DIY chalkboard sign is ready to be displayed. Wasn’t that ridiculously easy!? Are you already on your way to the craft store to stock up on these chipboard signs? Because I might be 😉
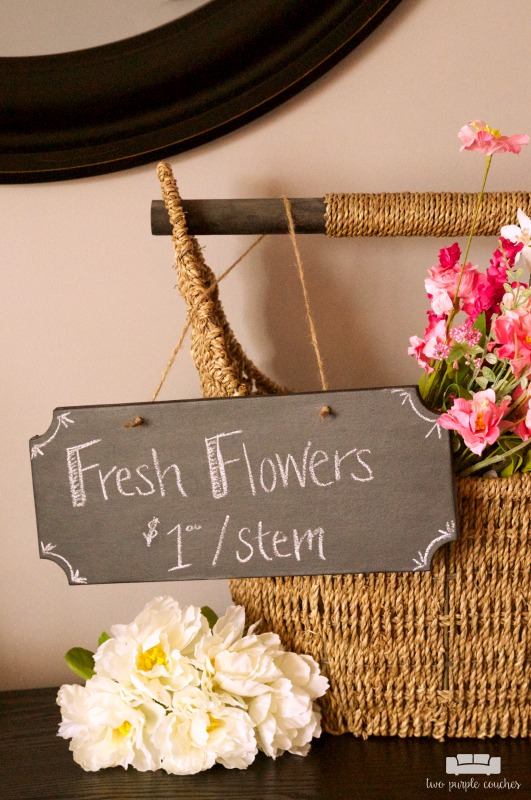
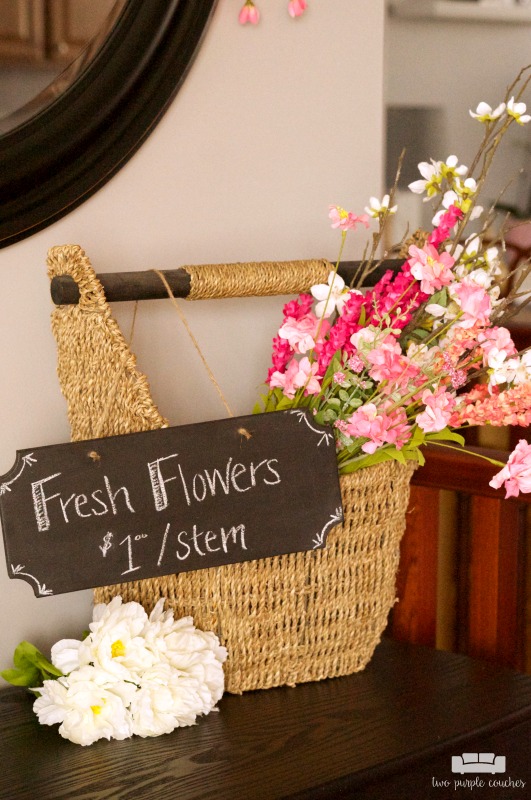
I’m currently using my sign on my Spring foyer table, hung across a basket of flowers, but this is a versatile piece of decor that I can use time and time again!
Love this? Don’t forget to pin it!
Simple and easy crafts are the sometimes the best!
I agree Megan 😉