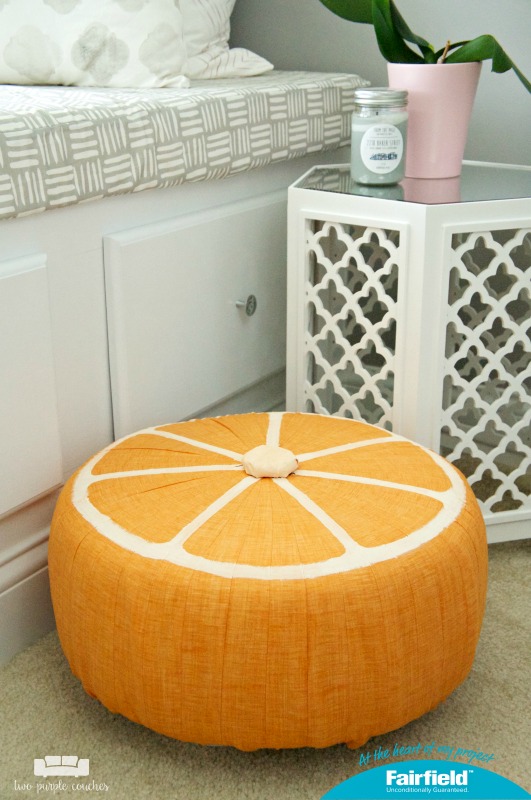
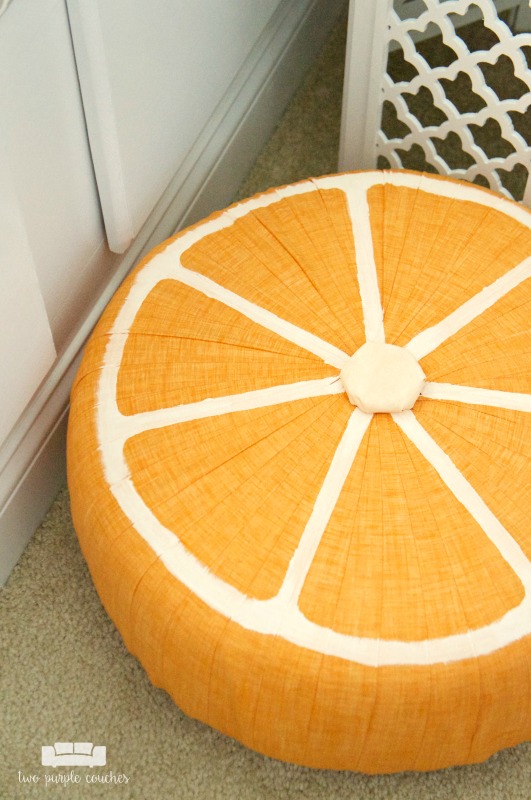
This DIY fruit slice pouf is sure to make a splash in your home decor this summer! This fun and colorful ottoman is sure to add a touch of whimsy to any room or space.
Thank you to Fairfield for sponsoring this post. All content and opinions expressed here are my own. Click here to read my full disclosure policy.
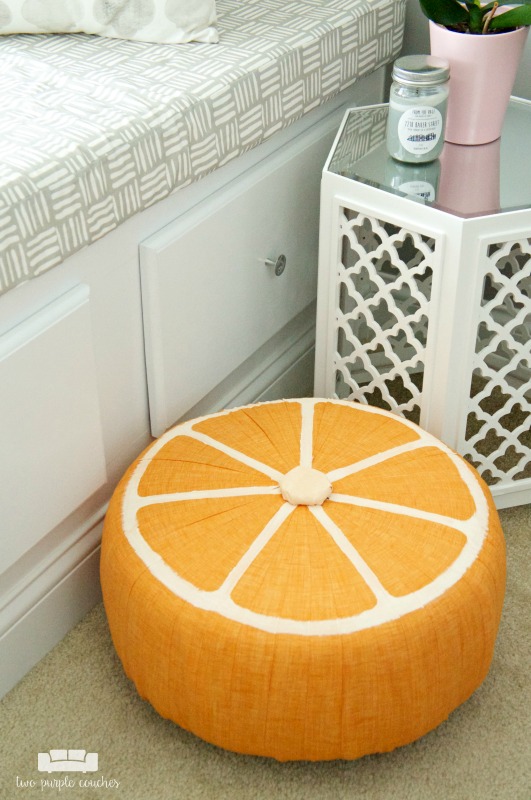
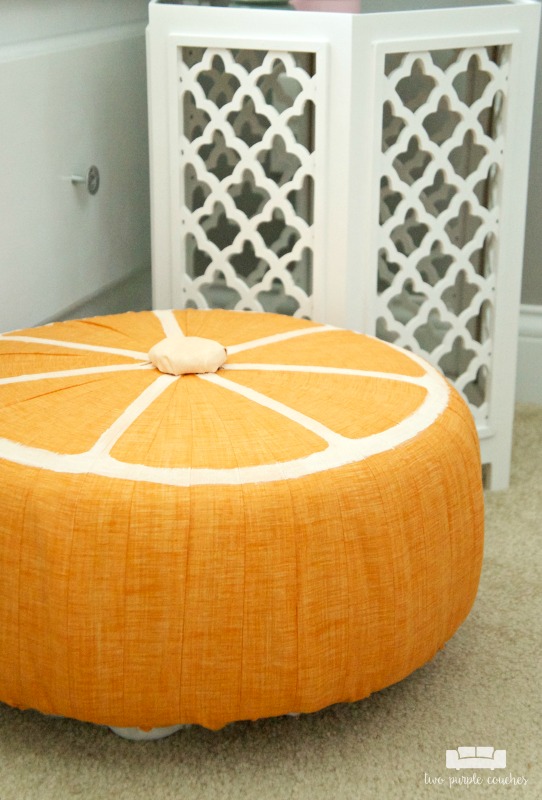
How cute is this fruit slice pouf?? I’ve had this idea swimming around in my head for months and I am thrilled that it came to fruition (pun intended!) and turned out as I was hoping it would! Keep reading to see just how I made it…
I am one of those people who doesn’t believe in taking yourself too seriously. I apply the same philosophy to my home decor – if you can’t have a little fun and incorporate accents that make you laugh or chuckle, what’s the point? It’s your home, have fun with it! And if that means creating an ottoman modeled after citrus fruits, I say go for it!
I’ve been drawn to the fruit slice trend for a while now. In fact I made these cute watercolor fruit bookmarks last summer. I think the fruit slice trend is perfect for summer. It’s bright and colorful and light-hearted. This fruit slice pouf is a fun and simple way to change up your home decor for the season.
As part of the Fairfield World Design Team, I had the opportunity to try out their Tuffet Kit. As soon as I pulled the foam round out of the box, my mind went to a fruit slice. Now let me show you exactly how I made my fruit slice pouf.
This post contains some affiliate links for your convenience. Click here to read my full disclosure policy.
How to Make a DIY Fruit Slice Pouf
Materials Needed:
- Fairfield Tuffet Kit (includes plywood, foam round and batting)
- 1 ⅝ yard orange fabric (or yellow for a lemon/green for a lime)
- 2-inch button
- 4 furniture legs
- I purchased unfinished 2.5-in by 1.5-in bun feet at my local hardware store, but you can find similar options here.
- 4 straight top plates
- DecoArt Americana Acrylic Paints in Titanium White and Bright Orange
- Martha Stewart Fabric Medium
- Sewing Machine
- Fabric scissors
- Spray adhesive
- Iron
- Staple gun
- Upholstery staples (8mm)
- Paintbrush
- Hot glue gun and glue sticks
Tutorial:
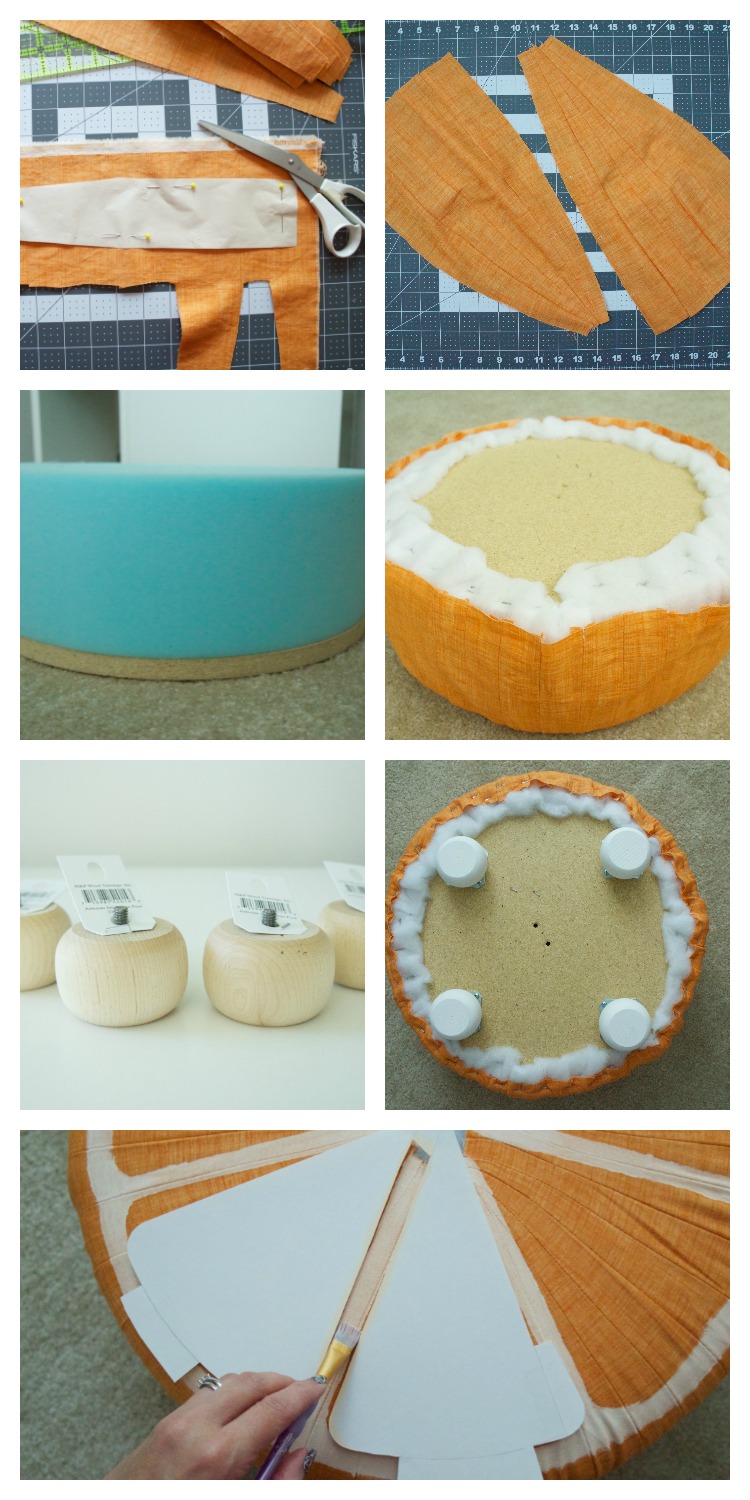
1.) Begin by washing your fabric according to the label to remove any sizing. Then follow the step-by-step instructions included in the Tuffet Kit to cut and stitch together each section for the pouf cover.
2.) Staple the batting and pouf cover to the plywood as instructed in Steps 6-8 and pause here.
3.) If desired, paint furniture legs and allow to dry. (I used DecoArt Americana Decor Chalky Finish in Everlasting). Once dry, attach to the plywood bottom using the straight top plates.
4.) Mix white and orange acrylic paints until you have a slightly peachy color. Add in drops of fabric medium according to bottle instructions. Using a small paintbrush, paint on the outer rind and section dividers of each orange slice. If you prefer to, you can make a template or stencil for this step. Allow to dry completely.
5.) To finish off the center of the pouf, hot glue leftover batting to a 2-inch button. Trim away any excess, then cover with a scrap of orange fabric and secure with hot glue. Paint it to match the rind, then attach it to the pouf cover using hot glue.

This is adorable!! I need one for each fruit!
April R – Uncookie Cutter recently posted…Saturday Showcase – July 2017 Edition
Thanks April! It was really hard to pick just one fruit! 😛
This is SO adorable!
Amanda recently posted…Ideas for a Small Front Porch
Thanks Amanda!
This is so cute, it just looks happy!!
Roxanne recently posted…Haven Recap 2017
Thank you Roxanne!