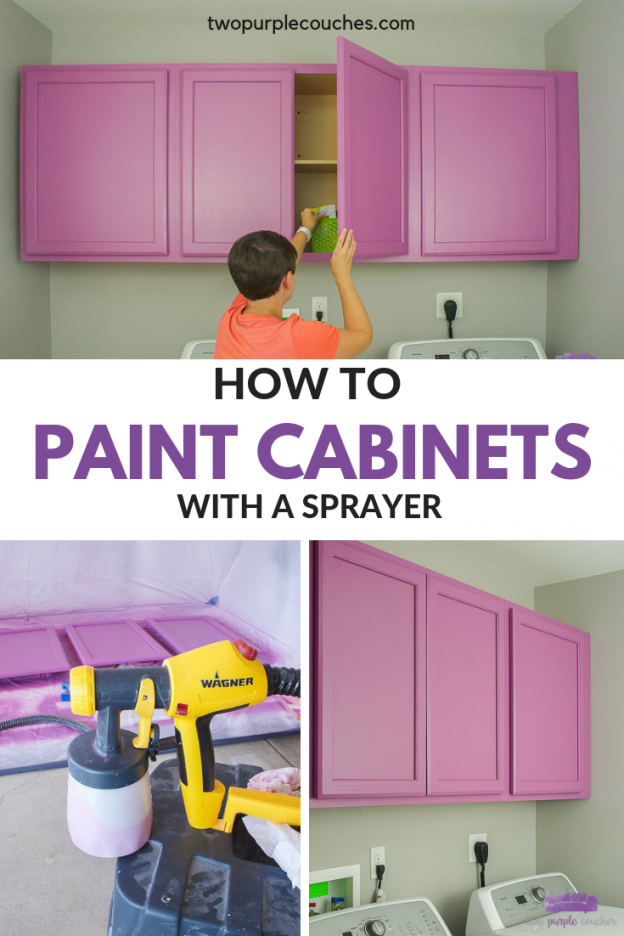
Paint cabinets like a pro with a sprayer. Save time and get a beautiful finish with a paint sprayer. Easy to do for a laundry room, kitchen or bathroom!
Paint cabinets in a weekend and get a professional quality finish with a paint sprayer! When we decided to paint cabinets for our laundry room, I knew I wanted a colorful, unique look. This was easy to achieve using my favorite Wagner SprayTech paint sprayer!
Thank you to Wagner SprayTech for sponsoring this post. All content and opinions expressed here are my own. Click here to read my full disclosure policy.
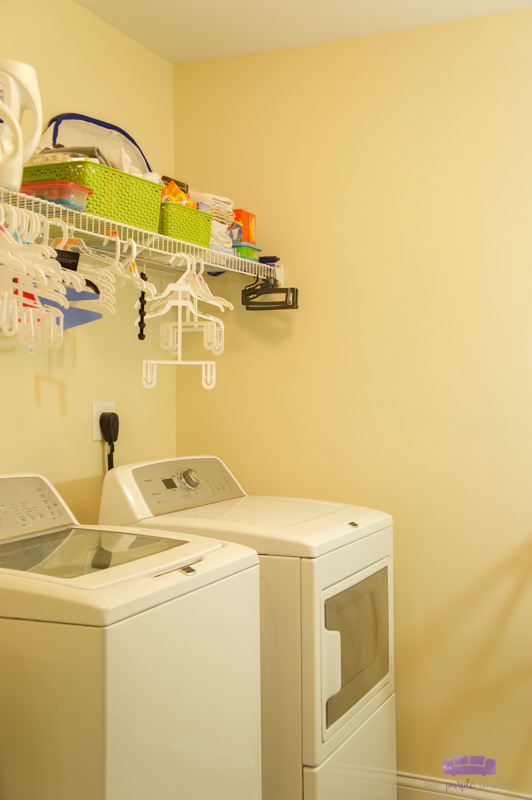
If you’ve been following along, you’ll know we recently kicked off a mini makeover in our laundry room. We started by painting over the Builder Beige walls with our favorite medium grey (Natural Grey by Behr), and our next step was to add more functional storage with a row of cabinets above our washer and dryer. Click here to see how we painted the walls.
Here’s how our laundry looked before we painted the walls:
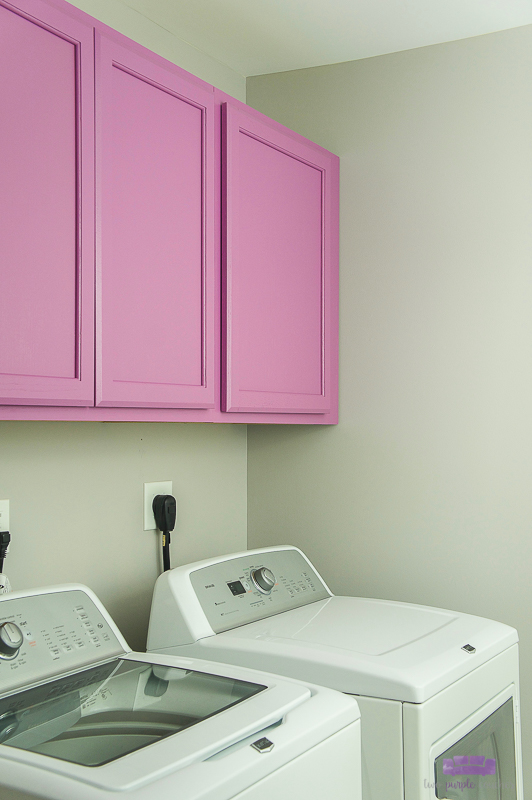
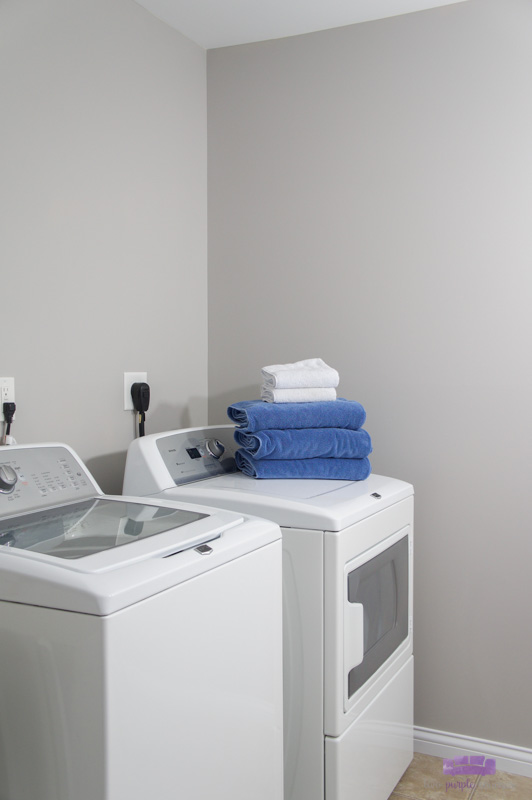
And after:
If you’re a longtime follower, you’ll also know that I love a good pop of color. So naturally, I was drawn to the idea to paint cabinets with a bold color. I figured, why not have some fun with the design in our laundry room? Maybe I’ll actually enjoy folding laundry in there if it’s a more colorful and inspiring room.
I used my Wagner FLEXiO 5000 sprayer to prime and paint cabinets in just one weekend. I’ve used this particular paint sprayer on several projects now, and I can definitely say that it’s my favorite of all the Wagner sprayers I’ve tried. It’s easy to set up and clean up, and the two different nozzles included (the iSpray and the Detail Finish) create a beautiful finish on just about any surface. Click here to see how I used it to paint our laundry room or click here to see how I used it to paint our kitchen table and chairs.
Plus, it makes a painting project go quickly, which I like. Yes, there is prep work that needs to be done (that you’d need to do even if you were painting with a brush or roller), but the actual time spent painting is cut in half at least!
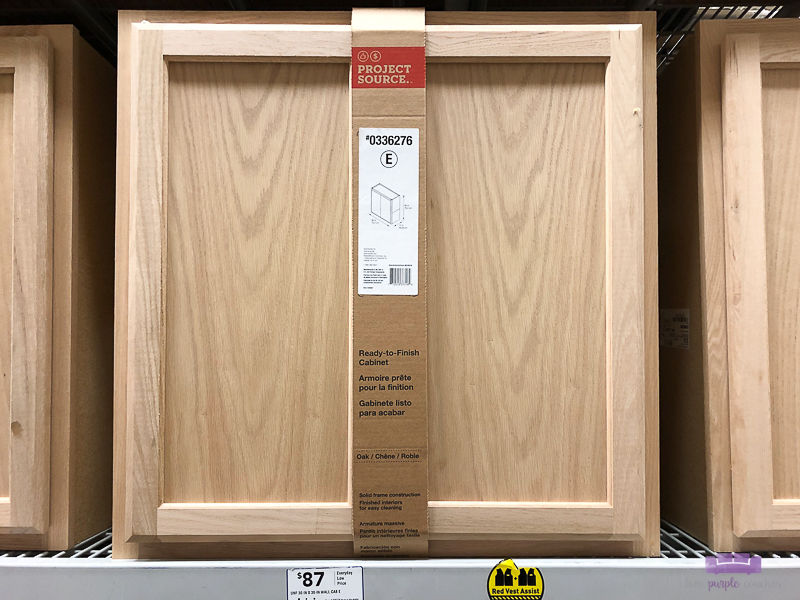
For this project, we bought unfinished oak cabinets, which saved us some prep time in that we didn’t need to strip or heavily sand away an existing finish.
To paint them, I removed the cabinet doors and sprayed both sides, then painted the cabinet face frames by hand with a small brush. In a single Saturday, this project was 90% finished. I had one final coat to do on the door fronts the next morning. I am always amazed at how quickly painting goes with a sprayer!
This post contains some affiliate links for your convenience. Click here to read my full disclosure policy.
How to paint cabinets with a sprayer:
Materials Needed:
- FLEXiO 5000 (also available here)
- Large spray tent (also available here) or a drop cloth
- Painters’ tripods
- Fine grit sandpaper (120 to 220)
- Primer
- Paint
- I used California Ultra Aquaborne Ceramic in a Satin finish. The color we picked is PPG Flowering Raspberry.
- Paint stir sticks
- Painters tape
- Extension cord
- Small paint brush (about 1″ wide)
Tutorial:
Start by removing the cabinet doors and going over everything with a fine grit sandpaper to remove any splinter-y pieces. Wipe clean. Cover hinge parts with painters tape.
Prime cabinets
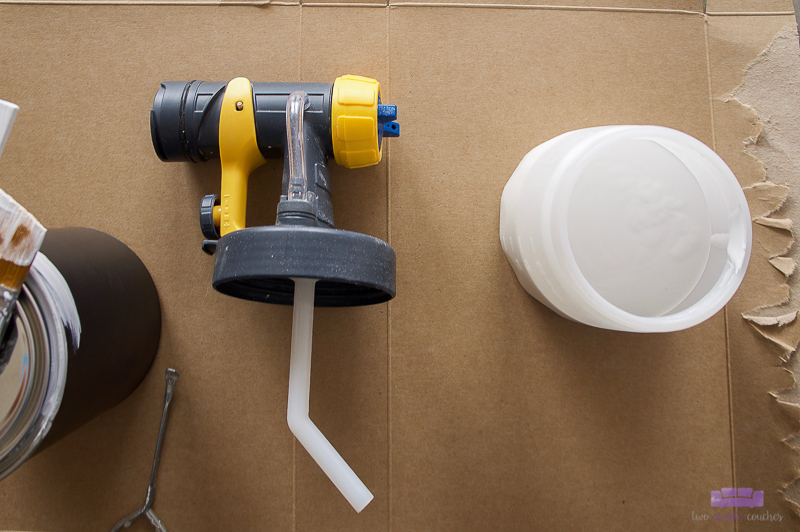
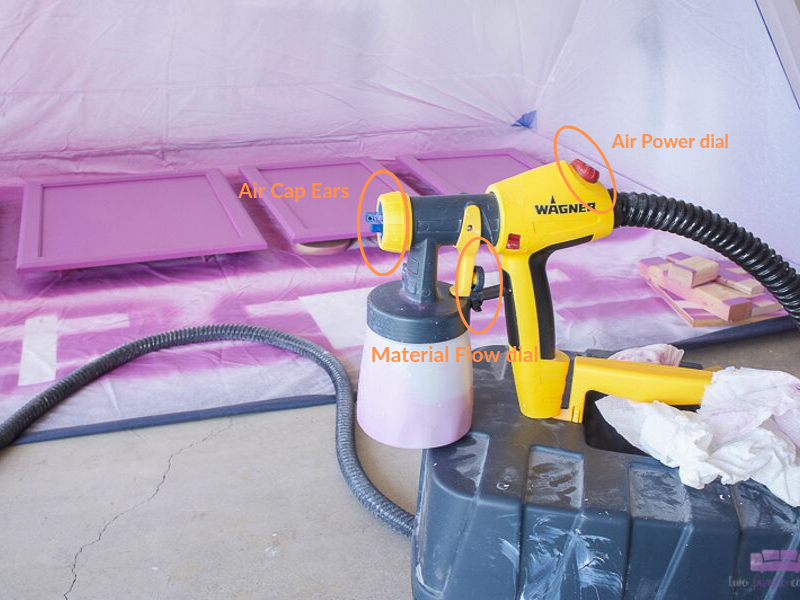
Select the Detail Finish nozzle, which works best on cabinets, trim and smaller projects. Stir primer and pour into the cup. Position the tube for the direction you’ll be working; for this project, the tube was facing forward (the same direction at the nozzle) since I’d be spraying at a downward angle.
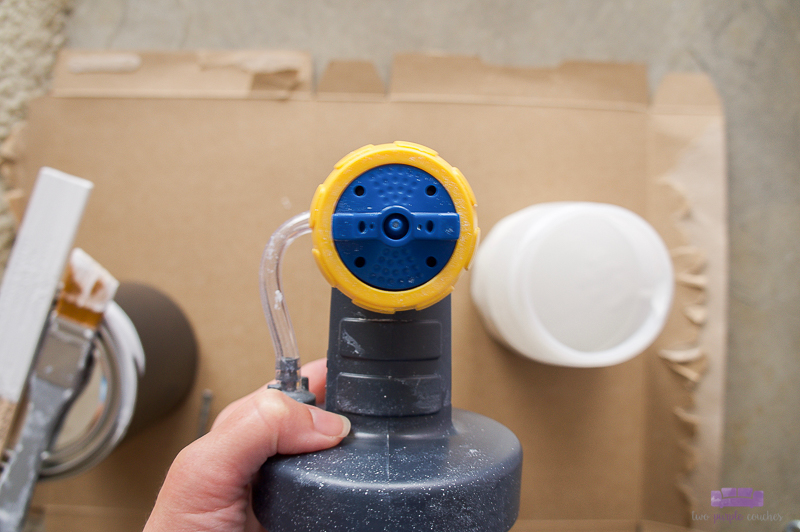
Adjust the spray pattern to be horizontal or vertical by turning the air cap ears. Set the Air Power to 4 and the Material Flow on low to start. Test these settings on a piece of scrap wood first, then adjust as needed.
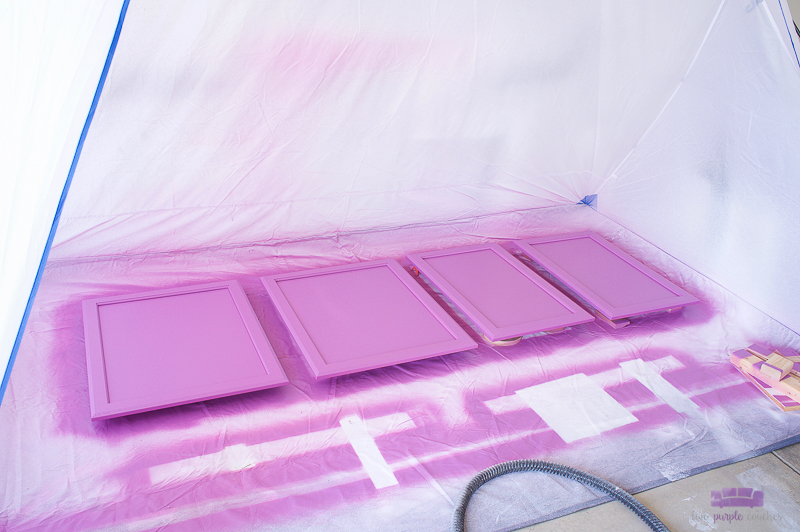
Use a set of painters’ tripods to prop up the cabinet doors while you work. In the past, I’ve used pieces of scrap wood, but these little pyramids work SO much better! Well worth the few dollars I spent!
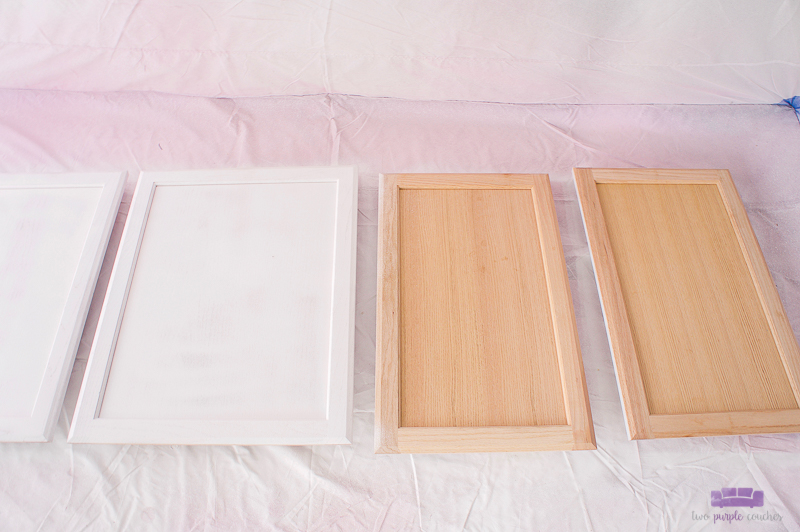
I primed the backs of the cabinet doors first, let them dry, then flipped them over to do the fronts. Clean the sprayer thoroughly after you are done priming by flushing the nozzle with warm, soapy water. Remove the nozzle and clean all parts, especially the small red nozzle seal. If this part isn’t properly cleaned and reinstalled, the nozzle may leak the next time you use it.
While the primer is drying, paint a coat of primer on the cabinet face frames with a small paintbrush.
Paint cabinets
Reassemble the Detail Finish nozzle according to the instruction booklet (see page 13). Stir the paint and pour into the cup. Position the tube for the direction you’ll be painting.
Set the Air Power to 4 and the Material Flow on low. Test on scrap wood. If the paint coverage is too light, dial the Material Flow up, or if the paint is heavy and runs, then dial it down. Apply two to three coats of paint as needed for optimal coverage.
Tips for how to paint cabinets with a sprayer:
- Hold the nozzle about 6 inches away from the cabinet doors.
- Move your whole arm steadily as you work; don’t flick your wrist back and forth.
- Overlap each pass/row by 50% for the best coverage.
- Angle the nozzle to be sure to coat all parts of the rails, stiles and any other router details on the door fronts, as well as around the top, bottom and side edges.
- Follow directions on primer and paint for drying times between coats. I painted one coat of primer on both sides of the doors, followed by two coats of paint.
When you are finished painting all the cabinet doors, flush the nozzle with warm, soapy water and repeat the cleaning steps for the nozzle parts.
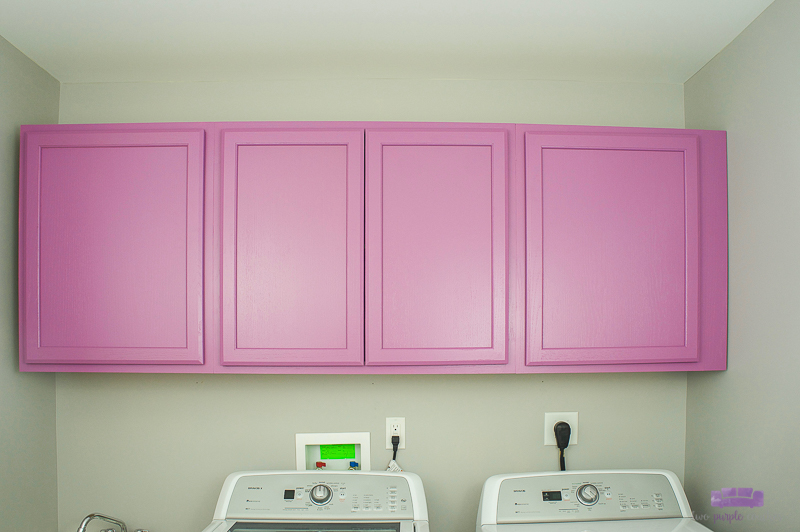
I absolutely love how these cabinets look hung in our laundry room, and I’m getting so excited for the other plans we have for our laundry room mini-makeover! I’ve been dreaming of more functional storage for years, so I’m thrilled to finally have these cabinets up.
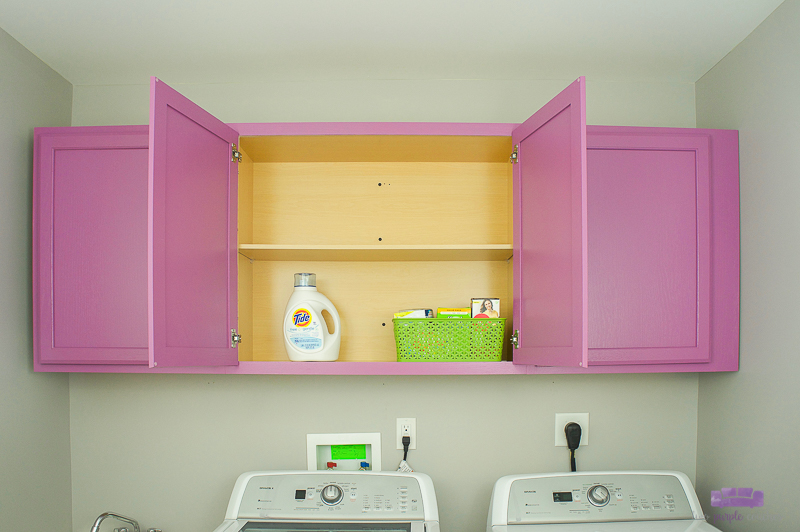
Plus the color is amazing! I love opening the door and seeing this cheerful rosy purple! If you were going to paint cabinets in your favorite color, what color would they be?
Love this project? Pin It or Bookmark It for later!
