Kitchen table makeover with a paint sprayer. Learn how to paint a kitchen table and set of chairs with this easy DIY furniture painting tutorial.
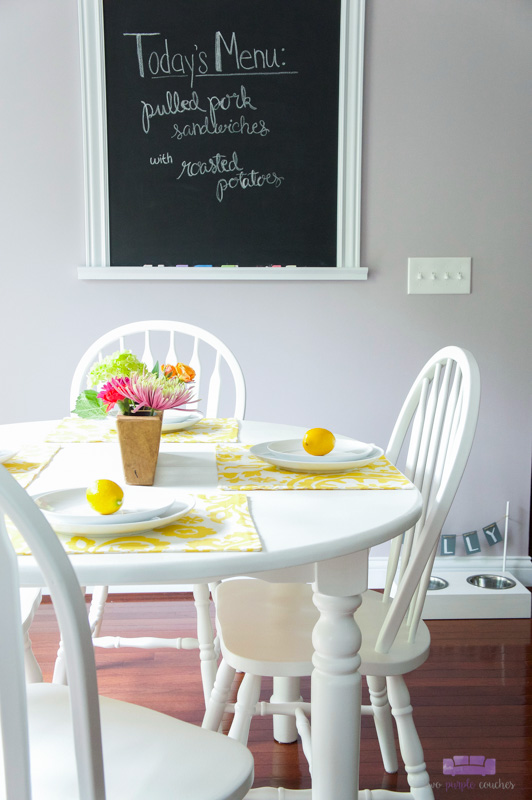
This kitchen table makeover has been a long time coming, and I am thrilled that it’s finally done! I gave our kitchen table and chairs a fresh coat of paint and now it feels like a whole new set of furniture. That’s what I love about DIY and painting furniture—you feel like you got something brand new, but you only had to buy a can of paint!
Let me show you how I painted our kitchen table and chairs with my new FLEXiO 5000 paint sprayer from Wagner.
Thank you to Wagner for sponsoring this post. All content and opinions expressed here are my own. Click here to read my full disclosure policy.
Our kitchen table and chairs are a hand-me-down from my parents that we got shortly after our wedding. When we moved into this house, I figured we’d buy a new set of our own, but this oval table actually fits really well in our kitchen nook. It also came with a table leaf, which is great for when we have parties and need more table space. The light-wood-and-white look has never really suited our style, so I always figured I could paint it. But the thought of painting always felt so daunting, until I got this new Wagner FLEXiO 5000 Sprayer.
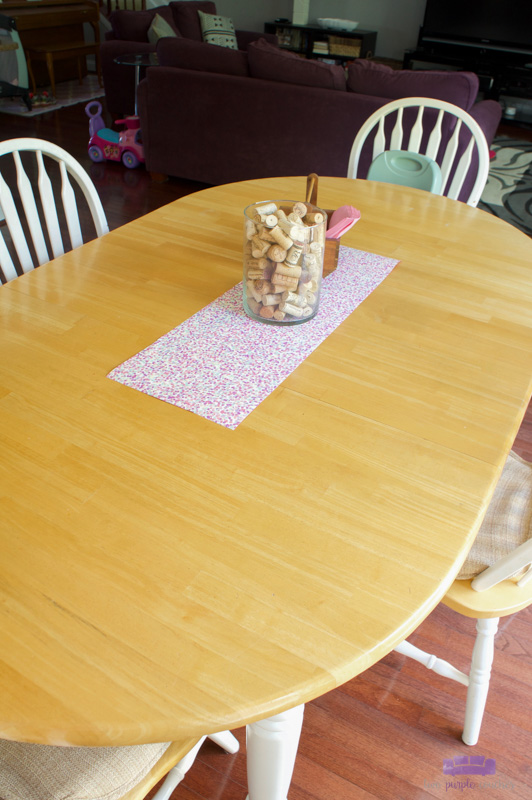
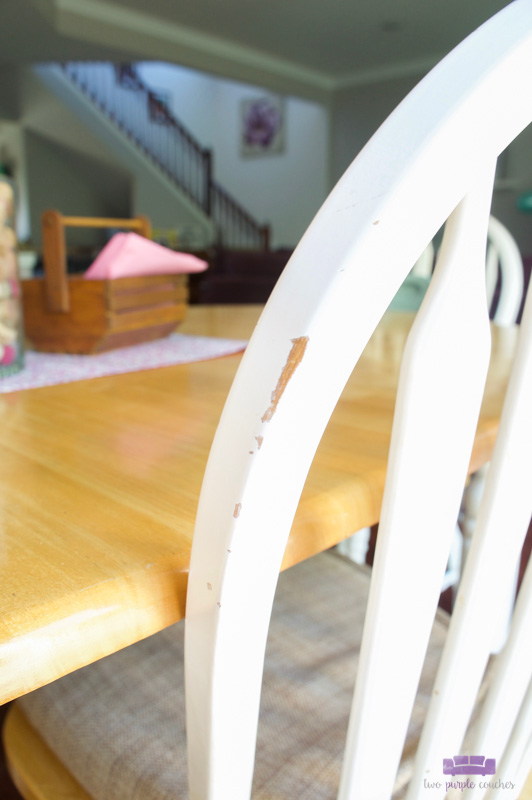
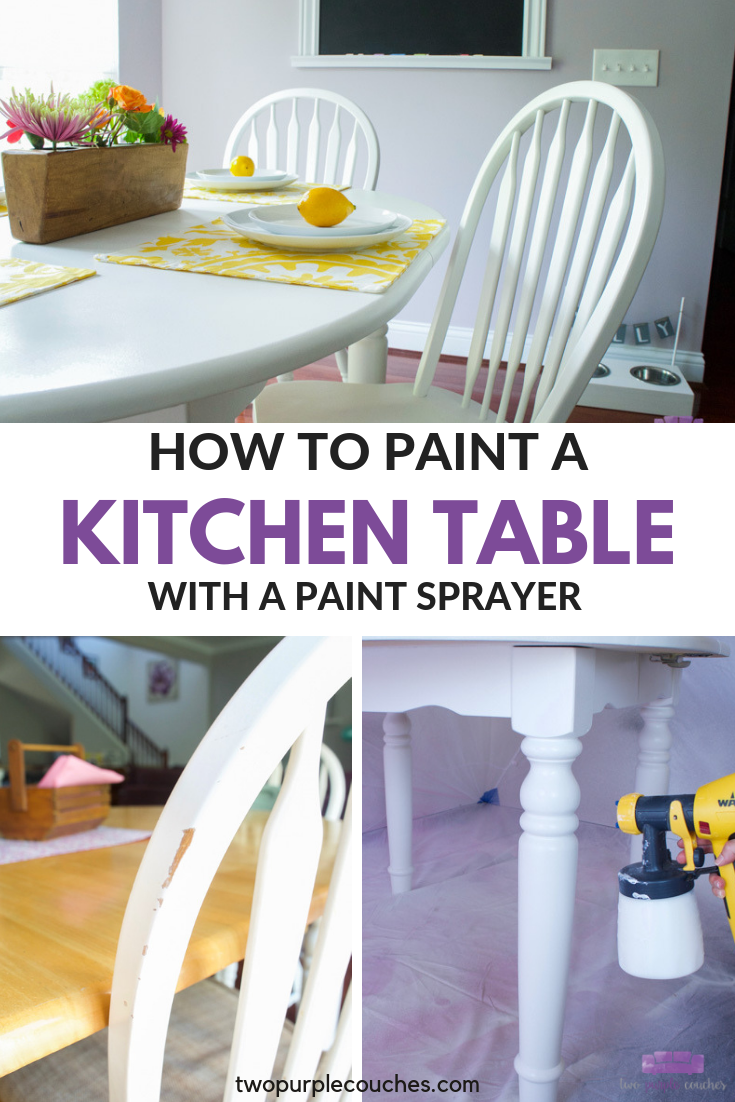
This set is close to 25 years old, so it definitely had some scratches, nicks and spots where the paint had peeled away, especially on the chair backs and spindles:
Kitchen Table Makeover with a Paint Sprayer
This DIY painted kitchen table makeover was completed in a couple of afternoons with the help of my paint sprayer. I spent one afternoon prepping and priming, and another painting. So in roughly two days, I had completely transformed our kitchen table and chairs! Plus, a paint sprayer makes it quick and easy to cover all of the spindles on these chairs. Can you imagine doing that work with a paint brush? I’d still be painting!
The FLEXiO 5000 Paint Sprayer is the perfect tool for a DIY painting project like this one. The sprayer’s motor is in the case, which means there’s less weight in your hands while you’re painting. That’s definitely appreciated when you’re going up and down all these legs and spindles!
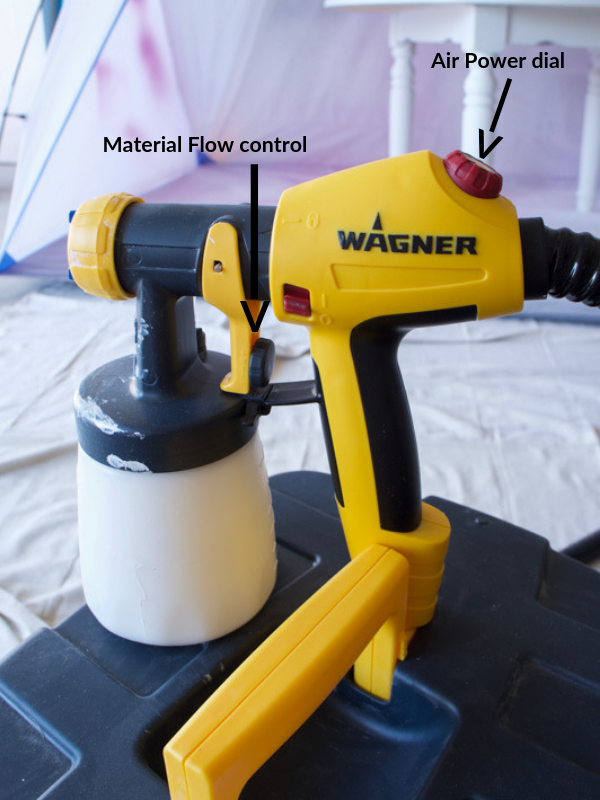
The FLEXiO 5000 comes with two nozzles: the iSpray nozzle designed for larger surfaces (like walls or a fence) and furniture pieces and the Detail Finish nozzle designed for fine finishing and trim. The great thing about these nozzles is that they’ve recently been redesigned for a better spray pattern, which means less mess and overspray while you’re working. Both nozzles have adjustable air power and material flow settings so you can work with a wide variety of materials, from interior and exterior latex paints to chalk/milk paints, sealers and even solid stains.
This post contains some affiliate links for your convenience. Click here to read my full disclosure policy.
How to Paint a Kitchen Table and Chairs:
Materials Needed:
- Drop cloth or Studio Spray Tent (also available here)
- FLEXiO 5000 Paint Sprayer
- Deglosser (I used this)
- Palm sander or sandpaper
- Primer (I used this;If you’re concerned with bleed-through from wood tannins, use this)
- Paint
- Paint stir stick
Tutorial:
Clean, sand and prime!
The prep work for a project like this matters! Thoroughly cleaning, sanding and priming furniture will give you the best results.
First I cleaned my kitchen table and chairs, and then used a deglosser to take the sheen off. I followed this by sanding everything, first with a rough 100-grit sandpaper, then with a smoother 220 grit. Patch any nicks or holes in the surfaces (this stuff works great) and sand smooth once dry.
Prime your kitchen table and chairs. I used the FLEXiO 5000 to apply my latex primer. I did two coats of primer on the wood toned parts of my furniture (the tabletop and chair seats). Check the manual for suggested settings for the air power and material flow based on the product you’re spraying and the nozzle you’re using. Always test on the provided test sheet or on a scrap piece of wood; you can make adjustments if needed.
Choose the right kind of paint
Since we use this set of furniture multiple times each day (and since we now have a toddler in the house who loves to bang her cups on the table), I knew I’d need a durable paint that can withstand heavy daily use. I stopped into our favorite local shop (Al Smith Paint and Decorating, if you’re on the westside of Cincinnati) and bought a gallon of California Paints Ultra Aquaborne Ceramic interior paint (satin finish in white) based on their recommendation.
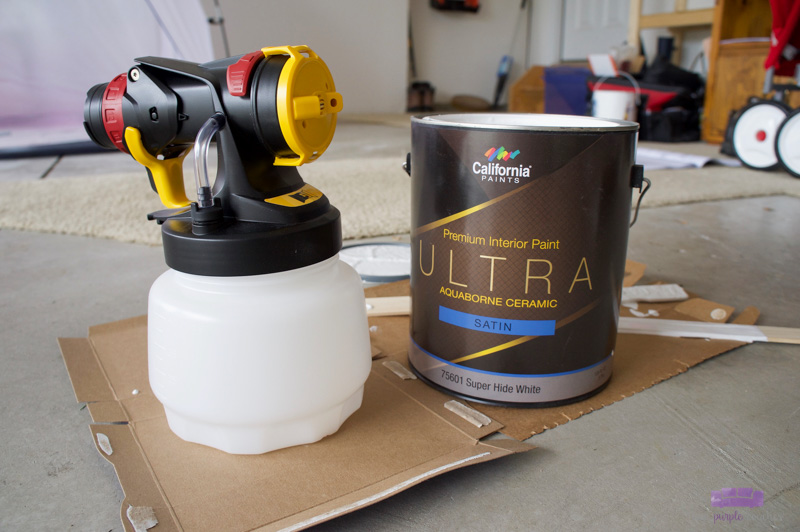
As much as my color-loving self wanted to turn our kitchen set into a bold statement piece, I realized that going with a bold kitchen table makeover would set off a domino effect wanting to change a bunch of other things. Tom was not as enthusiastic about a total kitchen redesign, so we decided an all-white kitchen table and chairs would be the way to go (He may have been right. Our kitchen already feels so much brighter with a white tabletop!)
Assemble your paint sprayer
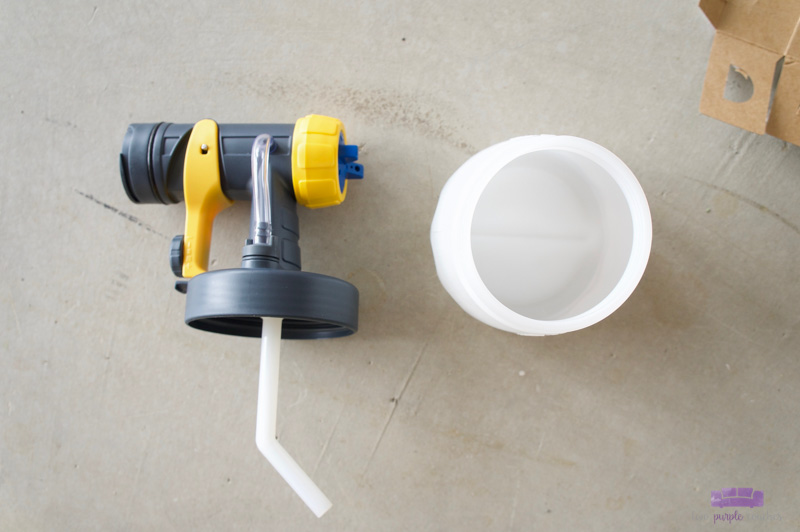
Select the right nozzle for your project. I used both nozzles for this project—the iSpray for the table leaf/top and the Detail Finish for the table legs and the chairs. Stir your paint and pour it into the cup. Position the tube based on whether you’ll be painting in an upward or downward motion. I was painting most straight-on or downward, so I positioned the tube to face the same direction as the nozzle:
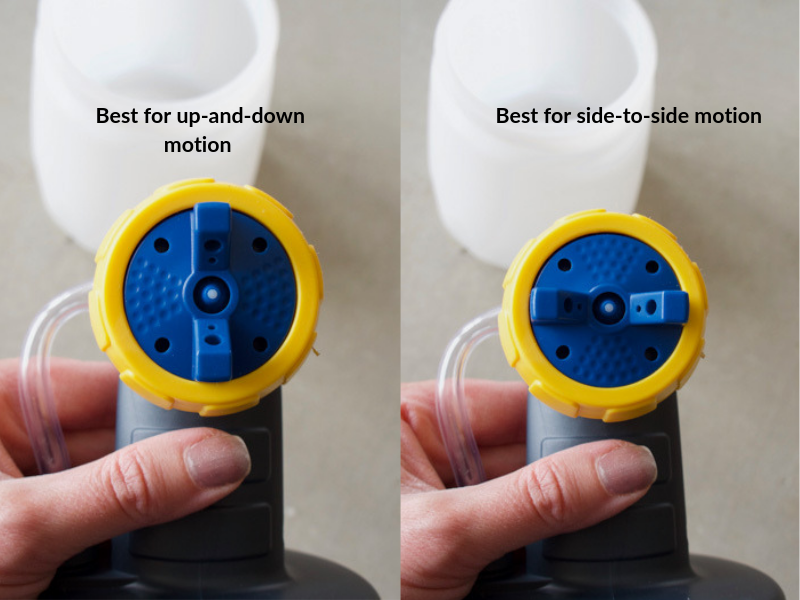
Position the air cap based on if you’re spraying side-to-side or up-and-down.
Lock in the handle and adjust the air power and material flow settings. With the ceramic paint, I found that setting the air power to 3 and the material flow to heavy gave me the finish I was looking for. I already said this, but it’s worth repeating: test, test, test on scrap wood and adjust your settings as needed.
Turn on the turbine and paint!
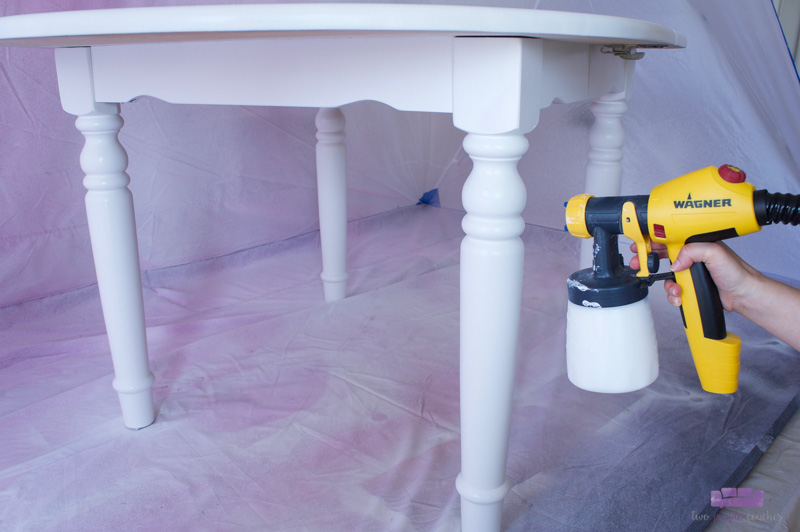
For the best results, work about 6 to 8 inches from the surface and move your wrist with the sprayer. Wipe the nozzle periodically to keep any dried paint from clogging it up. Overlap each pass by about 50% to get full coverage. You will probably need two coats for a good opaque finish. I did two coats of ceramic paint on my tabletop and chair seats; the table and chair legs and chair backs only needed one.
Rinse and clean the sprayer
Cleaning a sprayer may seem like a big task, but it’s really simple. The manual easily explains how to clean up for latex versus oil-based materials. Empty any leftover paint back into the can, then rinse and fill with warm, soapy water and run this through the sprayer. I spray this solution into a 5-gallon bucket. Then finish cleaning any paint residue left behind in the cup and tube. Take apart the nozzle and thoroughly clean those pieces before re-assembling.
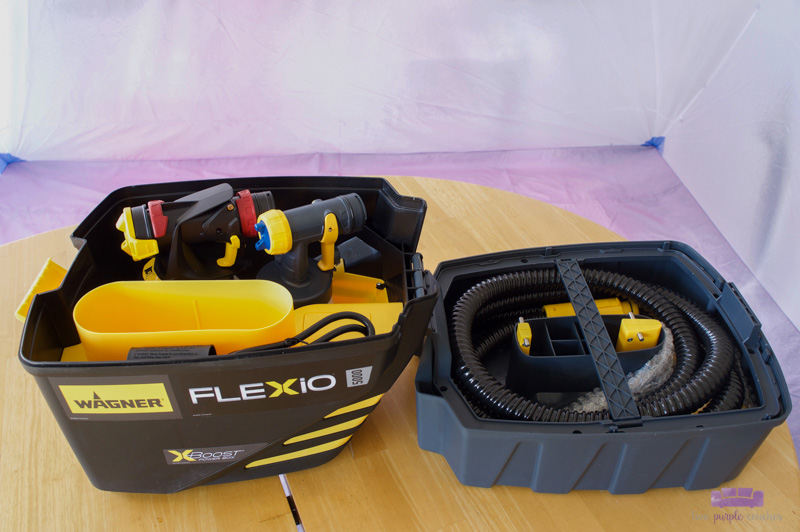
One of my favorite features about the FLEXiO 5000 is that all of the parts pack up into the turbine case for easy storing:
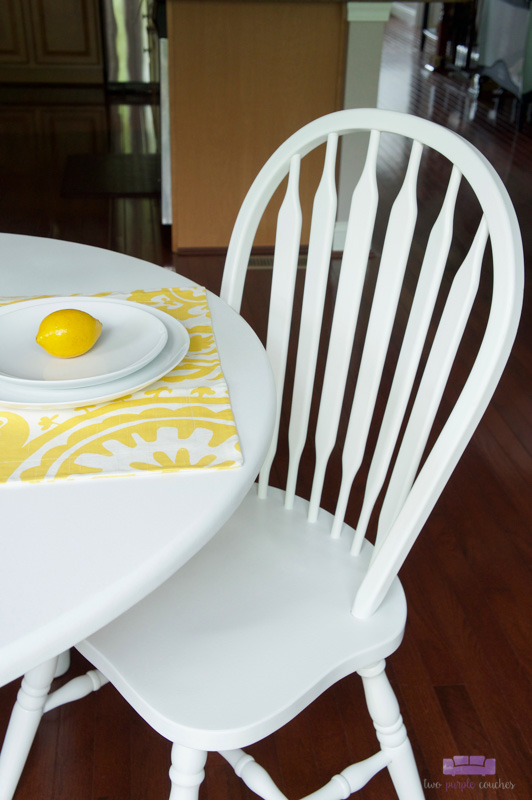
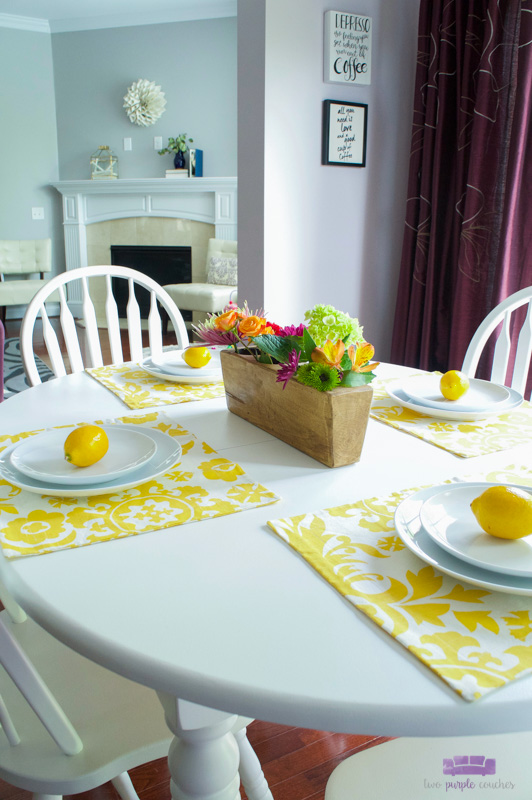
I’m so glad to have finally completed this kitchen table makeover after having it on our to-do list for years. A fresh coat of paint makes this whole set feel brand-new and it really lightens up our kitchen nook!
What kind of a project would you love to do with a paint sprayer? I’ve got several more planned for this summer!
Love this? Don’t forget to Pin it or Bookmark it!

It looks great! I need to check out that new sprayer! I love love love that it comes in a case!!
Thanks so much, Amy! Yes! The case is great!
Wow!!! It really does look like you just got it from the store. I love this! I love everything about it! You did a great job!! I’m gonna have to buy one of those. Love the pain sprayer big time! Thanks for this, all the best!
How I wish I am as talented as you! Love it!
The power of paint strikes again! What an amazing transformation of your table and chairs! Looks beautiful!
Your table looks amazing! And I love that case for the sprayer to keep it organized.
Thanks so much, Kati! Yes, that case is awesome 😀
This looks soooo good! I love the all white look! Gotta love Wagner’s paint sprayers for quick painting projects!
Thank you, Meg! Yes! I’ll never go back to painting with a brush!
You have a lovely dining area. The all white look makes it more attractive and inviting. I would love to have this design at home. Your sprayer really did it’s job.