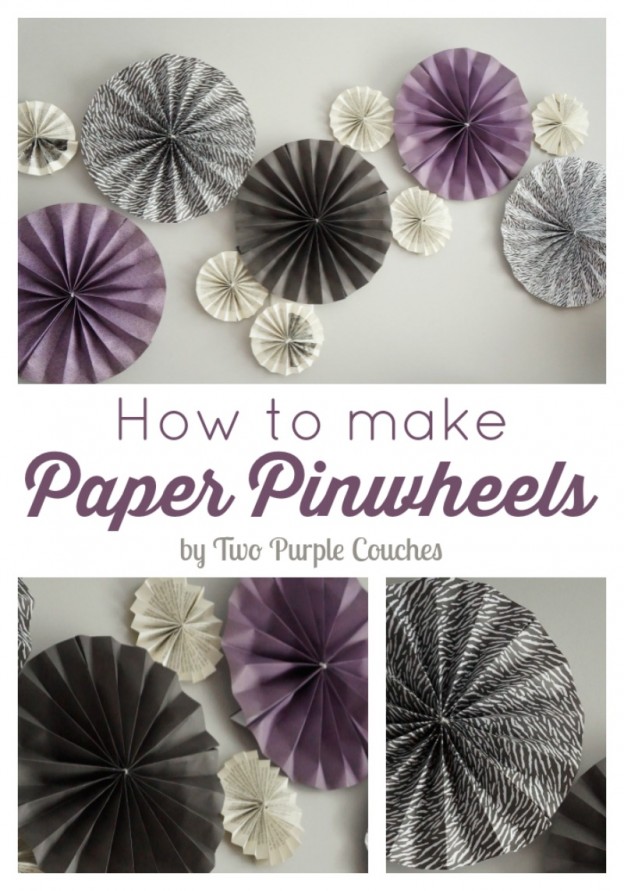
Paper pinwheels are an easy DIY paper craft. Grouped together, they’re perfect for party decor, a photo backdrop, and can be strung together in a garland.

Paper pinwheels, also known as paper rosettes or paper fans, are so versatile when it comes to home and party decor. And the best part is that they’re an easy craft you can make yourself! Keep reading for a simple tutorial on how to make these paper pinwheels.
This post contains some affiliate links for your convenience. Click here to read my full disclosure policy.
How to make paper pinwheels:
Materials Needed:
- Sheets of paper
- You can use any kind you like; patterned paper, construction paper, book pages, etc.
- Fiskars Craft Paper Trimmer
- Stapler (or yarn)
- Mod Podge
- Paint brush or foam spouncer
- Paper board (like an empty cereal box)
Tutorial:
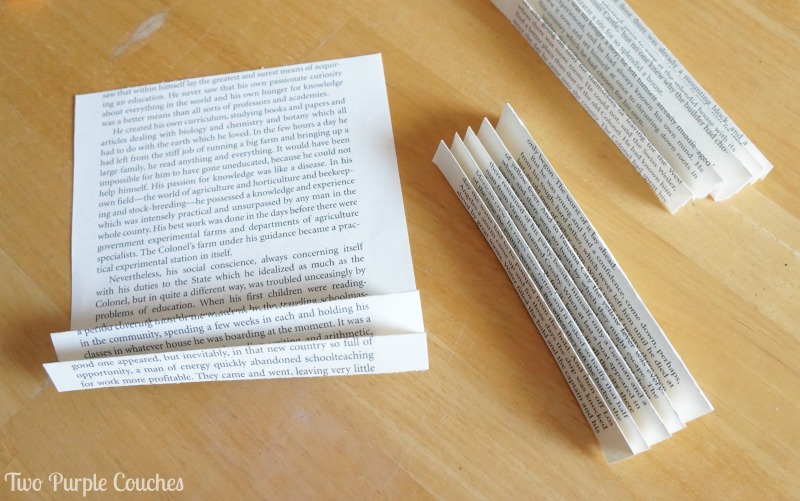
Step 1: Select your paper and size you want. Larger pages = larger pinwheels. Just be sure your paper is square. If you want coordinating pinwheels, large pads of scrapbooking or designer paper are a great choice. Begin by folding each piece of paper accordion-style, making each fold the same size, or at least as close as possible. You can cut away any extra paper with a paper trimmer.
Step 2: Fold each accordion-style page in half.
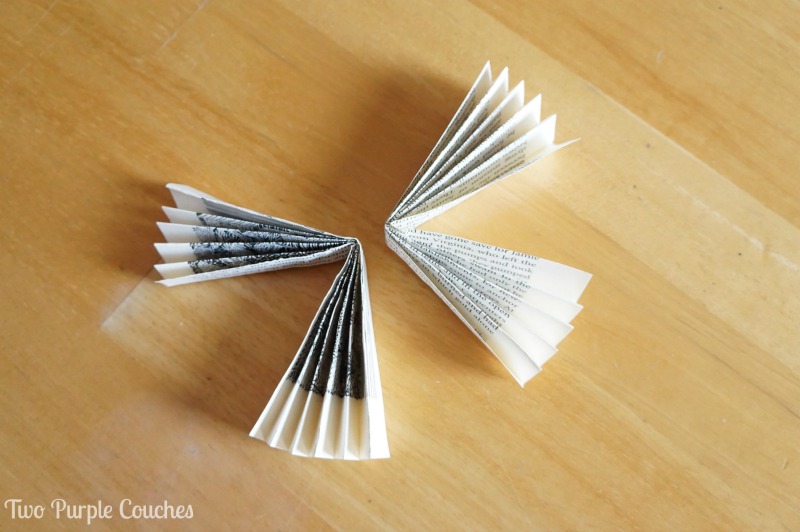
Step 3: Join the two halves together. I tied mine together at the fold using yarn, but you could also staple the center folds together.
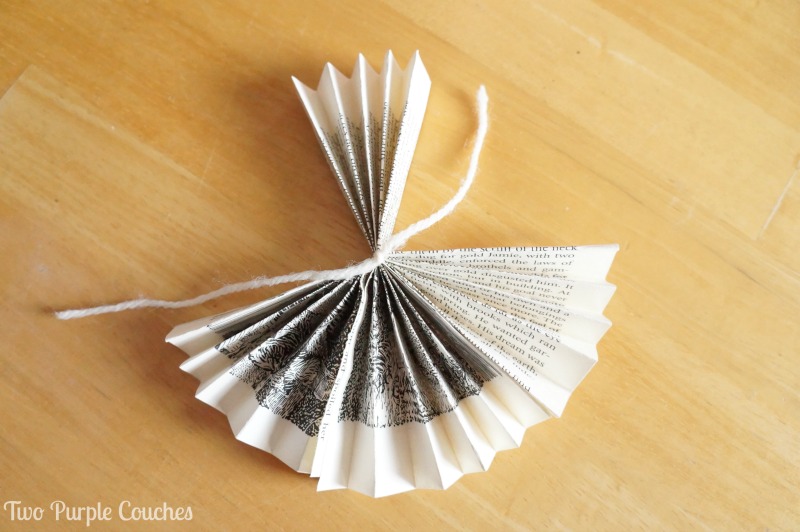
Step 4: Unfold the fanned pages, gluing the two sections together with Mod Podge. If you used yarn, trim the strands close to the knot.
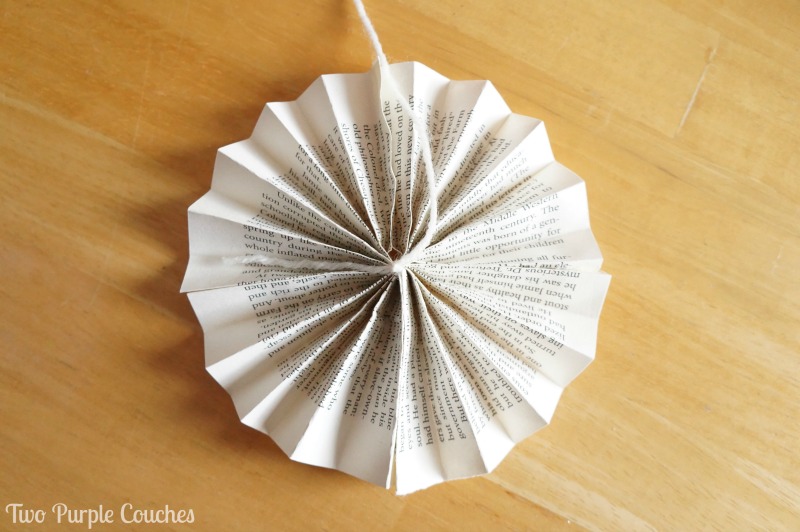
That’s it! Now you have a pinwheel! If you like, you could add an embellishment to the center, maybe a button or a circle of complementary paper. If you want to turn your pinwheels into a garland, you could spell out a party message. I chose to keep mine plain.
Now, if you’re like me, at this point, you’ll try to just slap some masking tape to the backs of each pinwheel and tape them to the wall.
I’ll save you a few minutes—this method doesn’t work.
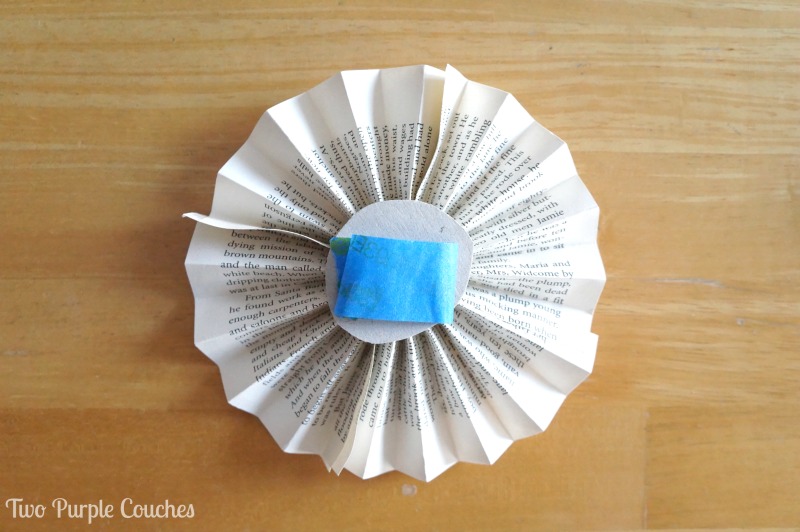
But, what does work is this… grab a sturdier piece of paper, like cardstock, or better yet, an empty cereal box. Cut small circles to fit the backs of your pinwheels, then hot glue them down. Once dry, add loops of painters tape or removable adhesive strips to the back and now you’re ready to hang them up!
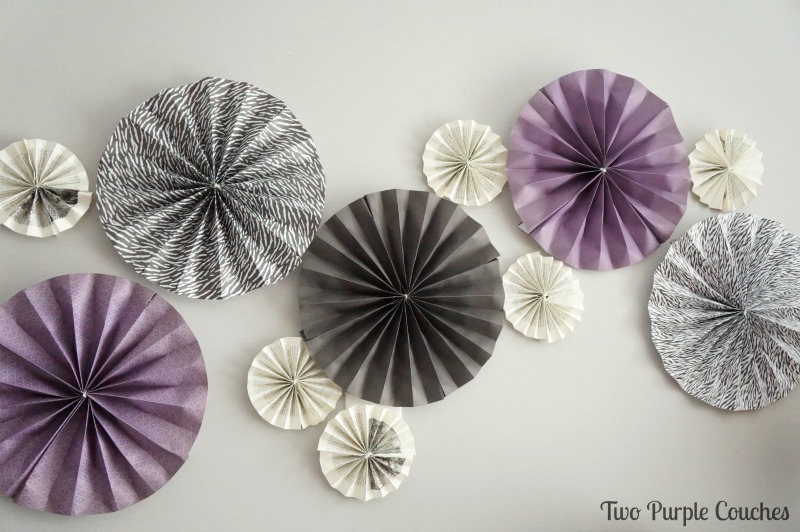
My original plan was to turn the small book page pinwheels into a garland, but after I got going, a larger vision came to mind. After packing away our holiday decorations, I wanted to shake up our “usual” decor a bit. I envisioned a wall full of paper pinwheels above our mantel.
Okay, so “wall full” was a little bit of an exaggeration. Also, I may have run out of scrapbook paper. But I’m loving this look far! Who says you have to have a party or special occasion to hang up some paper pinwheels?
I laid out my paper pinwheels in a few different patterns on the floor before hanging them on the wall. Though with the painters tape on the back, they’re pretty easy to move and re-position.
I’d love to make another batch of these for party decorations, or maybe for a holiday garland next Christmas!
Love this fun and easy way to create holiday and party decor!
Glenna @ My Paper Craze recently posted…Pirate Valentine Treat Bag and PDE Linky Party
Thank you Glenna!
Thanks–pinned! I love how easy this is–I can make them in every color and for every occasion now that I know the trick. Thanks–pinned! Thanks for linking up at the Pretty Preppy Party.
Christy @ 11 Magnolia Lane recently posted…Our Favorite Decorating Trends in Tile, Stone & Wood
I know what you mean! Now that I’ve got this step-by-step down, I am making these for every occasion! Thanks for pinning!!
These are so pretty! I love the colors and how you grouped them together. Adding this project to my crafting to-do list!
Meredith @ The Palette Muse recently posted…Thank You Giveaway
Thank you, Meredith! They do look great when grouped together 🙂
Pingback: Our February Pretty Preppy Party Favorites |
Great tutorial! We featured this today as a Pretty Preppy Party favorite!
Amy recently posted…Our Pretty Preppy Party Favorites for February
Thank you so much, Amy!!
These are totally adorable and I can’t believe how easy they are to make! Thanks so much for the great tutorial. I have some spring parties coming up that these will be perfect for. Hugs for a happy weekend, CoCo
coco recently posted…Goodbye February, Hello March
Thanks CoCo! They are super easy and would be perfect for any kind of party! Have an awesome weekend!
Emily These are so pretty. Thank you again so much for sharing and linking up to our Something to Talk About Link Party and I hope you join us again tomorrow morning. hugs, Lisa at Concord Cottage
Lisa recently posted…Applique on Pillowcases to add Charm
Thank you, Lisa! And thanks for the party! I’ll definitely be back this week 🙂
Pingback: DIY Book Page Covered Pumpkin
What a great idea! Pinned and shared!
Tara Siudy (Little Miss Dexterous) recently posted…Green Tea Smoothie
Thank you Tara!
I’ve admired these pinwheels of yours for a while, and I’m ready to make some. Can you please advise, what do you think of using 12×12 sheets of scrapbook paper. Is this the right dimension, or does it need to be longer on one side? Thanks.
Darla from HeartWork Organizing recently posted…The Big Reveal: Big Girl Room
Thank you Darla! 12″x12″ sheets of scrapbook paper are perfect; that’s exactly what I used to create the purple and black-and-white pinwheels in this tutorial. As long as the paper is square, you can use any size you want.
When you used the 12×12 for the larger ones. How many sheets did you need to use. I tried two and it didn’t look that great. Maybe have to use 4 sheets for the bigger ones?
Hi Sam, I used two sheets of 12×12 paper for the larger ones. They worked well for me, though maybe stretched just a little tight. I’ve seen other pinwheel tutorials that use 3 or 4 sheets of paper – that may work better? Best of luck!
Pingback: 20 Trendy Paper Crafts for a Brighter Home - PrettyExtraordinary.com