I’ve never considered myself to be the artist in the family. That title belongs to my cousin Laurel (remember my glass-blowing adventure last summer?). But that’s never stopped me from trying. And I think my skills are improving. That or I’m smart to choose abstract art since you can’t really mess it up!
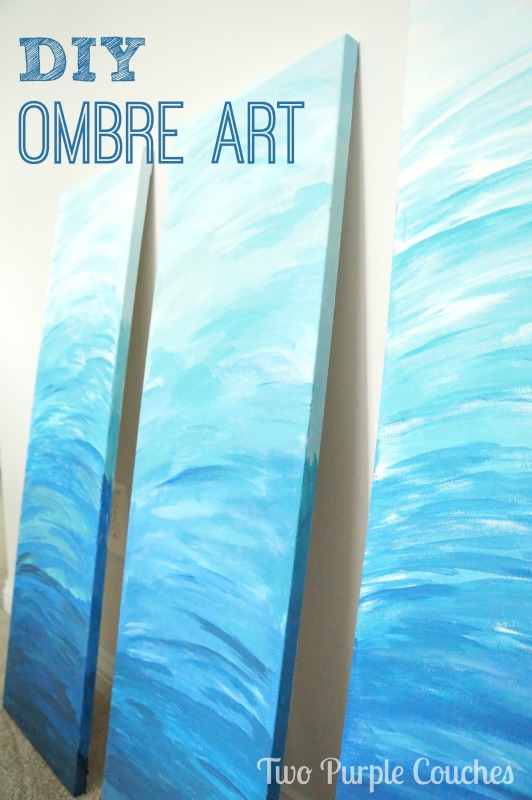
Enter my latest project: diy ombre art!
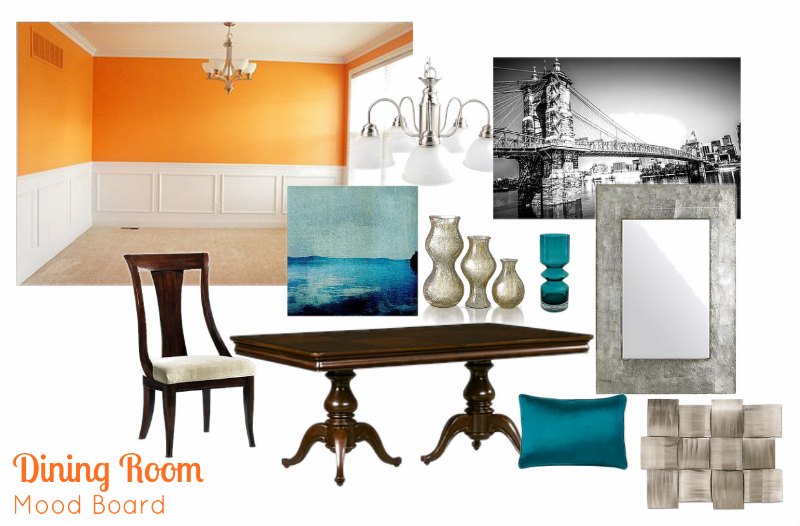
Remember a few months’ back when I shared this mood board for our dining room? I’m slowly-but-surely making progress in putting some finishing touches in the room.
At first, Tom and I were planning for a big, black and white panorama photo of the Cincinnati skyline. And while we still love this idea, we’re trying something else! Imagine that… my dabbling nature means I’m straying from my original plan…
I think our dining room needs some color.
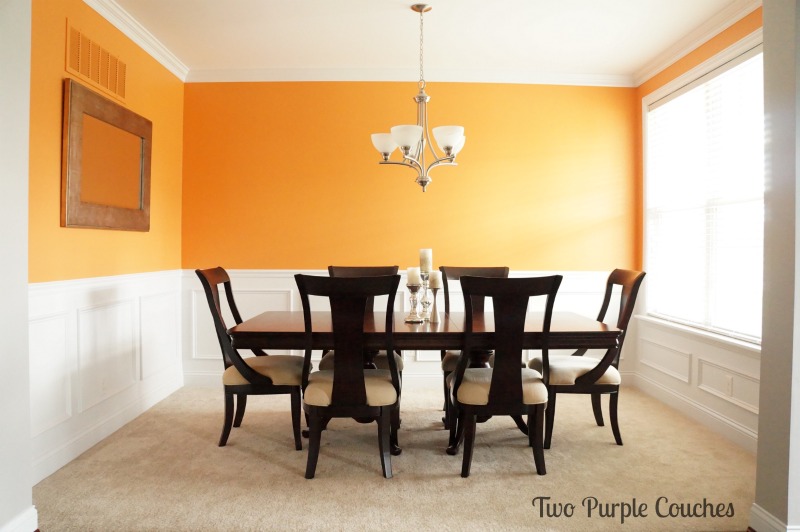
Yes, I realize what I just said. Our dining room is bright-freaking-orange. How could it need any more color? Well, it needs a contrast of color, in my opinion. Hence my idea to pass on the black and white photography and try some color instead. Specifically: blue and teal ombre paintings. And the idea struck me as I was painting up my beach-inspired art. My canvas was barely dry before I was holding it up to our orange walls and deciding that teal was just what the Dining Room Doctor ordered.
And If you’re like me and think you’re not an artist, let me show you just how easy it is to make these abstract canvas paintings.
How to Paint Abstract Ombre Art
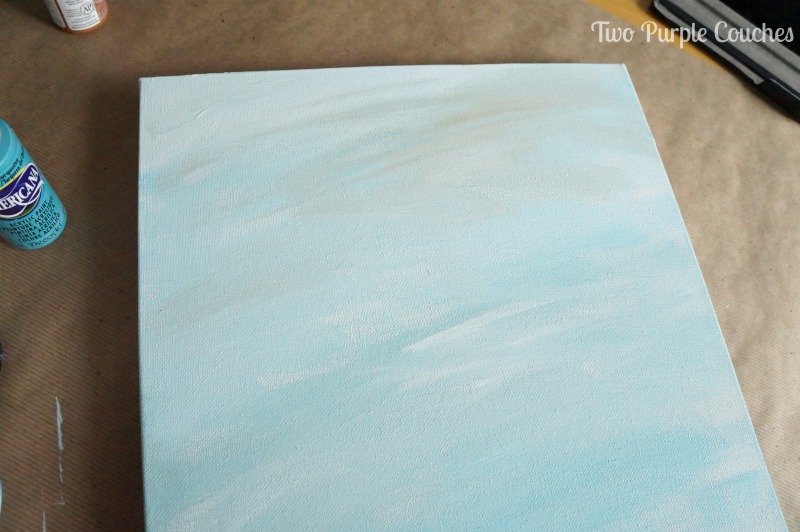
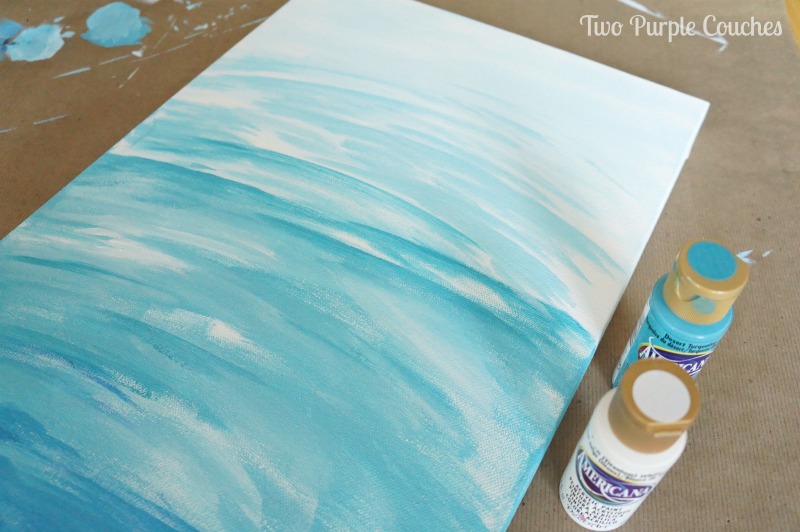
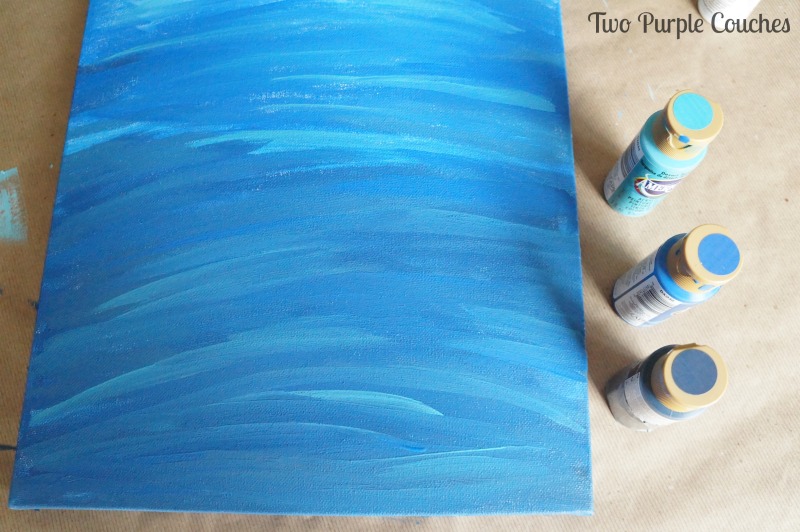
First, choose your colors. You’ll need 2-3 in the same or neighboring color family. I used these DecoArt Americana acrylic paints: Desert Turquoise, True Blue, Deep Midnight Blue and Titanium White*
Step One: Paint your lightest layer. I added a few drops of Desert Turquoise to plenty of Titanium White.
Step Two: Add a bit more color to create the second layer. I used more Desert Turquoise and just a bit of Titanium White. Once you get your main brushstrokes down, you can go back and blend each layer to get that nice ombre gradient.
Step Three: Add in the second color. For this layer, I started mixing Desert Turquoise with True Blue.
Step Four: This will be the darkest and final layer. I chose Deep Midnight Blue for this layer. I went back and added a few drops of True Blue and Desert Turquoise to blend these layers and add more depth of color.
I found it helpful to paint in wide strokes with the broad side of my brush to get my first layer down. Then I turned my brush on its side to do the blending and get a finer stroke. I probably could’ve changed up which brush I was using. But why dirty an extra brush??
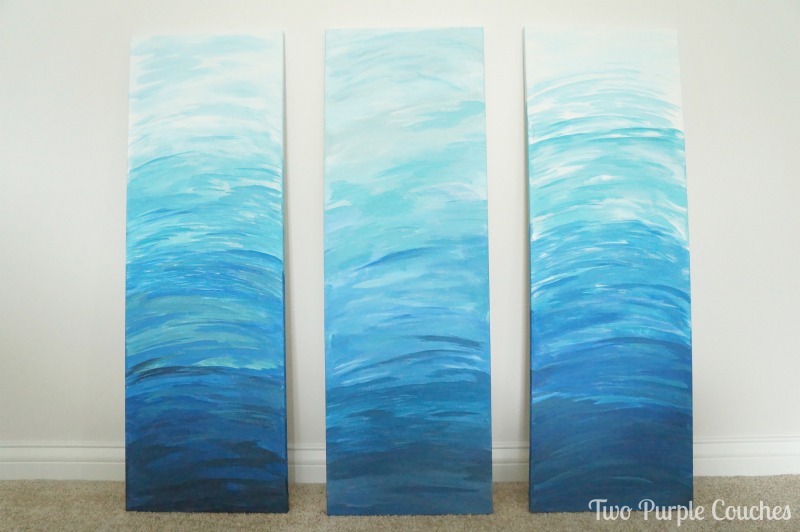
I had so much fun, that I made a set of three ombre paintings. I love that each are a little different; that’s the fun of diy, right!?
I mean, look at those deep, watery blues! I could just dive right in! I might just teal ombre any and everything I can get my hands on! Canvases—beware! Me and my paintbrushes are comin’ for ya!
I’m working on pulling the rest of my dining room accessories together so I can give you a full “reveal” next week!
Update: See how the whole dining room came together here!
*Some links contained in this post are Amazon affiliate links, meaning if you click through to Amazon and make a purchase, I receive a small commission (at no extra cost). Thank you for helping to support Two Purple Couches!
Sharing with: Creative Spark / Share It Sunday


I can’t wait to see the whole dining room! I love your mood board and these paintings are fantastic!
Thalita @ The Learner Observer recently posted…DIY: Driftwood Candleholder
Aww, thanks Thalita, for all of your support and cheers 🙂
I love the bright freakin orange dining room! Looks classy with a twist! Thanks so much for linking up last week on the Creative Spark Link Party. We would love for you to link up again this week! http://bit.ly/1BLLyxp
Michelle from Weekend Craft recently posted…Creative Spark Link Party #20
Thanks Michelle! It’s bold, but it’s fun 🙂