Paint a textured ceiling with an airless paint sprayer for professional-quality results. Learn how to prep for and paint a ceiling with a paint sprayer.
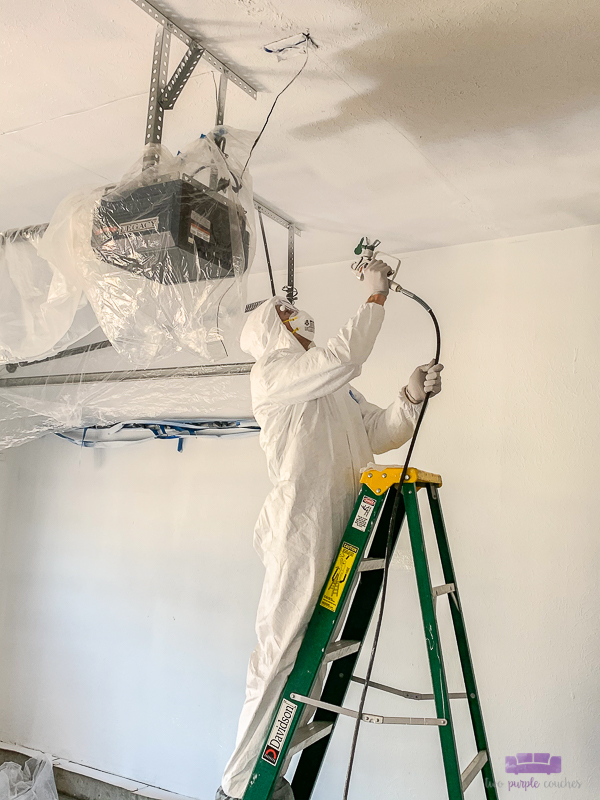
Paint a textured ceiling like a pro! A high-efficiency airless paint sprayer is the perfect tool to use to paint a textured ceiling. Paint goes on smoothly and consistently with fantastic coverage, so you can get a big project like this one done within a day.
Thank you to Wagner SprayTech for sponsoring this post. All content and opinions expressed here are my own. Click here to read my full disclosure policy.
Have you ever needed to paint a ceiling? If so, you know it can be a messy and time-consuming job. But it doesn’t have to be.
We recently helped my in-laws paint the textured ceiling in their garage with our Control Pro 130 from Wagner SprayTech, and we were able to get it all done in one afternoon! The Control Pro 130 is a high-efficiency airless sprayer, making it the perfect tool for a big job like painting a ceiling. The airless technology means that paint goes on quickly and smoothly, and the spray gun has a wide fan pattern, so you can cover a lot of surface area while you work. We used it earlier this year to paint the columns on our front porch, and were so impressed with the coverage and finish. Click here to learn how to paint porch columns.
Let me show you more about how the Control Pro 130 works, and how to use it to paint a textured ceiling.
This post contains some affiliate links for your convenience. Click here to read my full disclosure policy.
How to paint a textured ceiling with a HEA sprayer
Materials Needed:
- Control Pro 130 (also available here)
- Plastic sheeting and/or drop cloths
- This pre-taped masking film also works really well.
- Painter’s Tape
- Paint and paint stir sticks
- We used Behr Masonry, Stucco & Brick
- Safety glasses
- Respirator mask
- Disposable coveralls
- Extension cord
- Ladder
Tutorial:
Prep for painting
Remove as many items as possible from the space to be painted. Anything that can’t be moved should be covered with plastic sheeting. Cover the floor with plastic and/or drop cloths.
During this project, the garage walls were also being painted, so we did not tape them off because overspray from the ceiling didn’t bother us. The Control Pro 130 actually produces less overspray than traditional airless sprayers, and I didn’t notice much getting on the walls as we were working. We actually didn’t even seem to get much paint on us while we worked! I’d definitely recommend wearing disposable coveralls (with the booties) to be safe, but overall, it wasn’t a messy project.
If the walls are not being painted, I’d suggest using pre-taped masking film to protect the walls. We’ve found that putting down a border of tape first makes it easier to apply pre-taped masking film.
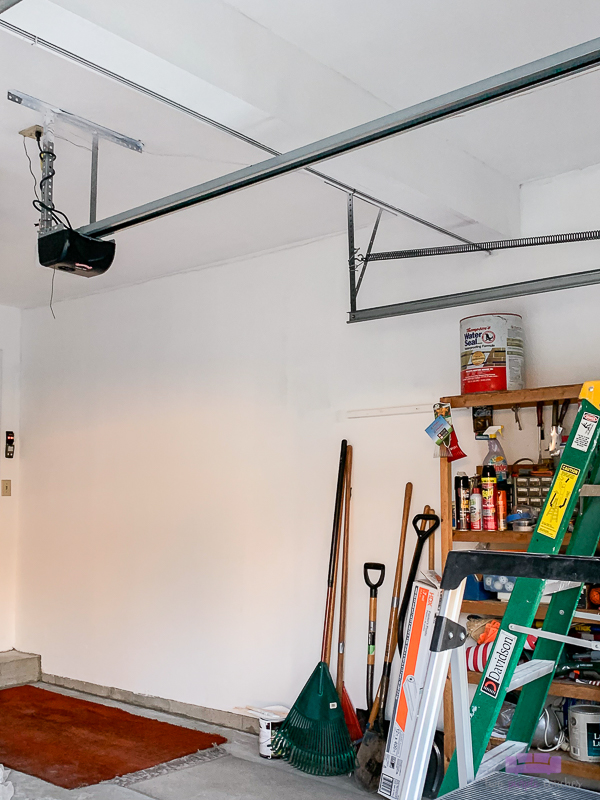
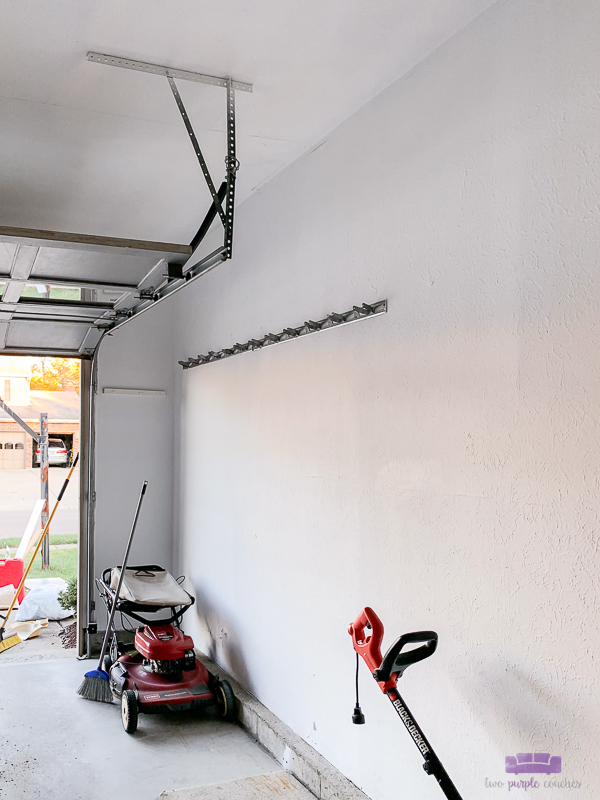
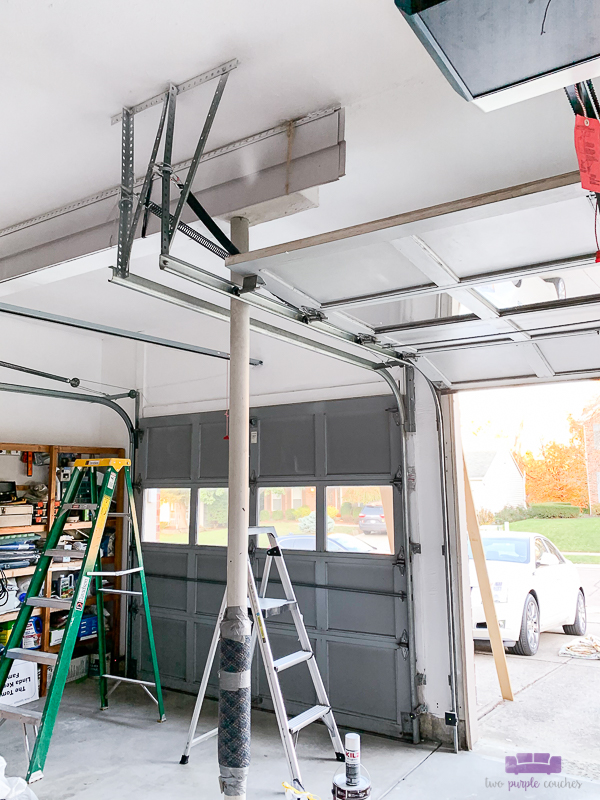
Don’t forget to cover/remove lights, light switches, garage door openers, garage door opener motors, garage door rails, etc.
Set up the Control Pro 130
Prime the tank and nozzle with water per instruction manual.
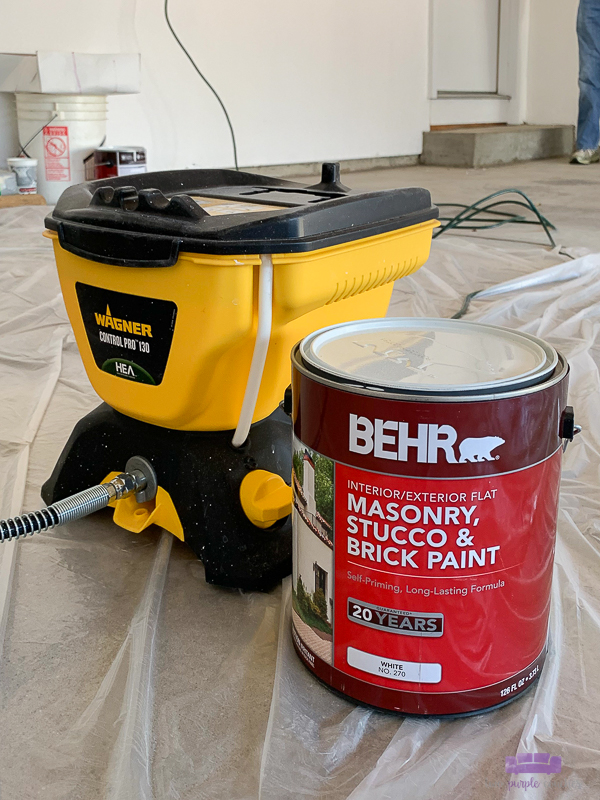
Pour paint into the tank. Double check the nozzle gun settings (the spray tip/arrow should be pointing forward), then test on a piece of scrap wood or in an inconspicuous spot on the garage ceiling. We started painting in a corner so we could make adjustments if needed.
Painting with the Control Pro 130
When you are going to spray paint a textured ceiling, you want to hold the sprayer about 10-12 inches away from the surface. Move steadily in one direction, overlapping each pass by 50% in order to get the best coverage. Be sure to lock the gun whenever it’s not in use or if you take a break.
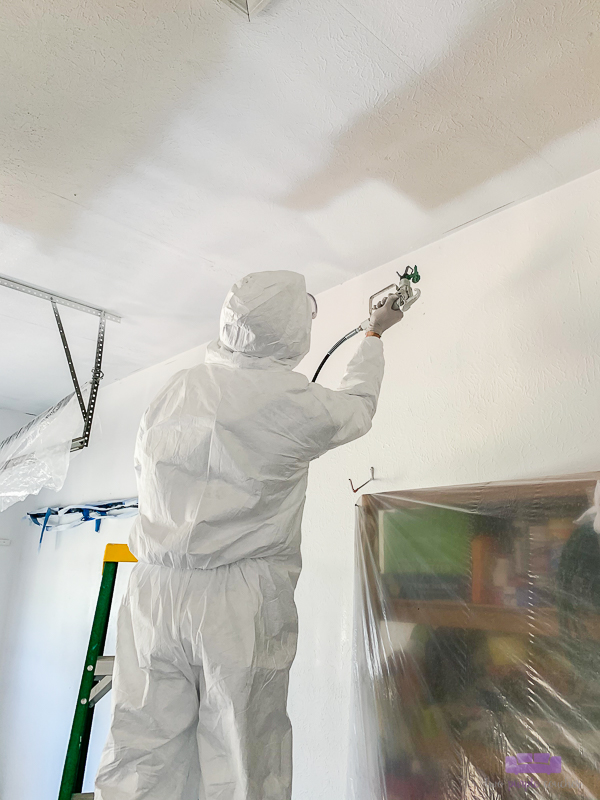
We found it easier to work in sections instead of trying to paint the whole length or width of the ceiling at once. The 25-foot hose makes it really easy to reach the ceiling and maneuver around the room without having to move the tank every few feet.
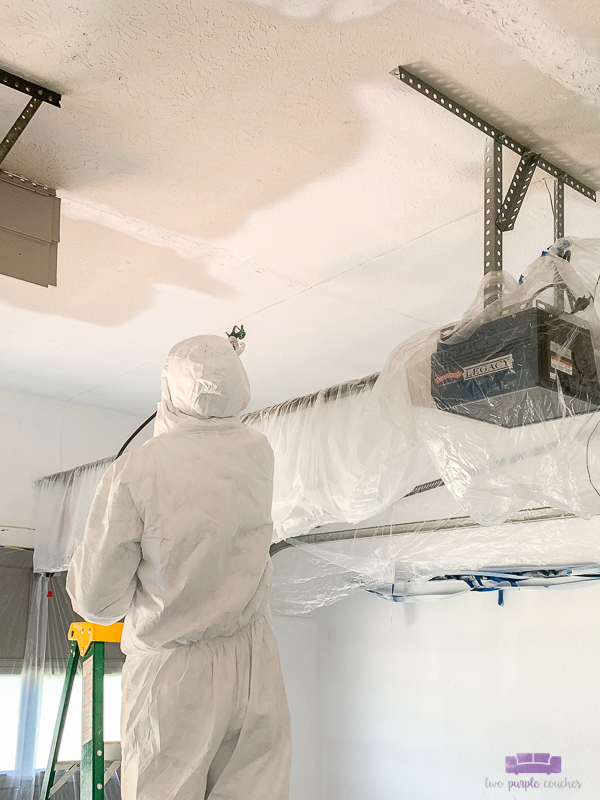
If needed, you can go back and do a second coat, or touch up any spots where the coverage seems light.
Clean up the Control Pro 130
When you’re finished painting the ceiling, follow the manual instructions to thoroughly clean the Control Pro tank and spray gun.
First, you’ll empty any remaining paint back into the can. Using warm, soapy water (if working with a water-based paint), soak the spray gun nozzle and tip while you rinse and clean the tank.
Then you’ll run several tankfuls of warm, soapy water through the spray gun both with and without the nozzle and tip attached to ensure that the hose and spray gun are completely clean and clear of paint. When finished, follow the manual instructions for long-term storage.
Once again, I am amazed at the difference a coat of paint can make, especially on a ceiling! My in-laws’ garage looks so much cleaner and brighter. And I know they are thrilled to have this project completed!
Love this? Don’t forget to Bookmark It or Pin It!


Emily,
Thanks again to you and Tom for painting our garage with the Wagner Control Pro 130 sprayer!!!
The garage looks great and is so much brighter and cleaner with the fresh coat of paint!
It was amazing how fast you were able to paint the garage with the Wagner Control Pro 130!
Awesome!!!
You’re very welcome! Glad we were able to use our sprayer to get the job done 🙂
I think the results speak for themselves! Good to know it’s far easier with the sprayer and that’s simple to use.