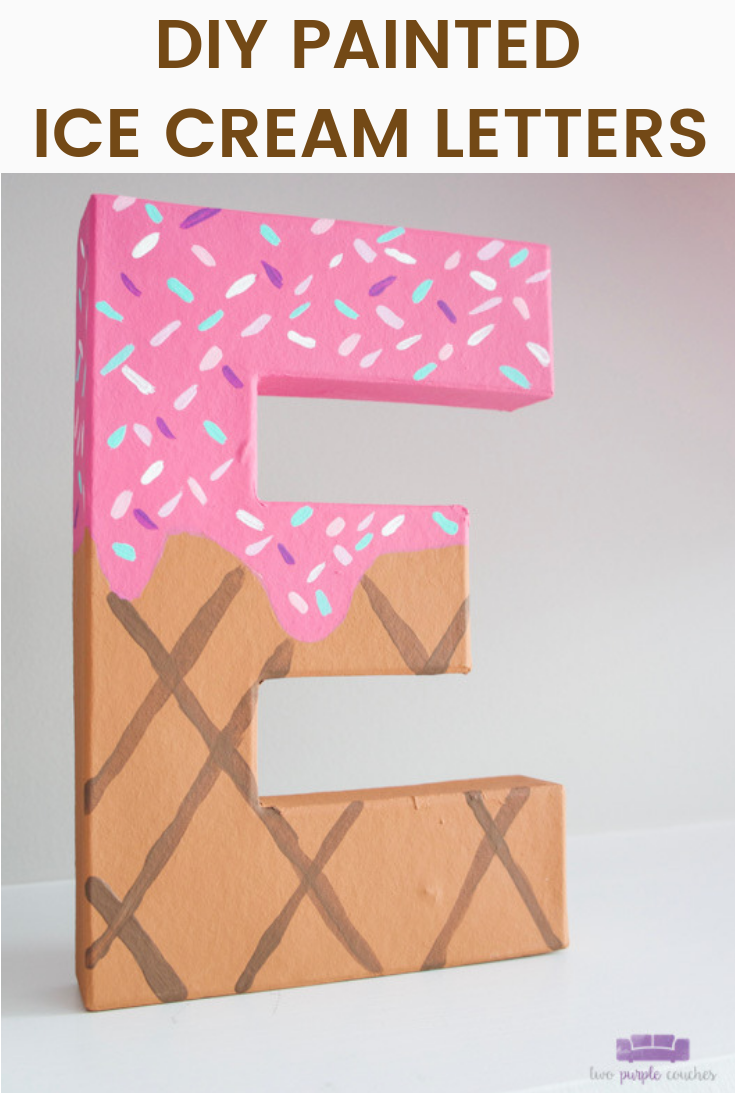
Ice cream letters make adorable baby shower letter decor or photo props for an ice cream party. Make these DIY handpainted party letters in an afternoon!
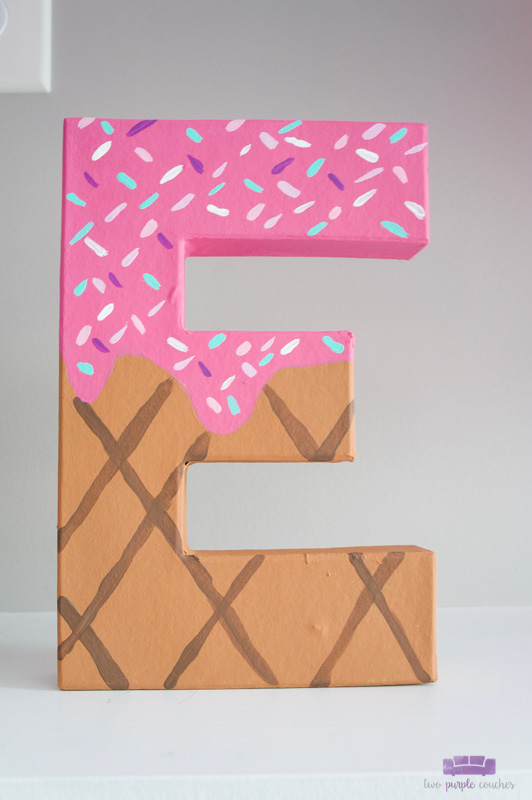
Painted ice cream letters are a cute and easy DIY for your next ice cream themed party or photo shoot! They are simple to customize and make the sweetest decorations for a baby shower or birthday party! Keep reading for a full tutorial on how to make your own decorative ice cream letters.
Remember the ice cream themed baby shower I threw for my sister-in-law back in April? Well, I’ve got a fun tutorial to share today for one of the DIY decorations I made! Click here to see more from our Here’s the Scoop Baby Shower.
When I was brainstorming decorations for my sister-in-law’s ice cream baby shower, I knew I wanted to incorporate her daughter’s name somehow. I came across some ideas for painted numbers, and thought this idea would be so cute to translate into painted ice cream letters. I enjoy painting small crafts and decor projects, and these were easily made in an afternoon!
This post contains some affiliate links for your convenience. Click here to read my full disclosure policy.
How to Paint Ice Cream Letters
Materials Needed:
- Paper Mache letters
- Acrylic paints in various colors
- I used DecoArt acrylic paints in Terra Cotta, Dark Chocolate, Royal Fuschia, Baby Pink, Brilliant Purple, Light Orchid, Sea Breeze and Snow White.
- Paintbrushes
- Pencil
Tutorial:
1.) Use a pencil to lightly sketch the ice cream drips about ⅓ to ½ of the way down the paper mache letter.
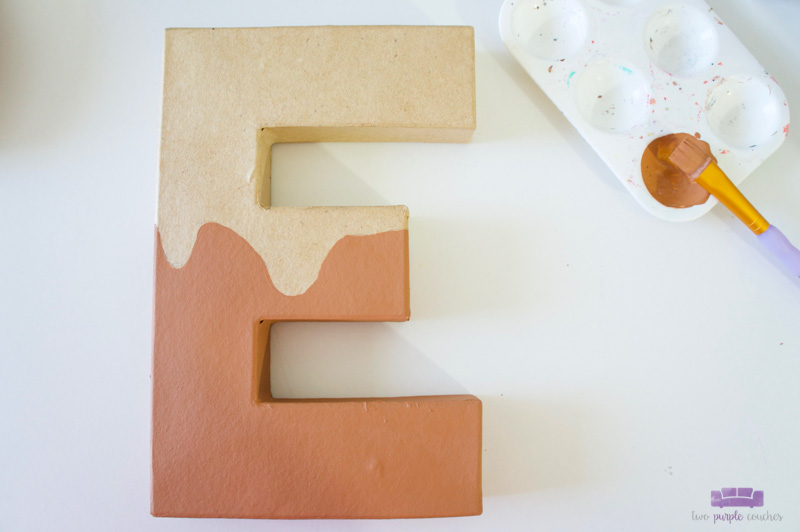
2.) Paint the bottom half and each side of the letter in the color Terra Cotta and allow to dry fully. (I think I mixed the Terra Cotta with white to lighten it up slightly and make it more true to the color of a sugar cone.) You might need two coats of paint for full coverage.
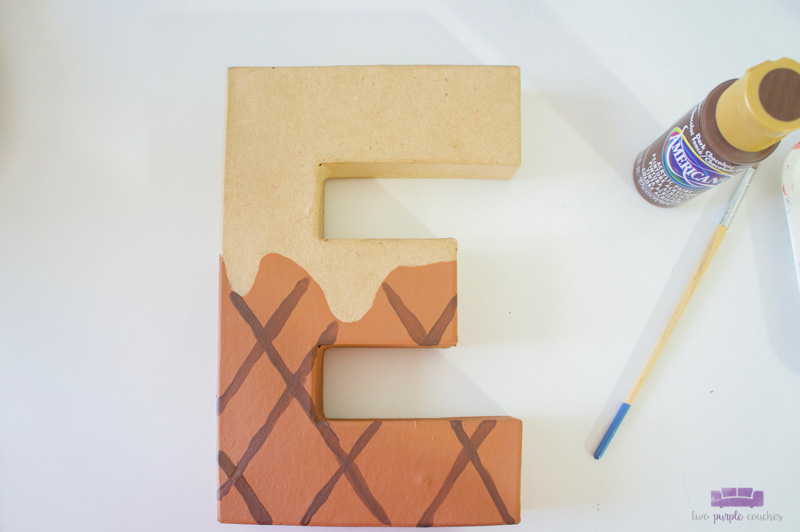
3.) Using a small paintbrush (mine is a size 6), paint on waffle lines in the color Dark Chocolate.
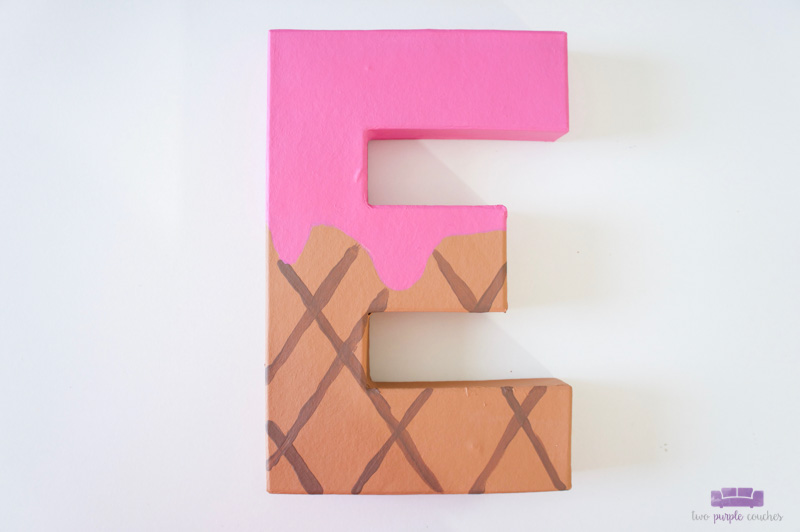
4.) Select a color for the ice cream portion of the letter. Paint the top section and allow to dry. You may need two coats. I used the color Royal Fuschia on this letter.
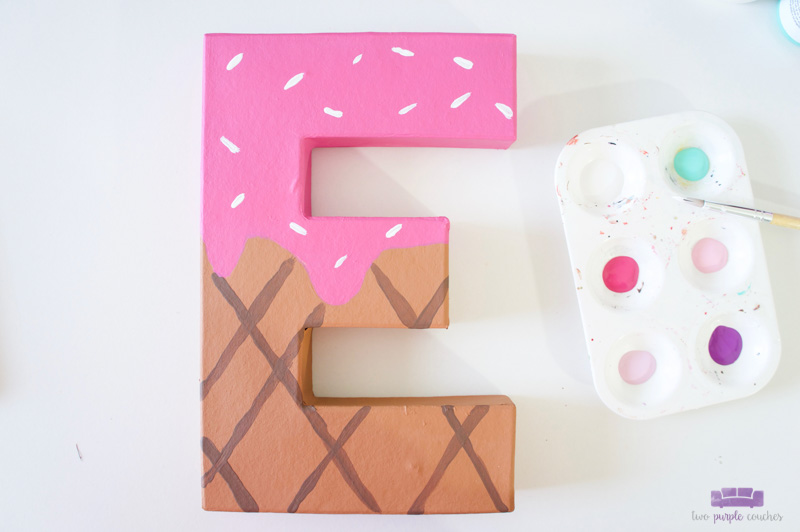
5.) When the paint is fully dry, add “sprinkles” by painting small dashes along the ice cream portion of the letter. I used a variety of colors to match other decorations I was making for the party.
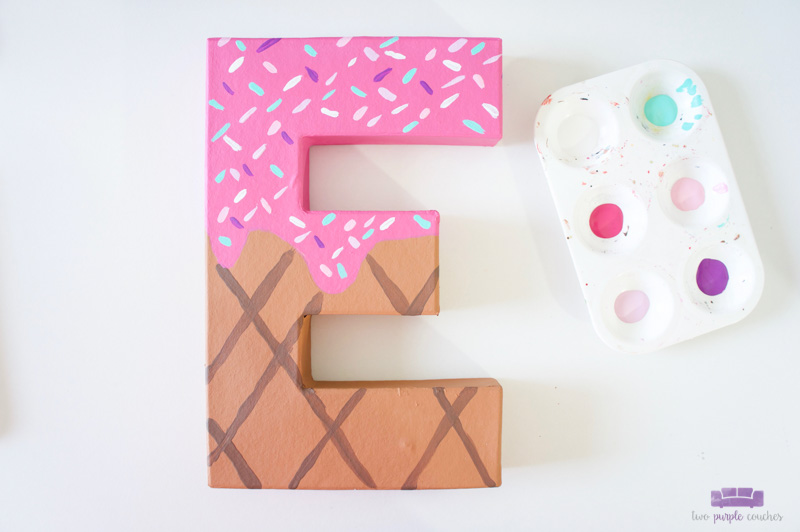

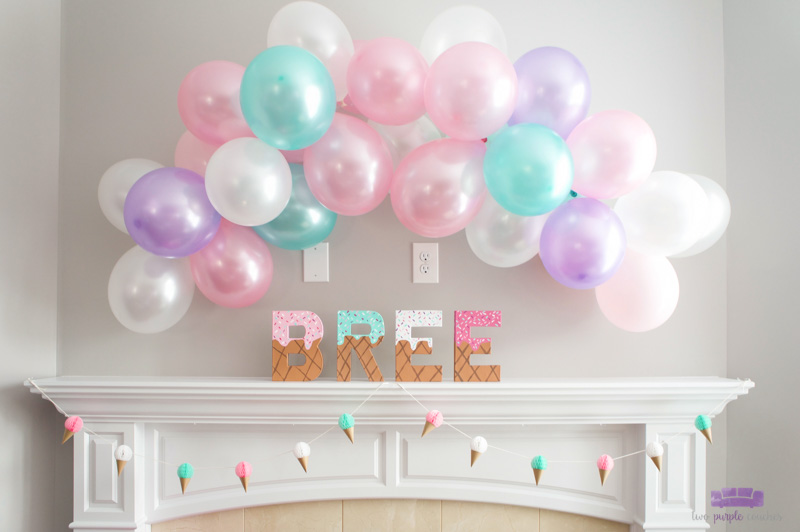
And here are the finished letters, spelling out my niece’s name. I wanted each letter to be a different “flavor” of ice cream.
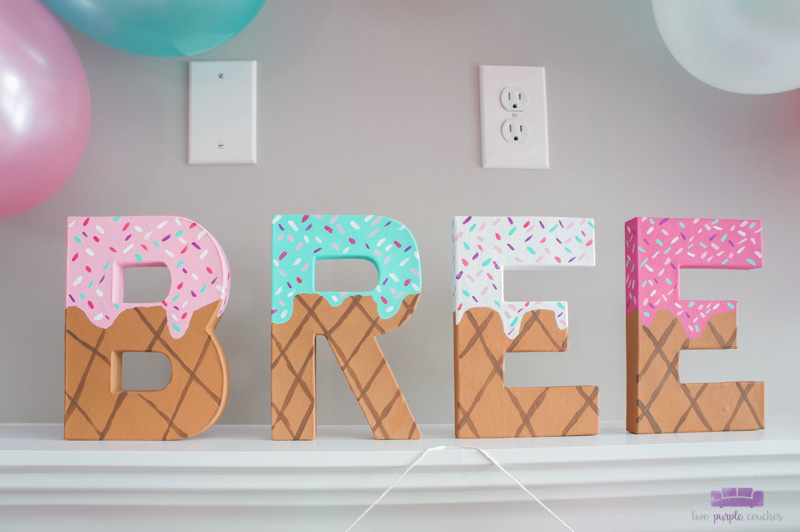
For the baby shower, I displayed my ice cream letters front-and-center on our mantel with the DIY balloon garland I made. Click here to learn how to make a balloon garland. They looked absolutely darling together and were perfect for this ice cream themed baby shower!
Love this? Don’t forget to Pin It and Bookmark It!
