Every time I come across herb markers on Etsy or at craft fairs, I am always tempted to buy them. Because let’s be honest, those tags that come with the plants are just boring! But, I always stop myself because I know I can DIY my own version.
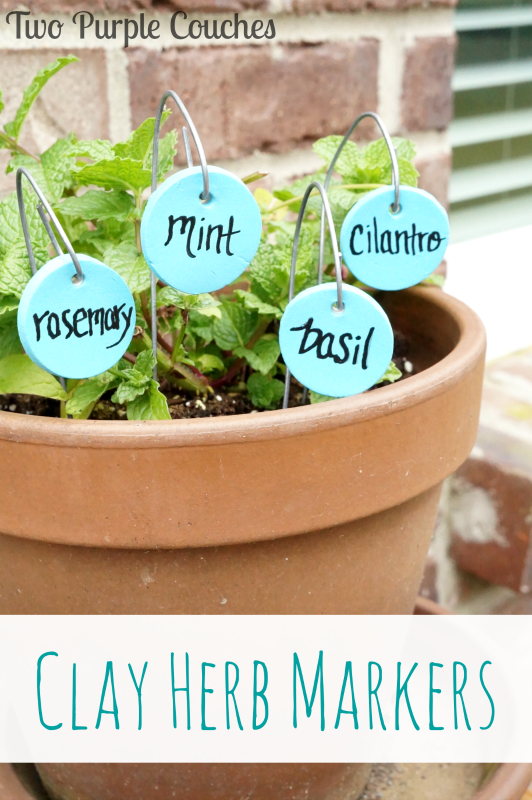
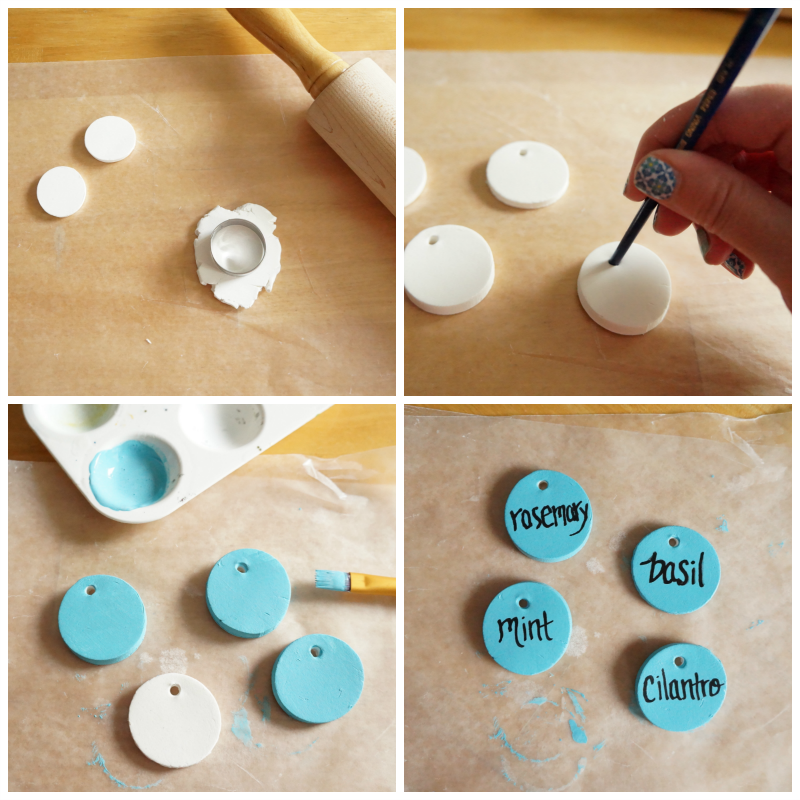
I remembered I had a bit of clay leftover from this project. So after I got my herbs planted, I got to work making my own clay herb markers.
While I love the stamped look you see on many herb and plant markers, I don’t have an alphabet stamp set (ahem—birthday gift idea—ahem). And in the spirit of the “Use Whatcha Got” philosophy, I improvised and used what I had on hand—leftover clay, acrylic paints and a chalk marker.
This project came together very quickly, sans the time it takes the clay to air dry. I let my clay tags sit overnight just be to sure they were good and dry.
I chose a bright turquoise acrylic paint from my stash and brushed a couple of coats onto each clay tag. Once dry, they were ready for lettering. And here’s where the experimentation started! I figured a permanent marker would work, but it didn’t write as smoothly as I’d hoped it would and the felt tip took a little bit of the paint off if I pressed too hard. Time for Plan B.
I went hunting through my craft supplies and decided to try a black chalk marker. This worked much better. The lettering was smoother and I didn’t have any issues with paint coming off.
Since these are going to live outside, I knew I needed to seal them in some way. As I started brushing on a coat of Outdoor Mod Podge, the chalk lettering starting to bleed and blur. Time for another Plan B—a few coats of clear acrylic spray sealer did the trick. Though I think I’ll still try a coat or two of Outdoor Mod Podge over the clear sealer just to be sure these markers can stand up to the elements. Overkill? Maybe. But I don’t want these to herb markers to crumble before the end of the summer!
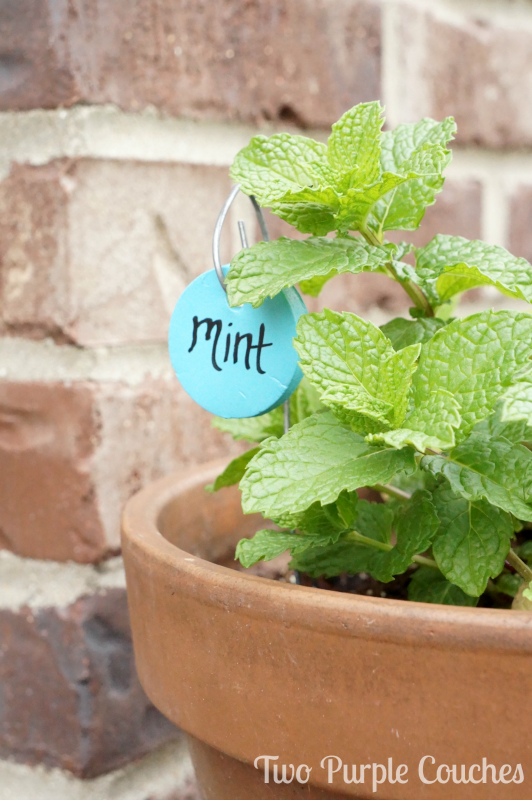
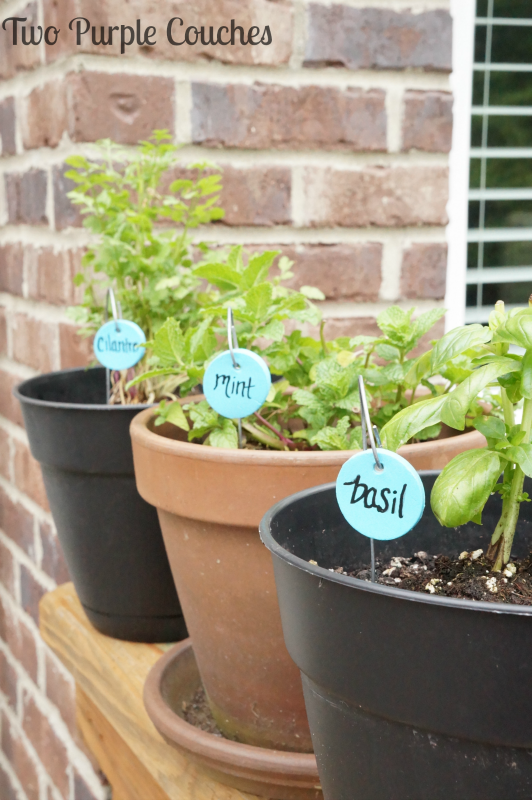
The hooks are multi-purpose galvanized wire (16-gauge) and just stick right into the soil.
I’m pretty happy with how these herb markers turned out, and I’m even happier that I spent $0 to complete this project! Now I’m going to sit back, watch my herbs grow, and dream of all the delicious homemade pesto and mint juleps I’m going to make this summer (wink).
You might also like:
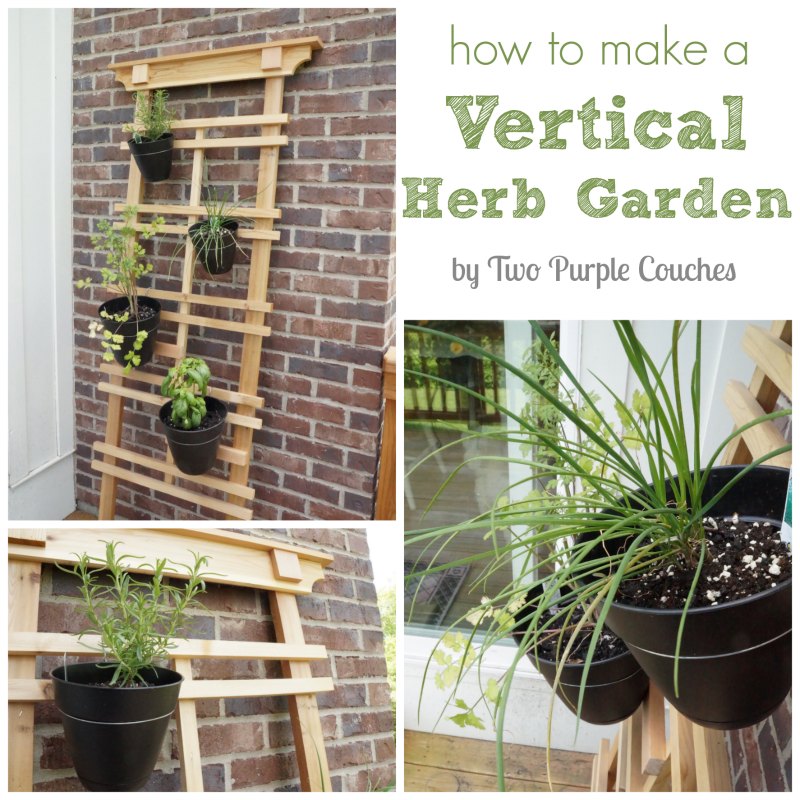
How To: Make a Vertical Herb Garden
Sharing with: Something To Talk About

Love this idea. Very cute!
Thanks Amy!
I love the clay marker, I bought a tub of lay and have not even made a dent in it, this is a great idea to use some. I also like the hanging planter idea, just seeing the way you created the hanger, I can use this on my back fence. Yeah 2 new projects for me I can handle.
I would love to have you stop by Oh My Heartsie Girls Friday Features and Linkup posts!!
Hope you have a great weekend.
Karren
xx
Karren Haller ♥ Oh My Heartsie Girl recently posted…Friday Features Linky Party
Thank you Karren! I bet a row of hanging pots would look lovely along a fence! Great idea!
Your plant markers look great Emily. So quick and easy to make too.
Kelly Hedgespeth of Simply Kelly Designs recently posted…Door Of Hearts Surprise
Thanks Kelly!
This is such a simple yet effective idea. Plus, I have TONS of clay left over from DIY Christmas ornaments I made with my son last year….I may just have to do something like this to use it all up! Thanks for the inspiration!
Christine | Where The Smiles Have Been recently posted…DIY Toddler Birthday Shirt with HTV and Fabric Appliqué
Thank you! I kind of want to make cute tags for all of my flowers and plants now 😉
Awwww! So cute! I love it. Pinned. 🙂
Thanks Ginger!
Pingback: 18 DIY Garden Markers - Dukes and Duchesses
Pingback: $100 Room Challenge: Finding Inspiration - Lemons, Lavender, & Laundry
Pingback: 20 Darling Garden Markers to Decorate Your Garden - Lydi Out Loud
Pingback: $100 Room Challenge: Finding Outdoor Decor Inspiration - Lemons, Lavender, & Laundry
Pingback: Creative Herb Garden Ideas - A Wonderful Thought