This article was originally published in the February 2016 issue of VRAI Magazine.
How do I love thee, washi tape?
Let me count the ways…
There are many things I love—my husband and family, sleeping in, ice cream and coffee—but when it comes to creating and making, I have a deep and abiding love for washi tape.
If you’re not familiar with these tiny rolls of wonder, please allow me to introduce you…
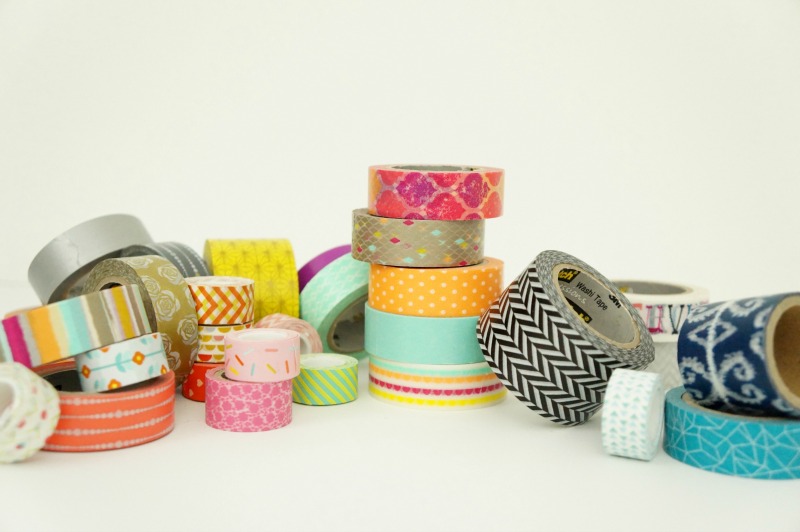
Washi tape, which originated in Japan about a decade ago, is traditionally made of paper. Because it isn’t as tacky as masking or clear tapes, it is incredibly versatile and can easily be repositioned and removed from most surfaces. Washi tape comes in countless colors and patterns to suit any mood, style or project need. From simple polka dot patterns to glittered tape, to holiday-specific designs, there are tons of options to choose from, and you can find washi tape at more and more retailers now, like Michaels and other crafts stores, and even office supply stores. (The ScotchⓇ brand sells an awesome variety of prints and patterns that I’ve seen at Staples).
Because of its versatility, washi tape can be used on all sorts of projects, large and small. I’ve used it to create greeting cards, dress up plain gift wrap, add color to magazine holders and even to make abstract artwork in minutes. But washi tape can also be used on larger surfaces like walls and furniture. And because of its less tacky quality, this makes washi tape a fun and easy way to add accents and details to items all around your home.
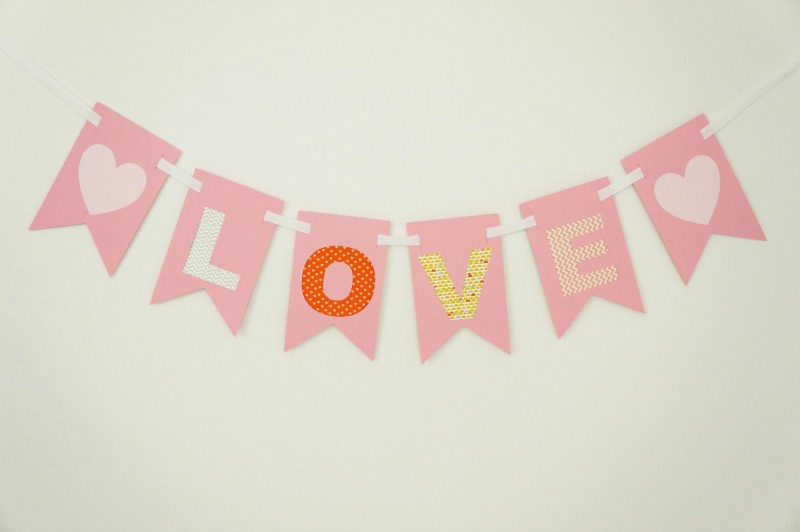
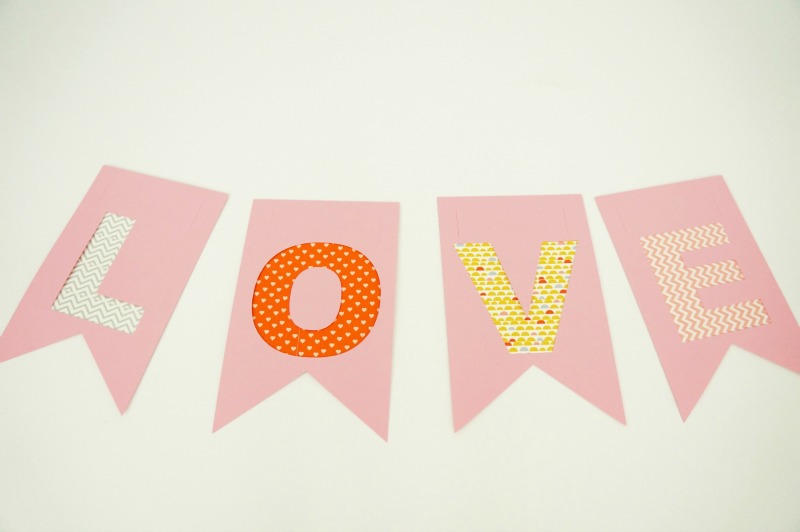
Since we are coming up on Valentine’s Day, I thought I’d share how to make a simple construction paper and washi tape banner.
Washi Tape Banner
I used my Silhouette Cameo to cut out the banners and letters, but a stencil and scissors will work just fine!
What you’ll need:
- washi tape
- construction paper and/or card stock
- an electronic cutting machine and design program OR stencils
- a pair of scissors
- ribbon
How to make a washi tape banner:
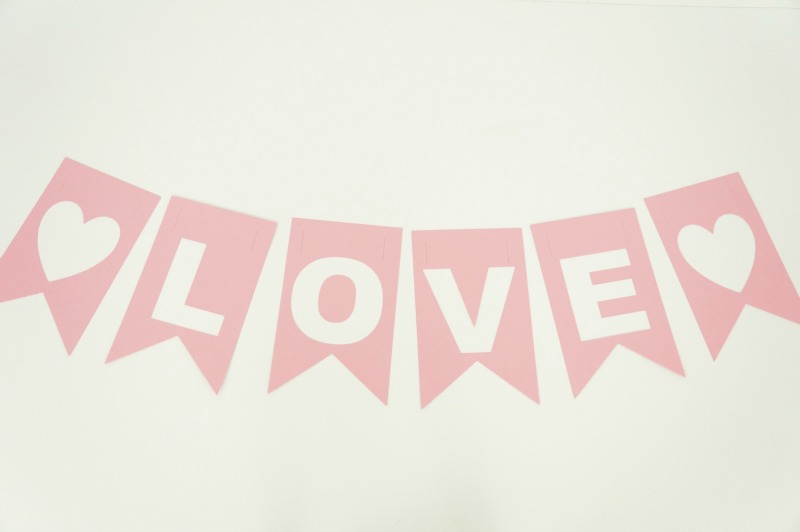
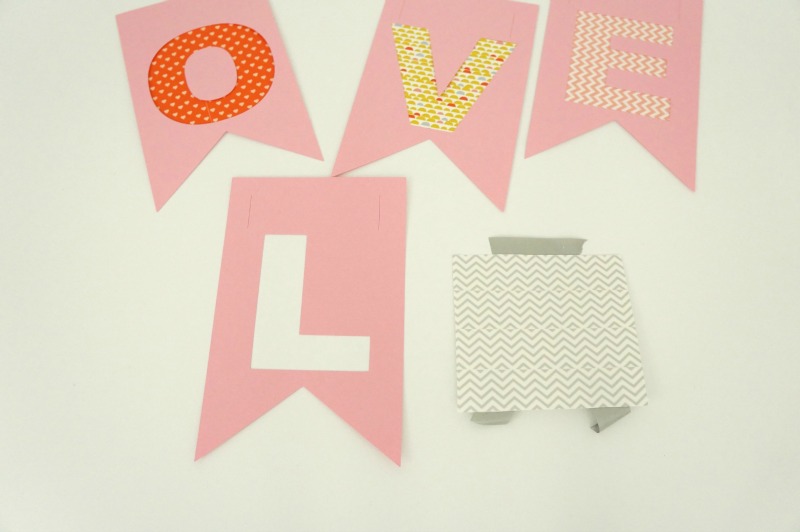
First, I designed my banner in Silhouette Studio (the design software that comes with all Silhouette electronic cutting machines), then cut each flag and shape out of pink construction paper with my Silhouette Cameo.
Next, I selection a few different rolls of washi tape and began taping them down on a piece of white card stock. You could alternate colors and patterns, or just stick to one type of tape per letter, as I did here.
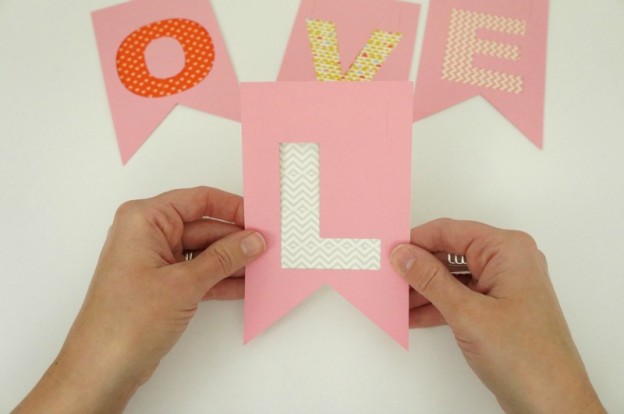
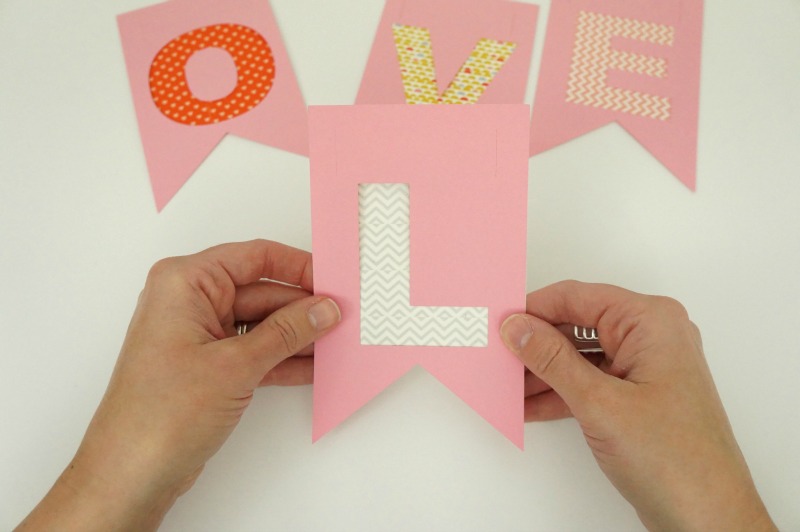
Once you’ve layered down enough washi tape to fill in each letter/shape, cut out squares of the washi taped paper and glue or tape to the back of each banner. Then repeat for each letter or shape that you wish to “fill in”.
To hang the washi tape banner, string each flag together with ribbon or twine.
Sharing with: Create Link Inspire / Moonlight & Mason Jars

I love Washi Tape and your idea is so so nice Emily! Banners are always such a fun way to decorate, right?? Have a great Wednesday!!!
Katrin recently posted…Girls room cozy corner
Thank you Katrin! I agree – I love to decorate with banners! Hope you’re having a great week so far 🙂