Tag Archives: sewing

The Fabric of Our Lives

Err, well, of our someday-to-be bed quilt.

quilting fabrics batiks

You guys know I’m not much of a sewer, but my mom is. Without her, my pillows, placemats, and owl stuffies would still just be a pin and a dream. She’s been quilting for years, and while I have wall-hangings,  holiday pillow covers, and a throw made to look like a football field, I don’t yet have a queen-sized quilt for our bed. That changes now.

After much debate, I’ve decided on a pattern (see bottom right of photo), and I think I’ve selected all of the fabrics as well. Clearly, I have a thing for batiks. Gawd, I love batiks.

stack one

Oh, is there some purple in there? I hadn’t noticed that it seems to work its way into EVERYTHING in my house. Oops 🙂

quilting fabrics batiks

And while there are hot pinky fuschia colors, I think I’ll talk them up as “merlot” and “sort of reddish-wine colors” so Tom doesn’t freak out. The man has already said he likes jewel tones, so I think I’m in the clear.

Placemat Project

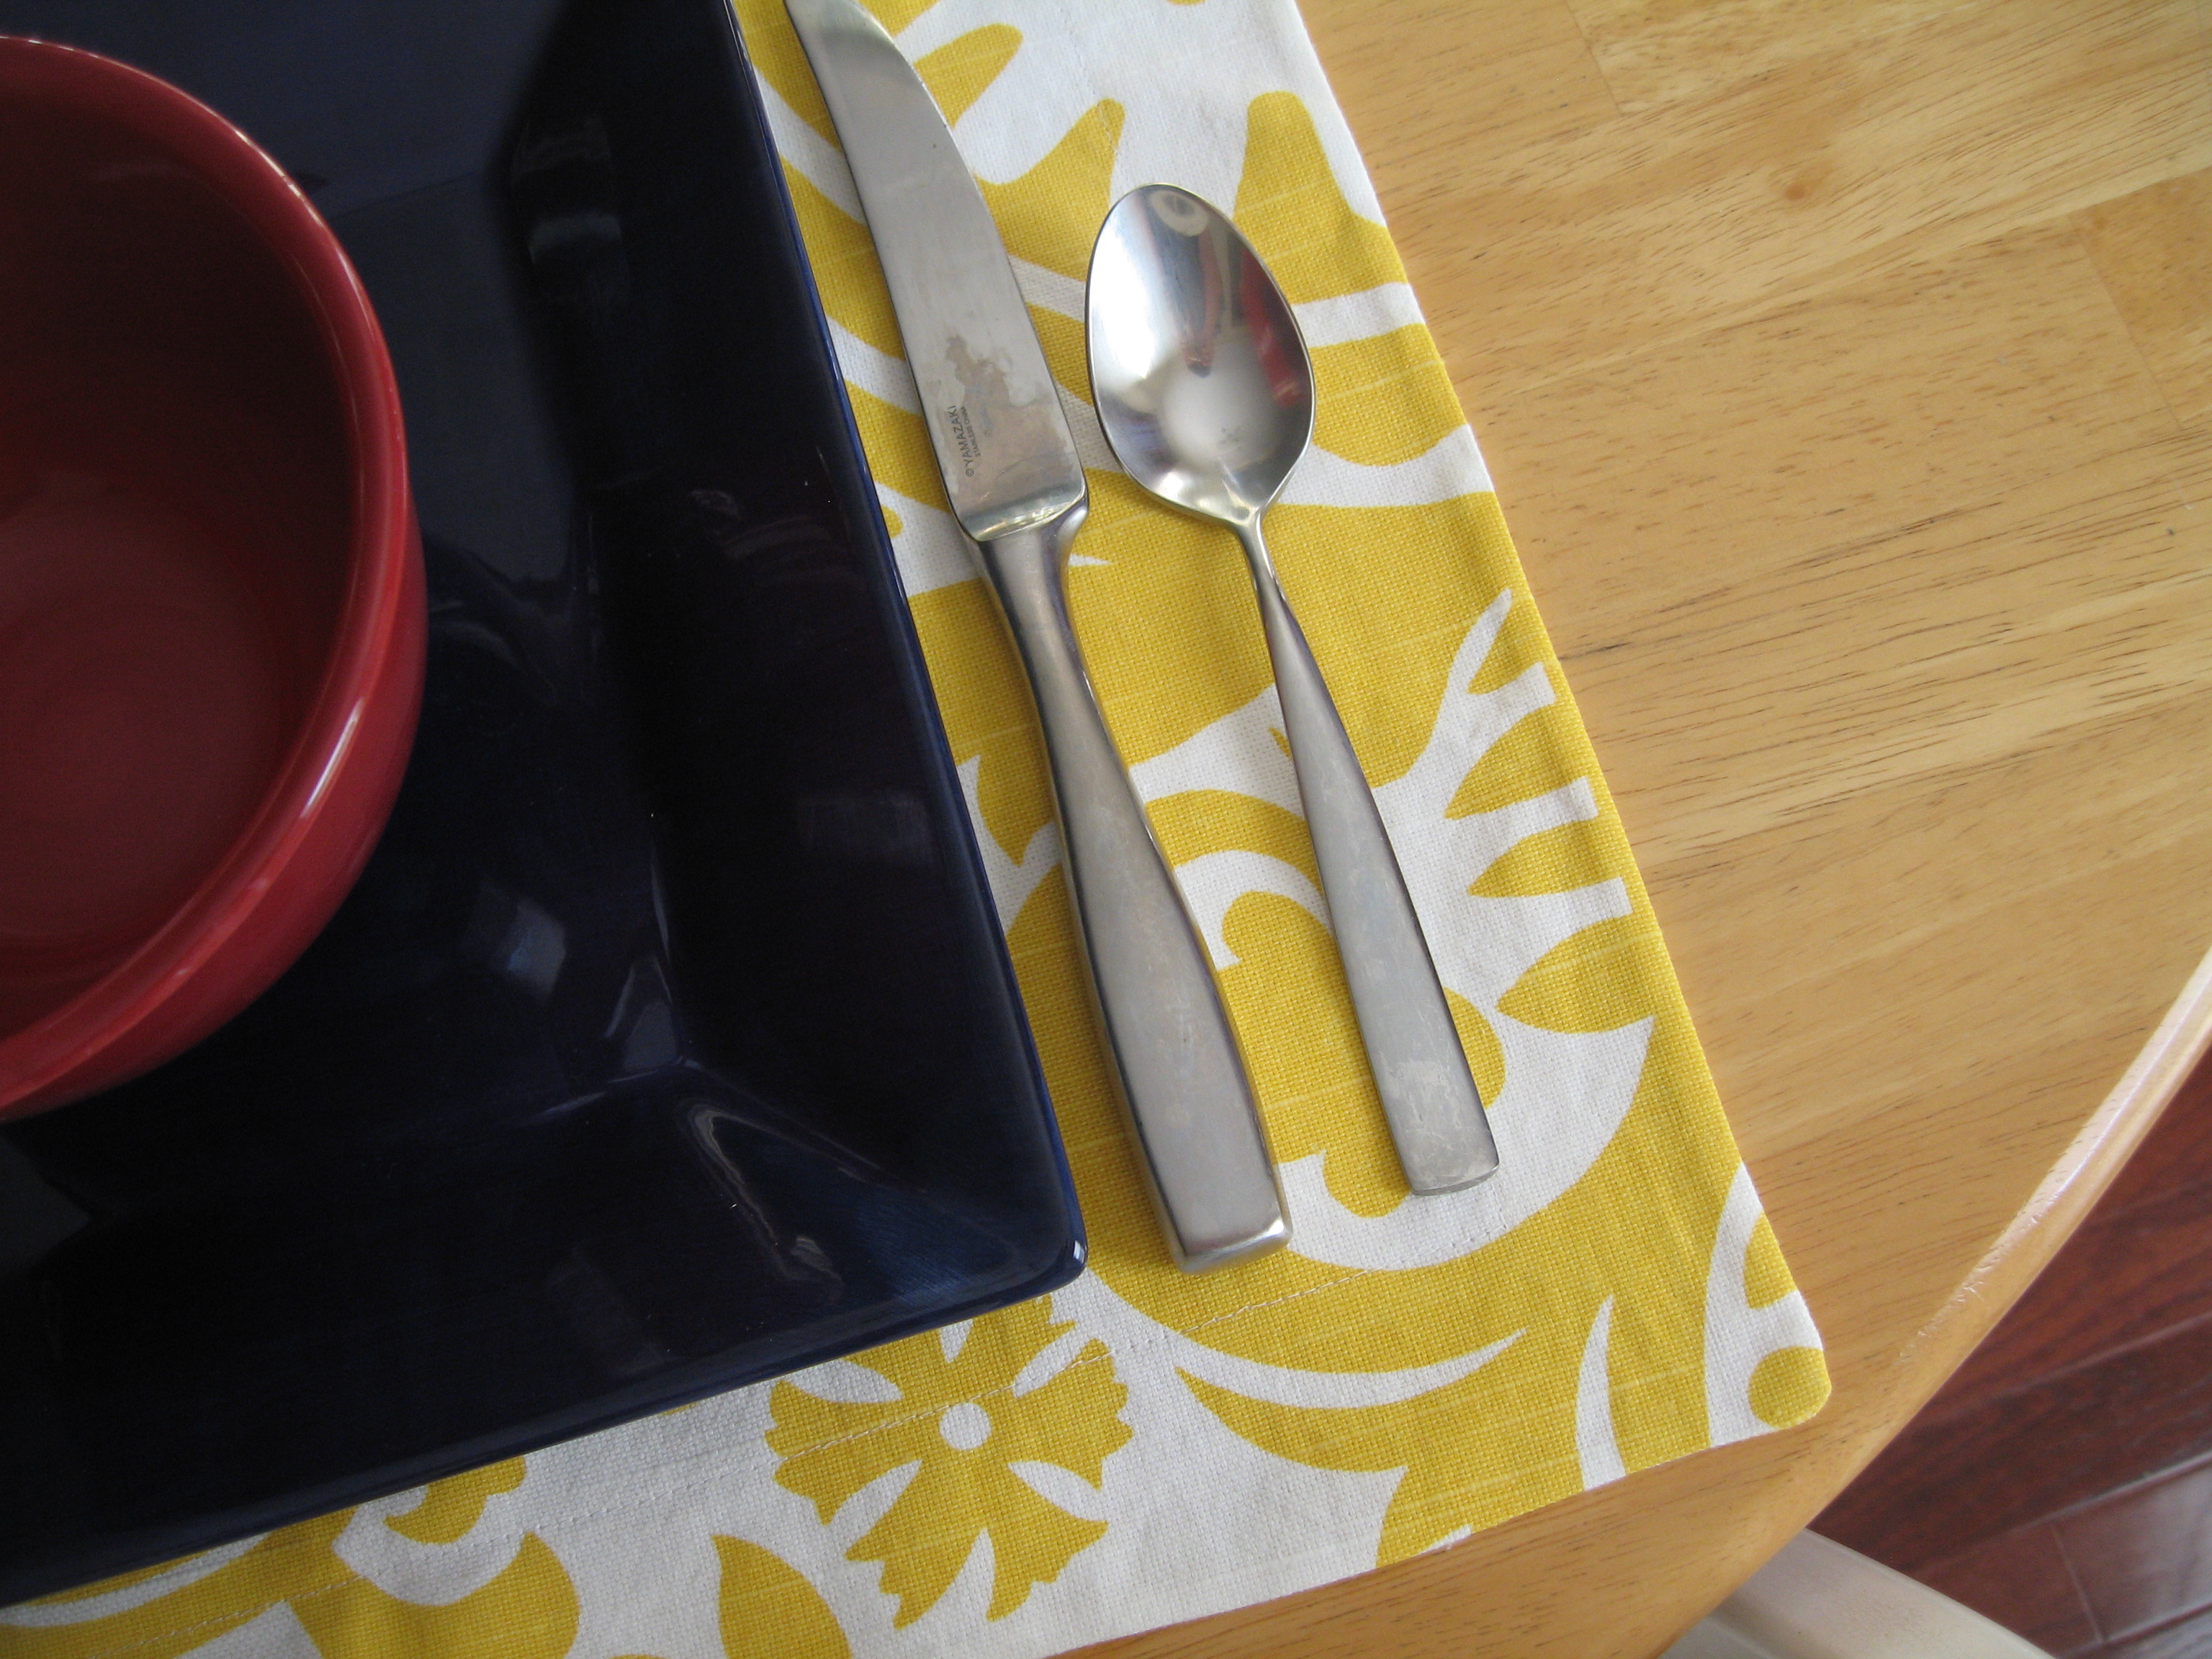
The first plans I had for my new batch of fabric were new placemats for our kitchen table. Our current placemats are a basic navy-ish blue; they don’t really match our dishes, or anything else in our kitchen, for that matter. I thought some fun yellow-patterned placemats would be just the thing to brighten up the kitchen.
As I’ve said before, I’m not really talented when it comes to sewing – my mom is. But with all of these new ideas swirling in my head, I wanted to give it a shot. The last time I sat down to a sewing machine was probably sometime in 2001 or 2002, when I took Home Ec in high school (yes, my all-girls Catholic high school still offered Home Ec). But placemats seemed easy enough for a beginner! And my mom is a willing teacher (thanks Mom!).

My mom and I studied the fabric’s pattern (Suzani Slub in yellow/white by Premier Prints) and compared various dimensions to decide how big we wanted our placemats to be. We decided a 13″ x 17″ double-sided rectangle would be the best. The double-sided decision was to give them a bit more stability and a more finished look.

pattern-planning

making my first cut!

I was too focused on sewing straight lines to take some in-progress photos. But here are some “glamour shots” of my new, handmade placemats on my kitchen table!

a cheery table setting

loving the yellow-green-orange combo

close-up

Instructions:
– Cut 2 rectangles for each placemat, 13″ by 17″
– Arrange pairs of rectangles so patterned sides are facing each other
– *Serge one of the long sides first, then unfold into a 13″ x 34″ rectangle and serge the 34″ side
– Fold back into a 13″ x 17″ rectangle and serge the remaining short side and long (17″) side
– Sew from the corner towards the center of the open short side about 3″ and back tack. Do this for both corners. (Those short seams make it easier to form the corners when you turn the placemat right side out.)
– Turn placemats so pattern is now facing out
– Hand stitch the opening closed.
– From here, the placemats could be finished, but we decided to stitch in a border to help keep the two sides more securely in place. I chose a 1.5″ border – measured this out, then stitched around, and… voila! placemats!

*NOTE: The placemats could be sewn entirely on the sewing machine without serging. The serging was done to prevent raveling.

Throw Pillow Throwdown

**I’m going to start this post off with full disclosure: I don’t sew. I can sew, but I did not sew these pillows. My excellent mother did. While I probably would have been capable of sewing these, I would have needed her expertise/supervision, and then we both agreed it would just be easier for her to do them herself 😉  But, I did “design” these pillows! I will take credit for the “creative vision,” haha!

When we ordered our purple couches (technically – a sofa and a loveseat), we got to choose the fabric and color for the throw pillows. We selected a red, as we thought this would be a cool combination with the eggplanty purple of the couch fabric. Here’s what we ended up with for the 4 throw pillows:

The pillows weren’t as red as I hoped they would be. They weren’t even orange, which I would have liked. Instead, they were a weird middle ground, kind of a rusty red-orange color.

As soon as we signed the contract to build our home (maybe before), I started designing a “mood board” to capture ideas and wish-fors for our new spaces. I knew I wanted to give our family room palette a revamp – centered around our purple couches, of course! – and the rusty red-orange pillows would have to go! Thankfully, they have zippered covers, so I could keep the pillow form inside and just have new covers made.

This is where my talented mother comes in. After plenty of perusing and pinning on Pinterest, I sketched out a few ideas for new pillow covers, and off we went to the fabric store. I was hoping to score a fun purple print or pattern for 2 of the 4, and a solid neutral that I could embellish for the remaining 2. We came home with a black-and-white print, which I have already changed out in favor of a fabulous Waverly print I discovered on a return trip to JoAnn fabrics. The black-and-white covers will make an appearance in my office/library sometime in the future.

Here’s the Waverly throw:

waverly modern essentials luminary in lilac

and the neutral covers with embellishments:

a strip of faux fur for added texture

tulle flowers

And there you have it! A throw pillow throwdown that gives our favorite purple couches a fresh new look!