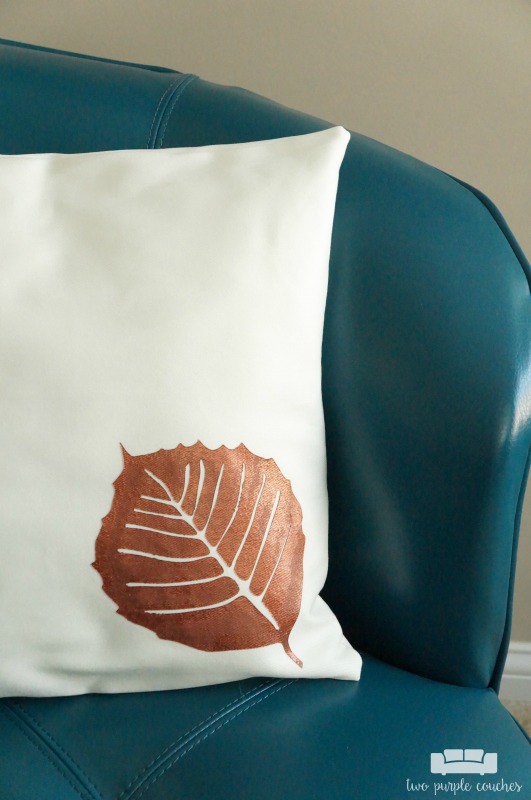
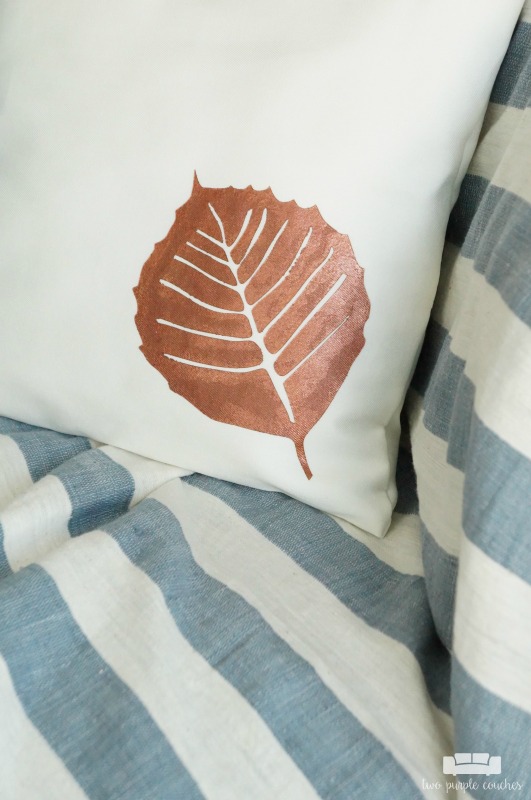
Fall is almost here, ya’ll! As I’m typing this, there are a few yellow leaves popping up in our backyard, and they gave me the idea for today’s project – a stenciled fall leaf throw pillow. I’ve been itching to change up some of our throw pillow covers, and the shifting of the seasons is a great excuse (or reason) to do so. It was also the perfect opportunity to pull out my sewing machine and Silhouette Cameo and craft up this handmade pillow cover.
Today is also our Fall Silhouette Challenge, so be sure to stick around to the end of this tutorial to check out all of my blogger pal’s fall-inspired projects and to get your name entered in our special giveaway!
I knew I wanted to create my own stencil for my throw pillow cover, but I wasn’t sure exactly what kind of design I wanted. After browsing through the Silhouette Design Store, I settled on a set of three leaf designs from Sophie Gallo. I like using elements of nature in my decor, especially during the fall season.
Let me show you how I created my stenciled fall leaf throw pillow:
Materials
- pillow insert
- throw pillow cover (buy plain or sew your own using this tutorial)
- Silhouette Cameo
- Silhouette stencil material
- metallic craft paint
- fabric medium
- foam spouncer
- matte Mod Podge
Instructions
I selected one of the three leaf designs and sized it to fit in the bottom corner of my throw pillow cover. The pillow cover is about 16″ x 16″ finished. I sized my leaf design to 6.75″ x 5.82″.
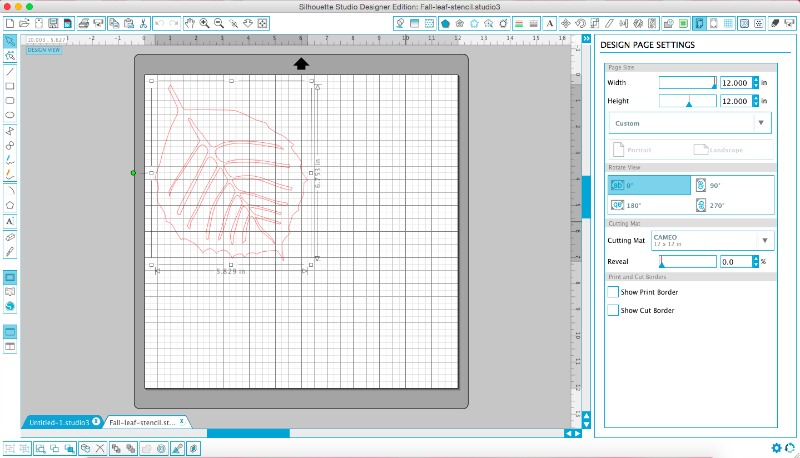
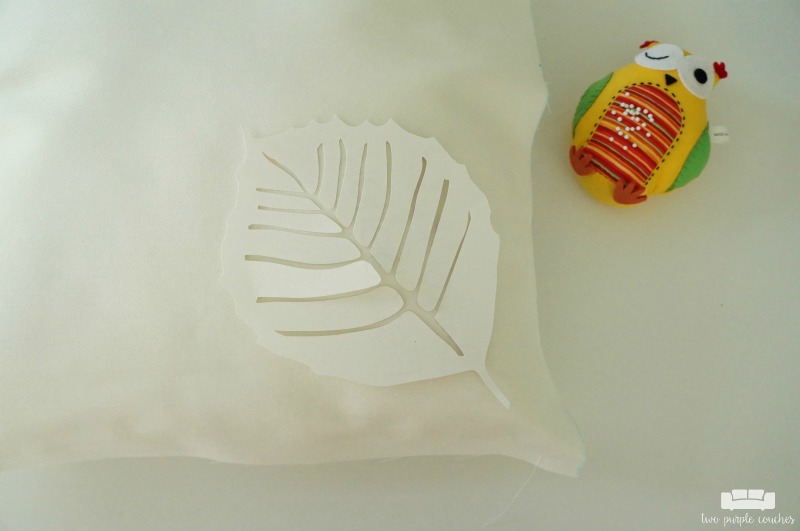
I wanted to be sure the size was right for my pillow, so I first cut the leaf design out of card stock so I could play around with the placement on my pillow cover. This is a good way to ensure everything is sized properly before you waste valuable stencil material!
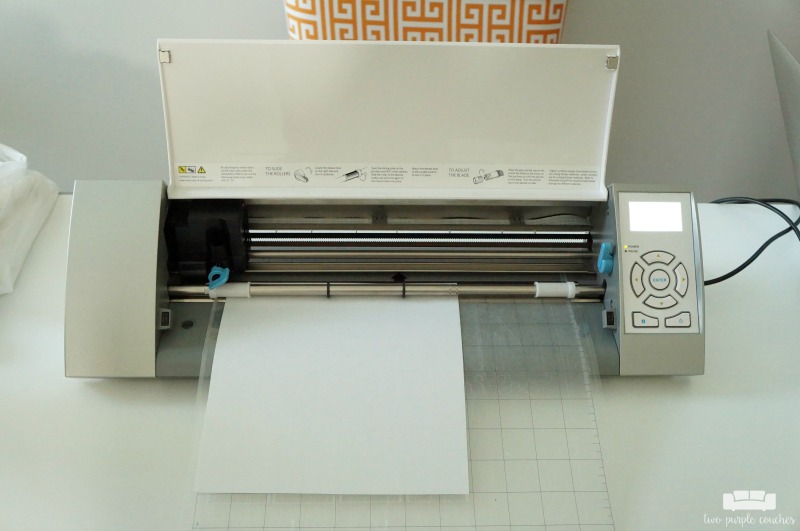
I trimmed a square of Silhouette stencil material, stuck it to my cutting mat, adjusted the cut settings for stencils, and sent my design through my Cameo. I know you can send the stencil material through without a mat, but since I only needed a smaller piece of stencil material, I opted to use my mat. Anyone else just feel safer using the cutting mat?? Just me? Oh well!
I weeded out the elements of the leaf that I wouldn’t need, i.e. the portion that I would be painting in. For whatever reason, my brain really struggled with this part—another good reason to do a test on card stock first!
It’s been a while since I busted out my sewing machine, and I’ll admit, I had to call my mom—not once but twice—before I even got the machine threaded! But once I was reassured that I was measuring and cutting my fabric correctly, my handmade pillow cover came together like a dream. I made an envelope-style pillow cover using my own tutorial in this post.
I actually decided to stencil the leaf design before I sewed the pillow cover together because I thought it would be easier to work with the cover in pieces. (I will always do it this way in the future!) Just be sure to account for seam allowance when placing your stencil on the fabric.
Have you guys heard about the Mod Podge trick with stencils? I tried it here and it works on fabric too! Here’s what you do – after applying your stencil to the fabric, brush on a coat of matte Mod Podge around all of the stencil edges. The Mod Podge seals them so paint won’t bleed under them! (Be sure to use the matte finish so you don’t have glossy spots in your finished design!)
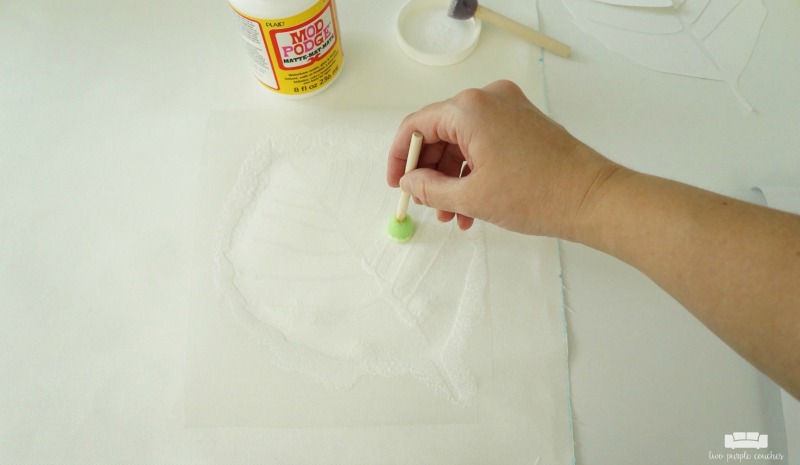
For the leaf design, I chose a bronze-y metallic paint and mixed it with a fabric medium per the bottle instructions. Fabric medium helps the paint adhere better and withstand use and washing. Once the Mod Podge was dry, I used a foam spouncer to apply my paint mixture in an up-and-down motion.
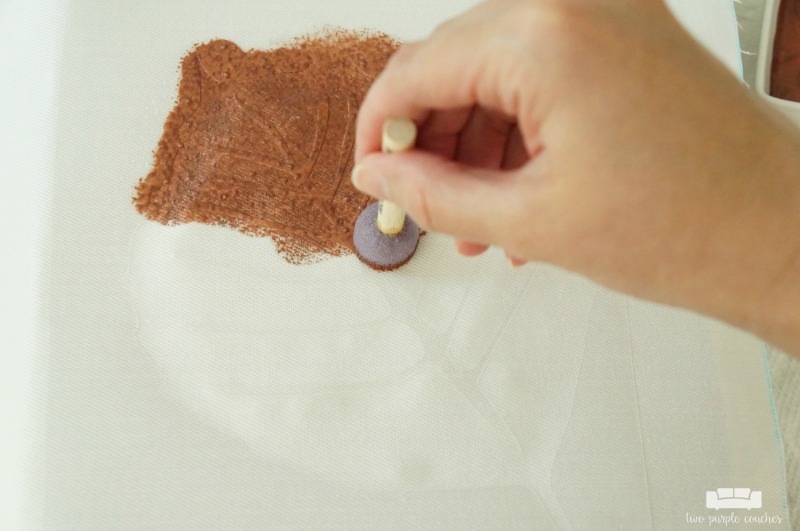
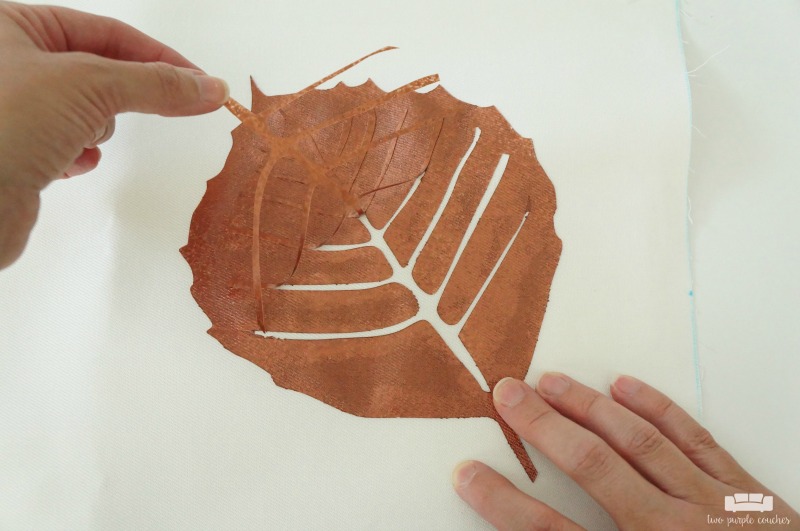
Once the paint was dry, I carefully peeled away the stencil…
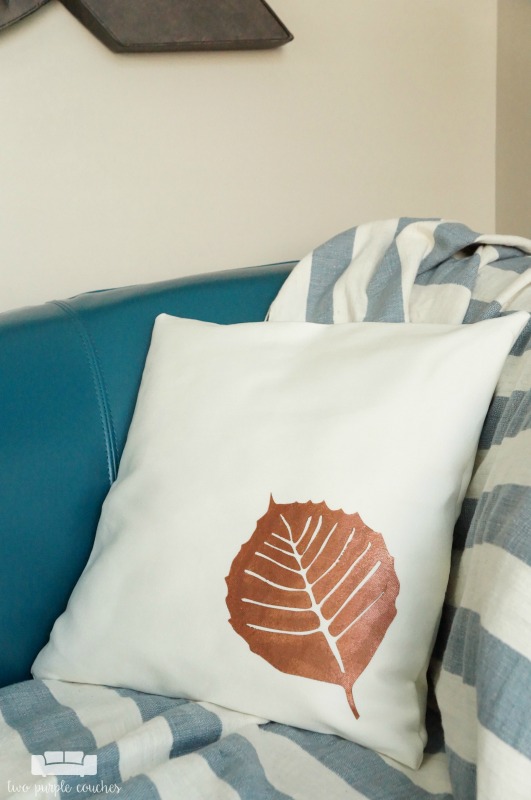
Then I sewed my envelope pillow cover together and voila—my cute fall leaf throw pillow is done!
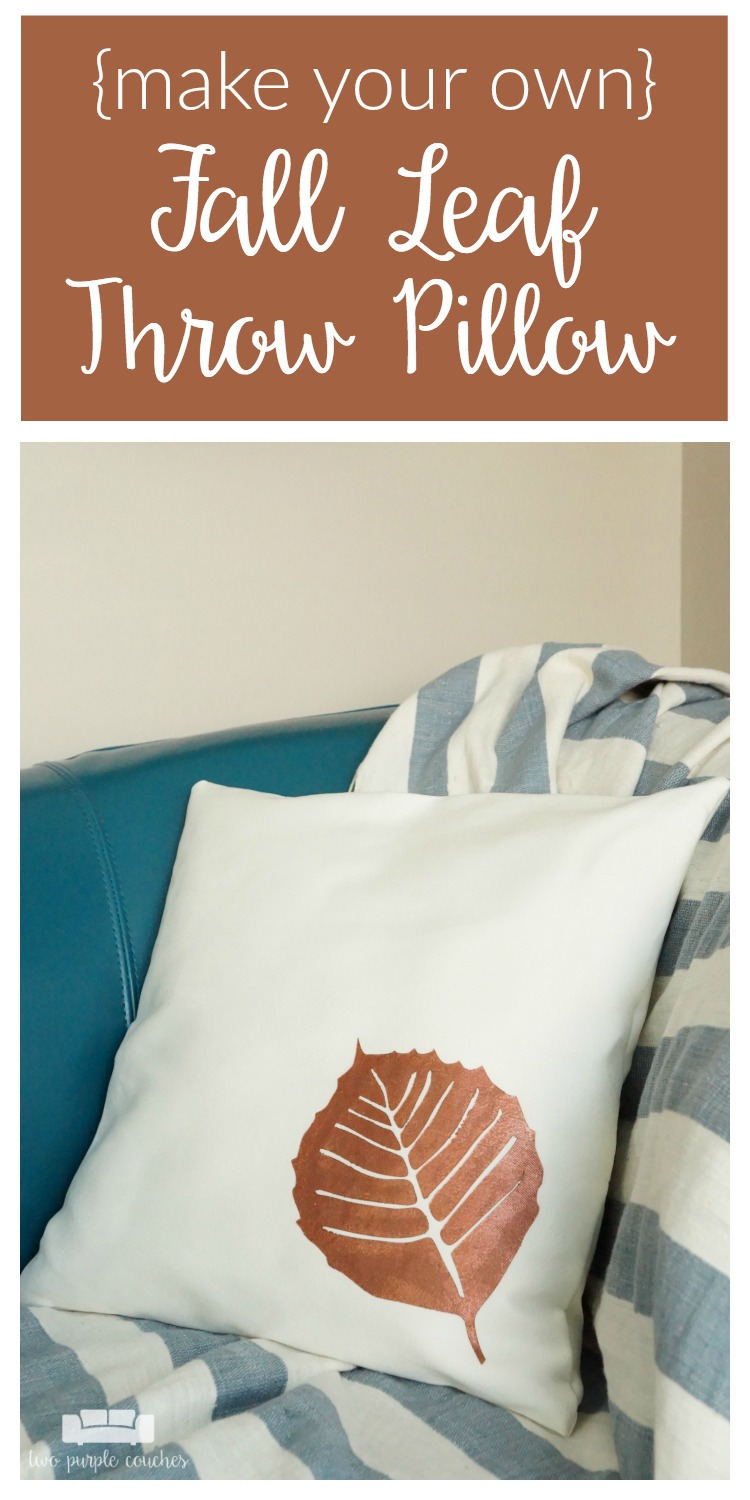
Love this project? Pin it for later!
Want to Check Out More Silhouette Projects?
My Silhouette Challenge buddies and I are all sharing fall-inspired projects on our blogs today, so peruse the projects below for a wealth of Silhouette inspiration!

1. Small Stuff Counts // 2. My Favorite Finds // 3. Two Purple Couches // 4. The Thinking Closet // 5. Practically Functional // 6. GiveMeAPaintbrush // 7. Creative Ramblings // 8. Ginger Snap Crafts // 9. Where The Smiles Have Been // 10. Sisters, What! // 11. Create & Babble // 12. HaberdasheryFun // 13. Curly Crafty Mom // 14. unOriginal Mom

I just asked my mom for an Amazon gift card for my birthday, because I am dying for a Silhouette machine! This and hers would be just enough. Thanks for hosting this giveaway Emily and I love your pillow!
April R – Uncookie Cutter recently posted…Home Depot Workshop – Rustic Wheelbarrow
Perfect timing!! Thanks for entering, April!
This is so pretty! I have never used my SIL for a stencil. But you make it look so easy. Great to be part of the challenge with you this month!
Thanks Carrie! This is only my second time doing a stencil, but it’s pretty easy to do, and the Cameo cuts the material so well!
Oooh, I love that metallic paint color! Perfect for fall. Thanks for the Mod Podge trick–I’ll try that one out next time. Thanks for the Silhouette inspiration!
Thanks Emily! The Mod Podge trick is a lifesaver!
I love how your stenciled pillow turned out. There are so many projects that I could do with a Silhouette — I would love to get one! Thanks for sharing your tutorial!
Lauren recently posted…Custom Bathroom Art & Canvas Factory Giveaway
Thank you Lauren! I barely scratch the surface on what my Silhouette can do – they’re pretty cool machines!
Cute!! I love the metallic paint. I still haven’t tried the Silhouette stencil material, I need to get some!
Thanks Meredith! The stencil material is definitely fun to play with!
What a beautiful fall pillow and this doesn’t look hard at all! I love the color you selected, too for the leaf!
Carrie
curlycraftymom.com
Carrie @ Curly Crafty Mom recently posted…Create a Fall Tablescape with Farm Rich & BBQ Chicken Caesar Skewer Recipe
Thanks Carrie!
What a cute pillow for fall! I’m so jealous to hear that your leaves are already changing colors. Down here in AL we usually don’t get much changing at all….they all just fall off and “gift” us with bare trees till spring! Oh, and I’m also one who ALWAYS uses my mat when cutting materials on my Silhouette….a lot less stressful! 🙂 Great project, and thanks for the inspiration!
Christine | Where The Smiles Have Been recently posted…Tips for Using Stencil Film with a Silhouette + Font Bundle Giveaway!
Thanks Christine! Most of our leaves are still green, but I’ve spotted a few tinged with yellow and orange! I’m going to be sad when they’re bare for the season!
This pillow turned out gorgeous, congrats on it! Now you have me itching to try it myself!
Pamela @ Brooklyn Farm Girl recently posted…Serving Toes Breakfast (A Post For The Cat Moms)
Thank you so much!
This is so beautiful, Emily! Thanks for the tip using mod podge for stenciling 🙂
Thank you Helen! The Mod Podge trick is so helpful!
Such an adorable project for the fall season! Wish I knew how to sew. I bet these would sell very well this time of year too! Great job!
Thank you Bev!
Beautiful! My new Silhouette Cameo (purchased using my gift card – THANK YOU!) just arrived and I’m having fun learning all the ins and outs of how it works. Getting ready to try a stencil – thank you for the mod podge tip!
Thank you so much, Linda! That Mod Podge trick is a life-saver. Congrats on your new Cameo! I can’t wait to see what you create 🙂