In addition to the monthly “challenges” coordinated by our Silhouette Challenge group on Facebook, the team also coordinates quarterly swap events. The “late summer” swap was for DIY gift tags. I don’t know what it is about gift tags, but I love ’em! And I love to make ’em!
Like pretty much all of my crafty projects, I like to keep things simple. Just a few steps, or a few materials, or both. This gift tag swap was no exception. As much as I’d love to do something intricate and complicated, I know I just don’t have the patience to do so!
And I’ll admit, I was stumped for a couple of weeks. I had no idea what sorts of tags to make. Should I pick a holiday? Christmas? No! Maybe… hmmm, which other holiday is a major gift-giving holiday? Should I make a bunch of the same tag? Or make lots of individual tags? (umm… that starts to creep into the intricate and complicated space). But I love to dabble, so I knew I couldn’t just do one thing for each of the 31 tags I needed to make.

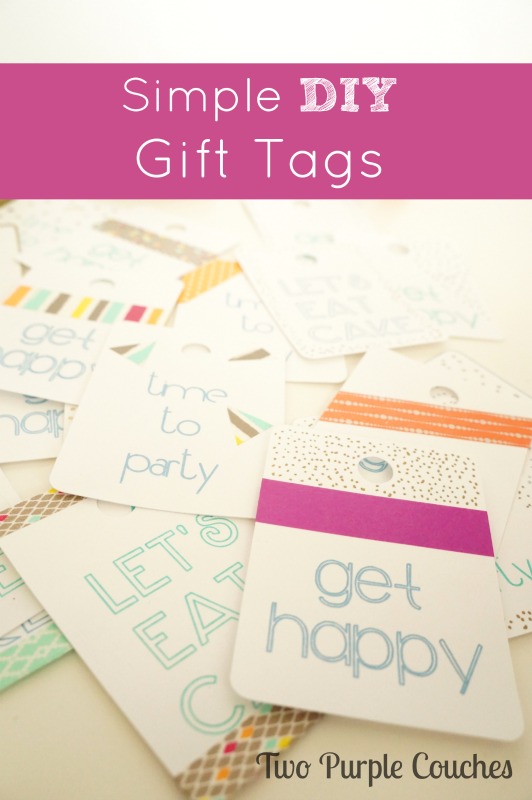
So here’s what I decided on: a range of gift-appropriate sayings on a relatively simple, yet versatile, gift tag design that I could embellish with washi tape, paint pens,… whatever my dabbling heart desired!
In other words, a perfect combination (for me).
For the sayings on the tags, I landed on a range of birthday-ish phrases and an “all-purpose” phrase that could work for a hostess gift, a holiday gift, housewarming, even wedding!
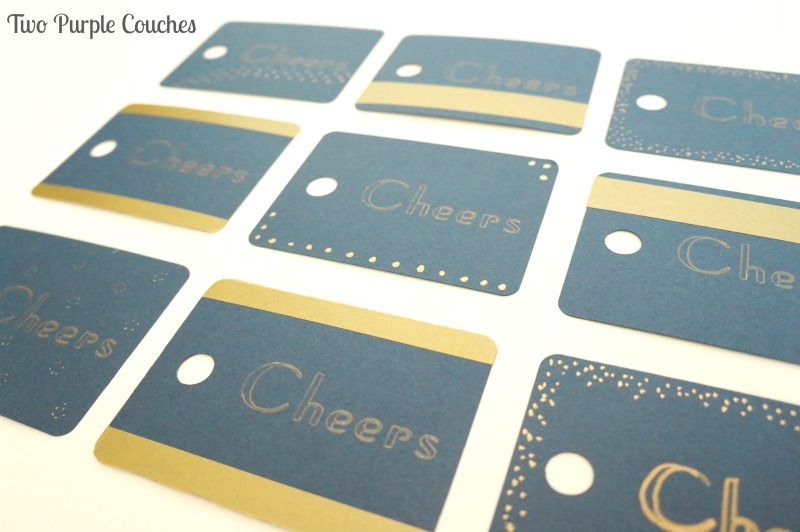
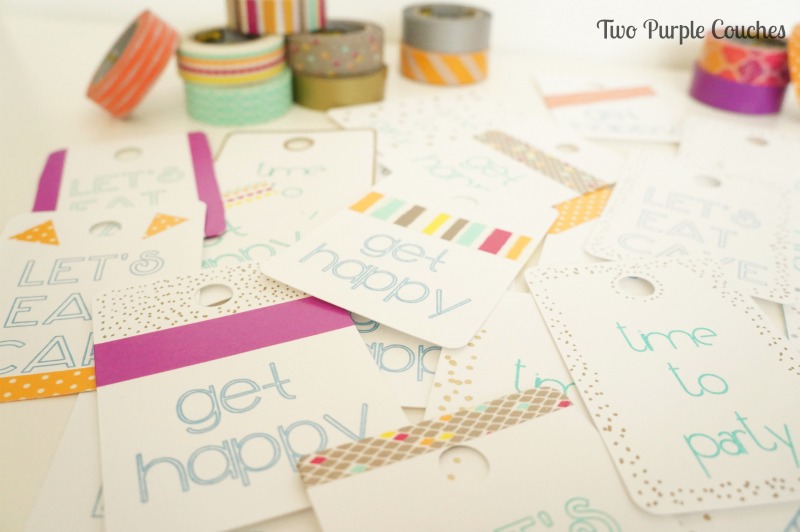
Once they were designed and cut, the embellishing fun began! I gathered up my ever-expanding washi tape collection, favorite gold paint pens, and let my creativity take over.
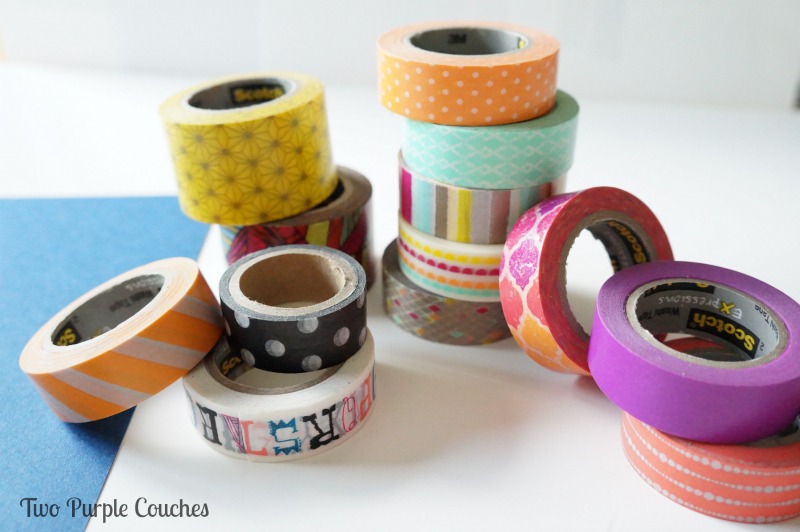
There’s really no way to mess these up. A strip of tape here, some paint pen polka dots there, and 30 minutes later, you’ve got a cute collection of DIY gift tags, all ready to be added to pretty packages!
Okay, so, remember how I said I made these for a swap? Here’s how it worked; I, along with 30 of my Silhouette-lovin’ friends, crafted up 31 tags and mailed them off to our fabulous coordinator. She sorted each package into new packages containing one each of everyone’s tags. So a few weeks later, I received an envelop stuffed full of amazing, hand-crafted gift tags. Here’s half of the bunch of goodness:
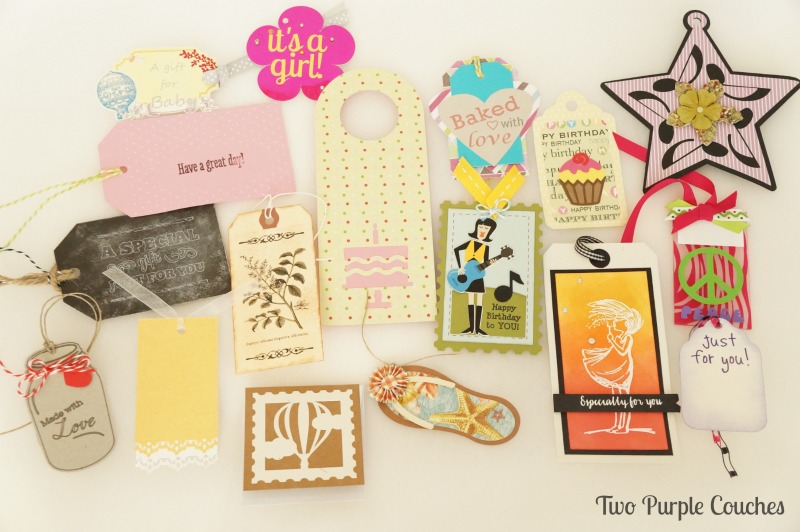
There’s some serious Silhouette talent in our group! And tons of inspiration 😉
And here’s the other half:
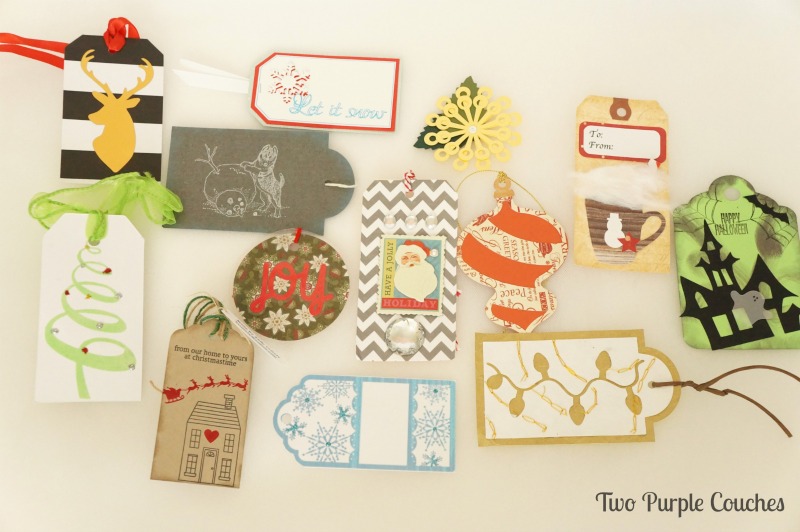
I’m so excited to use these holiday gift tags in the next couple months! And even though I prefer simple, I could totally tackle some of these awesome tags myself!
When it comes to gift tags, are you a make ’em or buy ’em kind of person?
Sharing with: Creative Spark / Work It Wednesday / Weekend Re-Treat / Share It Sunday
These are adorable!!
Jennifer @ Town and Country Living recently posted…10 Kitchen Pantry Ideas for Your Home
Thanks Jennifer!
I think it is a great idea to have premade tags. I always want to add a tag when I wrap gifts but it’s usually last minute don’t have time to make them. I love how you used washi tape to dress up your tags. Washi tape is one of my favorite craft supplies.
Kelly Hedgespeth of Simply Kelly Designs recently posted…Harry Potter Onesie Using Heat Transfer Vinyl
I often find myself in the same boat, Kelly! That’s why I’m glad I’ve figured out this simple “equation” for creating a quick but cute tag. All you need is a basic shape and some washi tape. Because everything is better with washi tape 😉