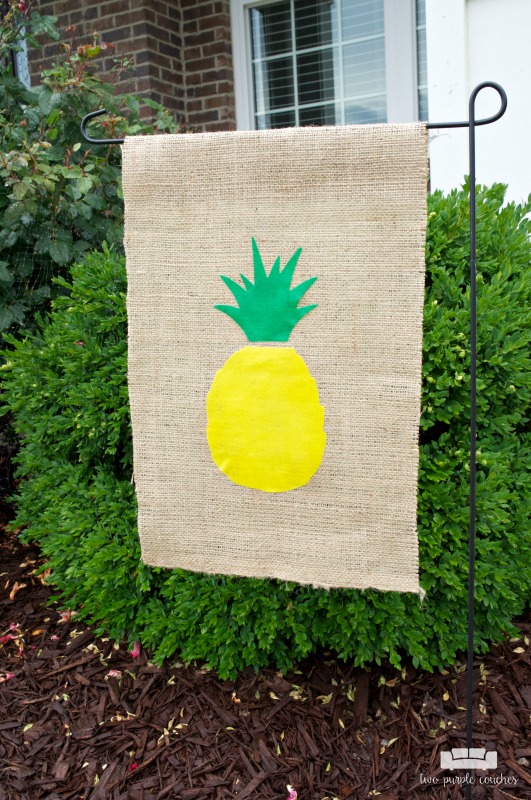
Are you a fan of the pineapple craze that seems to have taken the Internet by storm? It’s funny, I had no strong feelings either way for this trend… until we got back from our Kauai trip. Ever since then, I’ve been obsessed with all things pineapple, hibiscus and Monstera leaves!
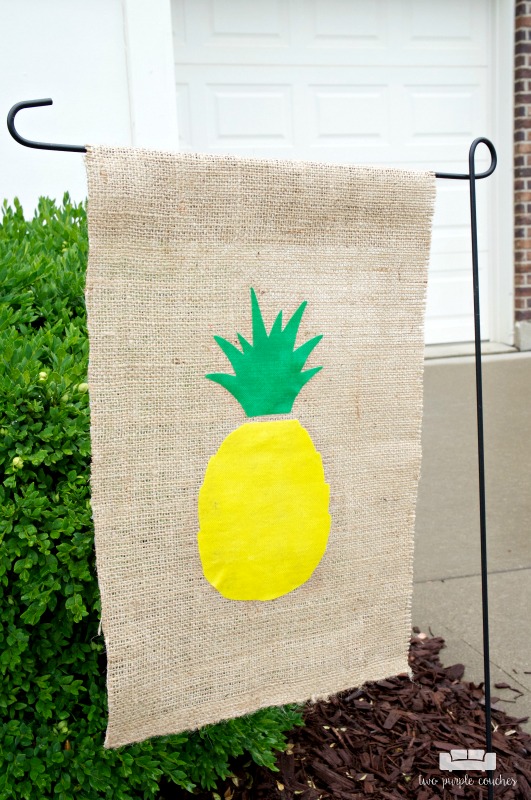
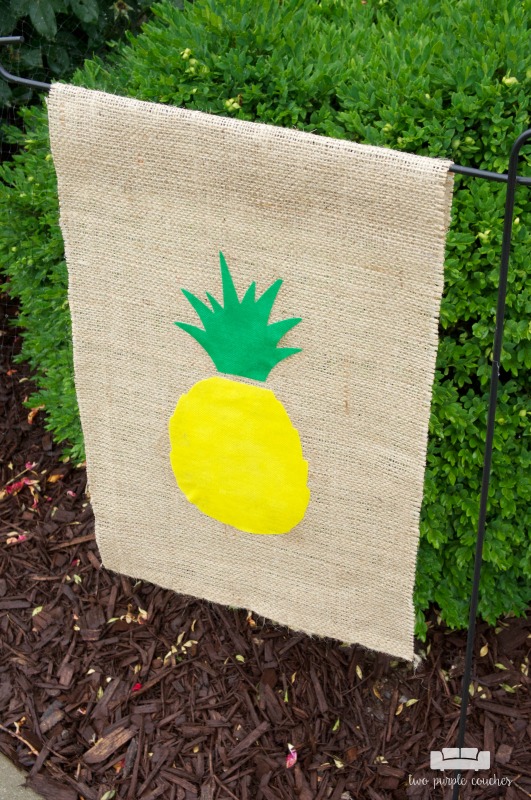
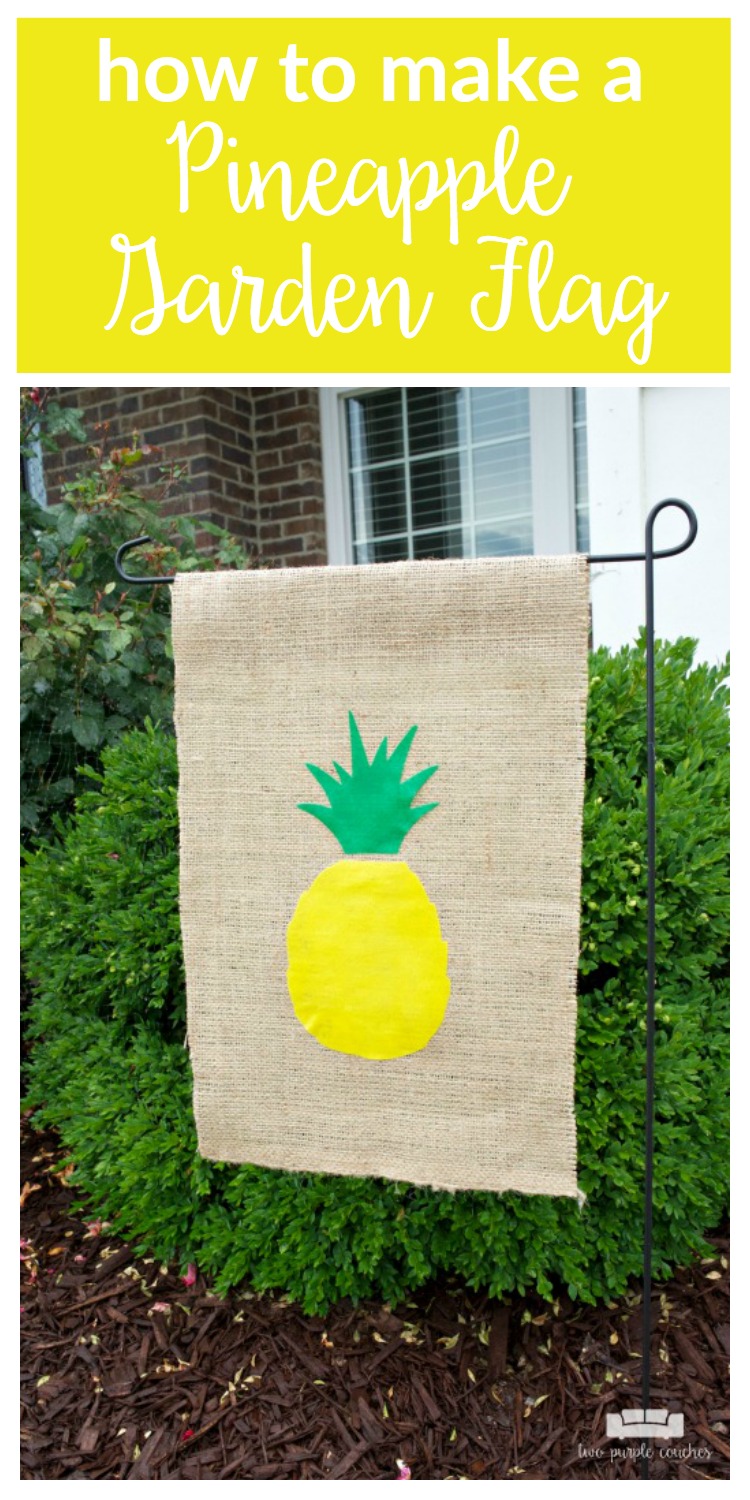
This no-sew pineapple garden flag is the perfect DIY to add a cute, welcoming touch of “Aloha” to your yard.
For this project, I used scrap pieces of Oly*Fun leftover from my faux succulent terrarium.
This post contains some affiliate links for your convenience. Click here to read my full disclosure policy.
How to make a no-sew pineapple garden flag:
Materials Needed:
- Oly*Fun in Clover
- Oly*Fun in Lemon Drop
- Fairfield Stick Double-Sided Fusible Web
- Burlap
- Silhouette Cameo
- Silhouette Fabric Blade
- Garden flag stand
- Iron
- Parchment paper
- Hot glue gun and glue sticks
- Outdoor Mod Podge
Tutorial:
1.) Design your pineapple shape in Silhouette Studio. I found a shape I liked online, imported it, traced it, and then used the Knife tool to separate the leafy part from the bottom section.
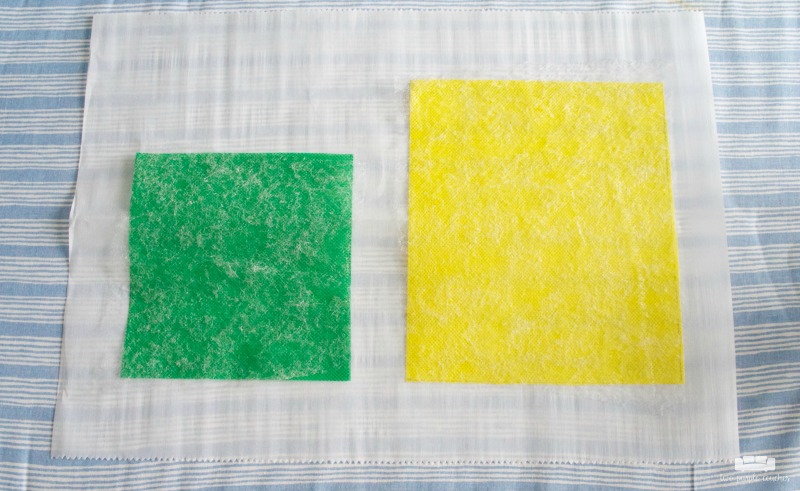
2.) Cut a piece of the Clover and Lemon Drop Oly*Fun to fit the pineapple design dimensions. Then cut two pieces of Stick Fusible Web – one to the same size as the Clover and one to the same size as the Lemon Drop.
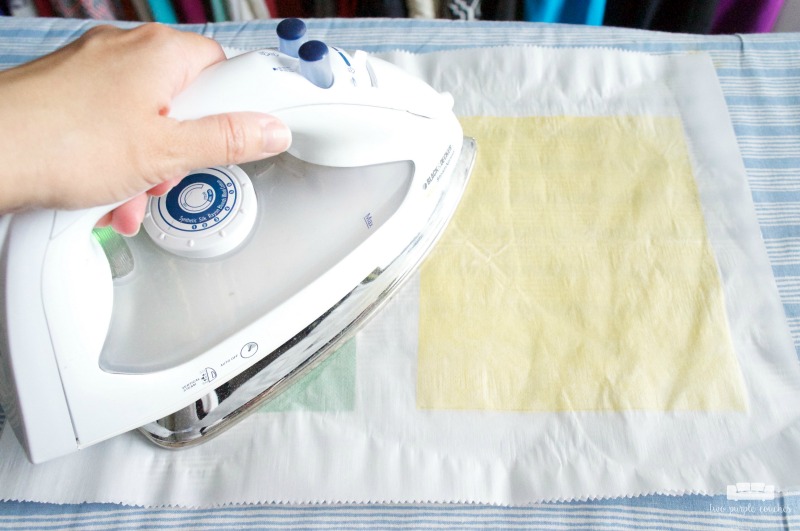
3.) Heat iron on its lowest setting (no steam needed). Set down a piece of parchment paper, then the Oly*Fun pieces, then the Stick Fusible Web pieces, the another sheet of parchment paper. Press warm iron on top for 10-20 seconds, or until Stick has adhered to Oly*Fun. Be very careful not to let iron get too hot, as the Oly*Fun will melt!
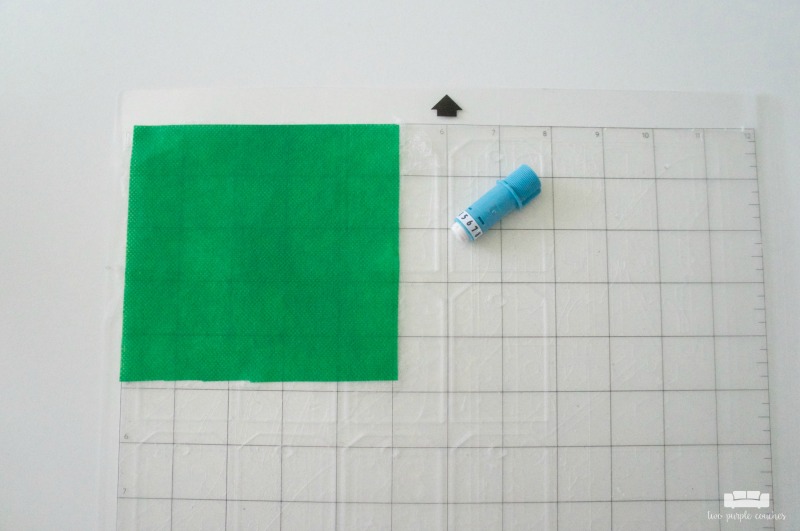
4.) To cut the pineapple design, place the green and yellow pieces on a cutting mat, with the fusible web side down. Place the Silhouette Fabric Blade in the machine; I set the blade to the thick canvas material setting (#5) and it cut perfectly. I cut my pineapple leaves first and then the pineapple body on two separate runs through my Cameo.
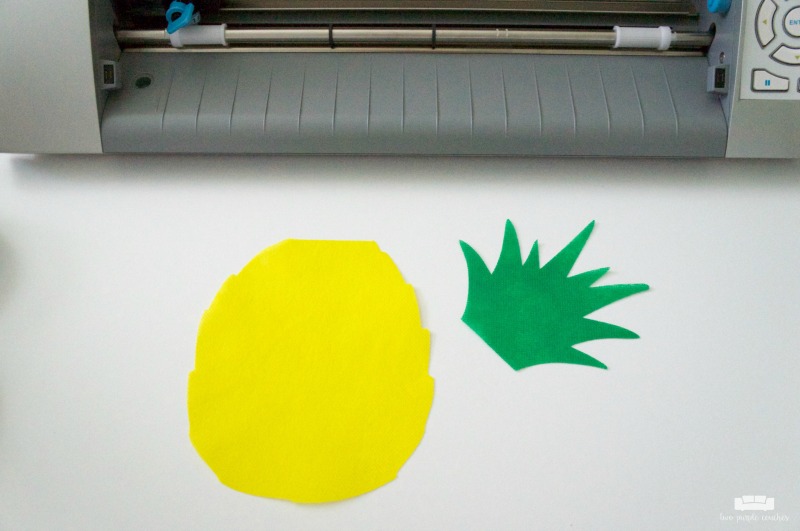
Weed out your design and set aside.
5.) Cut a piece of plain burlap to your desired flag size. Mine measures 21″ long by 12″ wide. I then added a thin line of hot glue around all four edges to keep them from raveling.
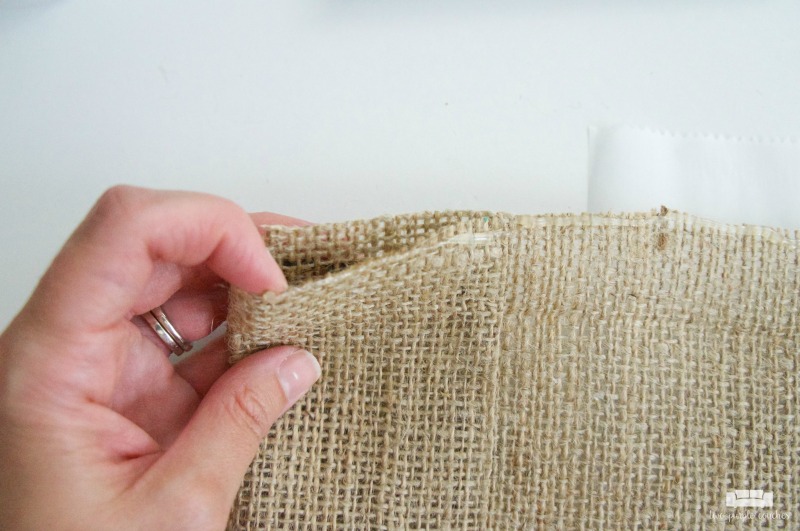
Once the glue was dry, I created a pocket at the top end by folding over about 3″ of burlap and gluing it down with a thin line of glue along the edge. This is how the flag will easily slide on and off the garden stand.
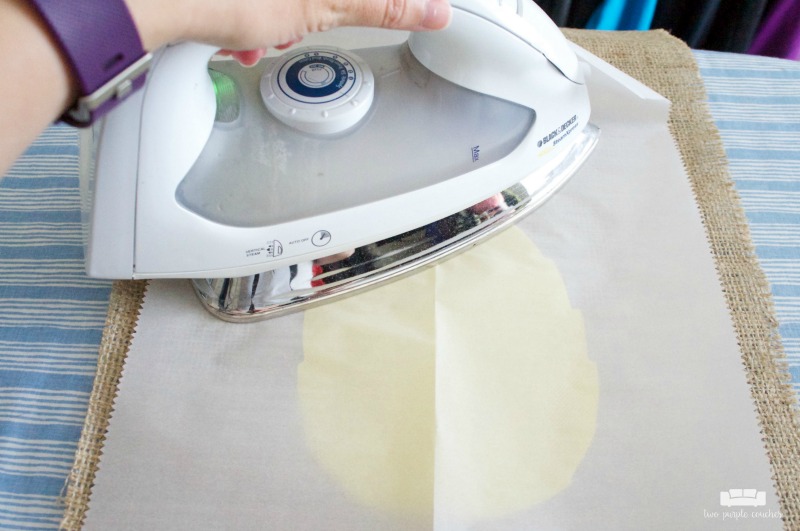
6.) Position the pineapple on the front side of the flag, with the interfacing side down. Place a piece of parchment paper on top of the pineapple and press with a warm iron for 10-20 seconds, or until the design is secured to the burlap. For some reason, I had difficulty getting the yellow portion to stick, so I wound up using the Outdoor Mod Podge to adhere it to the burlap flag.
7.) Add a light coat or two of Outdoor Mod Podge to the whole design to seal it. Once dry, the garden flag is ready to be displayed!
Note: If you are expecting rain, especially a heavy downpour, I would suggest bringing this flag indoors! Even with the Mod Podge, it’s not fully water-proof.
Love this? Don’t forget to pin it!
Silhouette Creators June Challenge: Outdoor Projects
If you’re looking for more outdoor ideas you can create with your Silhouette machine, check these out:

Uncookie Cutter – Outdoor WallArt
Pocketful of Posies – Sip Sip Hooray Serving Tray
Two Purple Couches – No Sew Pineapple Garden Flag
Michelle James Designs – This Wagon Cute to Classic in No Time at All

I love pineapples, especially after a trip to Hawaii! Love how your garden flag turned out.
Kati recently posted…DIY Wood Sign with a Router
Thanks Kati!
I love anything no sew and burlap! Nice job!
Thanks Michelle!
Pingback: Creative Outdoor DIY Projects | Domestically Creative