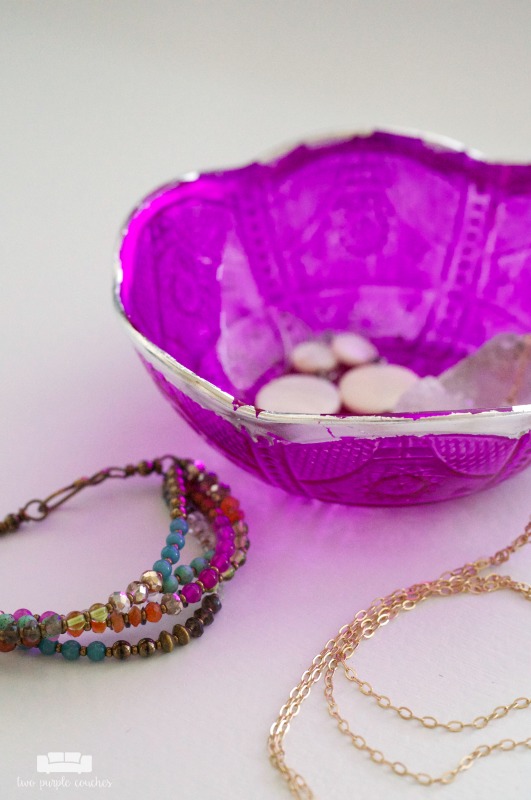
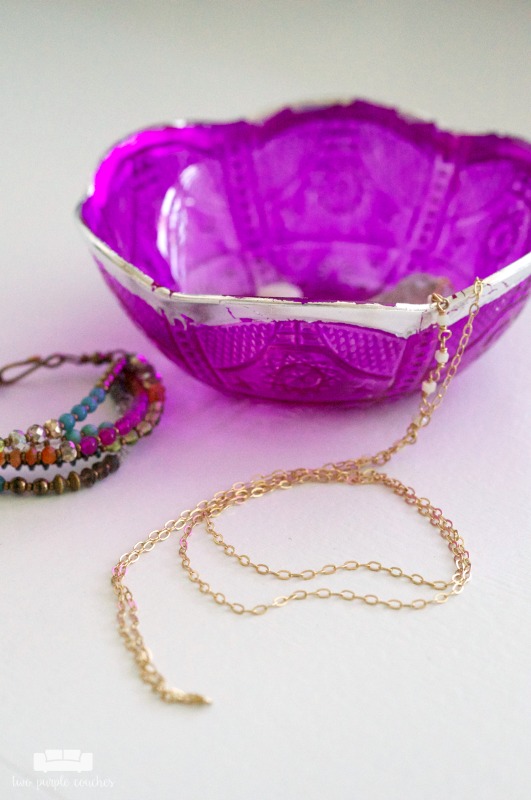
I always include pops of color around my home, but there is something about summertime that throws my love for color into overdrive. In particular, I am drawn to bold, juicy Bohemian jewel tones like deep fuschia pinks, purple and teal. I was inspired by colorful classic Moroccan tea glasses to create a Moroccan-style DIY trinket dish.
And the best part is that I spent $0 to make my trinket dish! I already had these supplies on hand! Today is the summer edition of our There for the Making Challenge, hosted by Flourish & Knot, where we can only use items we already have to make something for our home! (You can check out my first challenge project here).
This post contains some affiliate links for your convenience. Click here to read my full disclosure policy.
How to make a Moroccan-style Trinket Dish
Materials Needed:
- Decorative plastic bowls
- I found these in the party section of my local dollar store
- FolkArt Ultra Dye in Raspberry Beret
- Martha Stewart Crafts gilding papers in silver or gold
- Martha Stewart Crafts gilding adhesive
- Martha Stewart Crafts gilding brushes
- Foam brush
- Rubber gloves
- Plastic cup
- Waxed paper or disposable tablecloth
Tutorial:
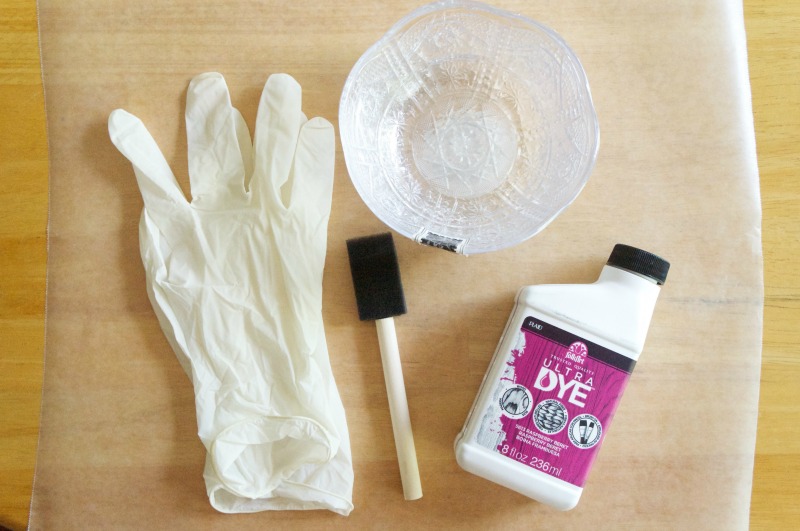
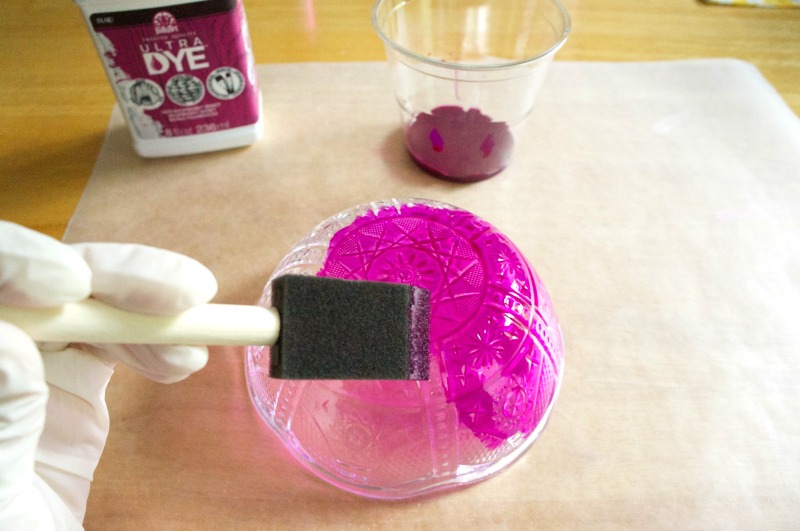
1.) Prep your workspace with a piece of waxed paper or a disposable tablecloth. Pour a small amount of FolkArt Ultra Dye into a plastic cup. Lightly dip a foam brush into the dye and begin brushing it onto the outside of a decorative plastic bowl. Allow to dry for several hours or overnight. You do not want the surface to be tacky when you’re working with the gilding papers.
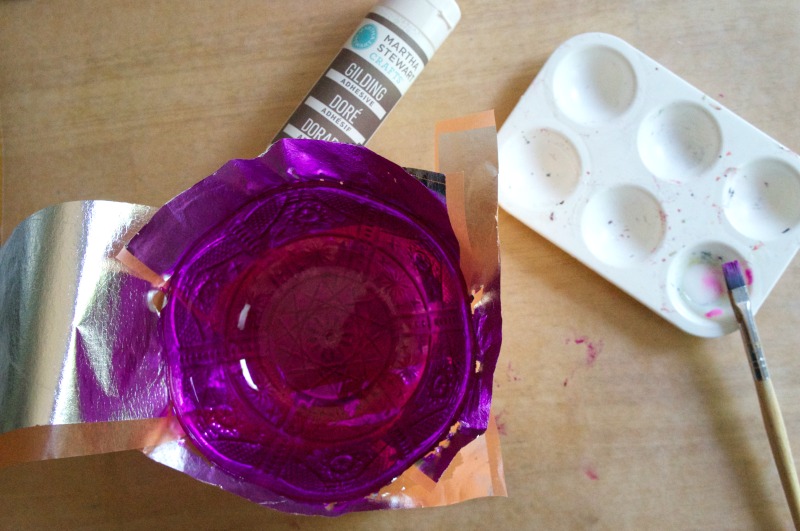
2.) Once the bowl is dry, you’re ready to add the gilding papers. Brush on a small amount of gilding adhesive wherever you want to add a metallic accent. This could be along the top edge of the bowl, or you could highlight certain designs if you like. Allow the gilding adhesive to dry until it is tacky – this will take about 10-15 minutes.
3.) Following the package instructions to apply the gilding papers. I found it was easier to cut the papers into smaller strips, especially since I was applying them to a curved surface. Once the papers are applied, let sit for 1-2 hours before removing the backing sheet.
4.) When the backing sheet has been removed, go over the gilded areas with a gilding brush to buff away any loose paper pieces.
5.) You may want to protect your finished trinket dish by spraying it with a coat or two of a spray acrylic sealer. If I handled the dish too much, a small amount of dye did rub off on my fingertips.
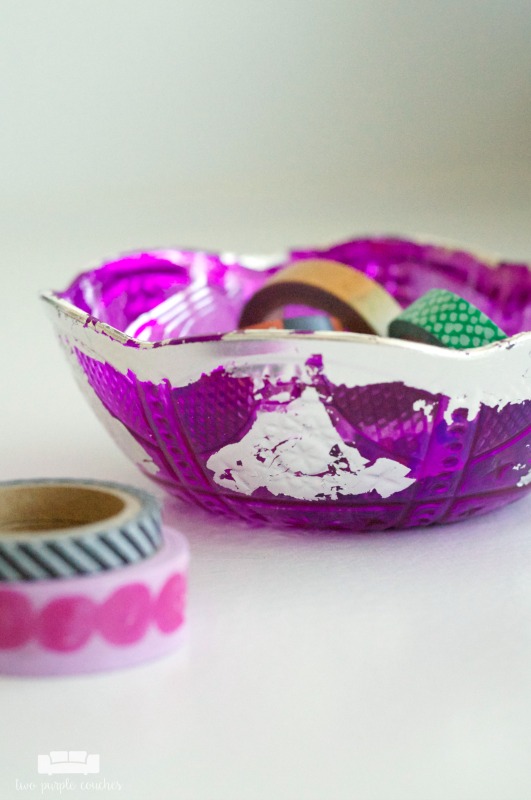
I experimented a bit with the gilding papers to see which style I liked better – gilding the edge of the dish or accenting some of the design. I prefer the look of just the edge. But if you have a really neat design on your dish, it’d be fun to highlight it with papers!
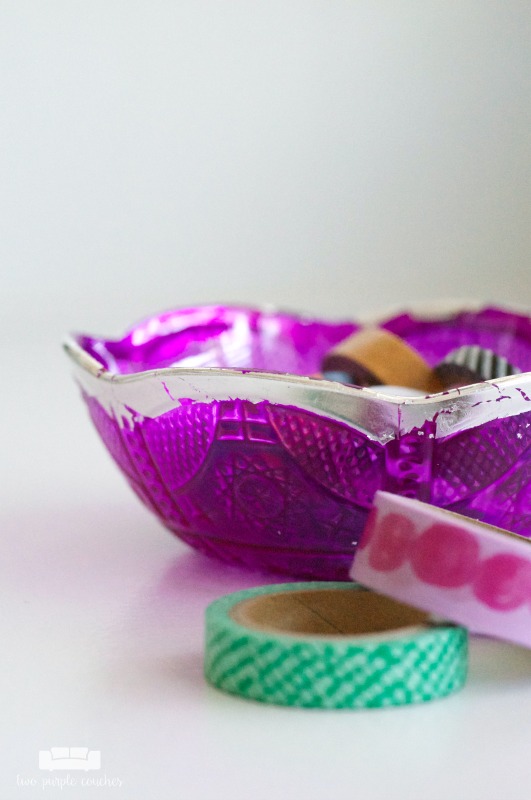
My husband and I have a running joke that I cannot pass up tiny bowls and trinket dishes – I have quite the collection cropping up all over our house! These Moroccan-style trinket dishes are perfectly sized for holding a few pieces of jewelry on my nightstand or washi tape and office supplies on my desk. I will note that even though I used the dye on the outside of these bowls, I personally would prefer not to serve food in them.
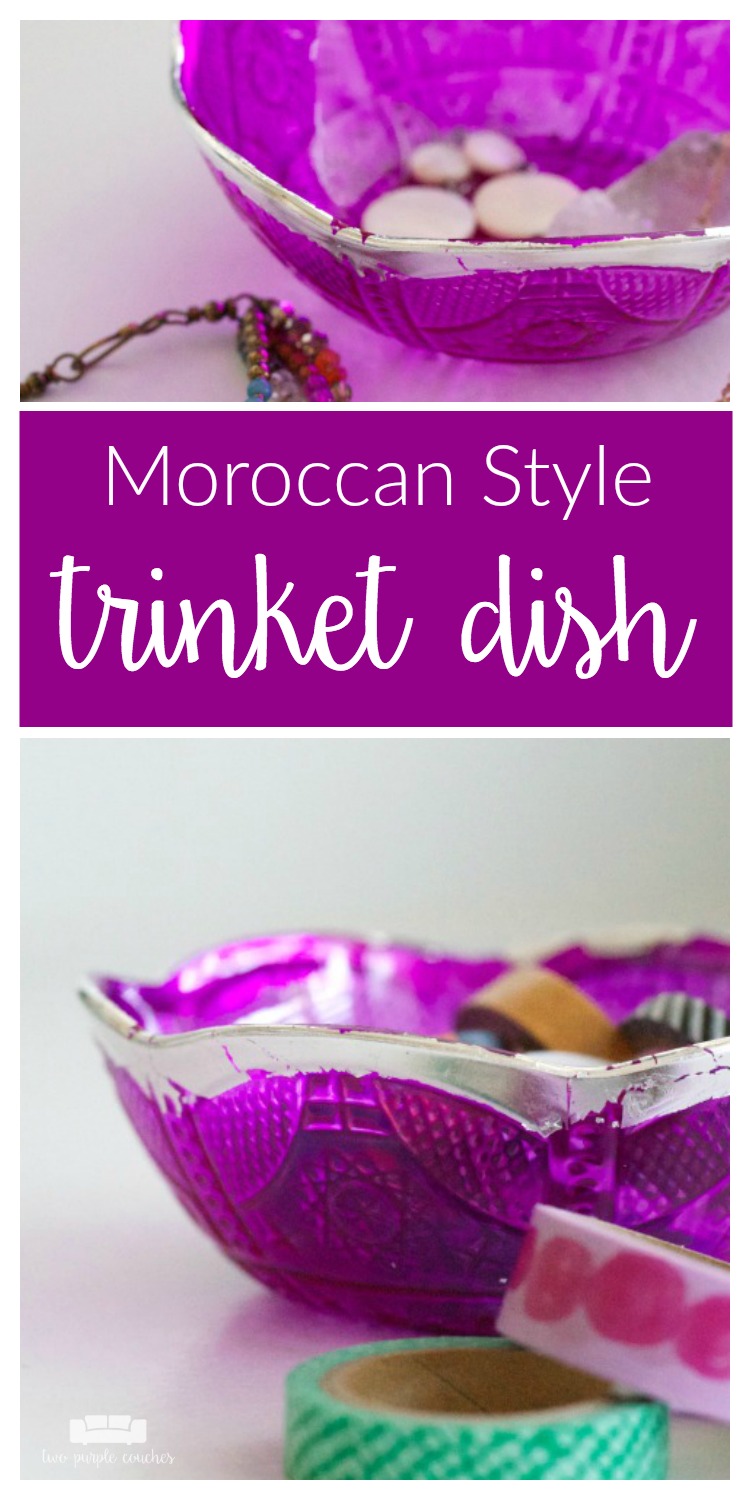
Love this? Don’t forget to pin it!
There for the Making: Summer Challenge
Be sure to check out the other There for the Making: The Zero Dollar DIY Challenge projects being shared today!
There for the Making: June 2017
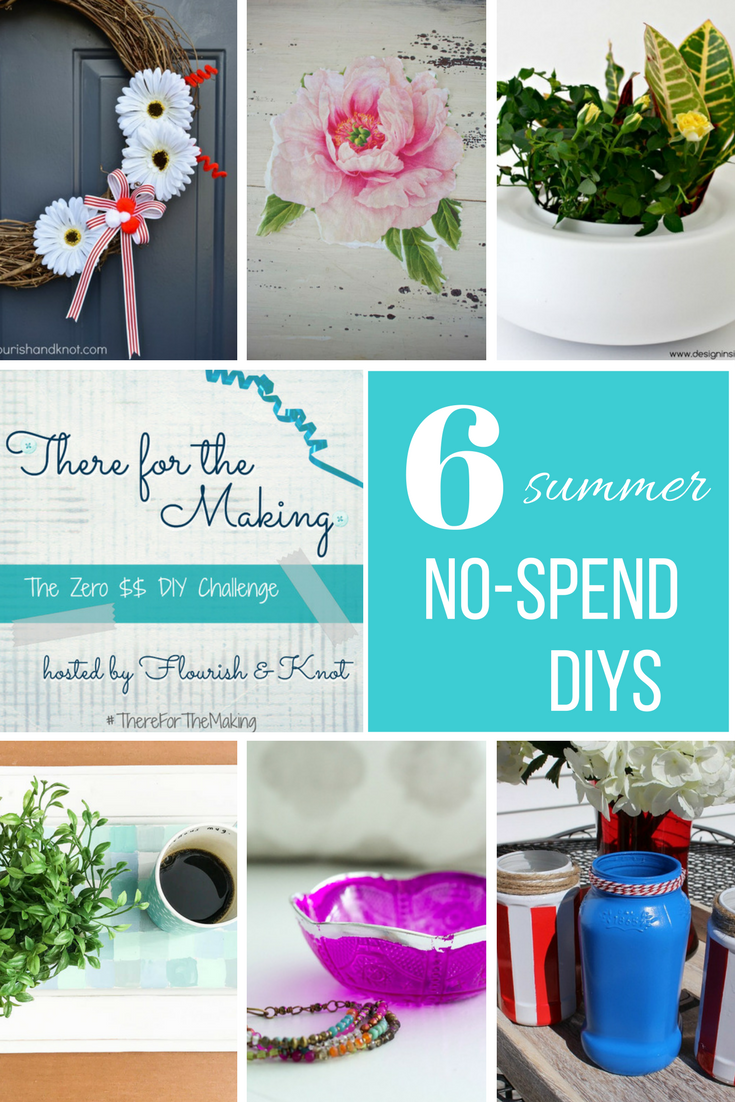
DIY Passion: Cabinet Door Turned Faux Mosaic Tray
Two Purple Couches: DIY Moroccan-Style Trinket Dish
Design Inside the Box: Light Fixture Turned Vase
Green With Decor: Fourth of July Silverware Jars
Flourish & Knot: DIY Canada Day Wreath
2 Bees in a Pod: Decoupage-Transformed Bucket

Hey Emily – we love your inspiration and love of color. This trinket dish is adorable and the gilding looks great. There’s nothing wrong with having cute little dishes, bowls and plates in every room in the house…right? Looks like we all might need a support group LOL.
Vicki and Jennifer 2 Bees in a Pod recently posted…Plastic Bucket Transformation with Decoupage Peonies – Zero Dollar Challenge
Thank you ladies! I definitely don’t see a problem with having cute bowls & plates in every room 😉
Oohh I’m with you on trinket bowls, I have them everywhere in the house! But not this cute!! I’ll need to try this this weekend!
Thanks Lidia!
This is so cute and perfect for you!
Meg @ Green With Decor recently posted…Fourth of July DIY silverware jars
Thanks Meg!
This is so cool! I love the colour you chose – I feel like I need more purple in my life. I will have to get my hands on some gilding paper and try this out. Thank you so much for being a part of There for the Making this time around!
Thank you Sarah! I have plenty of purple in my life if you need some inspiration 😉 Thanks for coordinating this challenge – it’s so fun to see what everyone comes up with!
Oh! I’m so glad I saw your project! I bought some of that Folk Art Dye in a turqouise colour and I had NO idea what to do with it! Now I know exactly what I can do!! I even have left over gold gilding paper… so really, it’s meant to be! 😀
These would be gorgeous in turquoise with gold gilding!
Pretty and purple! 🙂 Love this dish.
Thanks Megan!
I love that super cool bowls! Purple is my favorite color and the idea is perfect. I would put such bowls in every room in my house.
How pretty this is. I like little boxes and tiny bowls for trinkets and such. It makes our stuff so pretty.