Thank you to Fairfield for sponsoring this post. All content and opinions expressed here are my own. Click here to read my full disclosure policy.
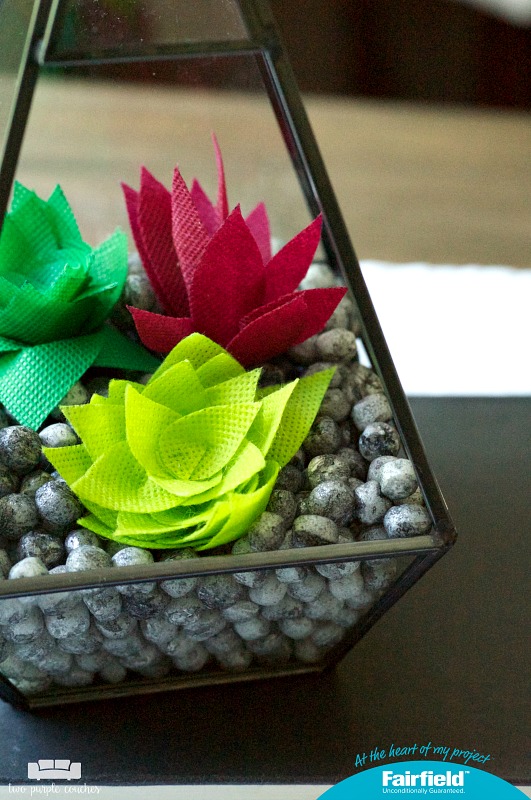
Does your thumb tend to be more brown than green? Mine is when it comes to houseplants, so I am all about the faux around our home. This modern faux succulent terrarium is the perfect solution if you are a fellow faux-plant fan and if you like to flex your crafty muscles.
If you follow me on Facebook or Instagram, you may have seen my recent announcement that I’ve been invited to join the Fairfield World Design Team! I’ll be creating new crafts and home decor tutorials each month that will appear in their project gallery as well as right here on Two Purple Couches! You can find my first project—an easy Oly*Fun™ Wall Hanging—right here.
Fairfield was kind enough to send me a variety of their Oly*Fun™ product to try, and it proved to be an excellent material for creating faux succulents. I also used their Poly-Fil® Biggie Bean Bag Filler to create the “rocks” for my faux succulent terrarium. Let’s dive into this tutorial, shall we?
This post contains some affiliate links for your convenience. Click here to read my full disclosure policy.
How to make a faux succulent terrarium:
Materials Needed:
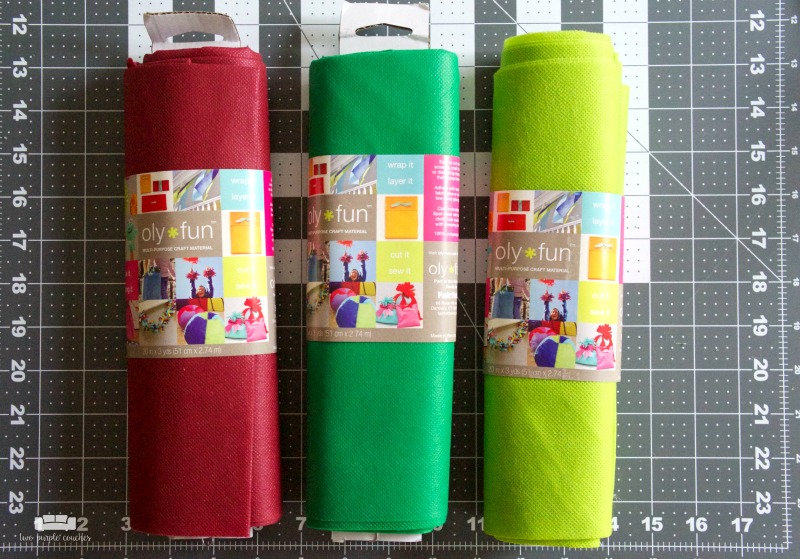
- Oly*Fun™ in Kiwi
- Oly*Fun™ in Clover
- Oly*Fun™ in Brick
- Poly-Fil® Biggie Bean Bag Filler
- Black and grey craft paint
- Plastic container with a lid
- Glass terrarium
- Floral wire
- Wire cutters
- Pliers
- Low-heat glue gun and glue sticks
Tutorial for the terrarium rocks:
After much trial and error, this is the best method I found:
1.) Fill a plastic container about halfway with Poly-Fil® Biggie Bean Bag Filler. Add several drops of black and grey craft paint to the container. (You could also do just one color if you prefer).
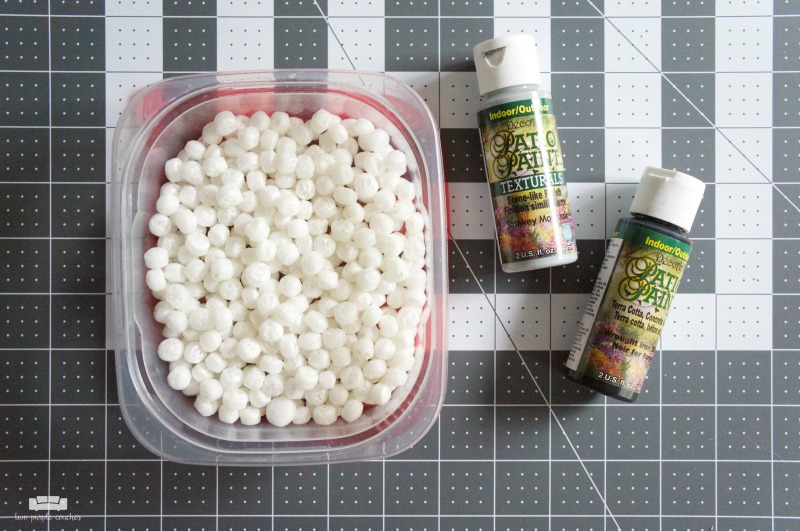
2.) Add a little bit of water, put the lid on the container, and shake for several minutes. It’s best to do this over a sink in case any paint leaks out.
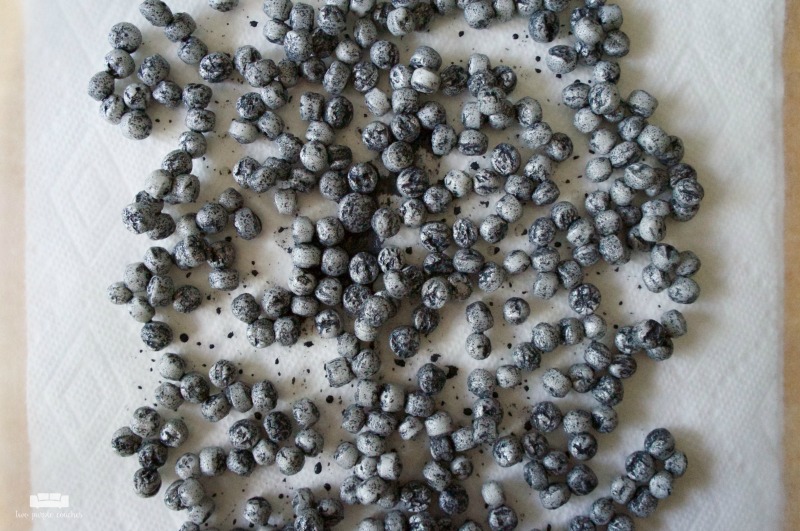
3.) Layer a sheet of waxed paper on top of two paper towels. When the bean bag filler appears to be pretty well coated with paint, spread them out on top of the waxed paper and allow to dry fully. This will take several hours, or you can let them sit overnight. Once dry, carefully remove the bean filler from the waxed paper and place them in your terrarium.
Tutorial for the faux succulents:
1.) Create a couple of templates for your faux succulents depending on what shapes you’d like them to be. I decided on a classic rosette-style succulent, similar to an echeveria, and a spikier style succulent, similar to an aloe plant.
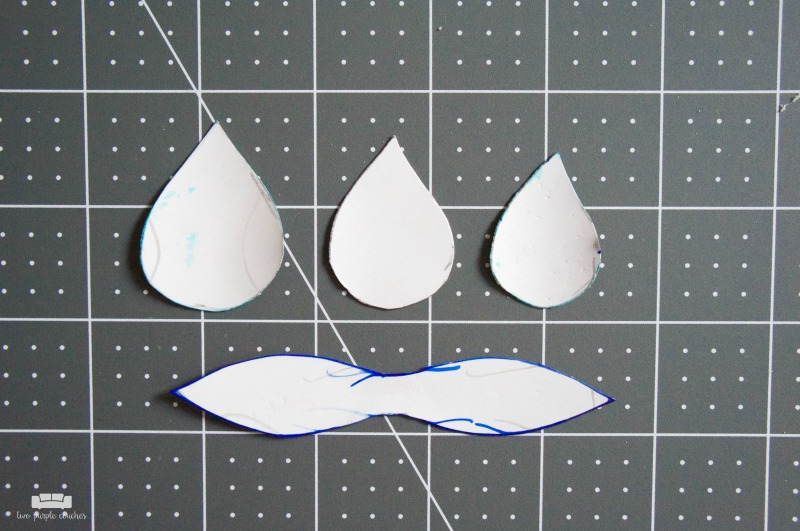
2.) For the rosette-style succulent, my method for making these leaves is very similar to how I made my book page flowers. First, I drew three different leaves, each one slightly smaller than the last. I cut out 10 large, 6 medium and 9 small leaves.
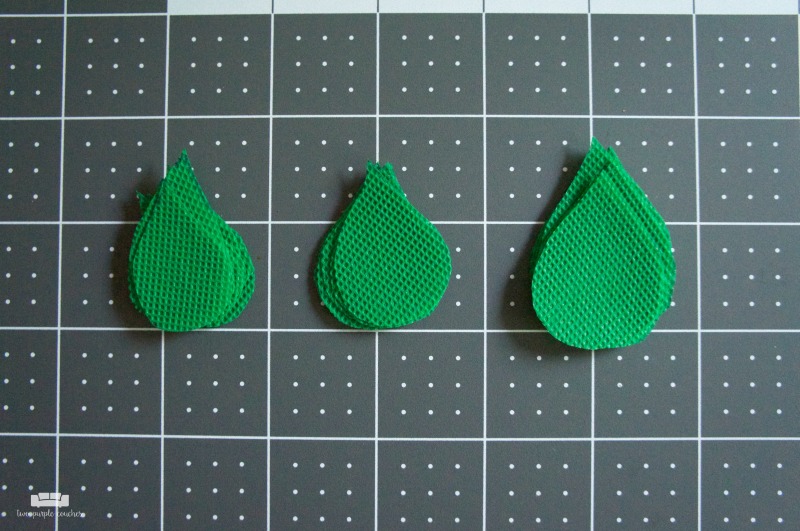
3.) Cut a small slit at the bottom of each leaf. Add a dot of hot glue to one flap and secure the other flap on top of it. This give the leaves some dimension. Be sure to use a low-heat glue gun as the Oly*Fun™ material can melt if the glue is too hot! I used the Kiwi and Clover colors for these succulents.
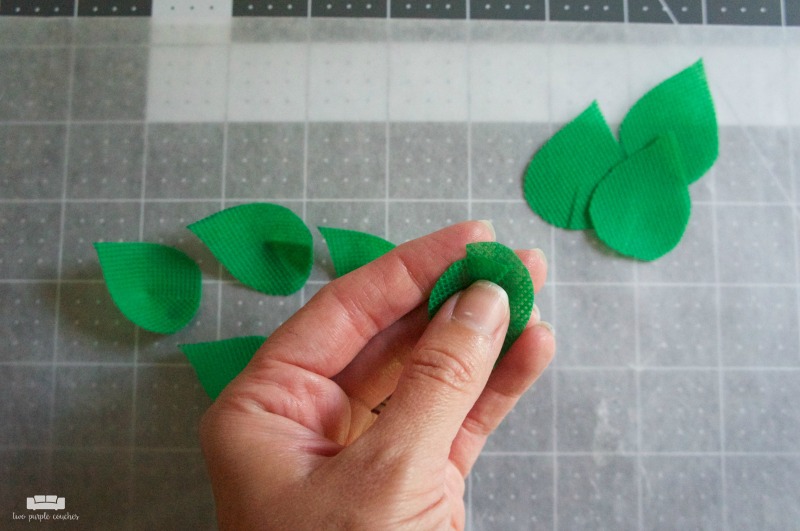
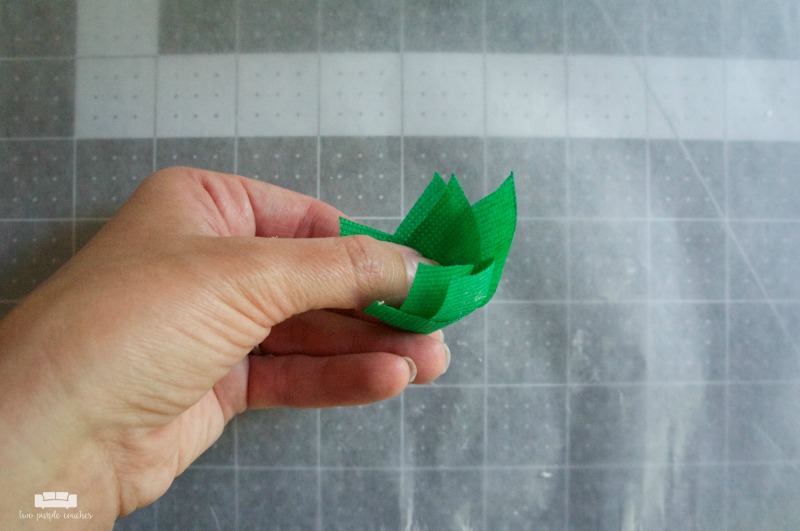
4.) Now take 5 of the large leaves and glue them together, slightly overlapping the leaves at the bottom. Repeat with the remaining 5 large leaves. Then do the same with groups of three each of the medium and small leaves until you have a total of 7 layers of leaves.
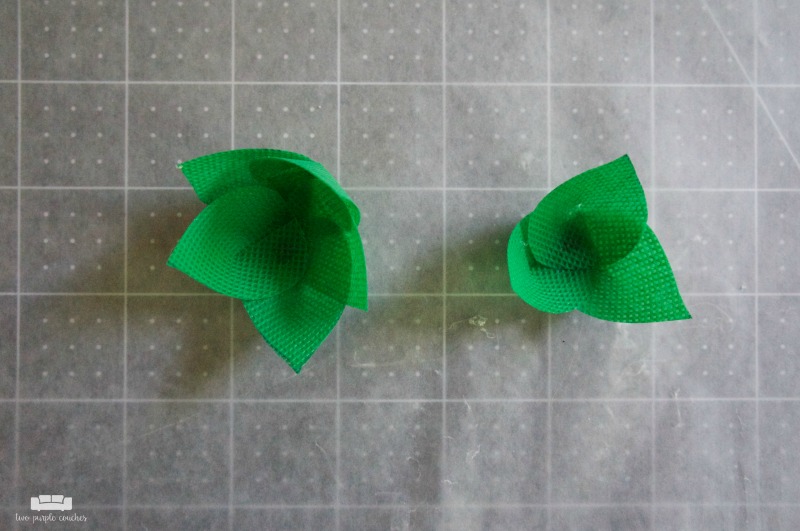
5.) Add a dot of hot glue to the center of one of the large layers and add the other large layer on top. Then add a medium layer, the other medium layer, a small layer, and so on until your succulent is complete.
6.) For the spikier aloe-style succulent, I drew two long, skinny leaves and connected them at the center. I cut out 8-10 leaves out of the Brick color.
7.) Pinch each long leaf together at the center and add a dot of hot glue to hold it together.
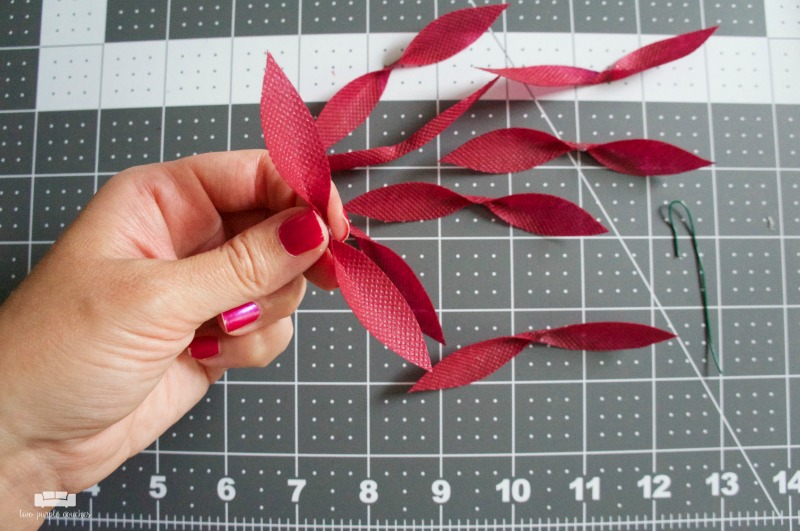
8.) Cut a piece of floral wire and create at hook at one end with pliers. Slide the center of each leaf through the hook until all of the leaves are layered together. Secure with a dot or two of hot glue as needed.
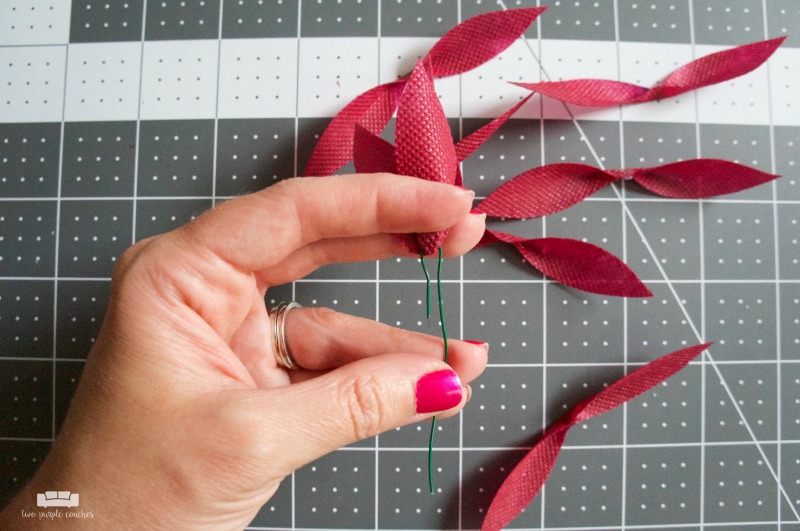
9.) Using pliers, twist the wire ends together to secure the leaves in place.
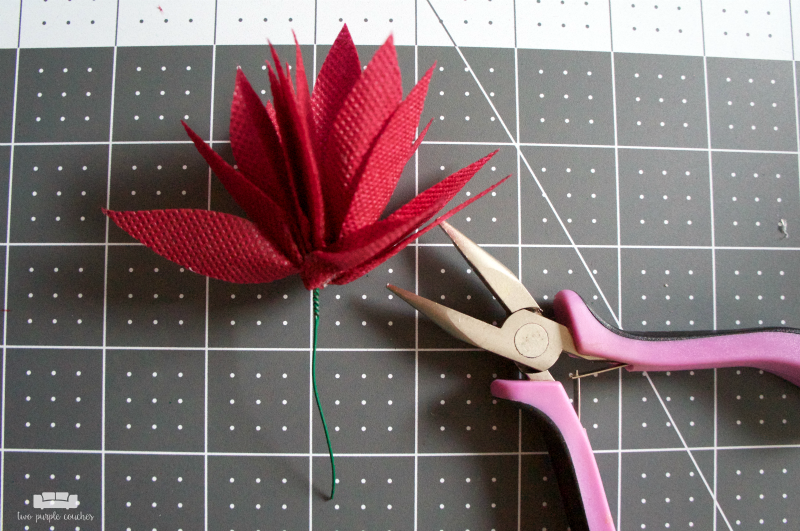
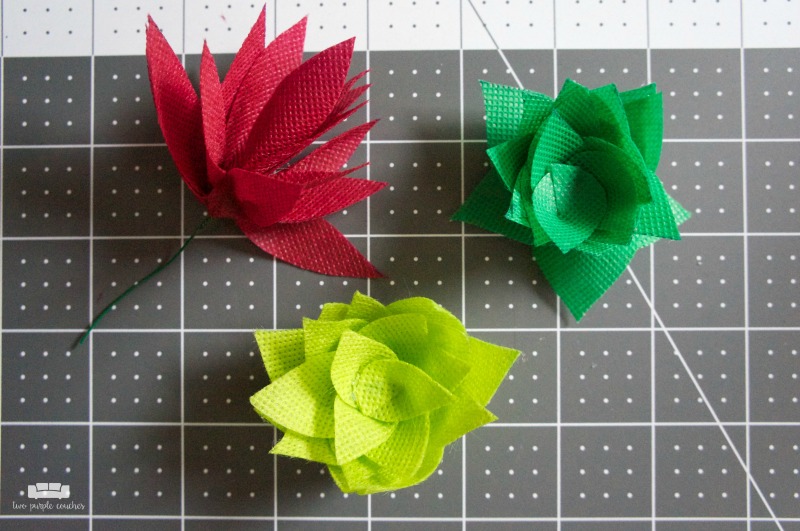
10.) Arrange finished succulents inside of your terrarium.
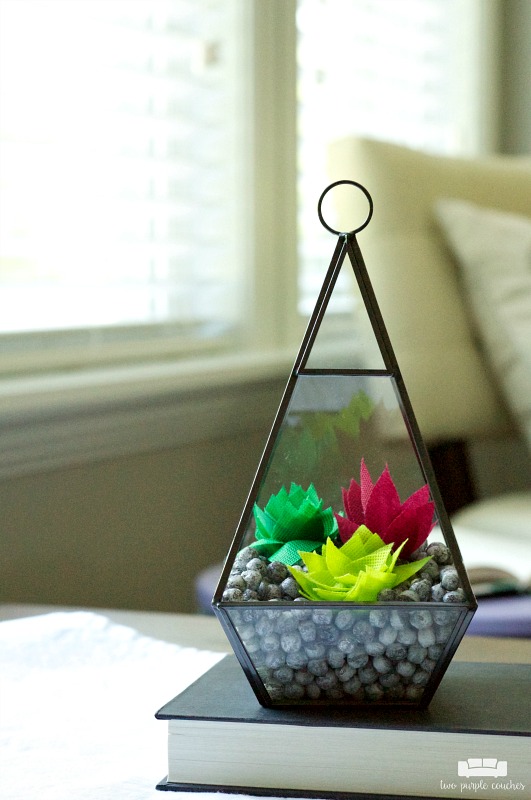
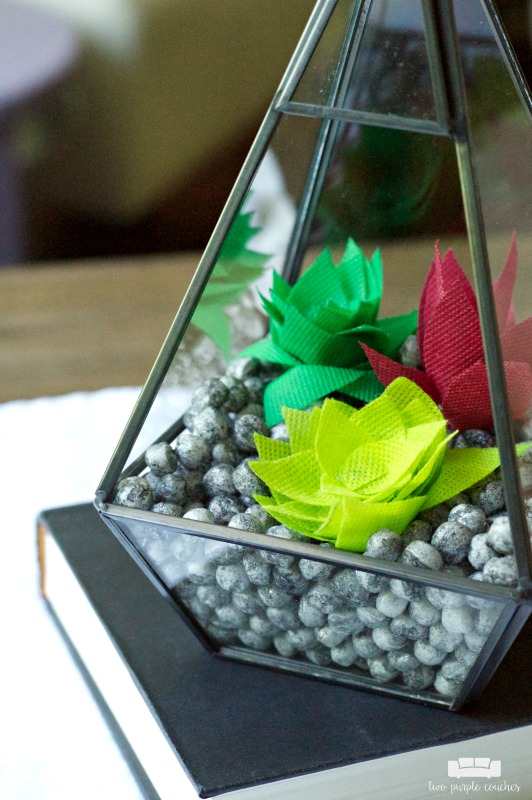
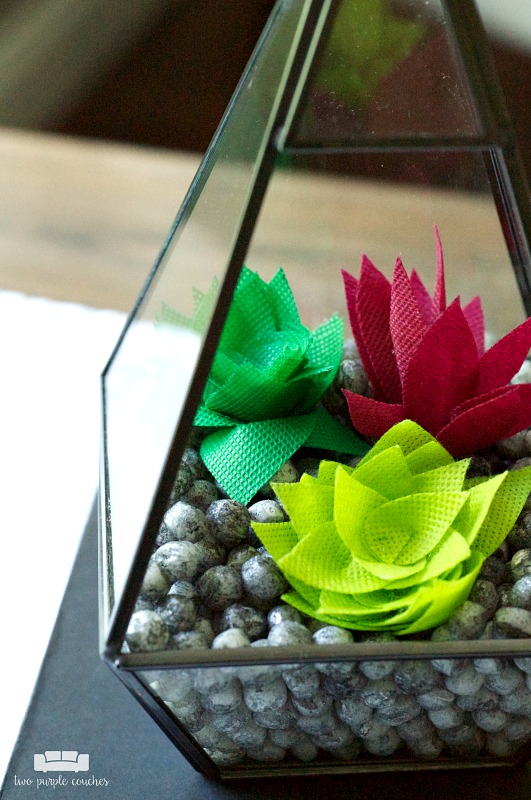
I am so pleased with how my faux succulent terrarium turned out! And I really love that I don’t have to worry about watering these!

This is such a great idea! Thanks for sharing.
Thanks Laura!