The temperatures here have soared back up to the 90s, but that’s not stopping me from dreaming of all things fall! I’ve been thinking of how I want to decorate this year, and I know I’m definitely going heavy on the pumpkins. But of course, I can’t go for plain pumpkin straight from the craft store, I have to jazz them up a bit. I’ve got several different ideas up my sleeve to share with you, and first up are these metallic painted pumpkins.
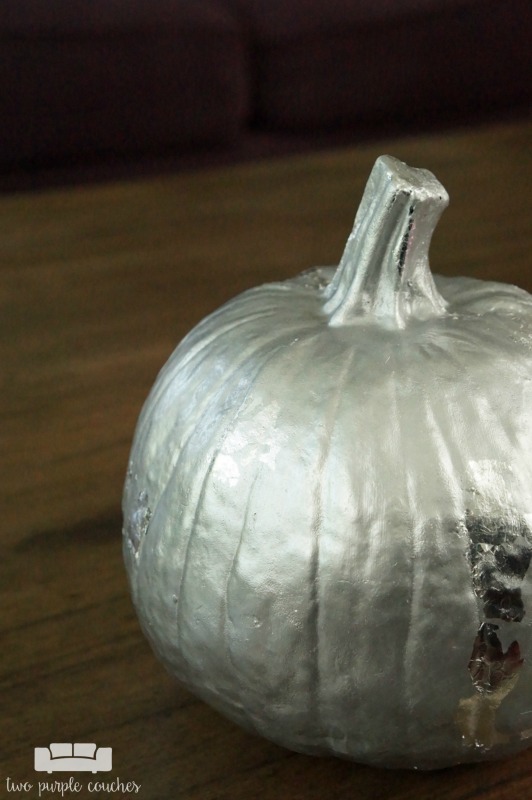
But these aren’t just any metallic painted pumpkins! I added silver gilding sheets to give them extra shimmer and shine.
Have you ever worked with gilding sheets before? This was my first project using them. They’re pretty easy to apply, but can be a little finicky! I wouldn’t say there’s a learning curve to using them, but a little patience is required.
Materials:
- craft pumpkins and/or gourds
- metallic paint
- gilding sheets
- gilding adhesive
- gilding brushes
- paintbrushes
Instructions:
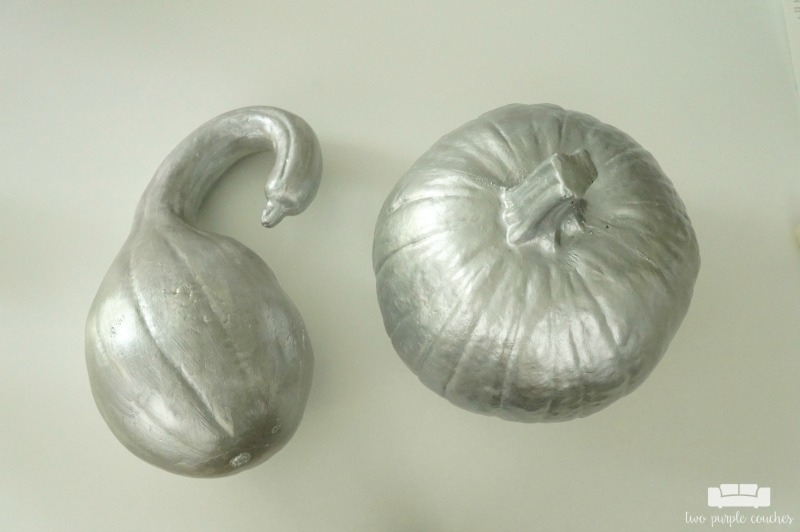
Start by painting your pumpkins with metallic paint. I’d already painted the pumpkin using acrylic craft paint several years ago. For the gourd, I wanted to try out some paint samples that I brought home from the Haven Conference. I started with one coat DecoArt Chalky Finish in Artifact and then added a coat of DecoArt Metallics in Pearl.

Once the paint is completely dry, apply gilding adhesive wherever you want the gilded accents to be. I was loosely aiming for a faux mercury glass look for these pumpkins, so I applied the gilding adhesive at random.

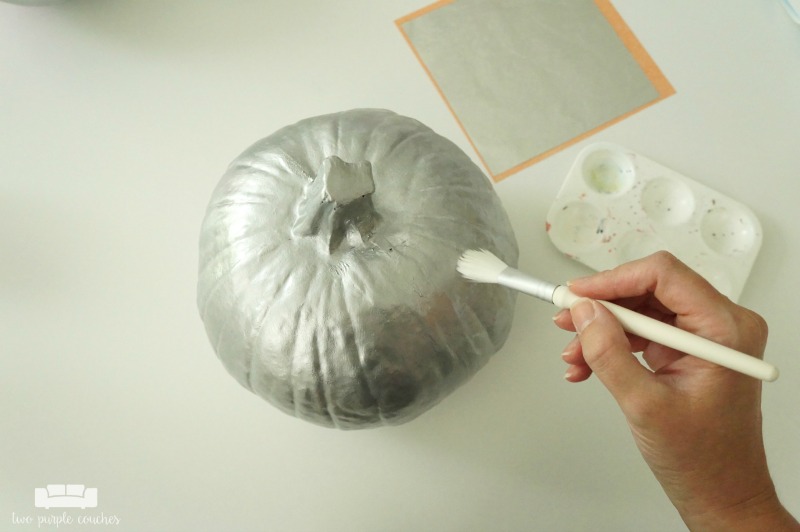
Wait for the adhesive to become tacky (this took longer than I thought it would, probably 30+ seconds, hence where patience comes in handy), then gently press the gilding sheets to the adhesive and peel away the backing.* If it doesn’t go on uniformly or super-smoothly, that’s okay! Remember when I said the gilding is finicky? Plus the surface of the pumpkins is a bit bumpy and ridge-y (that’s a word, right?), so you might have to gently rub the gilding sheet or re-position it to get it where you want it! All part of the creative process, right?

Wait about an hour or so, then, using a natural bristle brush, go over the gilding sheets to remove any pieces that didn’t adhere to the pumpkins.*

*These parts are a little messy; you will probably wind up with specks of silver gilding stuck to your fingers, hands, arms, clothes, etc! But at least it’s not quite as messy as glitter—haha!


Now that I’ve got my first gilding project under my sleeves (and still stuck to them!), I’m looking forward to trying it out again! Maybe on a smoother surface next time…
But now I have these shimmery metallic pumpkins to admire and mix in with my fall decorating!
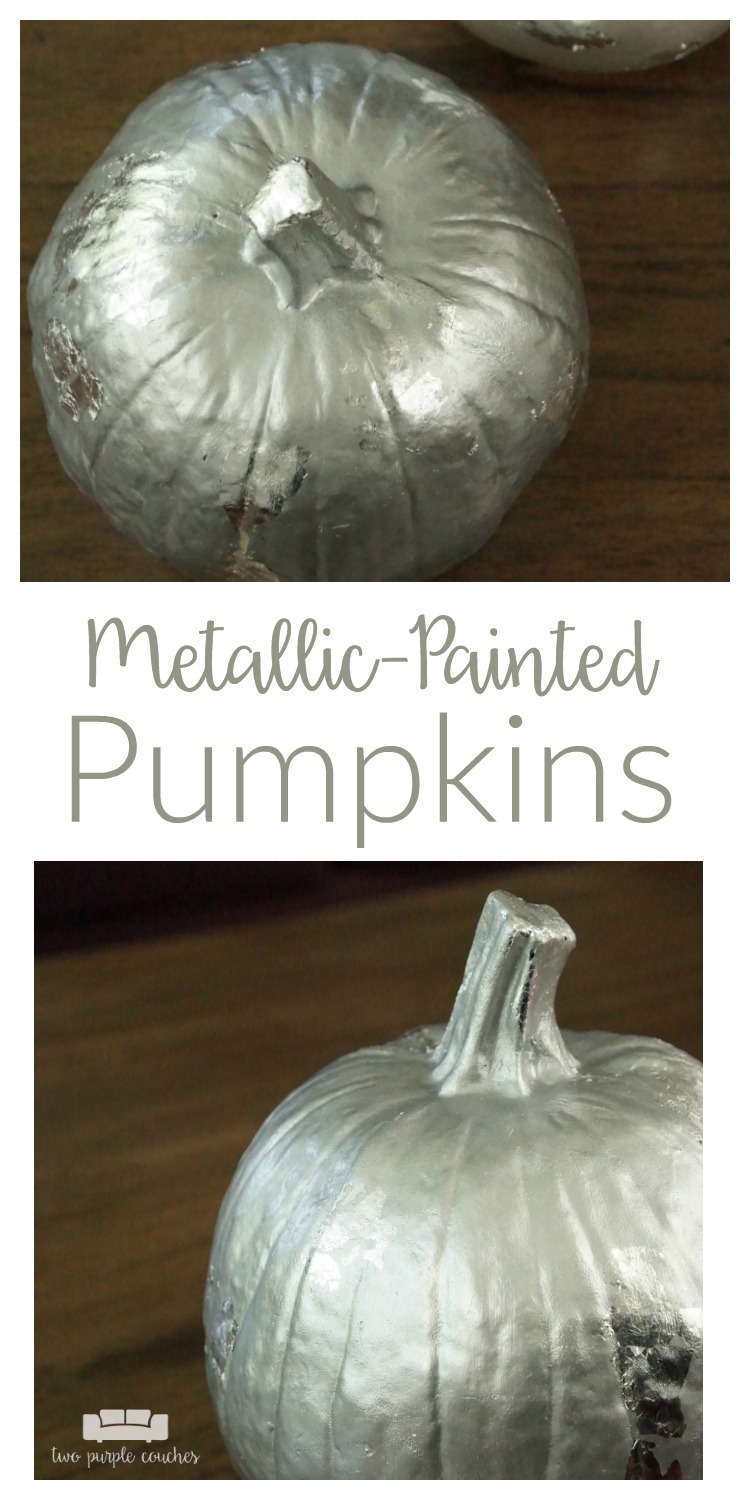
Don’t forget to pin this for later!


I have never done any gilding before, but I love how your pumpkins turned out. So pretty! I have one of those foam pumpkins that I bought last year and never did anything with. I might have to give this a try.
Jen V. recently posted…Spooky Halloween Lantern Craft
Thank you Jen! I think I’m going to do a lot more gilding in the future 😉
These are beautiful, Emily!
Thanks Amy!
Thats color would be great against my white credenza.. a bunch of little pumpkins. Nice job
Maria
Maria Brittis recently posted…DREAM.CREATE.INSPSIRE.LINK{63}
Thanks Maria! I would love to make a bunch more of these!
Thats color would be great against my white credenza a bunch of little pumpkins. I love how your pumpkins turned out
thanks for sharing
Thank you!
I love these pumpkins! The foil makes them perfect!
Thanks Sara!
Those silver pumpkins will catch the light very well. They make me think of twinkle accessories in fairy tales 🙂 How childish I am haha. You did a nice job Emily. You never know how much I like them.
Wow, I have not tried on this one before, but will definitely give it a try!!! I think those metallic-painted pumpkins are also great for Halloween.
Pingback: 20 Perfect Painted Pumpkins - TINSELBOX
These metallic pumpkins are so pretty!! Love silver! #merrymonday
Thanks Michelle! They were fun to make!