Balloon garland arch tutorial—learn how to make your own easy DIY balloon garland backdrop for a birthday or baby shower.
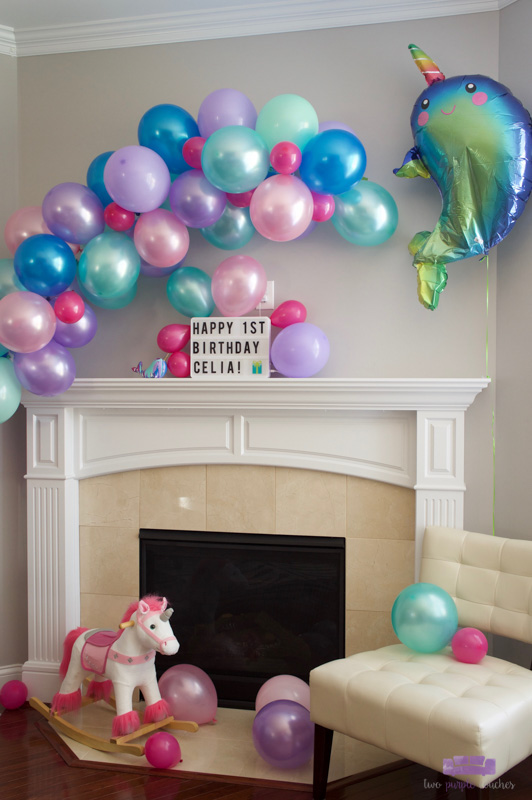
Balloon garlands are a fun and easy way to create a big impact for your birthday party or baby shower. A balloon garland makes a cute backdrop or arch on a wall, above a fireplace, etc, and you can make your own with a few resources and a bit of time. Keep reading for my simple DIY tutorial!
Balloon garlands seem to be the hot thing in party decorations right now. I’ve admired them for a while, but always figured that it would be a complicated thing to make. Well, I was wrong!
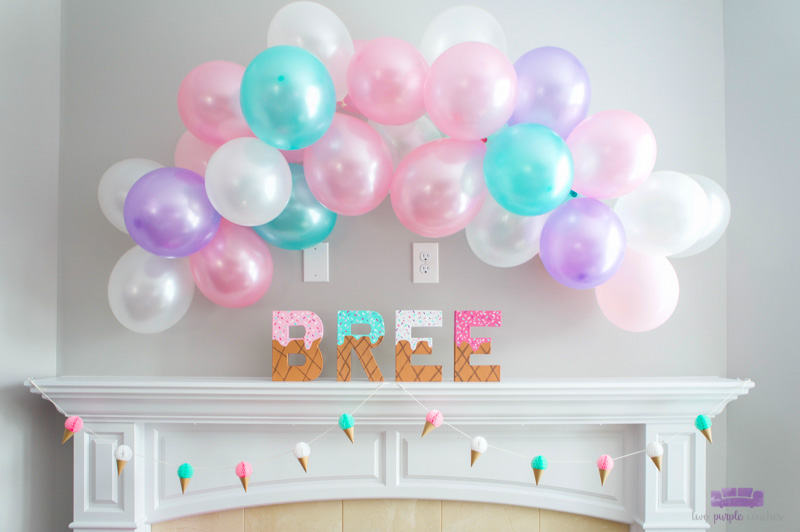
With a bit of research and a few supplies, I created this balloon garland above our fireplace as the focal point of our daughter’s first birthday party. (And then a few weeks later, I altered it a bit for my SIL’s baby shower!)
You can make a balloon garland as simple or as fancy as you like. Balloon garlands and balloon arches can span a few feet above a dessert table, drape across a doorway or frame a wall to create a unique photo booth backdrop. You can stick with one size of balloon, mix different sizes, or even add in embellishments like faux flowers to create a balloon garland that matches your party theme. Are you itching to make one yet? Let me show you how easy it is…
This post contains some affiliate links for your convenience. Click here to read my full disclosure policy.
How to Make a DIY Balloon Garland
Materials Needed:
- Balloon Decorating Strip
- Assorted 11-inch or 12-inch balloons (I found that different brands come in different sizes)
- Assorted 5-inch balloons
- Electric Balloon Inflator
- String, tape and/or hooks for hanging (these and these work well)
Tutorial:
1.) Begin by inflating a bunch of balloons with an electric balloon inflator. (This will be a worthwhile investment, trust me!) I used about 40 large balloons (11- and 12-inch sizes) for my garland, which ended up measuring about 6-feet long. If you’d like to include smaller balloons in your design, inflate some of those as well. If you need a good method for tying off each balloon, I found this video to be really helpful!
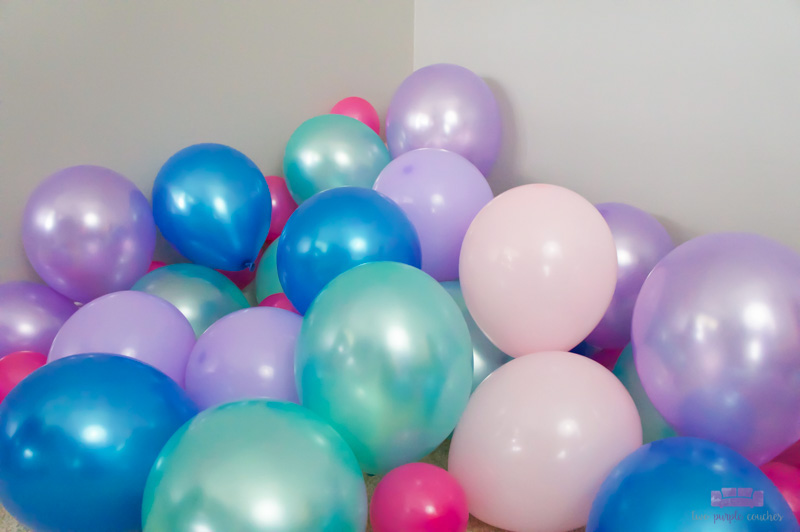
I want to note here that the electric balloon inflator fills balloons with air, not helium. Helium isn’t necessary, since the balloons will be attached to a strip.
2.) Unroll about 12 inches of the balloon decorating strip. You’ll use this extra bit for hanging your balloon garland. And yes, you really do want it to be this long! I initially started off with a much shorter end and had to improvise when I was ready to hang up my garland.
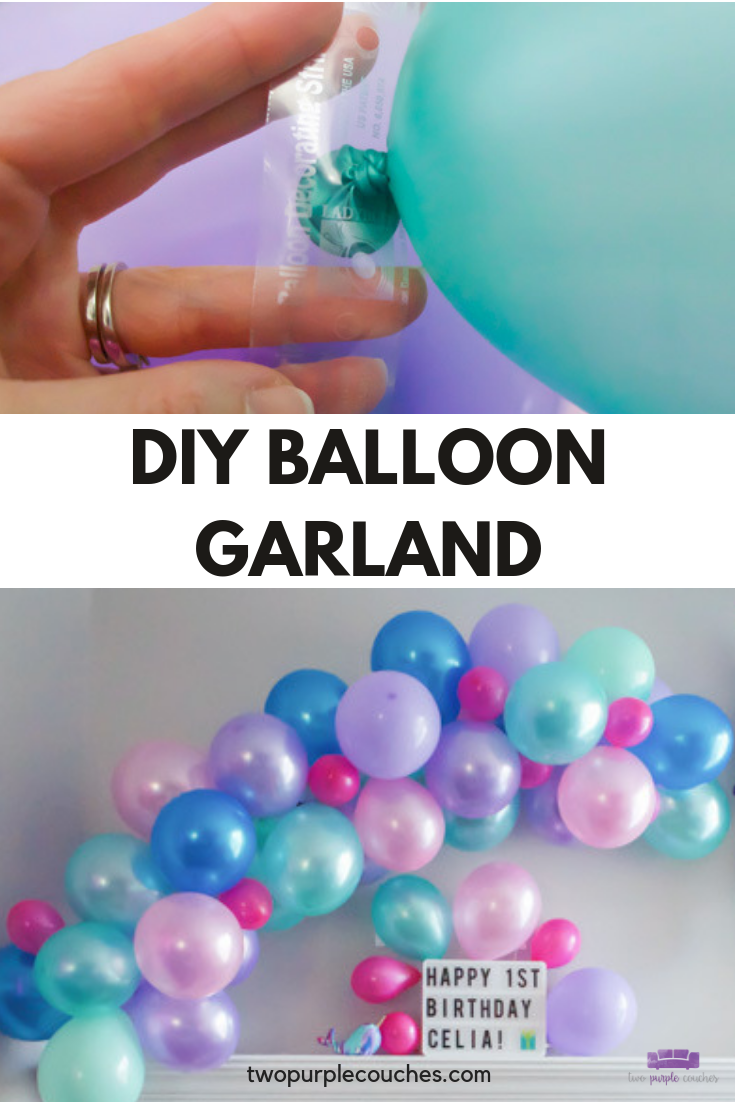
3.) Insert the knot end of one large balloon through one hole on the decorating strip. Continue until your garland reaches your desired length. You can alternate sides of the strip, if you like. This helps create a more full, balanced look.
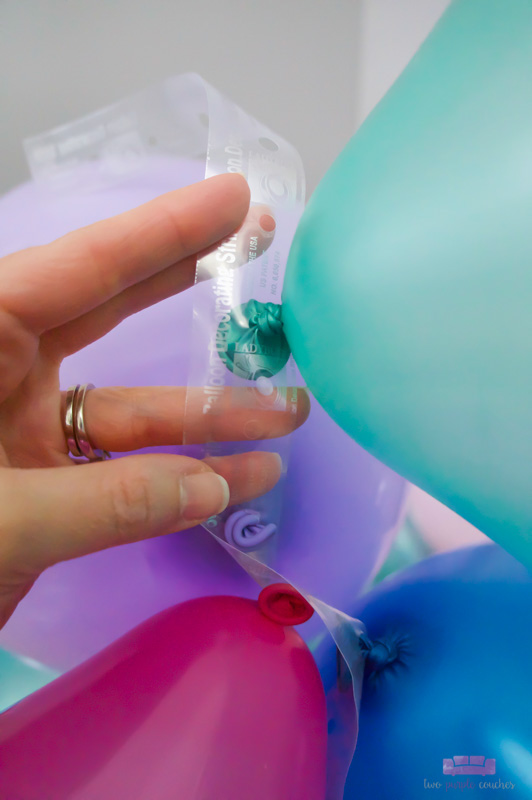
The balloon decorating strip I purchased had both large and small holes (you can kind of see them in the photo above). I experimented with placing balloons in every hole, only the large holes, and in every other large hole. Sometimes it’s necessary to skip a hole if the balloons are getting too crowded together.
For 5-inch balloons: initially, I tried inserting the 5-inch balloons into the holes in the strip, but they were quickly getting lost among the larger balloons. Once I had my balloon arch hung up, I added the smaller balloons. Some I inserted into the small holes, others I taped to the larger balloons to fill in bare spots. Even once it’s hung up, it’s pretty easy to rearrange balloons in the holes on the decorating strip if needed!
4.) To hang: to suspend the balloon garland from a wall or ceiling, loop a piece of string through a hole, tie it off, and hang the garland from a hook.
To attach it directly to the wall, use strips of painter’s tape.
I used both techniques to hang my balloon garland. I taped one end to the wall with painter’s tape, then looped string through an empty hole in the middle and hung it from a hook I already had on our wall. Both methods were pretty secure! I had the garland up for two weeks after the birthday party and it stayed put! The air-inflated balloons also lasted for weeks, whereas the special helium-inflated mylar balloons I purchased began deflating within several days.
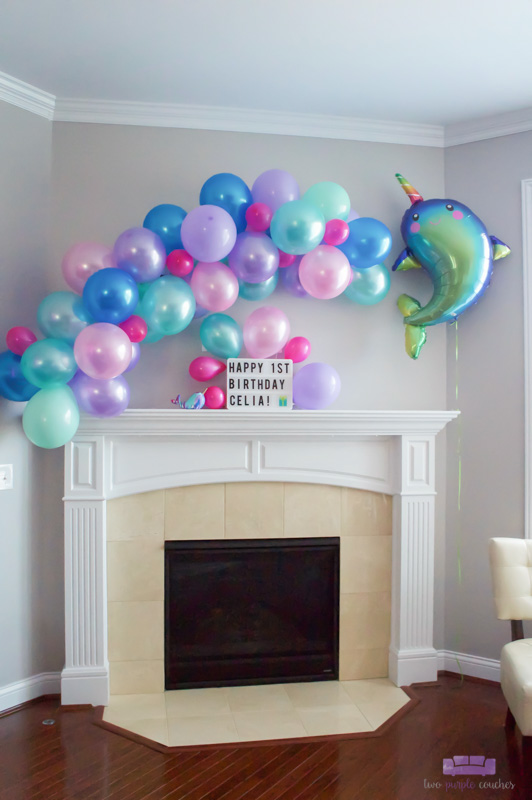

A few weeks after our daughter’s party, I re-configured the garland for a baby shower I was hosting. All I had to do was remove the balloons I didn’t want and replace them with new ones! I also repositioned the balloon garland above our mantel, which was easy to do since I’d used painter’s tape to secure the ends. Cute, right!?
If you want to see more decorations from my daughter’s Narwhal Birthday Party click here.
Love this? Don’t forget to Bookmark It or Pin It!

Smart call on the electric inflator. I didn’t have one when I did a garland and I got so lightheaded I had to take a few breaks LOL! Beautiful job, Emily 🙂
Thank you so much, Katie! At first I was going to skip the inflator, but after thinking it over, I decided it would be a worthwhile investment, haha!