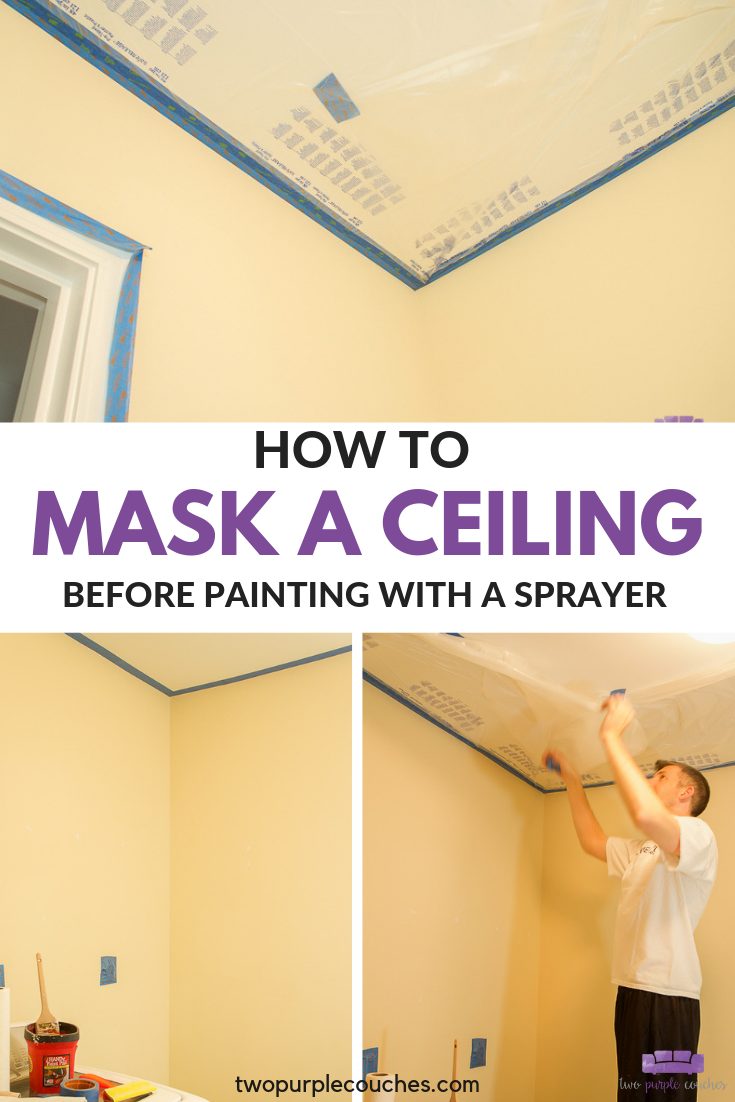
Learn how to mask a ceiling for painting a room with a paint sprayer. These tips will help you easily prep a room for painting using tape and masking film.
If you are planning to paint a room with a paint sprayer, knowing how to mask a ceiling is an important step in prepping the room. With the right tools, it’s easy to mask a ceiling and ensures that your paint lines will be crisp and clean.
When we painted our laundry room a few weeks ago, it was the first time we’d ever painted a whole room using a paint sprayer. (Click here to read more about painting our laundry room) Which meant figuring out how to mask a ceiling and prep a room for spray painting. You can always count on a DIY project to make you learn something new, right!?
Learning how to mask a ceiling was actually much easier than I initially thought it would be. With the right materials and tools, we were able to quickly prep our room for spray painting. I’ve had a few questions from friends and readers about how we did it, so I thought I’d share our steps and what we learned!
This post contains some affiliate links for your convenience. Click here to read my full disclosure policy.
How to Mask a Ceiling for Paint Spraying
Materials Needed:
- Pre-taped masking film* (or this)
- If you can’t find the pre-taped kind, use regular Masking film
- Dispenser (optional)
- Painter’s tape (or this)
- Scissors
- Step ladder
*The pre-taped masking film makes the painting prep work SO much faster. You can even buy this pre-taped film and dispenser set to make it even more convenient. If you cannot find the pre-taped film (or can’t wait for an online order), a roll of regular masking film and painter’s tape will work just as well. FYI: this requires the extra step of measuring and adhering both the tape and the film yourself.
Tutorial:
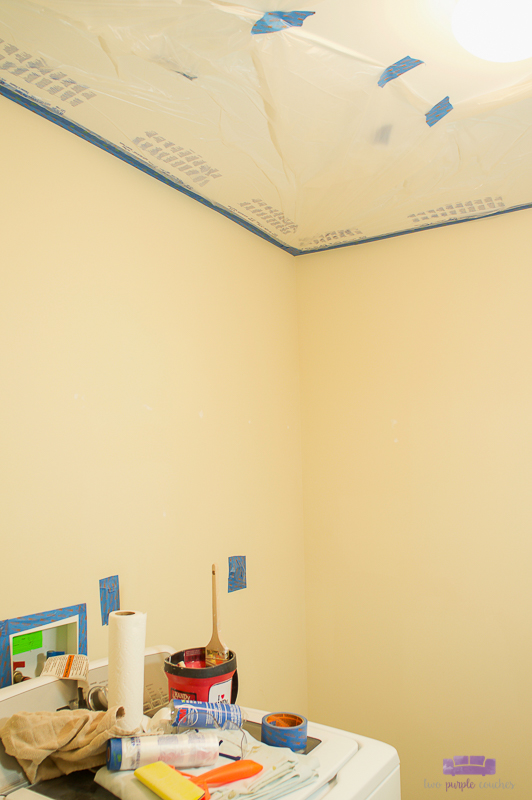
1.) Cut or tear strips of painter’s tape and adhere these to the ceiling where the ceiling and the wall meet. Continue until there is a border of tape around the entire room.
2.) Unroll several inches of the pre-taped masking film and adhere it to the border of painter’s tape. Continue until you’ve taped around the room. (Yes, you can stick pre-taped masking film directly to a ceiling, but we found it easier to tape it to a tape border. It’s a little more forgiving this way since walls and ceilings are never 100% flush and straight.)
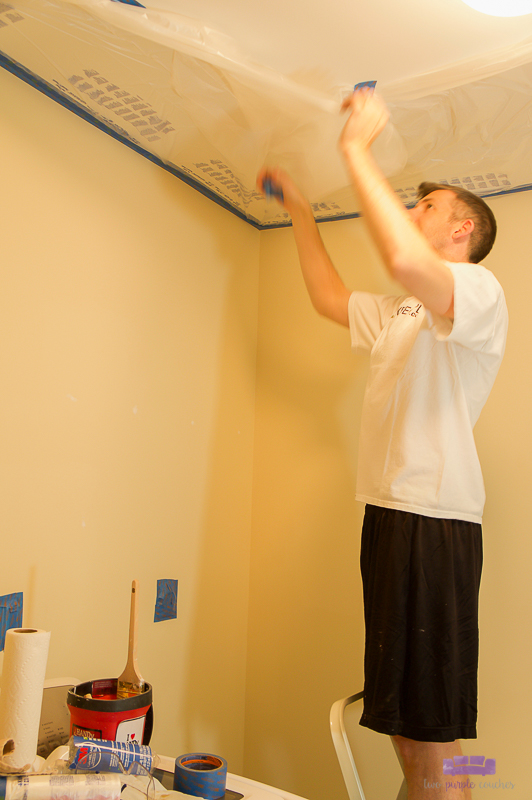
3.) Begin unfolding the masking film and secure the ends with small pieces of painter’s tape. You want to be sure to mask a ceiling by at least several inches to protect from overspray from a paint sprayer. The masking film we used unfolded to 48”, which provided more than enough protection from overspray.

4.) When you start painting with a paint sprayer, you can spray right up to the line of tape and masking film.
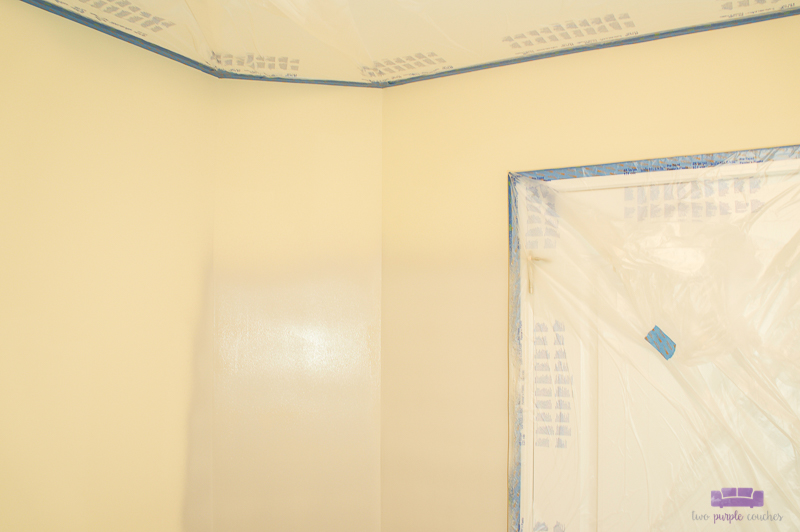
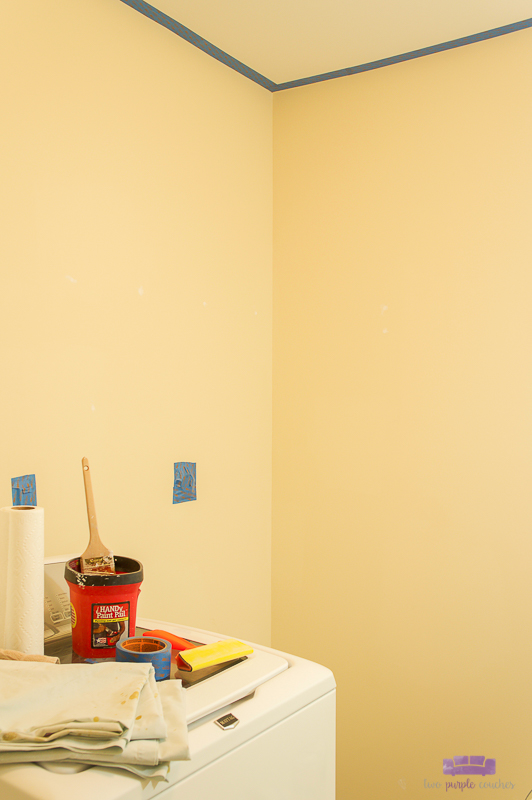
5.) Allow painted walls to dry for about an hour before you remove the masking film and painter’s tape. If you do it too soon, you risk smudging the paint; if you wait too long, paint could peel off with the tape. To ensure a clean removal, you can score the edge of the tape with a razor blade.
And that’s how easy it is to mask a ceiling and prep a room for painting with a paint sprayer!
Love this? Pin or Bookmark it for later!
