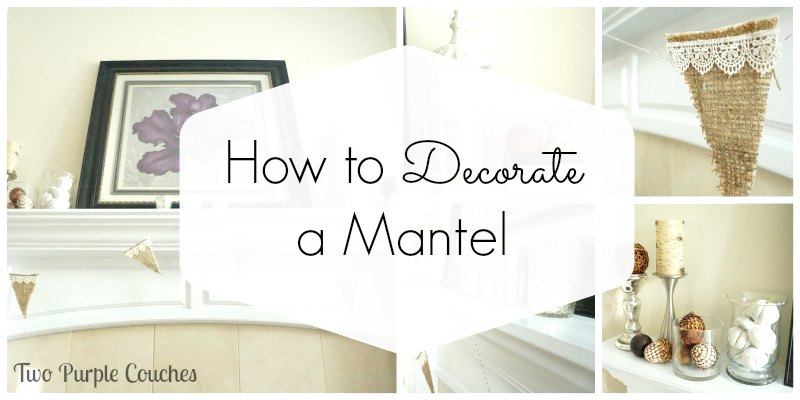
Yesterday, I shared my fall-i-fied family room as part of the Happy Fall-i-Days Blog Hop, and I promised I’d show you how I created my vignettes. Read on for my tips on how to decorate a mantel…
I always approach decorating with equal parts excitement and trepidation. Maybe trepidation is a bit of an extreme term, but there’s definitely a bit of doubt about how it’s all going to come together, especially if I’m not sure exactly what I want the finished look to be. Maybe you feel the same, so I thought I’d share my process in a step-by-step that might help or inspire you if you’re stuck!
I’m still getting used to seasonal decorating. I used to save up the whole year and go nuts at Christmas. But when we moved into our house, it felt like it deserved more seasonal attention beyond just a wreath on the door. And while I’m still (always?) trying to figure out what our decorating style is, I’m also trying to figure out what our seasonal decorating style is. Whew!
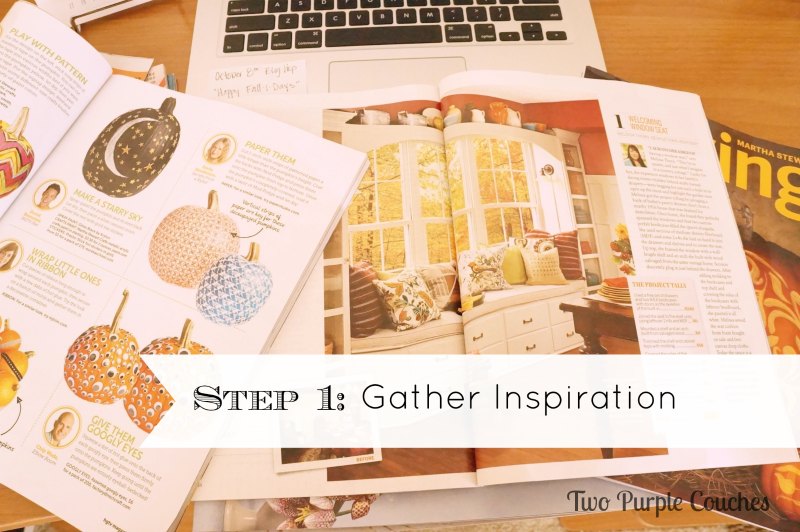
With any decorating project, I suggest starting out by gathering up some inspiration. This might mean flagging magazine pages, creating a board on Pinterest, or studying what your favorite bloggers and decorators have done.
Once you’ve got a feel for what your style will be, like glam or rustic or traditional, start gathering items and supplies that fit the bill. I’m finding that my seasonal decorating style is based in neutrals. Or, flashy neutrals, to be more specific. Which surprises me a little, because I love color, but this also means that it works with our existing decor, like our purple couches and zebra rug. Throwing some orange pumpkins or bright red Valentine’s hearts into the mix might feel like too much. I also love me some sparkle and shine, so metallics and mercury glass are always on my list. A little glitter can’t hurt either.
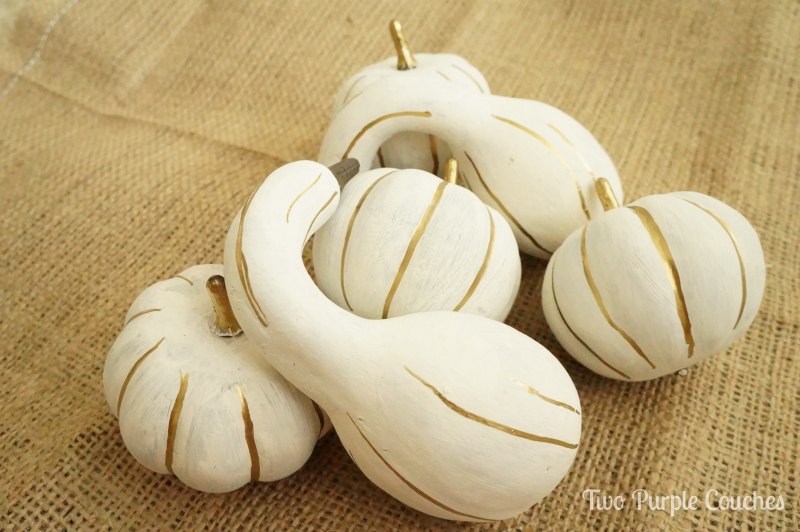
For my fall decor, I knew I wanted white and neutral pumpkins. I selected pumpkins and gourds in various sizes from a local craft supply store, along with some white/light cream acrylic paint.
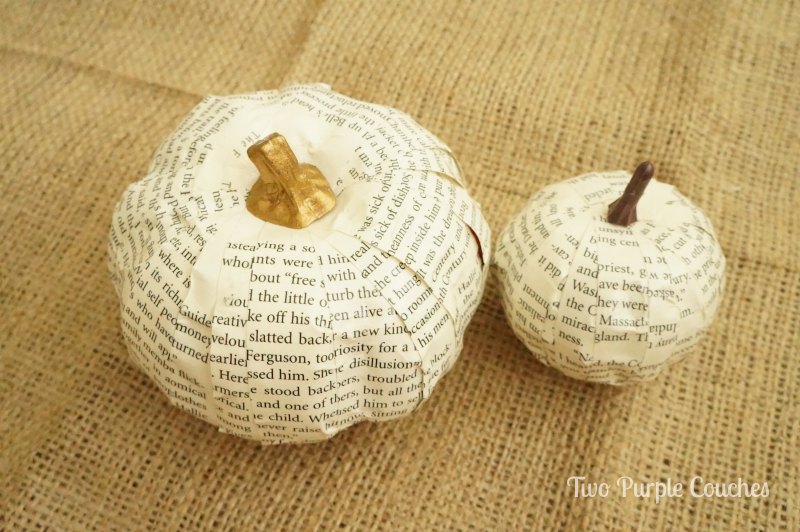
I’ve also had my eye on book-page covered things for a while, so I decided to give this a shot.
Let me just pause here and say that, yes, as an English major and lover of books, this was a rather traumatic, yet strangely empowering, experience for me. I combed through the boxes of books in my basement (waiting oh-so-patiently for our library built-ins project to get underway), and selected some texts I had read in college, that I know I’ll never want to read again.
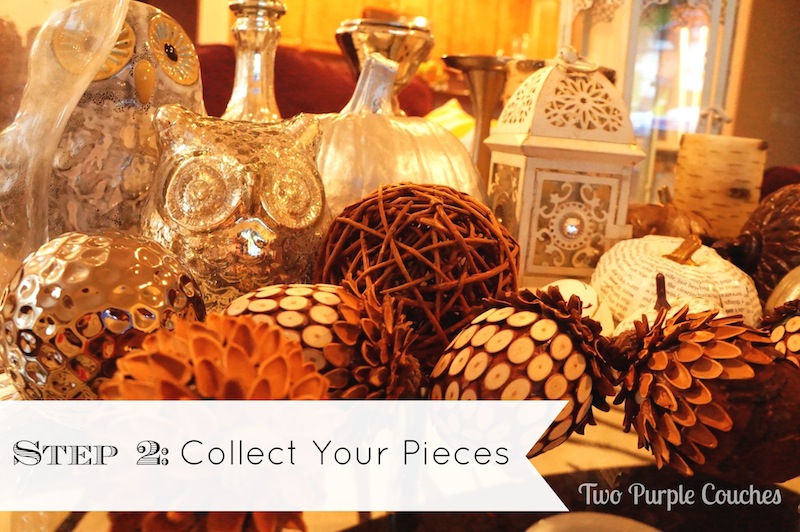
Once my pumpkins were painted and ‘podged with pages (oh how I heart alliteration), I collected up every potential decor piece I could think of or find in our house:
This pile includes lanterns, candle holders in metal and mercury glass, clear vases, vase fillers, books, and lots of items made of natural materials and textures.
I also suggest starting with a clean slate. I cleared our mantel of everything except the giant flower art, because that puppy isn’t going anywhere. It’s too big. And now, the fun can begin!
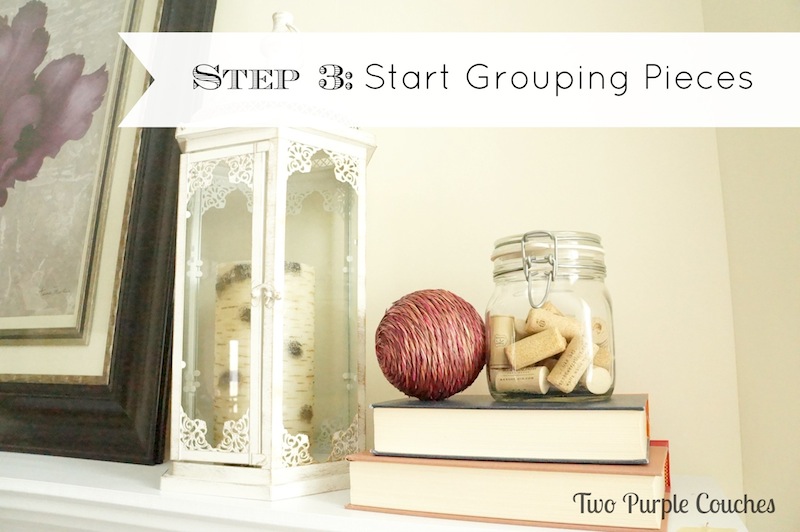
Start with taller pieces, such as lanterns, vases, or candle holders. Groupings of three in varying heights always look good together. As I was putting pieces together, I was reminded of the decorating “competition” I participated in at Haven, and then decided later that I should have set a timer so I couldn’t brood over decisions too long!
When you’ve got your larger items or larger groupings placed, then take your smaller or leftover items and fill in any holes or spaces that look like they just need something extra.
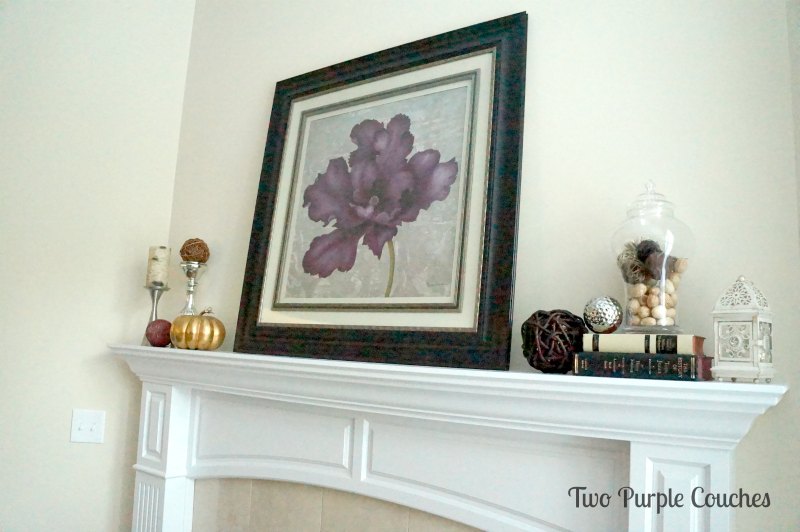
Here’s what I ended up with:
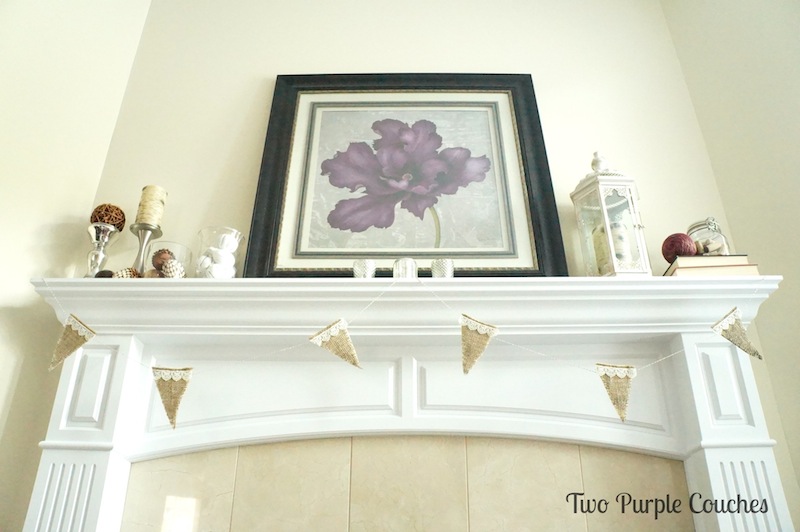
I didn’t love it, but I lived with it for a few days. After some thought and switch-a-roos, here’s the finished look:
And I love it!
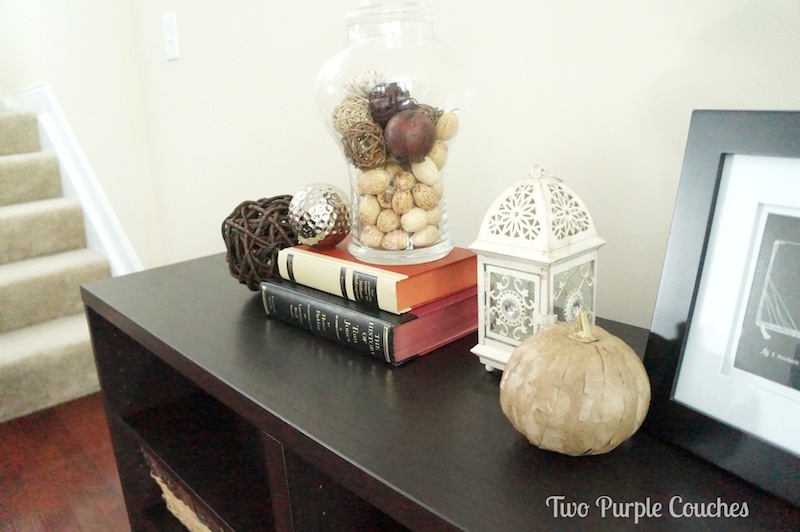
You never have to be stuck with an arrangement you don’t like. For instance, I loved the way the apothecary jar looked when stacked on top of a few books, but it just wasn’t substantial enough for our mantel. We have 10′ ceilings, and as much as I love how airy they make our room feel, they also give you a lot of wall space to cover. This grouping turned out to be a perfect fit for our low bookshelf, while the giant lantern resumed a spot on the mantel, where it adds great height next to our giant framed art.
So, while decorating might seem like it’s a science, it’s also a bit of luck, and a lot of personal preference!
I hope this little How-To was helpful! What are your biggest decorating dilemmas? Do they completely stump you, or have you figured out how to work through them?

It all looks amazing!!! The book page pumpkins look incredible! And the painted gourds! You did that?!?! So good!!!
Thalita – The Learner Observer recently posted…Fall Showed Up In The Kitchen!
Thank you Thalita! I love the book page pumpkins, too. I might just book-page everything I see now…
Emily,
I love how you shared your process, too. The mantel looks fab!
Jackie recently posted…To Lean or Not to Lean Artwork
Thank you Jackie! I could probably make some improvements based on some of your recent posts 😉
Great step-by-step process, Emily!! Looks great!
Laura @ The Turquoise Home recently posted…15 Fabulous Chalkboard Ideas
Thanks Laura!
Awesome way to put together your mantel 😉 Love those little pumpkins 😉
Hugs,
Jamie @ somuchbetterwithage.com
Thanks Jamie! I love adding a little gold wherever I can 😉
Pingback: Pumpkin Inspiration |
Pingback: Pumpkin Inspiration -