Learn how to paint a laundry room with a paint sprayer. This DIY tutorial shares how quick and easy it is to paint a small space with a paint sprayer.
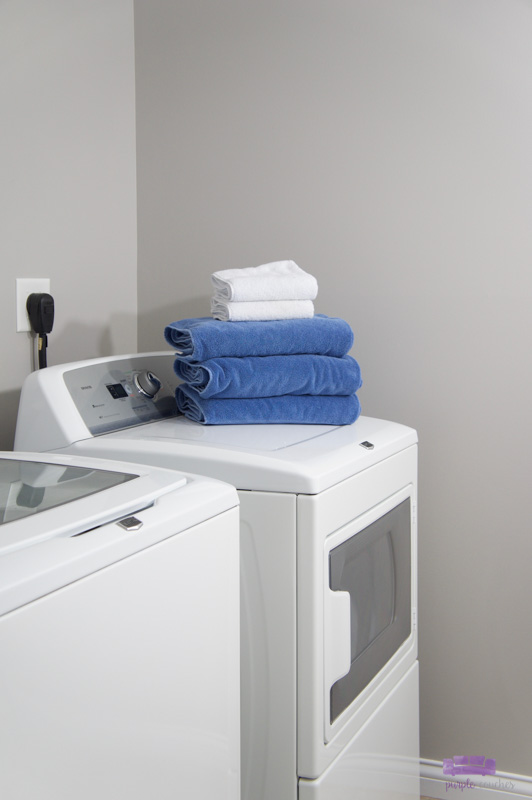
We recently painted our laundry room to kick off the mini makeover we have planned for this small space. We used a paint sprayer and our favorite wall color and were able to paint a laundry room in an afternoon!
Thank you to Wagner SprayTech for sponsoring this post. All content and opinions expressed here are my own. Click here to read my full disclosure policy.
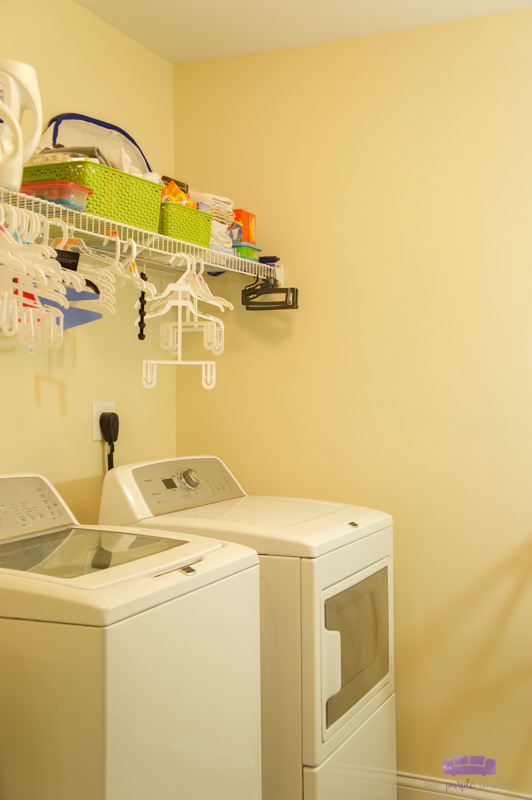
We haven’t touched our laundry room since we moved into this house about 7.5 years ago. It’s been quietly serving its purpose in all its builder-grade, builder beige glory. But I’ve finally had enough! It needs to be more functional to serve our family’s needs, and it could definitely be more stylish, too.
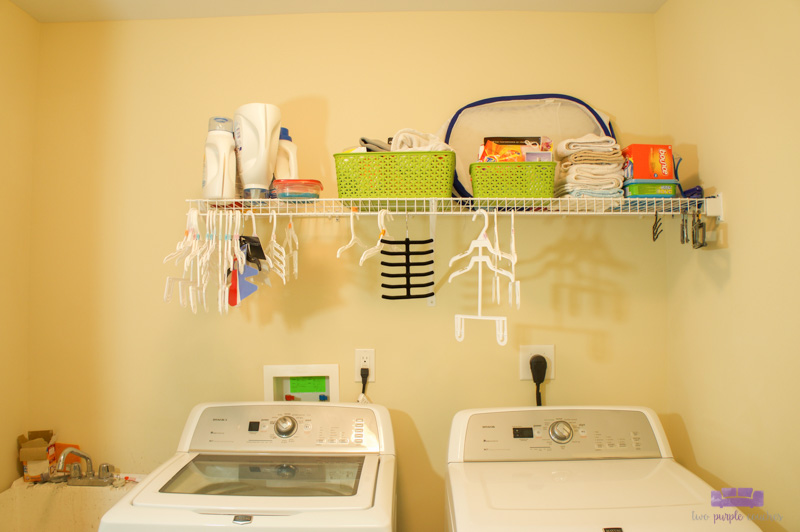
I am planning a simple makeover for our laundry room to make it work better and give us more storage space. The first step was to get rid of that builder beige and give the walls a fresh new color. We easily did this in an afternoon with our FLEXiO 5000 paint sprayer. Let me show you how easy it is to paint a laundry room with a paint sprayer.
This post contains some affiliate links for your convenience. Click here to read my full disclosure policy.
How to paint a laundry room with a paint sprayer
Materials Needed:
- FLEXiO 5000
- Paint
- We like PPG Regency paint + primer for interior projects. The color we chose is Natural Gray by Behr (we’ve used this color all over our house; it’s definitely a favorite!)
- Paint stir stick
- Extension cord
- Pre-taped masking film (this or this)
- Painter’s tape
- Spackle (this or this)
- Putty knife
- Fine grit sandpaper
- Safety glasses
- Respirator mask
- Drop cloths
Tutorial:
Prep your walls
We cleared everything out of our laundry room and removed all of the light switch and outlet covers. We also removed the wire shelf and filled in all of the screw holes with interior spackle. There were a few other nicks in the wall that needed to be filled.
Once the spackle is completely dry, lightly sand the walls from floor to ceiling. Paint adheres better to a smooth surface.
Mask the ceiling, door, and washer/dryer
This is the first time we’ve used pre-taped masking film and it made painting with the sprayer so easy. We masked our ceiling and door to protect against overspray. We don’t have a window in our laundry room, but the masking film would work on a window as well.
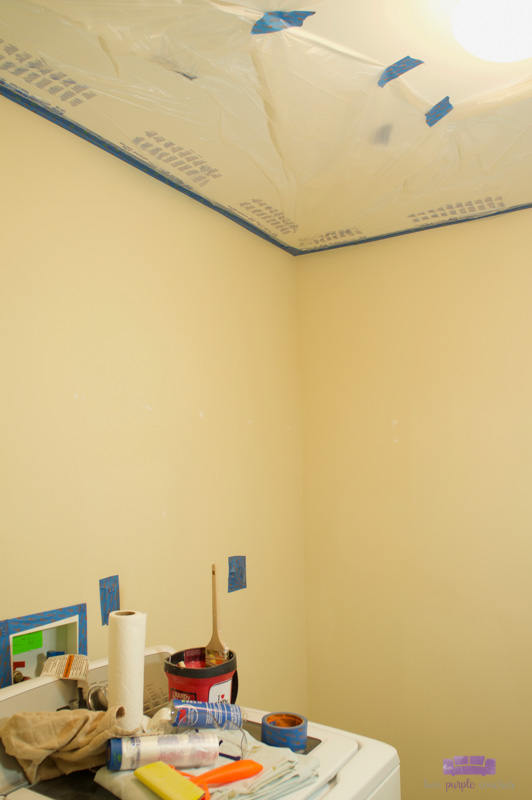
We were able to move our dryer into our hallway, but the washing machine stayed put. A drop cloth, masking film and painter’s tape helped protect the washing machine and cover the water hookup.
We also taped off our baseboards and covered the floor with drop cloths. This video from Wagner has good tips for how to mask and protect your room.
Set up the paint sprayer
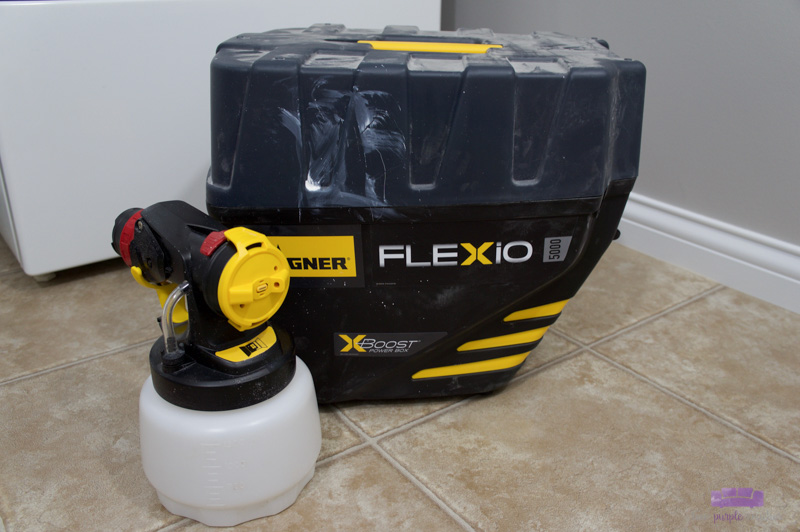
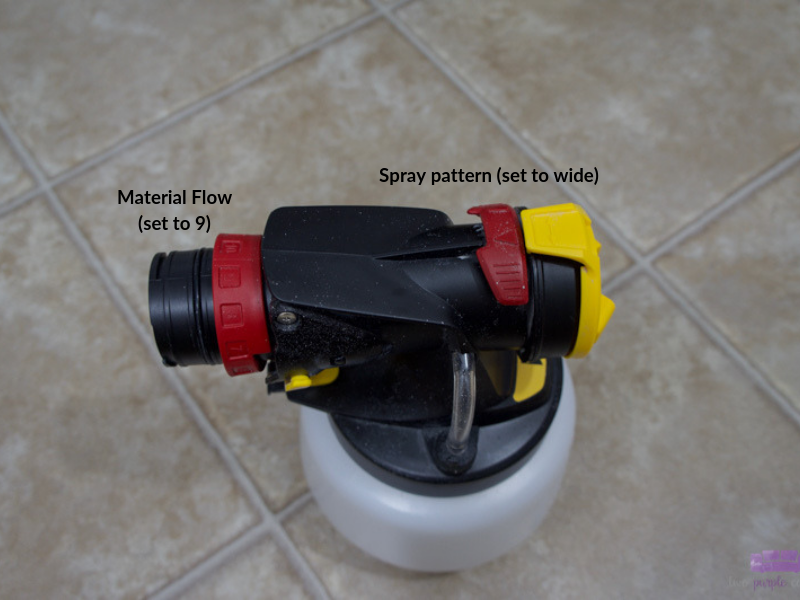
If you’re working with the FLEXiO 5000, the iSpray nozzle is best for painting walls. Stir your paint and pour it into the cup. Attach the tube to the nozzle and adjust the nozzle settings based on the chart in the instruction manual. We used a latex paint + primer, so I set the Material Flow to 9 and the Air Power to Medium.
Adjust the iSpray nozzle for a wide spray pattern.
Test your settings before you begin painting your laundry room. I forgot to grab a test board, so I started painting on the wall behind the door since it’s a pretty inconspicuous spot.
Paint your laundry room walls
Connect the handle to the nozzle, turn on the turbine and begin painting. I prefer to spray side-to-side starting at the baseboards and working my way up the wall, but you can also spray up-and-down. Release the trigger when you get to the end of the wall or row, before you begin your next pass.
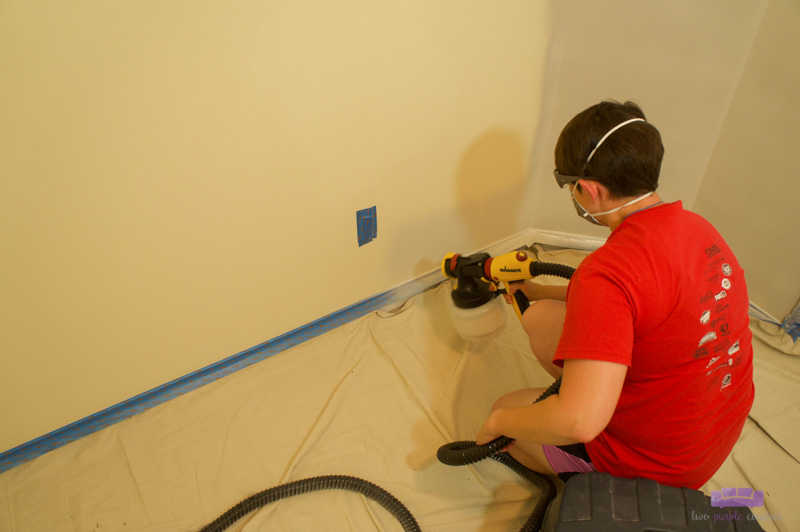
Work about 6 to 8 inches from the wall. It seems close, but if you’re too far away, you’ll create too much overspray. Move slowly and steadily as you paint. If your paint begins to pool and run, you may be moving too slow. If it’s light and splotchy, you may be moving too fast. Overlap your rows by about 50% to get a good, even coverage.
Wipe the nozzle after you do a few rows to keep it clear of excess or dried paint. I forgot to do this regularly as I was painting and then I wound up with some splotchy spots on my walls. Thankfully, they dried smooth, but this is my friendly PSA to keep the nozzle clean!
Rinse and clean the sprayer
Once you’ve painted your laundry room (we did two coats), rinse and clean the iSpray nozzle according to the manual instructions. For latex paint, pour any unused paint back into the can, then fill the cup about half full with warm, soapy water. Spray this solution into a bucket. Then disassemble the nozzle and thoroughly clean the tube and all of the parts. Once dry, pack the hose and nozzles back into the turbine case for easy storage.
Removing masking film and painter’s tape
Removing these before the paint dries fully means you can clean or touch up any spots where the paint bled. A damp paper towel usually does the trick. Once the walls are fully dry, replace the light switch and outlet covers.
And there you have it! That’s the easiest way to paint a laundry room!
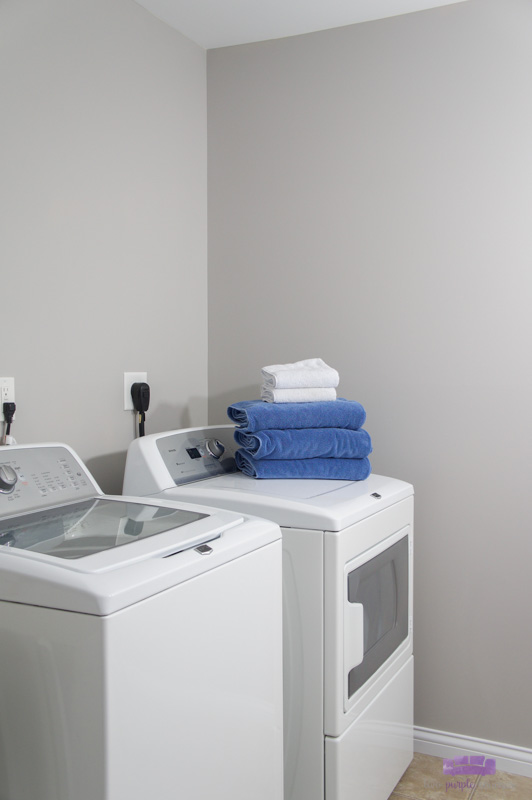
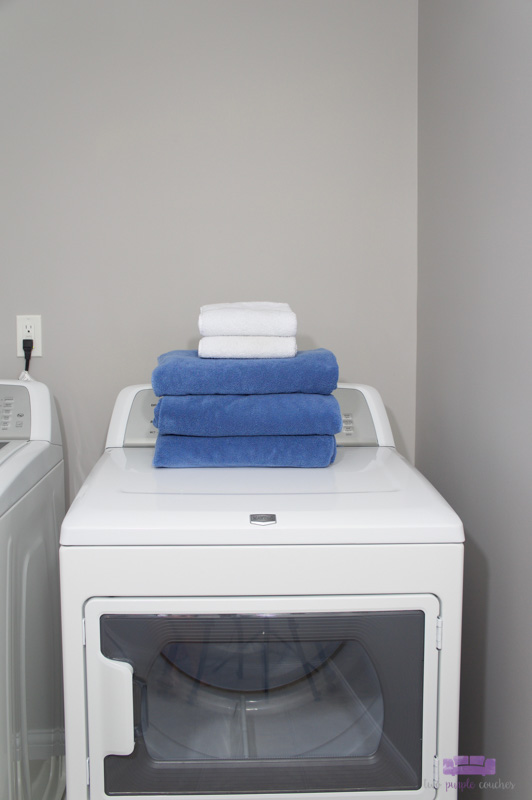
It was so nice to paint a laundry room in just an afternoon. The first coat seriously only took us about 30 minutes! Using a paint sprayer makes the work go quickly, even if the prep time takes a little longer. I don’t think we’d have been able to get two coats done in one day if we’d been using a roller and brush. And with a toddler around, saving a few hours of work time is priceless!
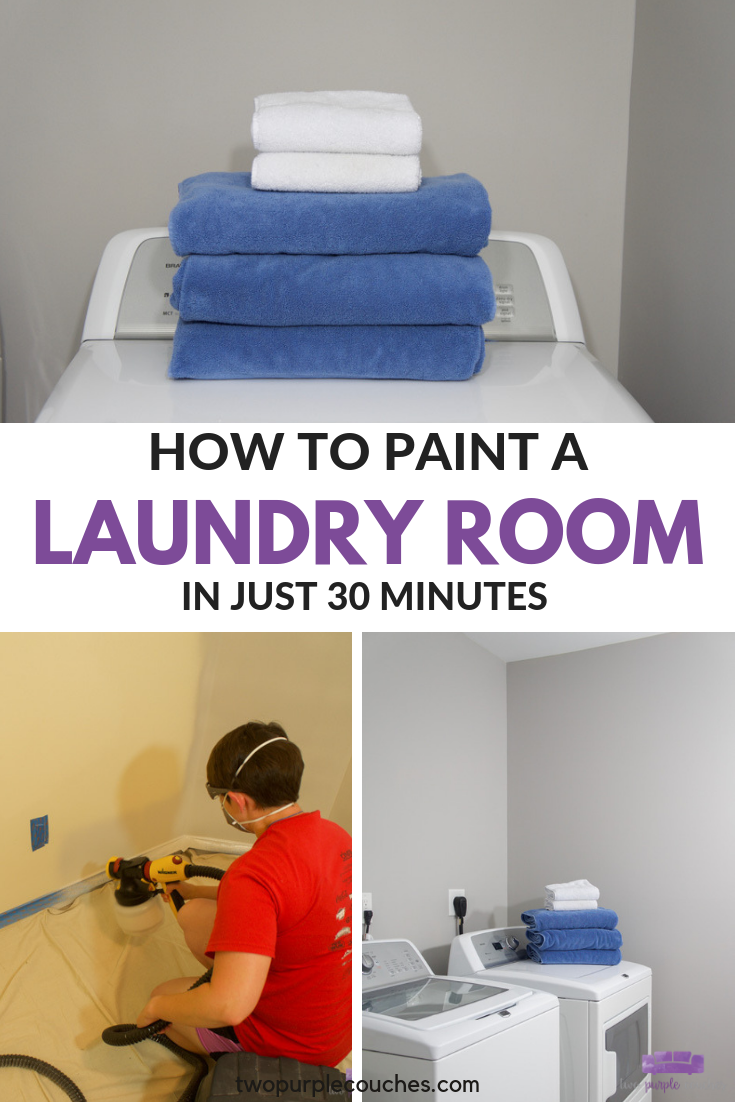
Love this? Don’t forget to Pin It or Bookmark It!

I love the gray color you choose, so cool and clean looking! A paint sprayer makes everything so much easier!!
Thanks Amanda! We love this color, too!
WOW! The laundry room looks amazing. We can’t believe that it was painted in just one afternoon! We definitely need to get a sprayer!
Thanks ladies! Yes! It was so nice to be able to knock this project out in one day with a sprayer!
I love the color you chose Emily, it made such a big difference in this room! Pinning!
Thank you so much, Roxanne!
It looks so good!! It’s amazing how fast you can get walls painted with the paint sprayer!
Thanks Meg! Yes, it’s so much faster than with a roller or brush! Love it!
Thanks for your guide! I find your post really helpful!