When I started planning for my future sister-in-law’s bridal shower, I knew I wanted to create some kind of decoration that would make a big impact. While hunting for inspiration, I came across several paper flower backdrops and knew this were exactly the look I wanted to re-create.
Go big or go home, right?
After a trip to Michaels and a session of Google searching, I was set. I found a paper flowers kit on clearance at Michaels to get me started, then scoured the web for templates and tutorials.
Once I got the hang of assembling these down, I began to tweak and experiment with the petal shape a bit to create different types of flowers. Technically-speaking, creating a giant paper flower backdrop like this isn’t complicated; it’s just cutting and glueing paper. But you do need a lot of paper, and it takes time to trace, cut and glue all of the pieces together.
I didn’t create my own templates because honestly, why reinvent the wheel? There are tons of resources out there, and I am all about using what ya got instead of creating more work. So, while I don’t have a downloadable template to share with you, I will point you in the direction of the templates and tutorials I found most helpful, and share how I pulled my paper flower backdrop together.
The other part of this paper flower backdrop equation was trying to figure out how many flowers I needed, and therefore, how much paper to purchase. Answer: a lot. When I am brainstorming something larger like this (or mantel decor), I always find it helpful to sketch out my ideas. I just drew a rectangle on a piece of paper to account for the chalkboard, and then began sketching circles around it to account for the flowers. I knew the kit I’d purchased at Michaels would make three large flowers, so I started by loosely sketching those, and then filling in the holes with medium and smaller-sized flowers.
Tutorials and Templates
At first, my thought was to trace and alter the pieces from the kit, but as I put my first one together, I changed my mind. I found and followed this tutorial and template from Ash and Crafts, and I would highly recommend it. This is the template that I modified both in size and style to create all of the medium-sized flowers. I love that a slight change in the petal shape gives the flower a whole different look. And once I got the hang of putting these together, making these small modifications along the way was simple.
For the smallest flowers, I used this printable template from DIY Network. I wish these were just a tad larger, but the convenience of the print-and-cut feature is awesome.
Once I got the flowers up, I decided to add some leaves. For one, they were perfect for filling in any gaps, and the added splashes of color made the flowers pop even more. I used this template from Ash and Crafts for the larger leaves. I freehanded the vine-like leaves.
The Paper
If you want to create a large paper flower backdrop like this, you’re going to need a lot of paper! The instructions for the medium flowers call for 9 sheets of 8.5″x11″ paper. I was lucky enough to grab two 12″x12″ pads of beautiful pink and coral papers for $5 during a massive paper sale at Michaels; each pad had 48 sheets of paper (8 colors; 6 sheets of each color). After tinkering with the template size just a bit, I was able to get one flower out of 6 sheets of 12″x12″ paper.
Making a wall full of giant paper flowers is time consuming… this isn’t a craft you can bang out in 15 minutes. But the end result is totally worth it, and all of the cutting and assembly (which will require lots of hot glue) is the kind of thing you can do while binge-watching New Girl or to keep you occupied while your husband has taken over all the TVs in the house during March Madness 😉
I also wanted to offer a tip for hanging these: try the Command picture hanging strips. My first thought when I went to hang these was to use painter’s tape, but the larger paper flowers are way too heavy for tape to hold them up. So I tried the picture hanging strips and they worked like a charm! The strips sort of lock together when they’re connected, making them pretty sturdy. And once the flowers are up, you can just tuck the leaves behind the petals and they should stay put. These flowers have been on my wall since the end of March and they haven’t budged!
Sharing with: Welcome Home Wednesday /Wow Me Wednesday / Work It Wednesday

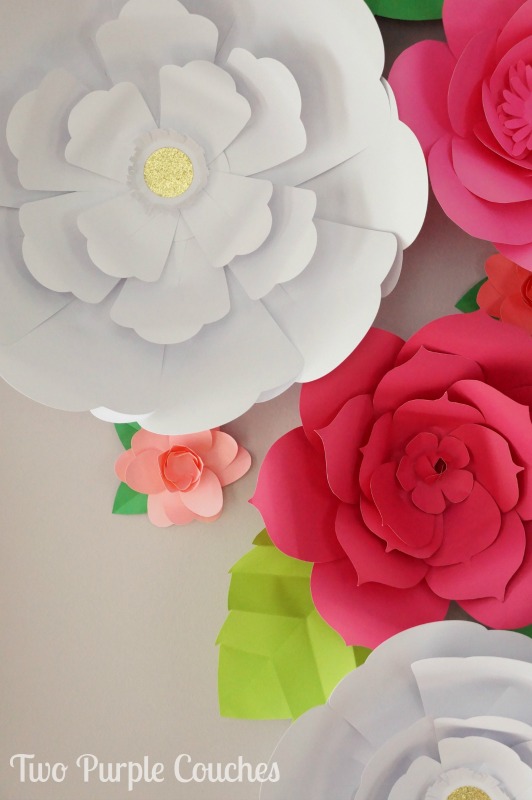
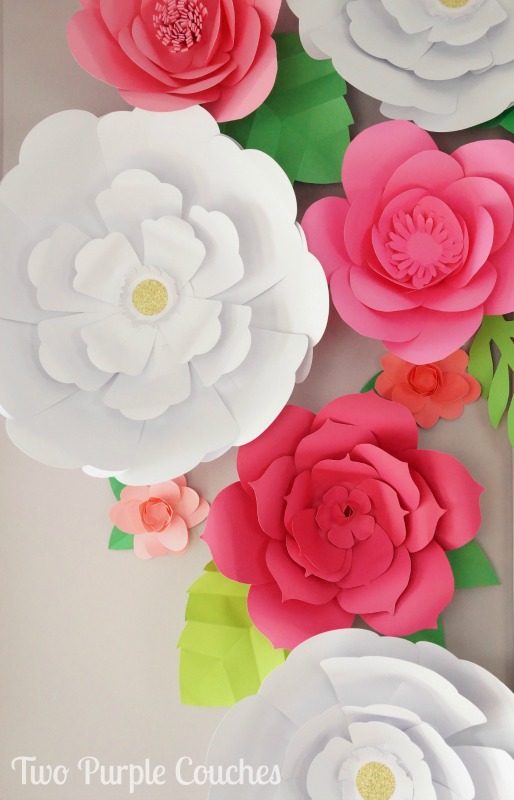
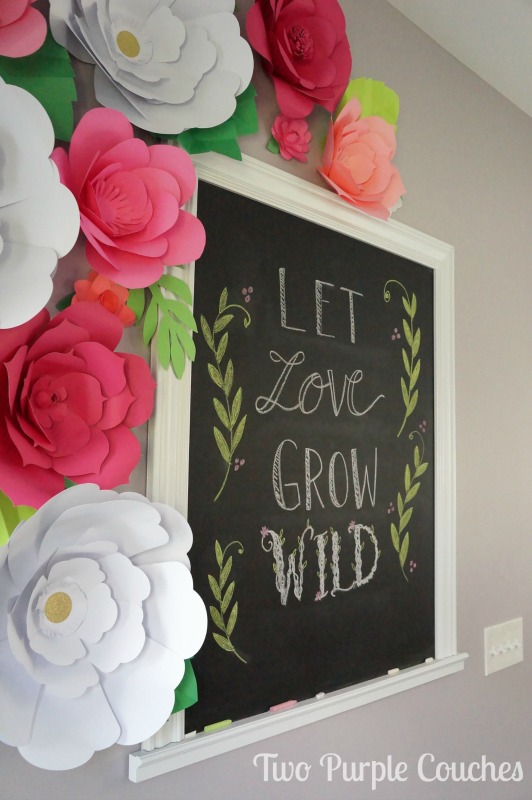
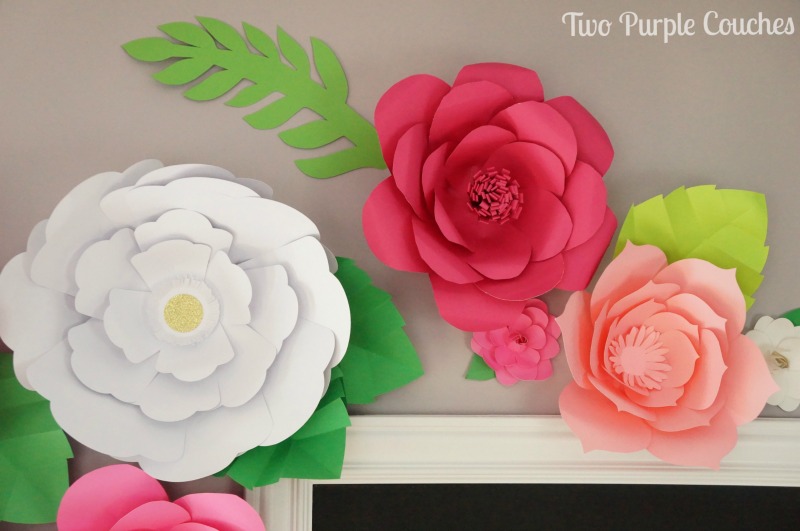
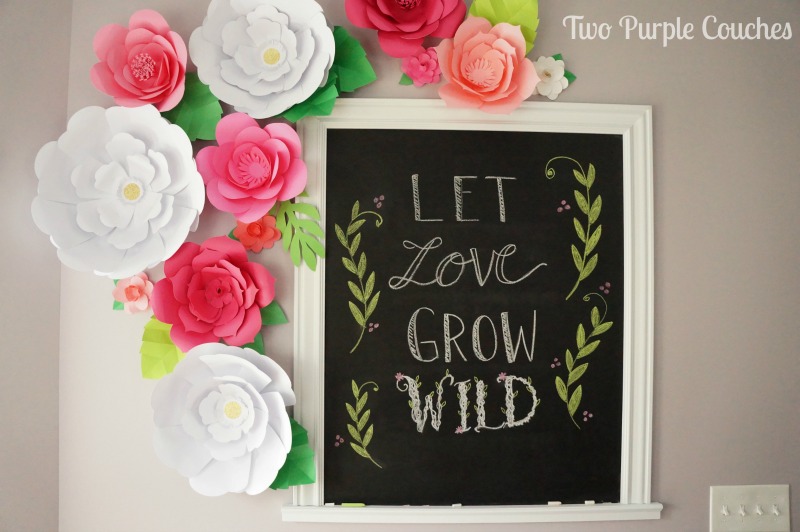
It turned out so beautiful, I would want it to say up awhile after all the work.
Celeste | The Whole Serving recently posted…Poached Eggs Over Crispy Potatoes and Toast
Thanks Celeste! I’ll probably keep them up through the summer; they’re too pretty to take down!
Pingback: DIY Summer Decor Projects - Inside the Fox Den
I’m so in love with this, Emily! I’ve gotta make one ASAP. Thanks for the creative inspiration!
Chelc | Inside the Fox Den recently posted…DIY Summer Decor Projects
Thanks Chelc! They’re perfect for parties, but really, you can decorate with them whenever you want 😉
Oh, these are SO beautiful!
Love how you styled them around the chalkboard and I could easily see them in a toddler’s room. I pin so I remember this.
TwoPlusCute recently posted…15 Minute Accent Wall (with electrical tape!)
Thank you so much!
Wow! That looks so pretty. Thanks for sharing on Welcome Home Wednesday. We hope to see you again this week!
Kailyn Shippee recently posted…Meal Plan 5.16.16
Thank you Kailyn!
Pingback: All Things Floral - A girl and a glue gun
Pingback: How to make paper flowers - A girl and a glue gun
Pingback: 25 fun ways to use paper flowers - A girl and a glue gun