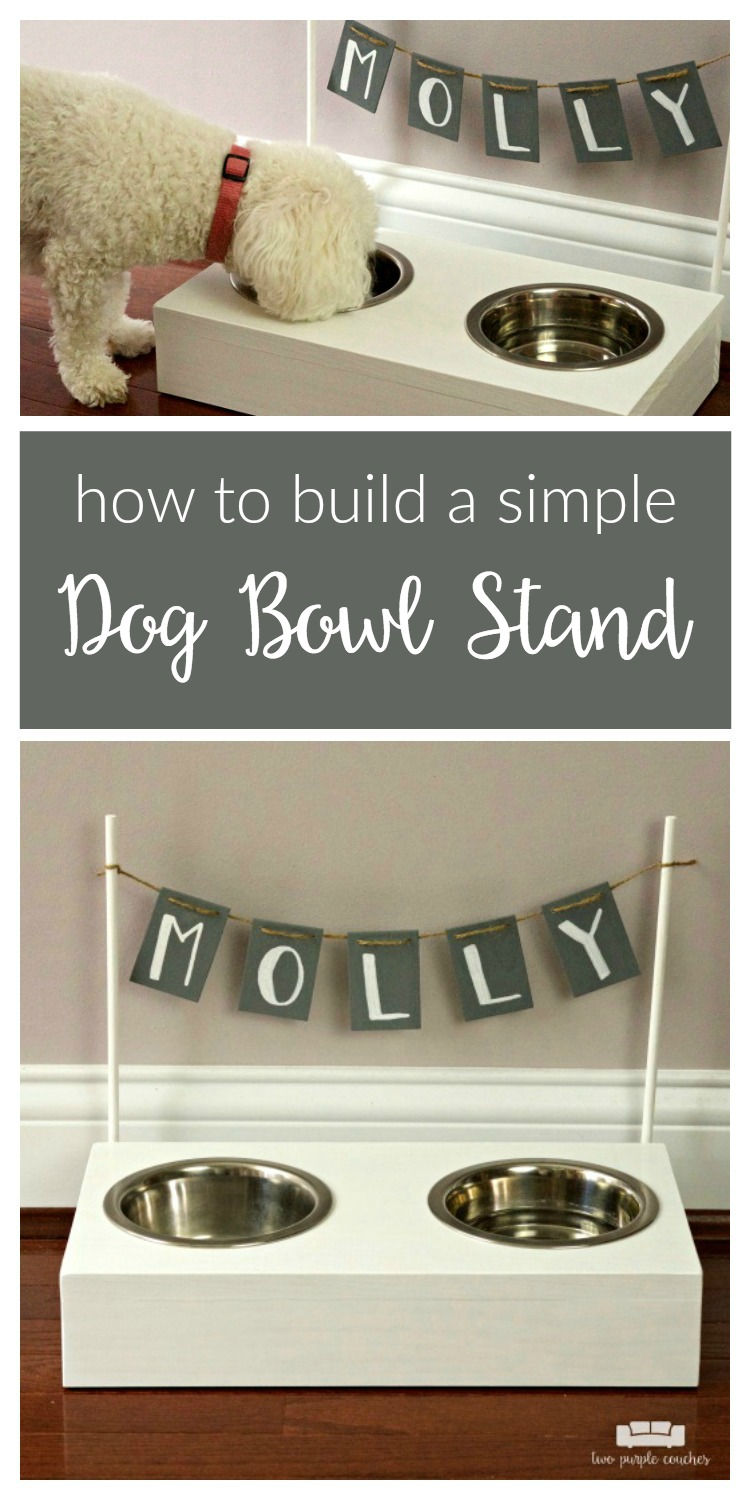
Build your own dog bowl stand. Follow this easy DIY to create a raised wooden stand to hold your dog’s food and water bowls. Perfect size for a small dog!
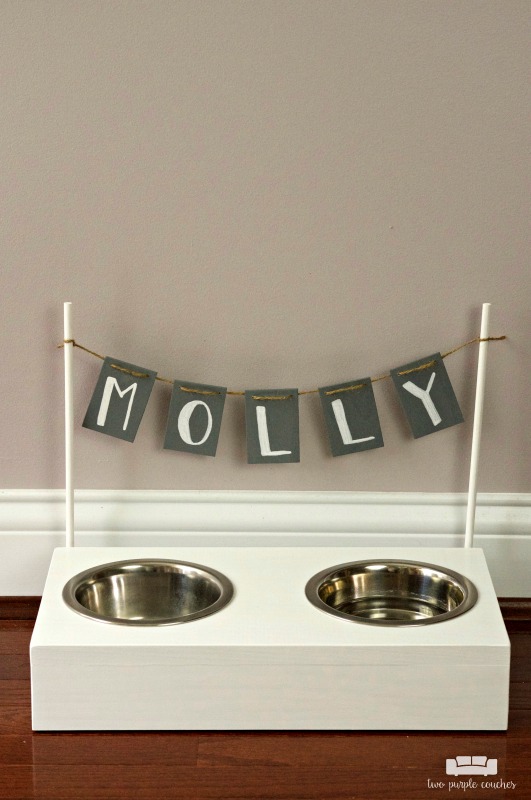
This DIY Dog Bowl Stand is the kind of simple project that’s perfect for making in a weekend. And you don’t need to break the bank buying materials—you only need a couple of boards. It’s also a great way to use up a few scrap pieces of wood!
Thank you to Rover.com for sponsoring this post. All content and opinions expressed here are my own. Click here to read my full disclosure policy.
When we adopted our dog, Molly, five years ago, it was sort of a spontaneous decision. As much as deciding to adopt a pet can be a spontaneous decision. I’d been looking for a dog for a while; my hubs wasn’t so convinced that he wanted to become a dog dad. But I managed to get him to an adoption shelter one weekend, and he knew there was no way we were leaving without a pup of our own. Now, we can’t imagine life without her and her quirky personality! This is a photo from the day we brought her home—she was such a little nugget at only 5lbs!

We bought the necessities for her, and received a few things from friends of ours who had dogs. One item we were gifted was a non-slip, plastic mat to put beneath her food and water bowls. It’s done it’s job for the past five years, but it was time for an upgrade! We decided to DIY a raised dog bowl stand to hold Molly’s food and water bowls, and add a bit of style to her spot in our kitchen.
How to Build a DIY Dog Bowl Stand
I’ll start off this tutorial by mentioning that the size and height of the dog bowl stand largely depends on how tall (or in our case, short) your dog is, and what types of bowls you’ll be using. For our stand, we only raised it about 3”. We’re keeping her existing food bowls which have a lip on the edge, so we cut holes slightly smaller than the bowls so the lip rests on the edge.
This post contains some affiliate links for your convenience. Click here to read my full disclosure policy.
Materials Needed:
- Wood (both of the boards we used are ¾” thick)
- Titebond Wood Glue
- Compound miter saw
- Jig saw
- Paint or stain
- Optional: dowel rod, unfinished wood banner, paint pen, twine.
Tutorial:
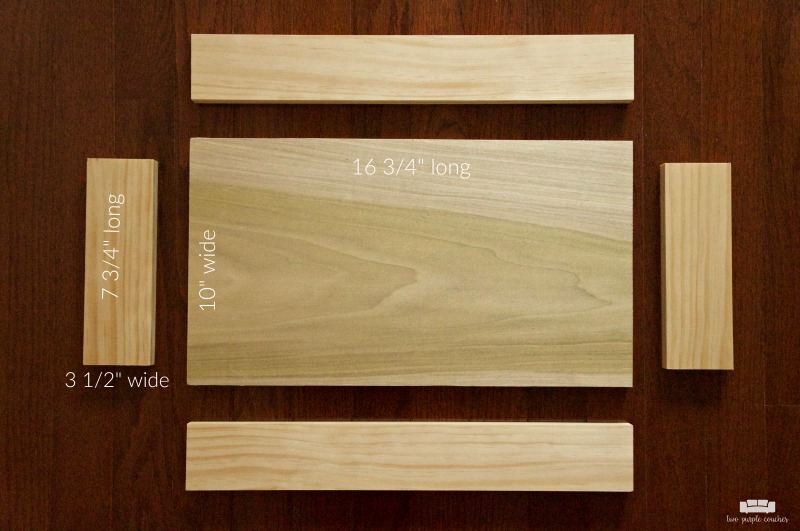
1.) Decide on the dimensions for your dog bowl stand. Overall, ours measures 16 ¾” long by 10” wide (technically it’s 9 ¼” wide, but the hardware store labels it as a 10” wide board… I will never understand this). Use a compound miter saw to cut five pieces of wood to create the top and four sides for the stand.
2.) Use a jig saw to cut holes in the top board. This is where the bowls will rest. I’d suggest erring on the side of slightly too small—you can always cut a little more of the wood away!
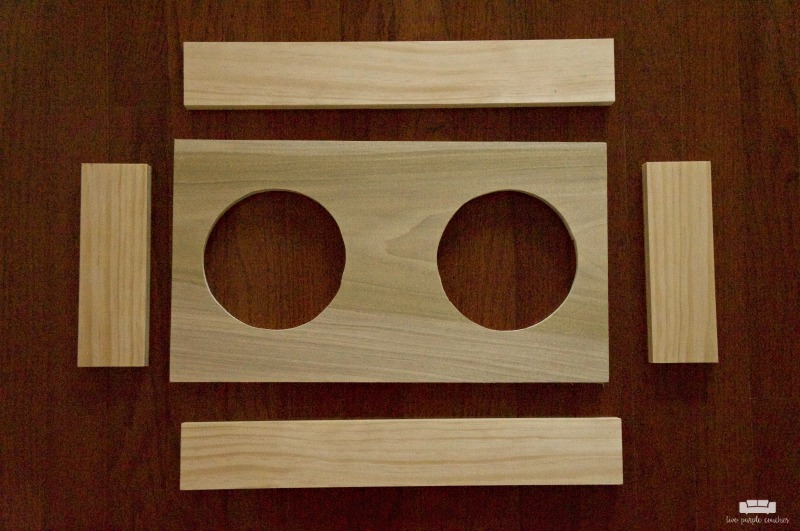
3.) Attach each of the four side pieces to the top board using wood glue. Allow to dry overnight.
Paint (or stain) your dog bowl stand. I used DecoArt Satin Enamels as it’s a more durable paint that should hold up well to daily use.
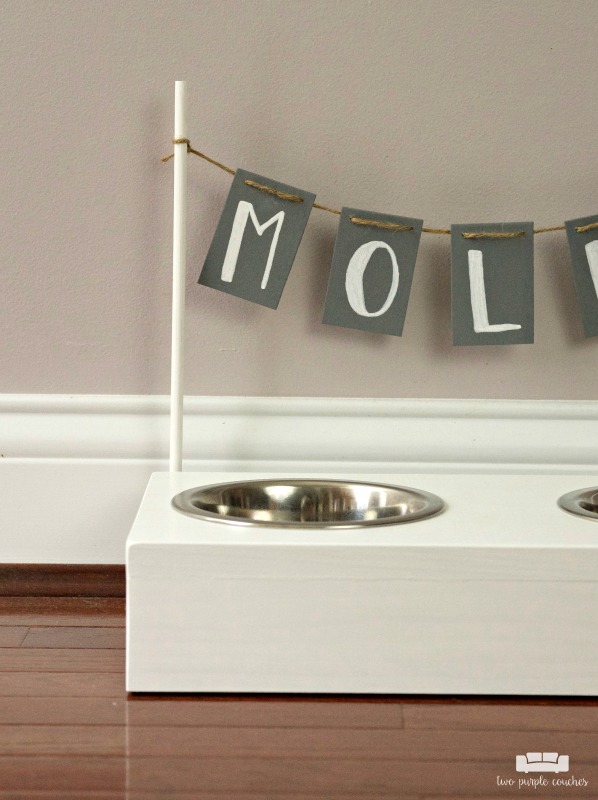
Optional Step: We wanted to add some flair to our dog bowl stand and personalize it for Molly. We decided to make a banner using dowel rods and wood shapes from the craft store. I painted the dowel rod and banner (DecoArt Satin Enamels in Smoke Grey). Once dry I wrote out her name using a paint pen, then strung the banner with twine. We did have to drill our own holes into the wood banner because we couldn’t find a pre-drilled one.
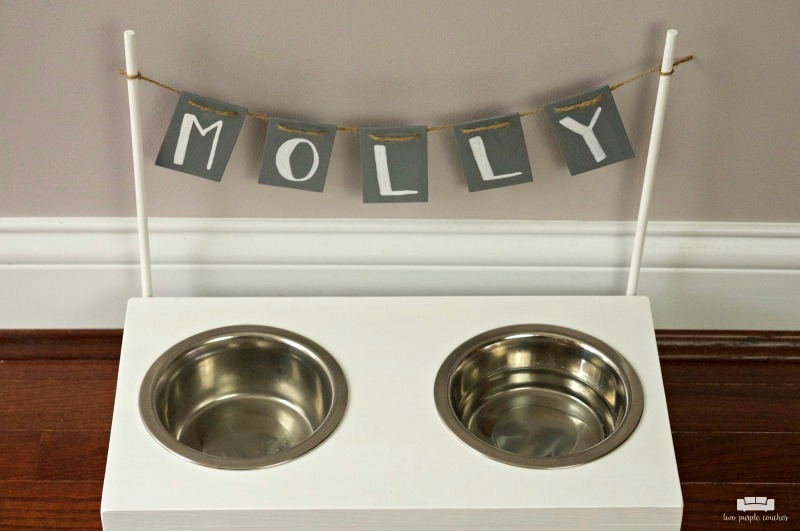
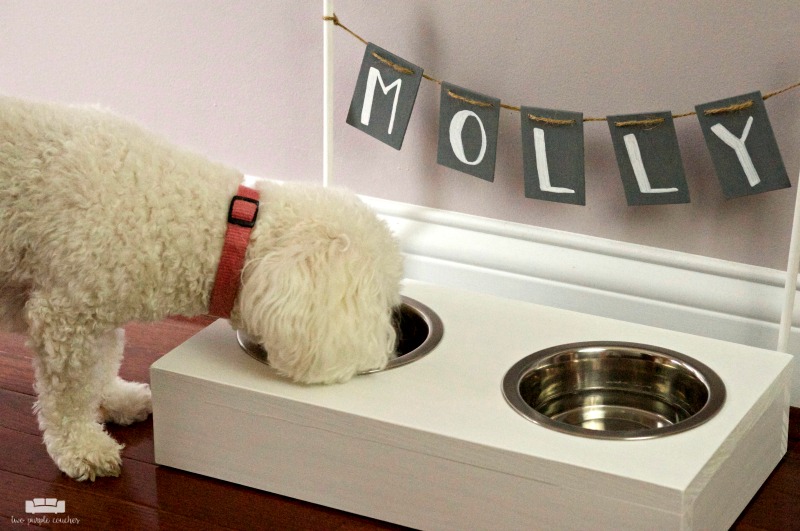
Molly seems to be enjoying her stylish new dog bowl stand, and we’re very glad to have the old mat out of the way!
Many thanks to Rover.com for partnering with me to sponsor this project! I’m always happy to meet fellow dog-lovers, and the folks at Rover couldn’t be more enthusiastic about their love of dogs. They are The Dog People, after all!
If you’re a fellow dog-lover looking for a reliable sitter or walker, be sure to check out Rover. There are sitters in every state, as well as Canada, who would love to help care for your pup! Learn more on their website here, or check out their app, available for iOS and Android.
Ready to give Rover a try? By creating an account through my special link, you’ll receive a $25 credit toward your first booking with Rover. Click here to get started!
Love this? Don’t forget to pin it or bookmark it!

Omg! This is super cute. I think Irving definitely needs one!
Thank you Amy! I bet Irving would love one 😉
I need to make one of these for my foxy Russell TOBY!
Yes! Our pup is loving hers!
Wow, our dog Charlie, would love this just as I do.
Ivory recently posted…DIY Dog Bowl Stand
We love it so much more than the old mat!
Molly is one lucky puppy! So cute!
She sure is, Pamela 😉 Thanks!
Pingback: Awesome Wood Projects to Make for Your Home + MM 191