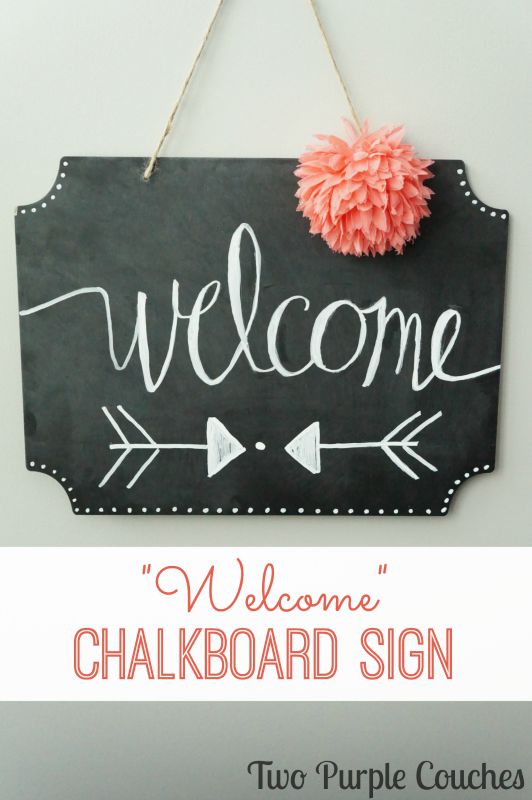
There is just something about chalkboards-style lettering that seems so cheerful and happy to me. Maybe it’s the carefree loops in the semi-cursive letters or the little details that make the message seem extra-special. Whatever it is, I love it, and even more so, I love trying to re-create it for myself. Enter this simple DIY chalkboard welcome sign!
My poor “Hello” banner wreath has recently become of the victim of some terrible bugs that are boring holes through the grapevine twigs. So every time I open our front door, I’m greeted with a cloud of sawdust. Yuck. That, along with the relentless spider that keeps building a web across the banner, meant that it was time for a change. I wasn’t inspired to tackle a whole new wreath, but I was inspired to try out my lettering skills to create a chalkboard welcome sign.
Well, the universe and I must have been on the same wavelength, because as soon as I sat down on my computer to search for some chalk lettering styles, this post on chalkboard calligraphy from Magnolia Homes showed up in my newsfeed! Thanks Joanna!
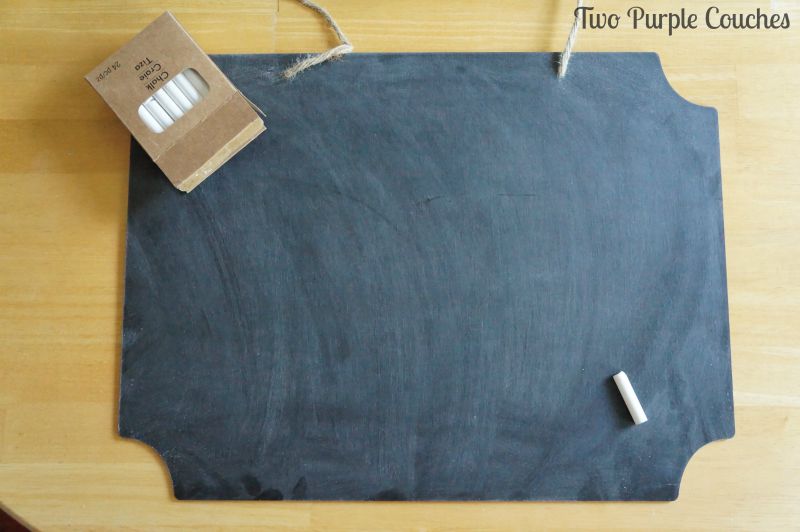
Following the tips in her post, I sat down with my blank (and freshly-seasoned!) chalkboard sign and a scrap piece of paper and started playing around with lettering styles. (If you’re wondering what I mean by “seasoned”, it’s always recommended that you season your chalkboards before you begin writing or drawing on them. That way, the first thing you create won’t get “burned” into the surface. To season your board, take a piece of chalk and rub it horizontally, then vertically across the entire board before wiping clean with a dry paper towel or eraser. Then it’s ready to go!)
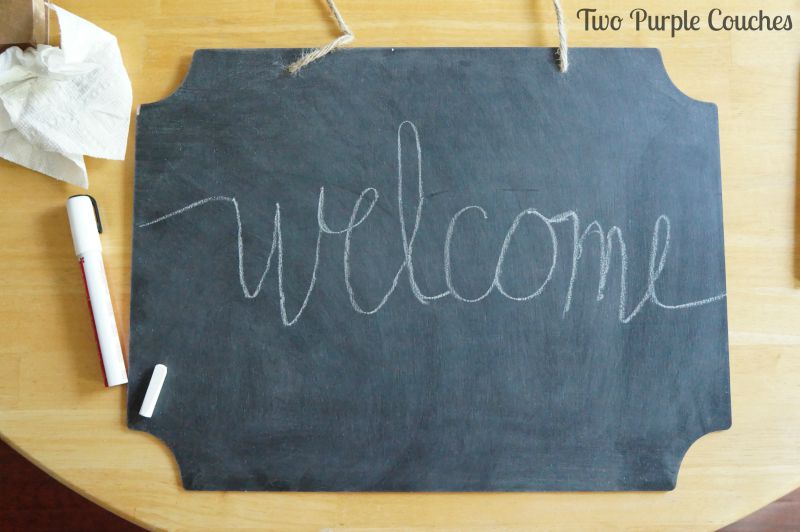
Once I had a good idea of what I wanted to do and where I wanted the word to appear on the sign, I lightly wrote it out in regular chalk. This was so helpful because I could go back and erase any mishaps with the corner of a dry paper towel. It took a few tries before I got each of the letters the way I wanted them.
Since this sign is going to be displayed on our front door and I want the letters to be more permanent, I went over my chalk lines with a chalk marker. (I used these). A chalk marker is just what it says—a more fluid way to write, but still with the chalk-look finish. Plus the messaging can be erased with a damp paper towel.
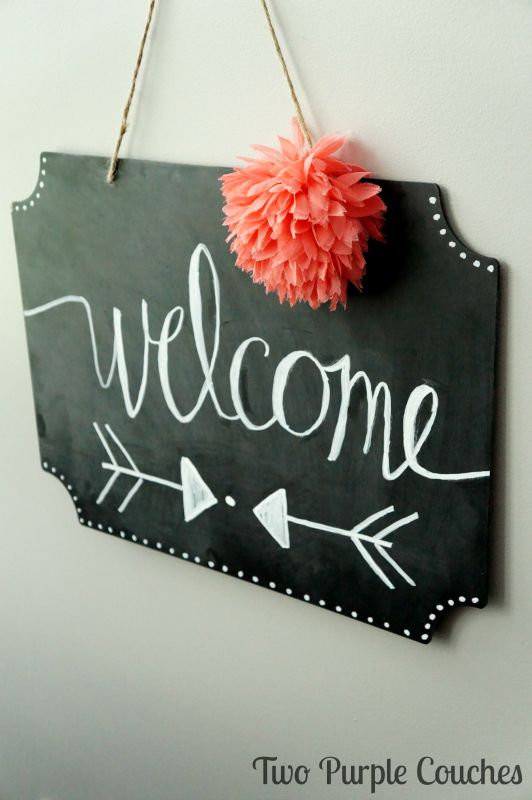
To finish off my sign, I added the arrows and dot embellishments around the edge. I’ve had this flower/pom-pom clip for years. It’s supposed to be a hair/fashion accessory, but I thought it would look cute clipped around the twine hanger!
And now it’s all ready for our front door! Here’s hoping those crazy bugs don’t eat holes into this one!
Sharing with: Shabbilicious Friday / Weekend Retreat


What a lovely welcome to your home! You made it look so easy. Happy and cheerful, indeed. What is it about chalkboard signs that causes such pleasant vibes? :^)
Eff @ Whatcha Workin’ On? recently posted…Fairy Tale Pillows
Thank you so much, Eff! There is just something wonderful about chalkboard signs 😀
I am so envious of your hand lettering skills. I usually just stare blankly at chalkboards and then run to get vinyl. 🙂 The pom pom is the perfect touch to finish off this great project!
Kelly Hedgespeth of Simply Kelly Designs recently posted…How To Save Money On Books
Awww, thank you, Kelly! I’m quite the novice when it comes to hand lettering. I always search for examples and use those as a guide. I’m pretty tickled when the final looks remotely like my inspiration 😛
This is super cute! Thanks for the great tips, especially on how to “season” a chalkboard. I love your little embellishments too!
Christine | Where The Smiles Have Been recently posted…Yearly Back-to-School Shirt with Handprints for Every Grade!
Thank you Christine! This was the first time I “seasoned” a chalkboard, but I can see why it’s a good idea!