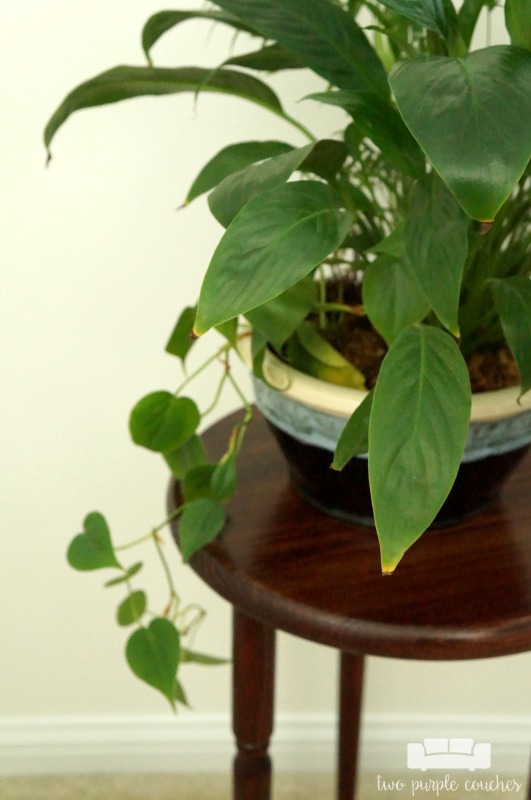
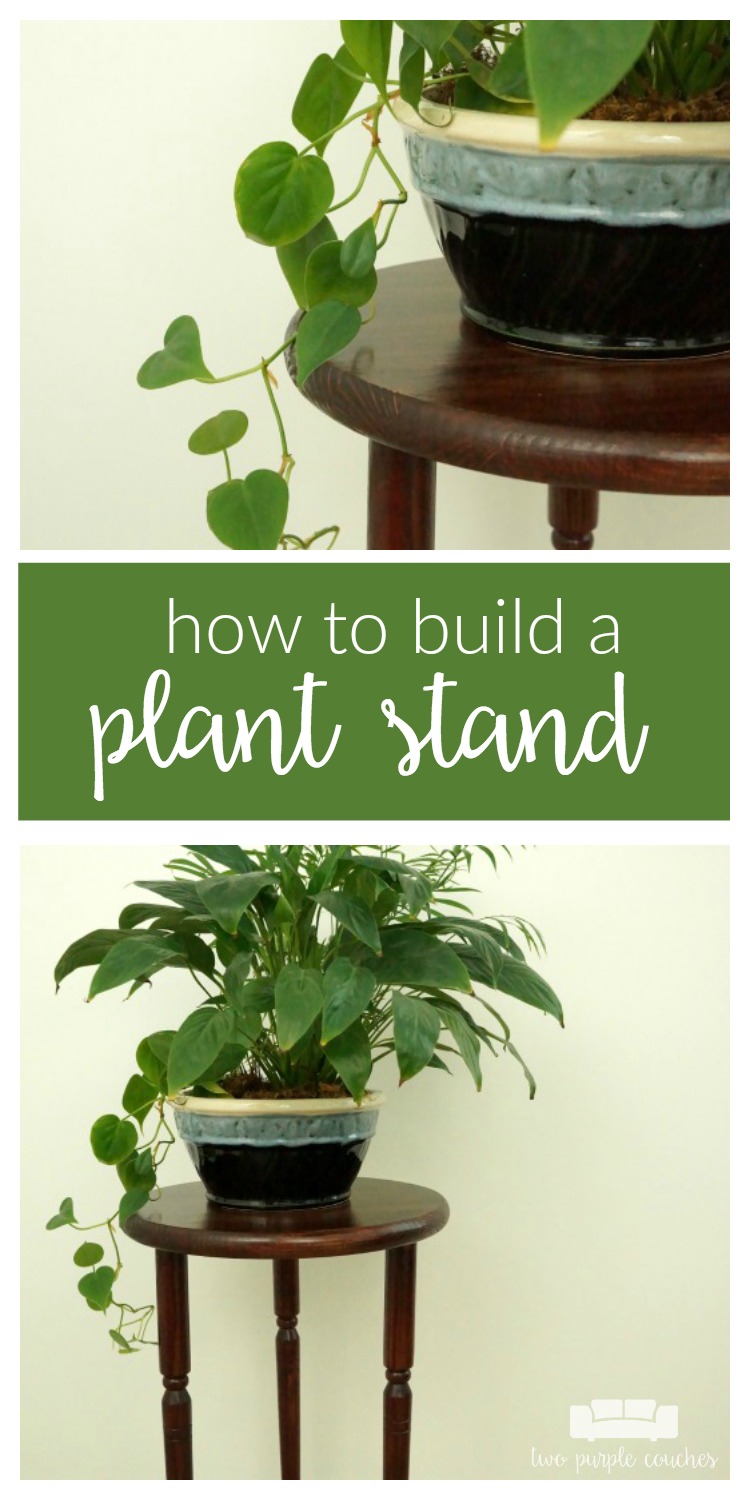
This wood plant stand has to come in as one of the easiest ever things you can make yourself. I don’t even know if it deserves the qualifier “build” because I barely needed power tools to assemble it! But don’t worry, I’ll still show you the steps I took and share how to build your own plant stand.
I opted to use all wood for my plant stand, mostly because the cost of metal legs was more than I wanted to spend for this simple project. But I do think that wood + metal would be a great combo for a project like this. I found all of my materials at my local hardware store.
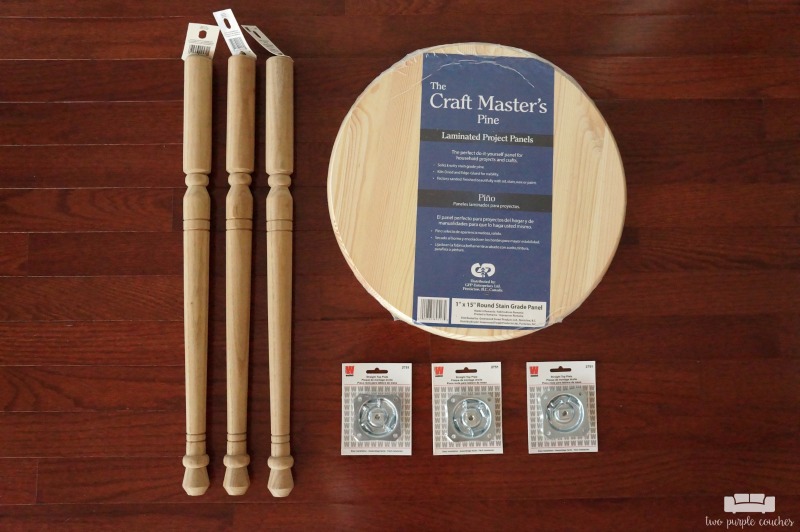
Materials:
- 1″ x 15″ round stain grade panel
- 3 straight top plates
- 3 Early American table legs measuring 21¾-inches
- angle finder
Instructions:
You want the legs to form an equilateral triangle on the bottom of the round panel, or at least as close to an equilateral as you can manage! Here’s how to do it:
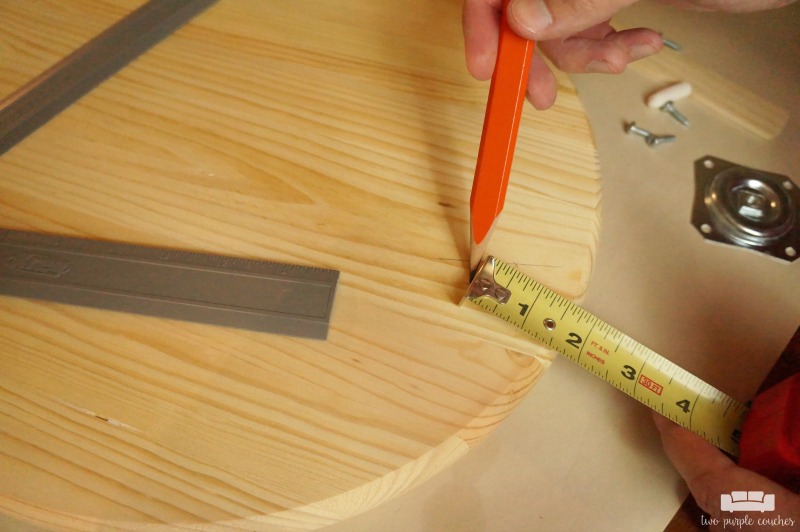
Measure about 1½ inches in from the edge of the panel and make a dot. Align one of the straight top plates so the center circle matches up with this dot. Trace the circles where the screws will go.
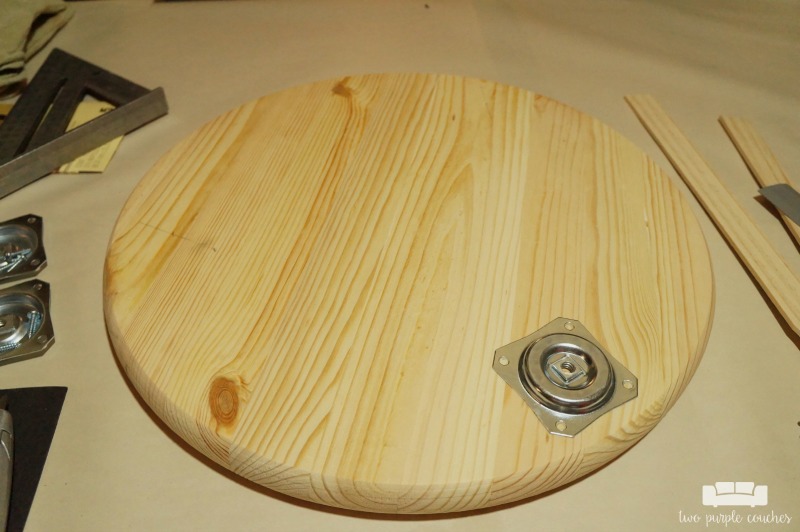
Set angle finder to 60-degrees for the vertex or middle.
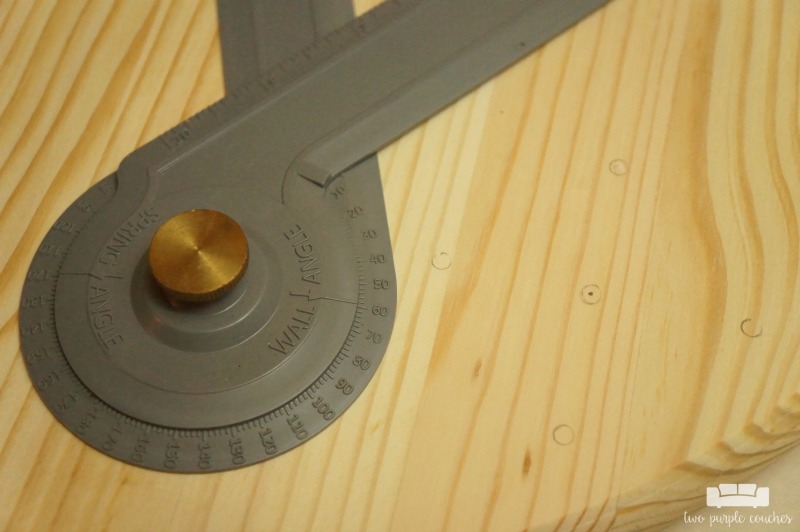
Align the angle finder with the center dot, then mark the spots where the other two plates will go, forming a triangle.

Repeat steps above for the other two top plates, measuring about 1½ inches in from the edge of the panel, aligning the plate centers, and tracing the circles for the screws.
Using a screwdriver, screw each plate into place.
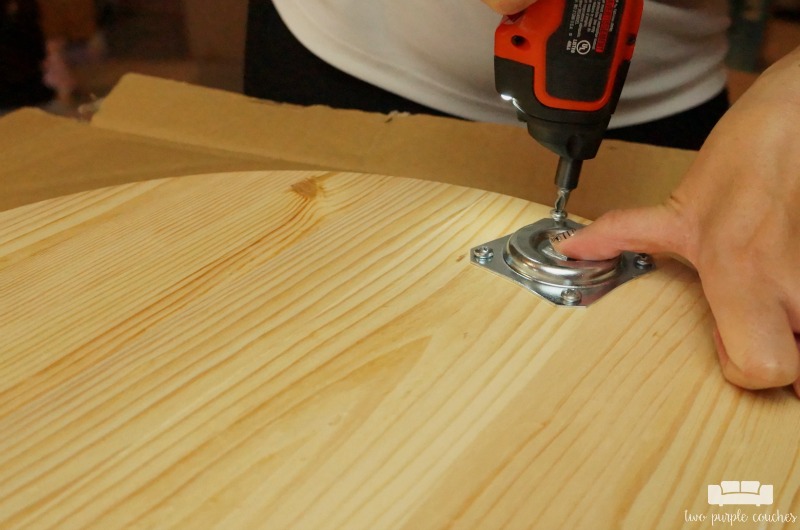
Then screw one table leg into the center of each of the top plates by hand.
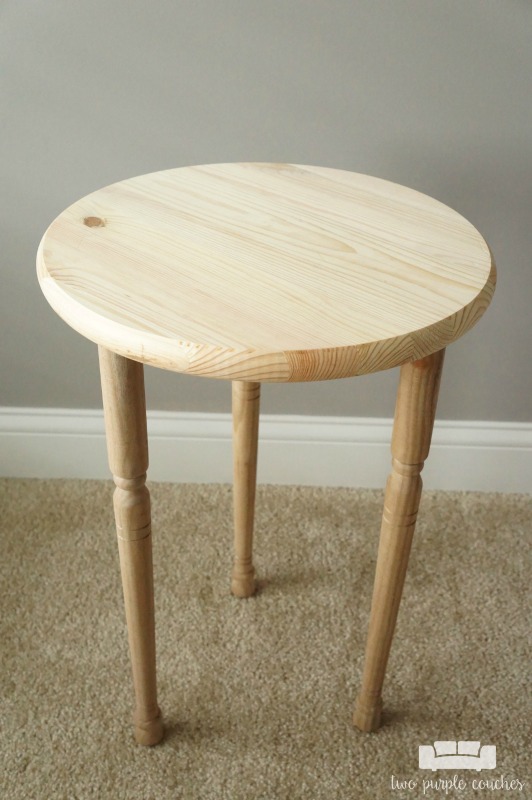
Now your plant stand is ready to be finished! I chose to stain. I will be putting this plant stand in our bedroom, and I wanted to get the finish close to our cherry-stained furniture. It is nearly impossible to match stains, so I layered a few different colors together until it was close enough to our bedroom furniture. The hubs went through this process a few months back when he built and stained mirror frames for our bathroom (a project that I realize I haven’t shared with you yet!), so I sorta went off of his combination. But, one thing I’ve learned is that different types of wood stain differently. If you’re a seasoned builder, you’re saying “well, duh, Emily!” but if you’re a newbie, this is a fact you want to keep in mind when you’re buying materials. The round top is laminated pine and I have no idea what the legs are made of (oak??), so I figured that the stain would show up a little differently on each material. But that’s also part of the fun of building and staining your own furniture!
I used three different Minwax stains to achieve the cherry-ish finish on this plant stand. I started with one coat of Sedona Red, then added one coat of Red Mahogany, and finally one coat of Espresso. I added two thin coats of polyurethane to the whole thing to seal it. Another tip I’ve picked up – using a rolled-up sock for staining wood is super convenient! You get enough coverage without leaving too much extra stain behind!
Here’s what my plant stand looked like after the first coat of stain (Sedona Red)…
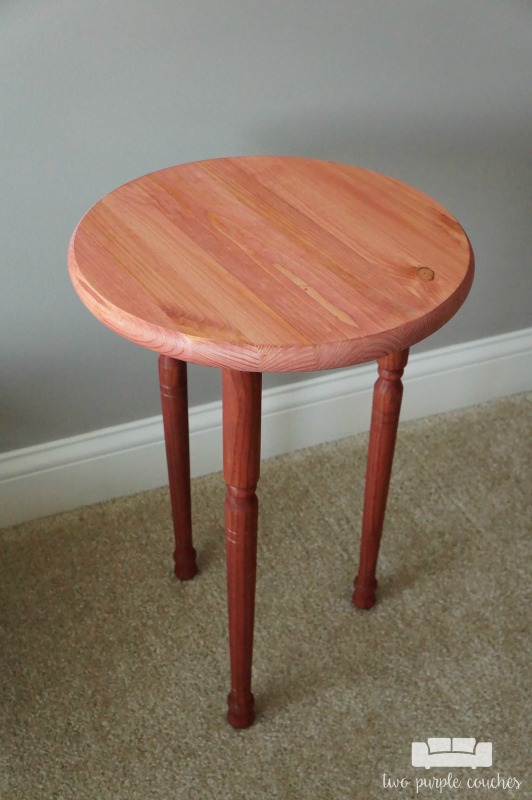
and here’s what she looked like after the third coat (Espresso)…
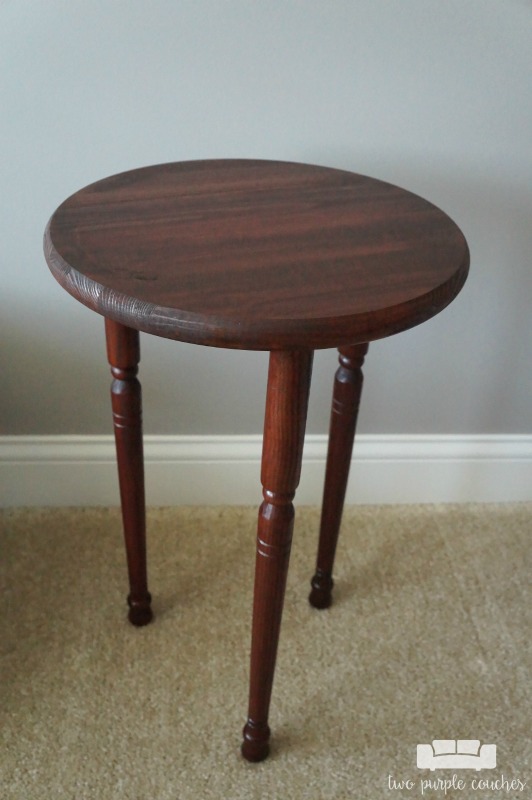
Huge difference, right!?
And here’s a look at the finished plant stand in all her layered-stain-and-poly glory:
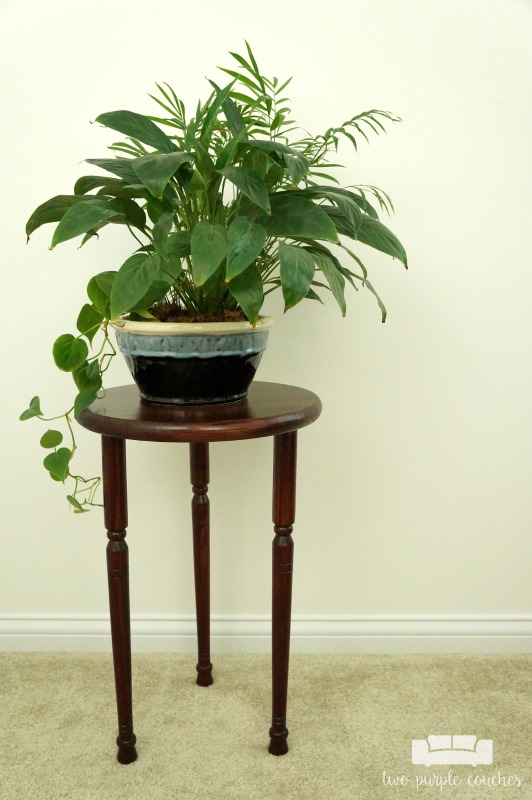
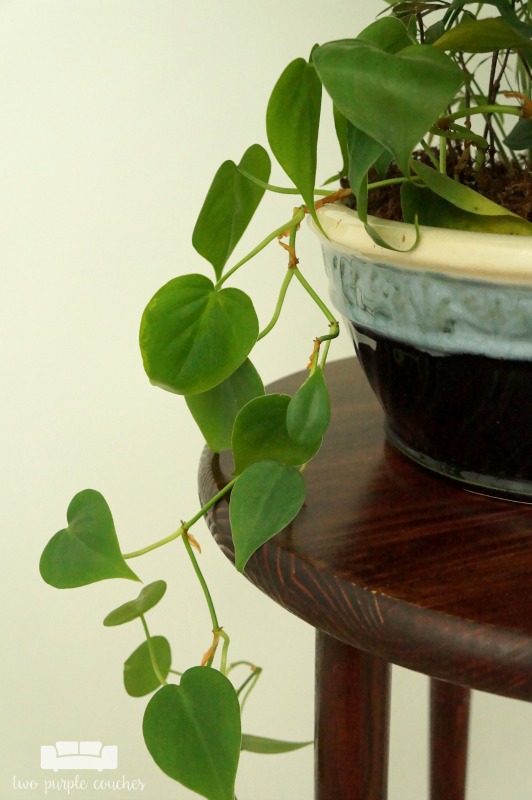
I’m feeling pretty pleased with how this DIY plant stand turned out. And I’m proud to add another self-appointed badge to my woodworking sash. Let’s all take a second to envision me wearing a Girl Scout-esque sash full of badges…. Yes, I realize I’m a grown woman 🙂
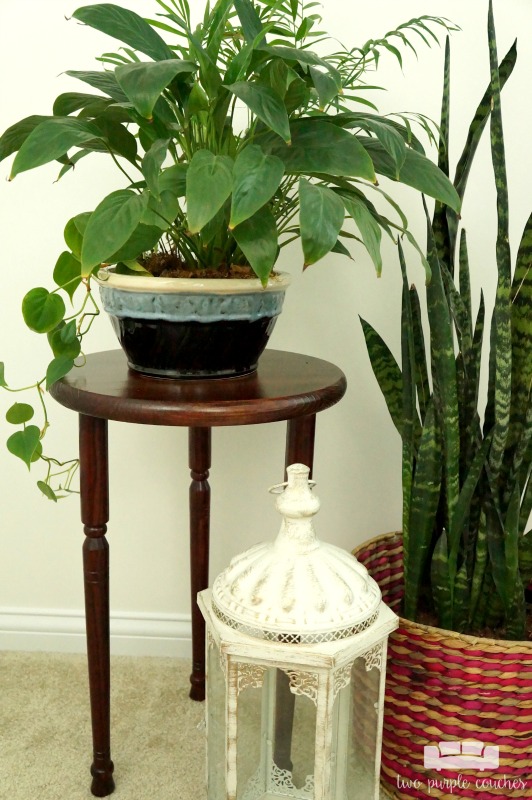

Don’t forget to pin this for later!
Loved this? You may also like…

I love how you can buy everything already cut and shaped! It’s so easy! I need one now!
Thanks for joining us this week at the Merry Monday link party!
We hope you can join us again next week!
Kate | TheOrganizedDream.com
Yes! It’s a great way to do-it-yourself without having to start from scratch!
Such a detailed instruction, Emily. I think I will have my boyfriend do this for me soon 🙂 Your posts always amaze me. Thanks a lot for sharing with us. You’ve got a fan.
This project truly inspires me, I am a big fan of DIY, recycle and the way you make a plant holder is so so great. I can’t wait to try it out.
Thomas recently posted…Where to Place Home Security Cameras