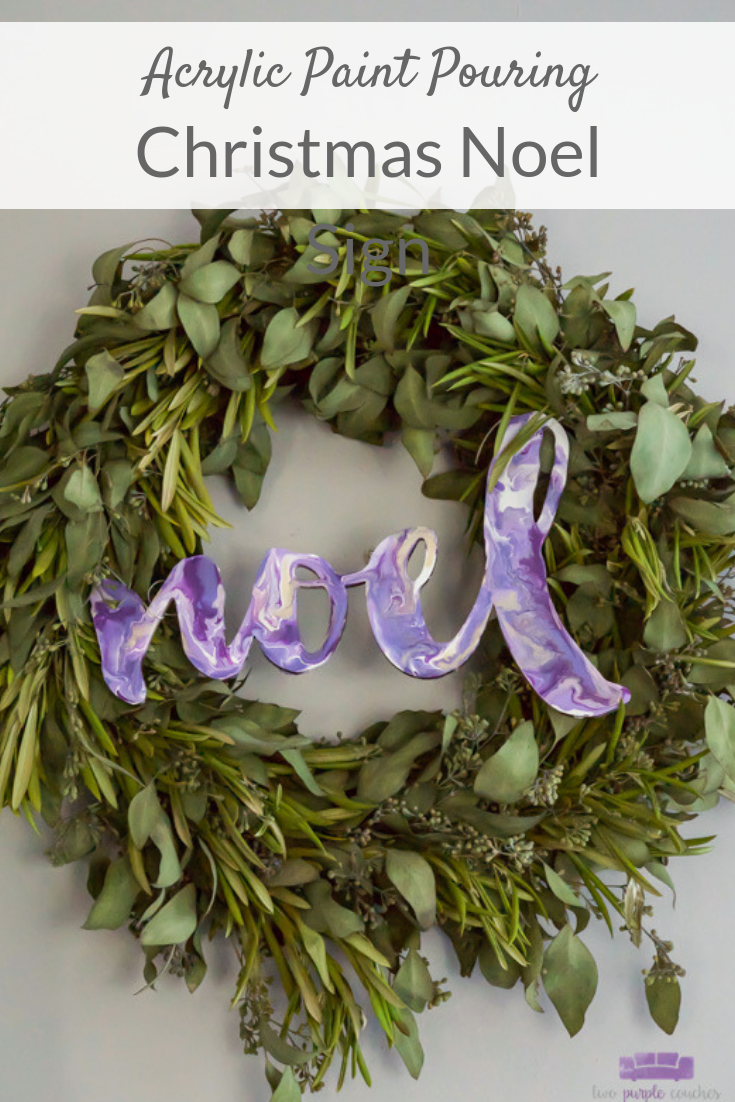
Noel sign created with DIY acrylic paint pouring technique turns a wooden sign into a unique and beautiful modern Christmas decoration!
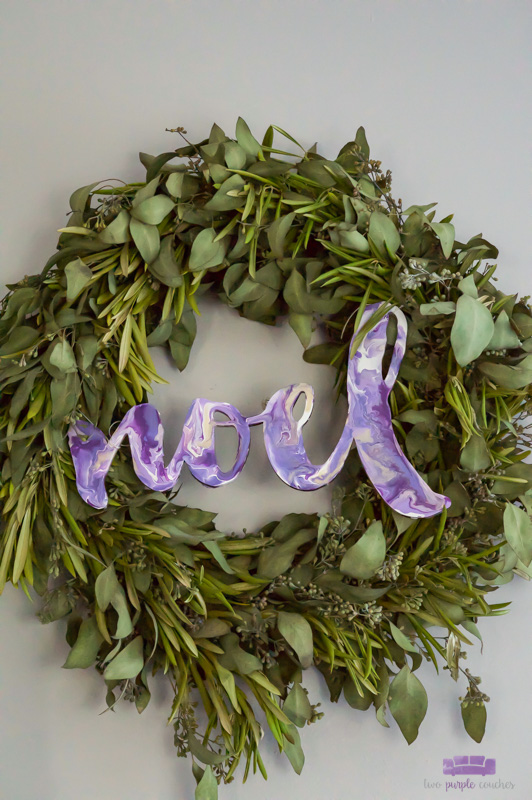
This beautiful Noel sign, created with paint pouring, adds an artistic look to a simple greenery wreath, which tops off my modern Christmas mantel. Paint pouring is something I’ve been wanting to try. I’ve seen lots of paint pours on canvas, but I wanted to try a paint poured sign for something different!
The result was this swirling Noel sign—such a unique look for my purple Christmas decor this year!
This post contains some affiliate links for your convenience. Click here to read my full disclosure policy.
How to make a paint poured Noel sign:
Materials Needed:
- DecoArt Pouring Medium
- Variety of DecoArt Acrylic Paints:
- DecoArt Matte Metallics in Champagne
- DecoArt Extreme Sheen in Amethyst
- DecoArt Americana Multi-Surface Satin in Eggplant and Lavender Fields
- DecoArt Americana Acrylic in Snow White
- Wooden sign / wood veneer word
- Small plastic cups
- Wooden stirrers or plastic spoons
- Gloves
- Plastic bag or old tablecloth (to cover your workspace)
- Cardboard box
Tutorial:
1.) Prep your work surface by covering it with a plastic bag or old tablecloth. Place a few small plastic cups upside down in a cardboard box. You’ll use the cardboard box to contain your wood sign while you’re doing the paint pouring, but spills can happen!
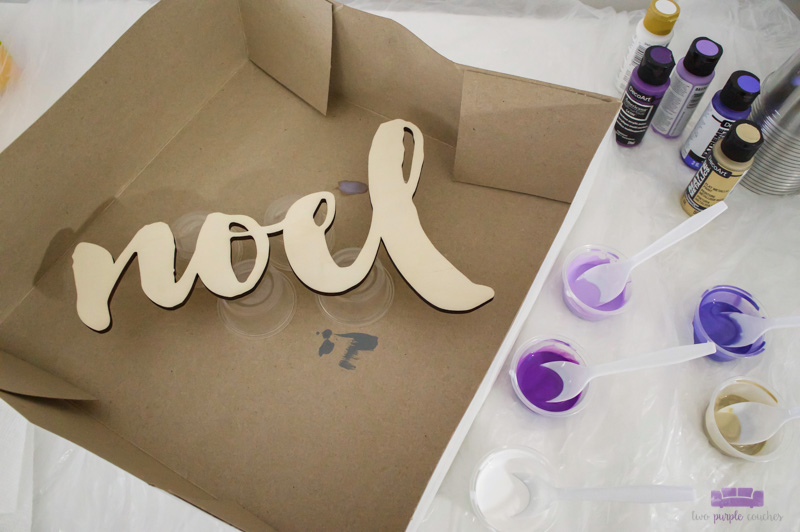
2.) Add one paint color each to a small plastic cup. Then add the DecoArt Pouring Medium per the bottle instructions. It’s about a 1:1 ratio of acrylic paint to pouring medium. You want the mixture to be thin enough to flow easily over the sign. Mix well with a wooden stirrer or plastic spoon.
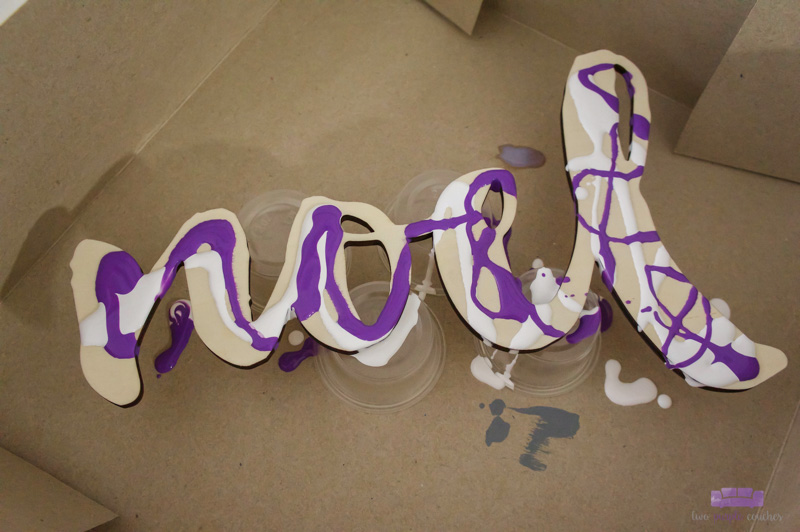
3.) Using one paint color at a time, pour over your sign. Pick it up and tilt it left and right, forward and backward until the paint covers the whole surface. I poured one to two colors, tilted it a few times, added a new color, tilted again, etc. It’s a pretty fluid process (haha!), and you’ll get the hang of it as you work. You can add paint wherever you like to cover bare spots or just to get the mixture of colors you prefer.
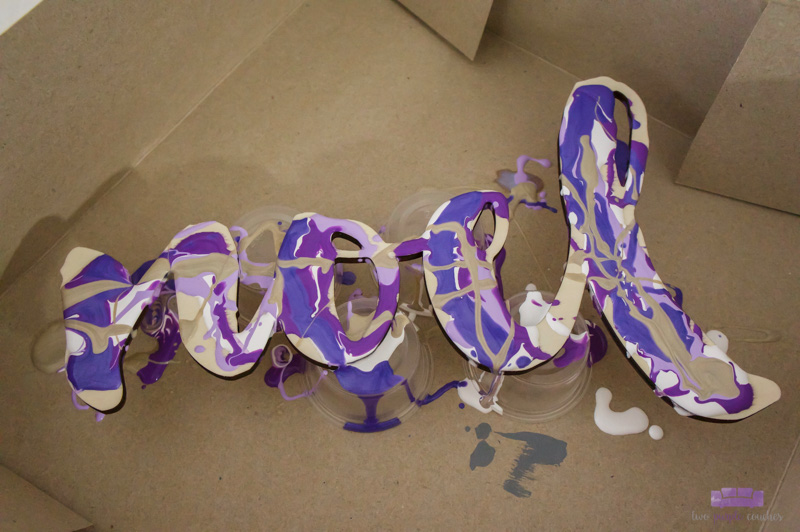
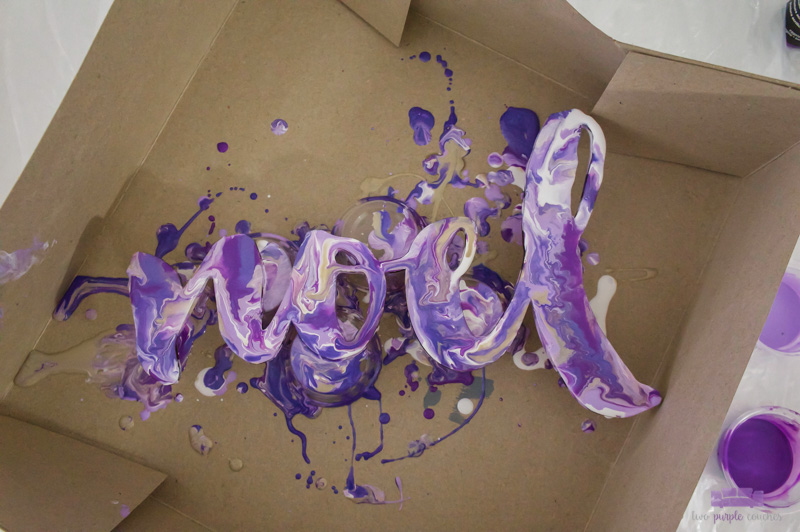
4.) Allow the wood sign to dry for at least 24 hours before handling.
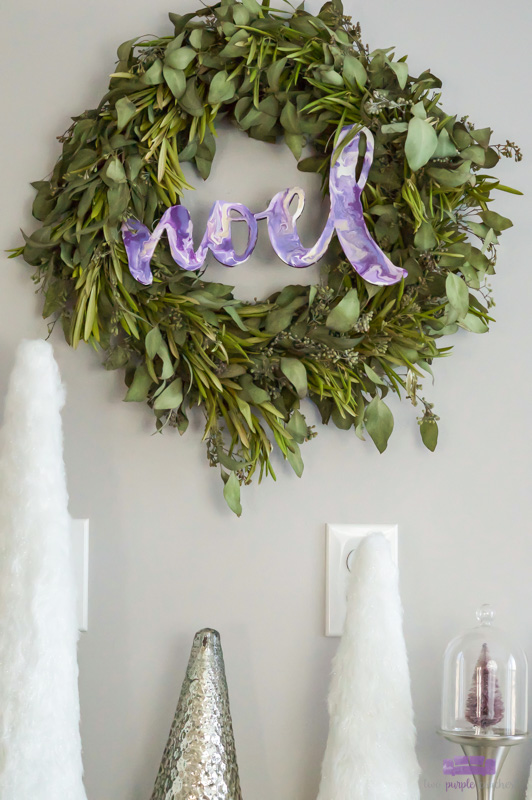
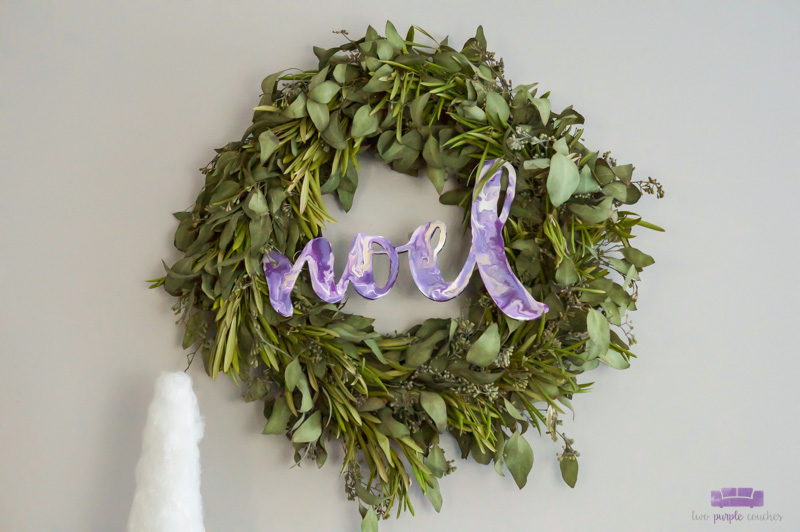
I think it’s safe to say that I’m slightly obsessed with how my acrylic pour Noel sign turned out. Expect to see more paint pouring projects in the new year!
Love this? Don’t forget to Pin it or Bookmark it!


I love how this turned out! And it sounded much easier to make than I thought it’d be!
Thank you! It was easier than I thought it’d be, too!