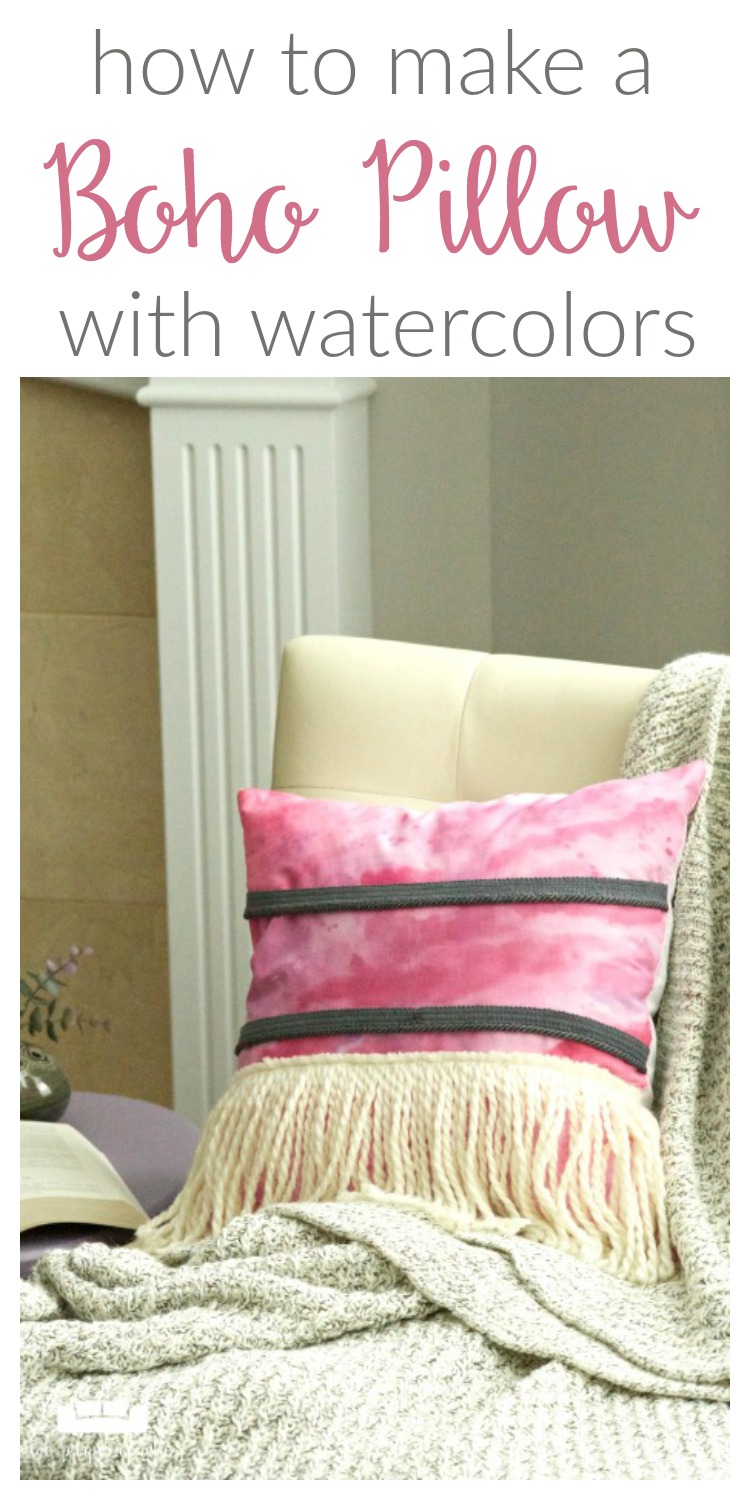
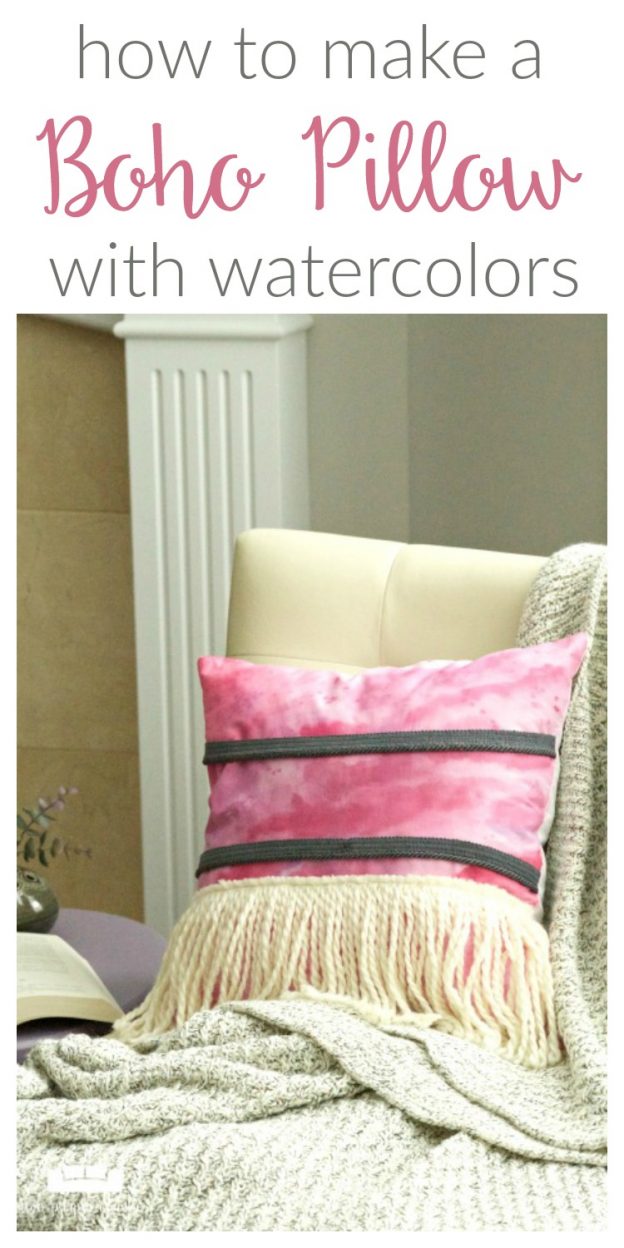
DIY your own boho pillow! Freshen up your decor, your couch or your bedroom with this simple, colorful bohemian style pillow that you can make yourself.
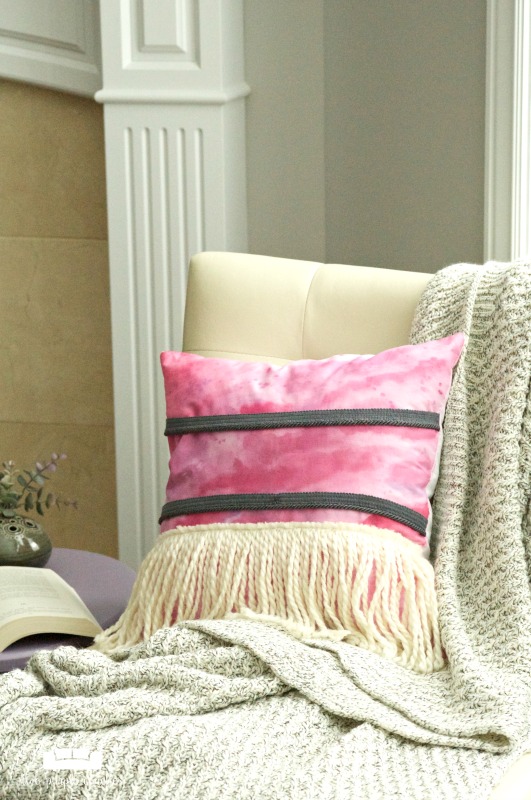
Boho pillows seem to be everywhere these days, and lately I have been drawing lots of decor inspiration from the tribal and boho trends. One of my favorite easy ways to change up my decor is by changing out my throw pillows, so I decided to make my own boho pillow with fringe. But with my own colorful twist, of course!
Thank you to Fairfield for sponsoring this post. All content and opinions expressed here are my own. Click here to read my full disclosure policy.
With a few simple trims and a DIY fringe made with yarn, you can create your own boho pillow to freshen up your decor. This pillow is perfect for any spot in your home, from your couch to your bedroom! Special thanks to Fairfield for providing the pillow! Now let me show you how I made it…
This post contains some affiliate links for your convenience. Click here to read my full disclosure policy.
How to make a watercolor boho pillow with fringe:
Materials Needed:
- Decorator’s Choice pillow (mine is 16″ x 16″)
- Lip cord trim (or any upholstery trim)
- Alpaca yarn
- Strip of ribbon (I used Oly*Fun)
- Koi Watercolor Paints
- I used Carmine #19, Purple #24 and Ultramarine #38, but you can use any combination of colors you like.
- Martha Stewart Fabric Medium
- Aleene’s Original Tacky Glue
- Fabric marking pen
- Seam ripper
- Sewing machine
- Large watercolor brush
- Large flat paint brush
Tutorial:
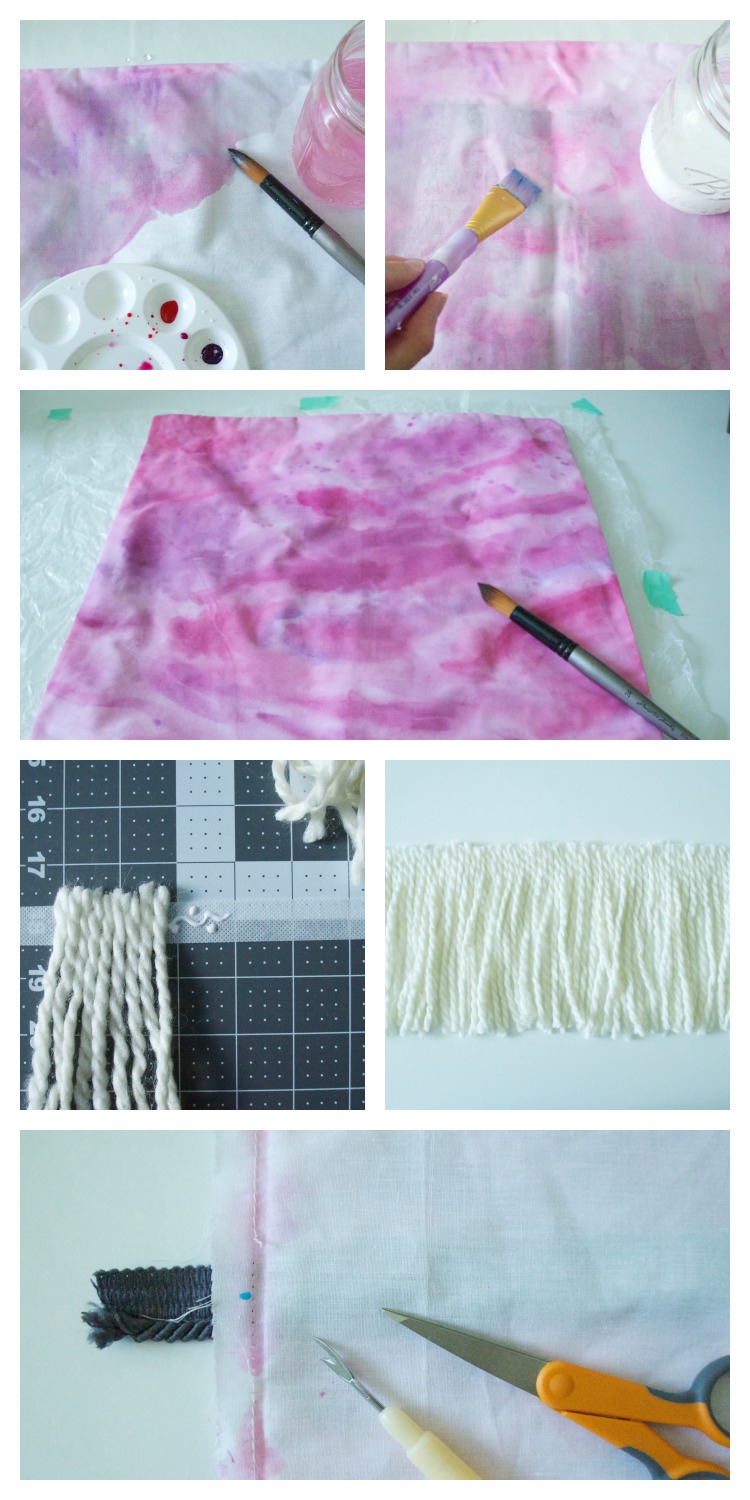
1.) Remove the fill from the pillow and set aside. Lay out a sheet of waxed paper or a garbage bag to protect your work surface while painting. You might also want to slide a piece of cardboard between the layers of the pillow so the paint doesn’t bleed through to the back. Or let it and you’ll have a cool, colorful effect on the back of your pillow, too!
2.) Fill two cups or mason jars with water. Add fabric medium to one per bottle instructions and set aside. Select the watercolors you’d like to use and squirt some out on a palette or plastic plate. Using a large watercolor brush, paint the pillow cover, working from top to bottom. If you like, you can damped the pillow cover before adding paint. If you want your pillow to be really saturated in color, you may need to do two coats of watercolors.
3.) Now take a flat paint brush and go over the entire cover with the water and fabric medium solution. While these pillow covers aren’t machine washable, the fabric medium will help the colors to set and adhere better. Allow the cover to dry completely – several hours or overnight.
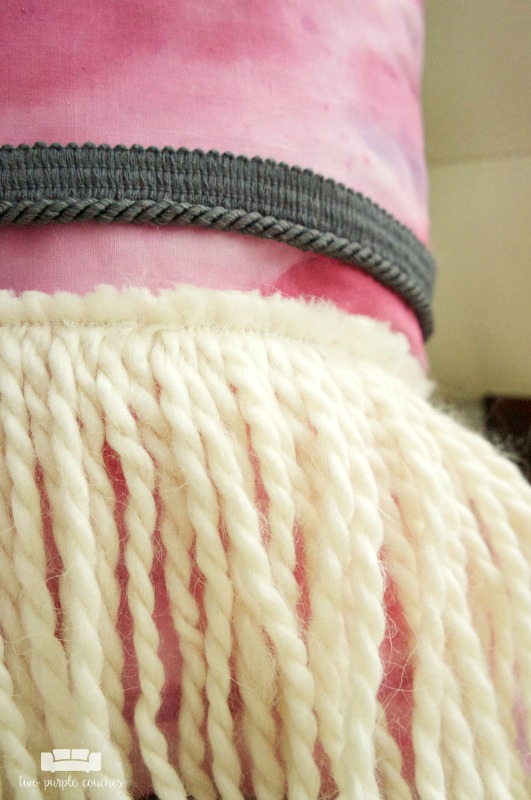
4.) While the cover is drying, make the yarn fringe. Cut strands of ribbon to your desired length (mine are about 6″ long). Then cut a piece of ¾” ribbon to the width of the pillow cover, adding about 1″ extra on either side. Add a line of Aleene’s Original Tacky Glue to the ribbon, then lay down the yarn strands, getting them as close together as possible. Continue until you’ve got enough fringe to cover the width of the pillow. Once the glue is dry, you can also stitch across the top of the fringe to make it more secure.
5.) Now you’re ready to sew your fringe and trim to the pillow cover! Turn the cover inside out, determine where you’d like to place the trims and fringe. Make a small dot with a fabric marker. For reference, my first piece of lip cord is about 4.5″ from the top of the pillow; the second is about 9.5″. The yarn fringe is about 1″ below the second lip cord.
6.) Use a seam ripper to make a small hole at each side of the pillow. Thread the lip cord through the holes, making sure to keep it even and somewhat taut. Stitch the sides shut and cut any excess trim. Repeat with the additional piece of lip cord and the yarn fringe.
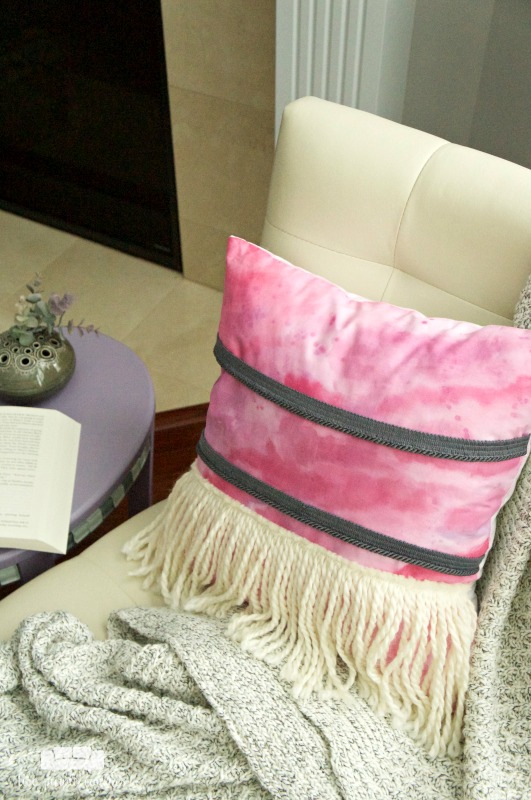
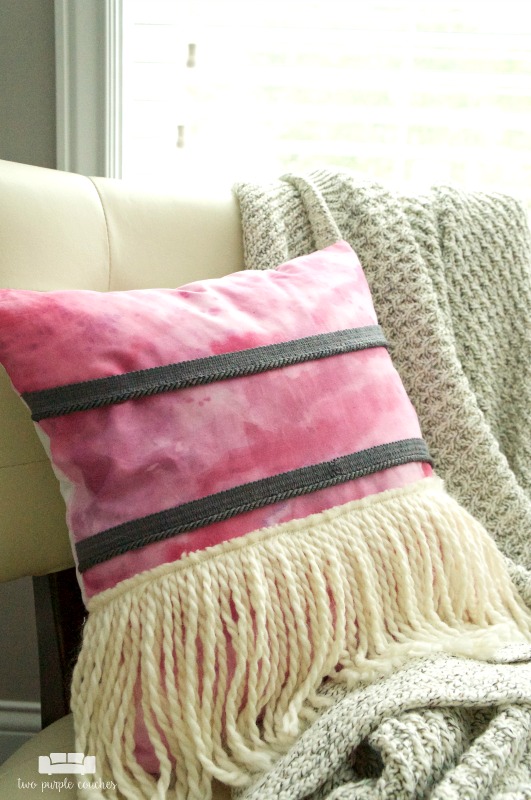
7.) Turn the pillow cover right side out and re-stuff with the fill. Arrange the trims and fluff the pillow as needed. Now your watercolor boho pillow with fringe is ready to be displayed!
Love this? Don’t forget to pin it!
Want more pillow projects? Check these out…
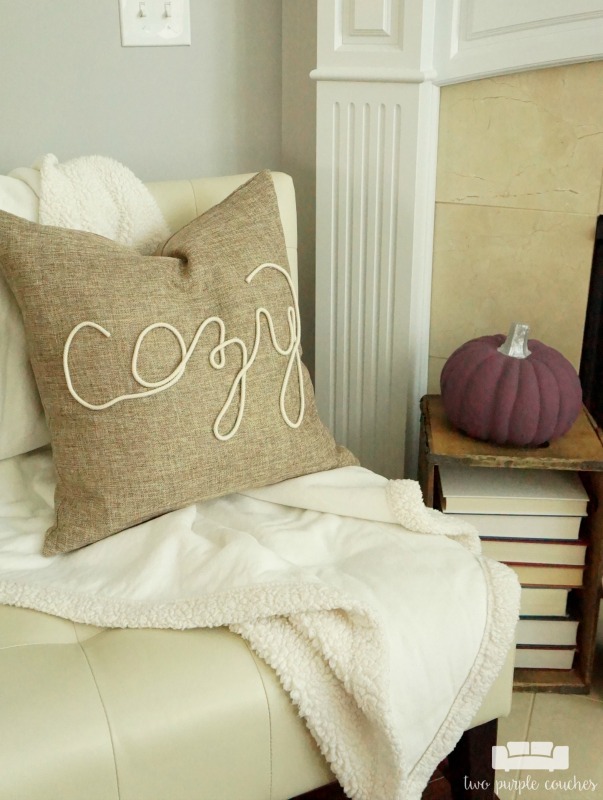
“Cozy” DIY Pillow
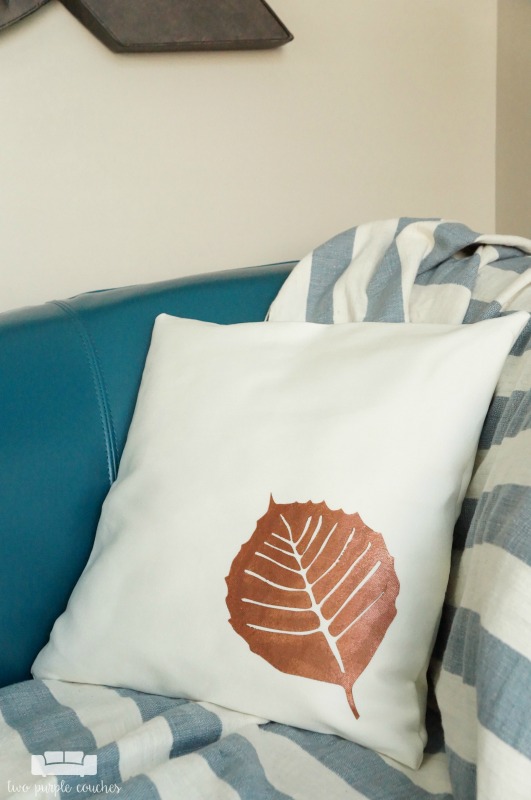
Stenciled Leaf Fall Pillow

I love the skill and creativity on display here. Going to show this to my wife and see what she can come up with. Thanks for sharing!