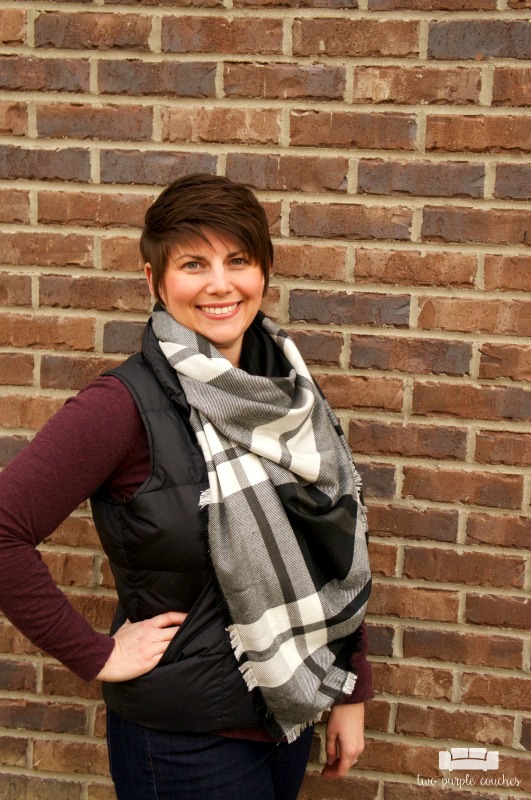
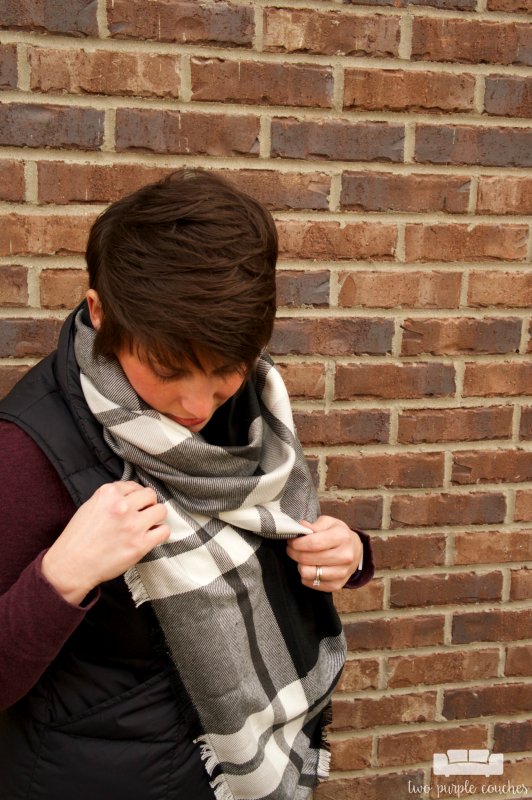
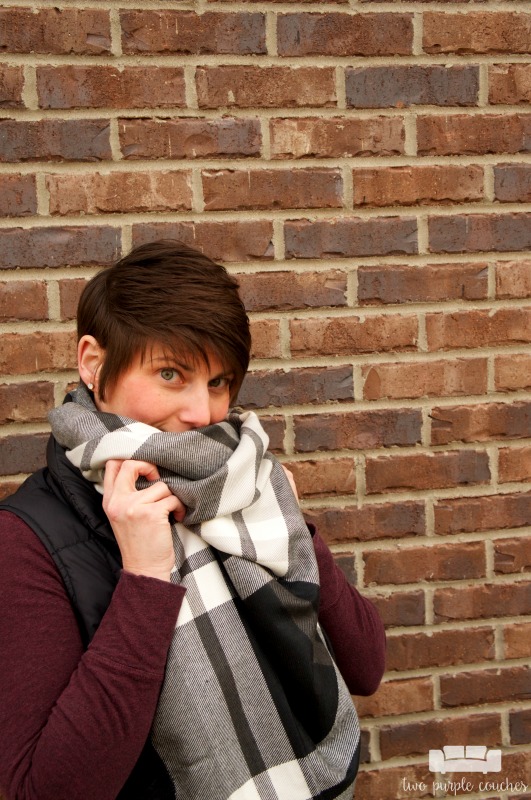
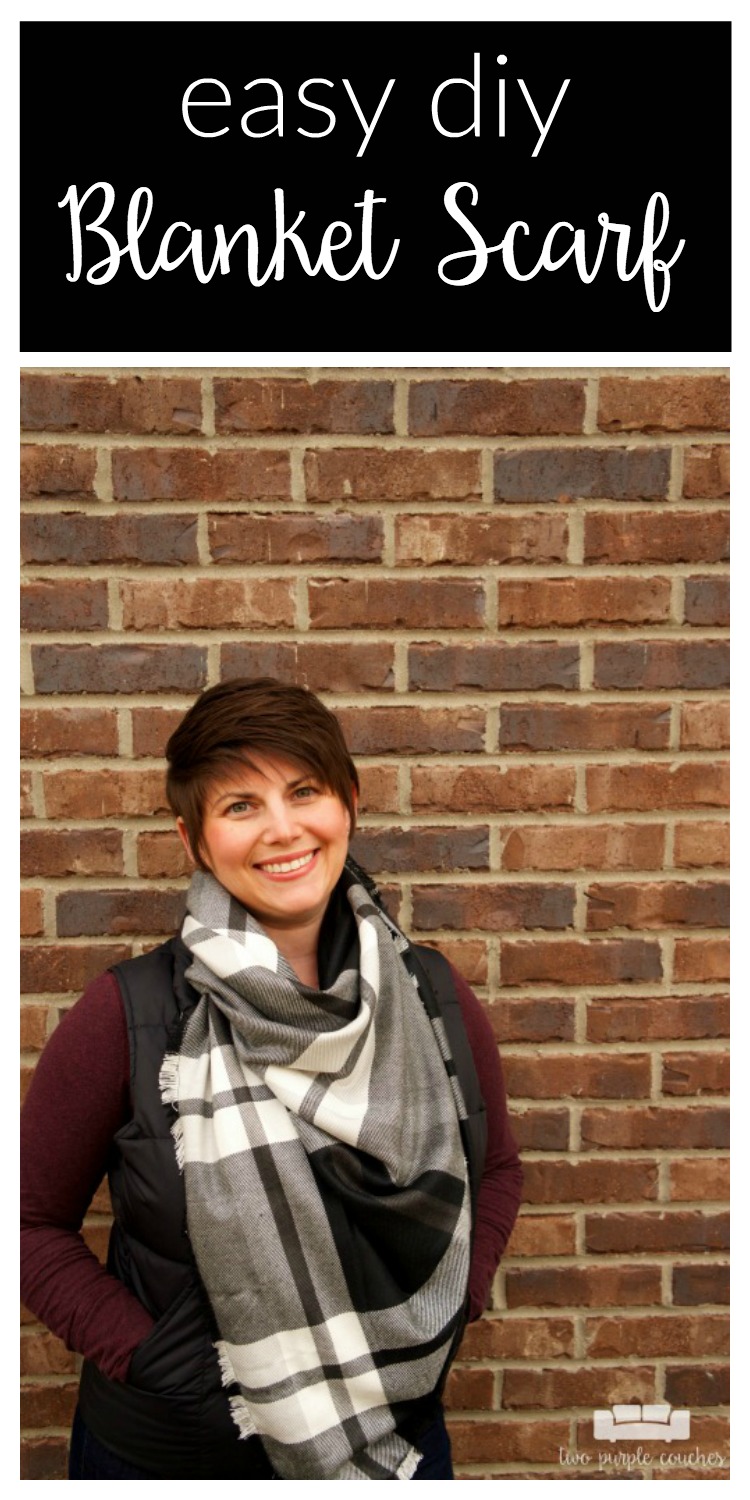
Today is a fun day, friends – it’s our February Create with Me DIY Challenge day! And our material for this month, as chosen by you—our awesome readers—is fabric. I’ve been wanting an oversized flannel scarf for a while now, and decided this was the perfect opportunity to make my own DIY Blanket Scarf. It’s so easy, and now I have a pretty scarf to keep me warm and cozy for the last few weeks of winter!
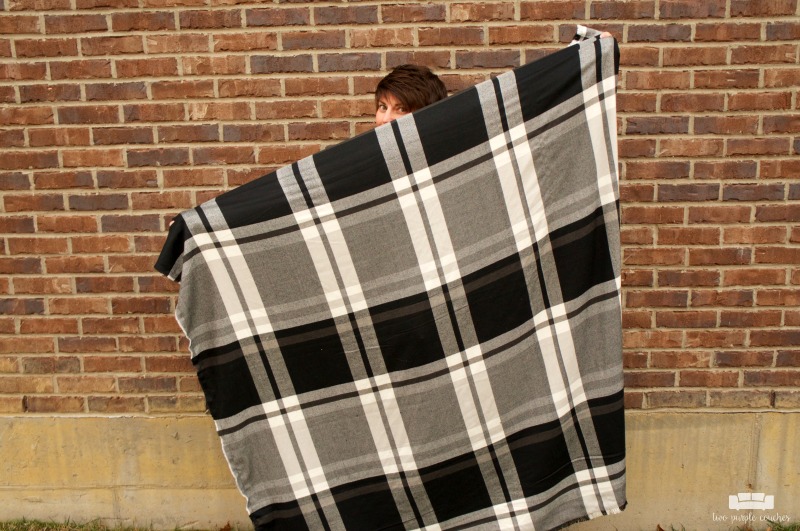
This tutorial is pretty simple and straightforward. I did sew a straight stitch in my blanket scarf to keep the ends from raveling, but if you don’t sew or have access to a machine, you can probably skip this step without any issues and make a no-sew blanket scarf.
This post contains some affiliate links for your convenience. Click here to read my full disclosure policy.
How to make a DIY Blanket Scarf
Materials Needed:
- 1.75 to 2 yards of flannel fabric
- Sewing machine
- Thread
- Fabric scissors
- Seam ripper
- Omnigrid Quilter’s Ruler
Tutorial:
1.) Decide on the size of your blanket scarf and cut your fabric accordingly. This step is best done on a large table or floor where you can spread out the fabric. I actually had to do some research here and learned that a true blanket scarf is a square, not a rectangle. If you want to be able to fold and tie it in a bunch of different ways, a square shape works best. I decided on a 55″ x 55″ square for my scarf and used my Omnigrid Quilter’s Ruler to make my measurements. (If you sew and don’t have one of these, I highly recommend you get one – they come in lots of sizes and are super convenience because they’re clear and the measurements are marked in both directions!)

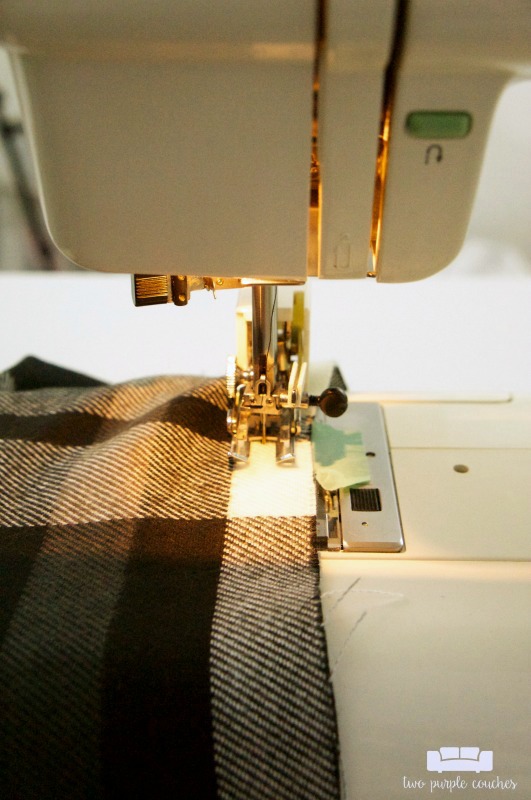
2.) Sew a straight stitch around the outer edge of the fabric. This helps keep the fabric from raveling excessively, especially if you want to fringe the edges. If you don’t have a sewing machine, you can probably skip this step. I have seen tutorials with and without the stitch sewn in. *Before you sew, decide how long you want your fringe to be. Then measure in from the edge of the fabric and sew your straight stitch.
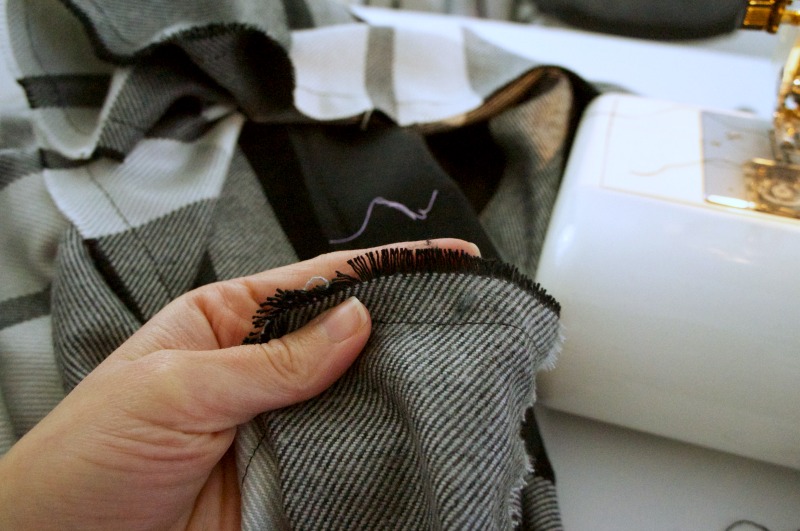
3.) Fringe all four edges of the scarf. Begin pulling loose threads away from the edges to create fringe. A seam ripper really helps during this step to separate and trim away the threads. Fair warning – this is the most time-consuming part of this project! Listen to your favorite podcast or catch up on a couple of episodes of your favorite show while you work!
That’s it! Just three steps to making your own flannel blanket scarf! Now all you have to do is decide your favorite way to wear it!
Love this? Don’t forget to pin it!
Create with Me DIY Challenge
My blog friends got really creative with fabric this month! Be sure to visit their sites and check out their projects. And don’t forget to cast your vote for next month’s material!
Be sure to vote below to let us know which material you would like us to use for our next challenge!
Images via Freeimages.com, Amazon, and Hobby Lobby.
Create your own user feedback survey
IF YOU CANNOT SEE THE SURVEY, CLICK HERE!
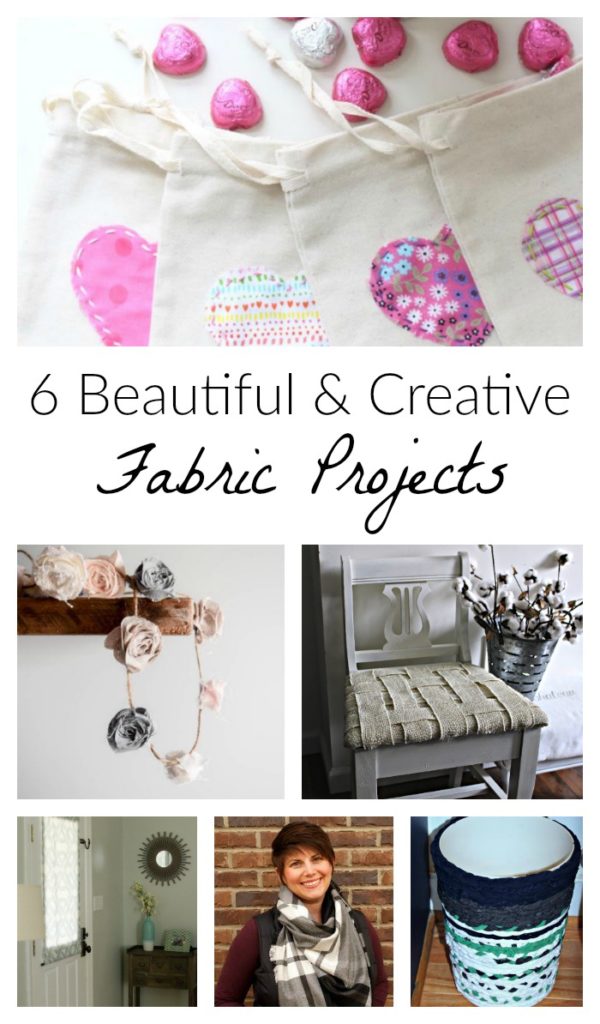
Fabric Heart Treat Bags via My Life from Home
DIY Fabric Garland via Making Joy and Pretty Things
Updated Chair with Burlap via Our Crafty Mom
Simple Window Curtain via Little Bits of Home

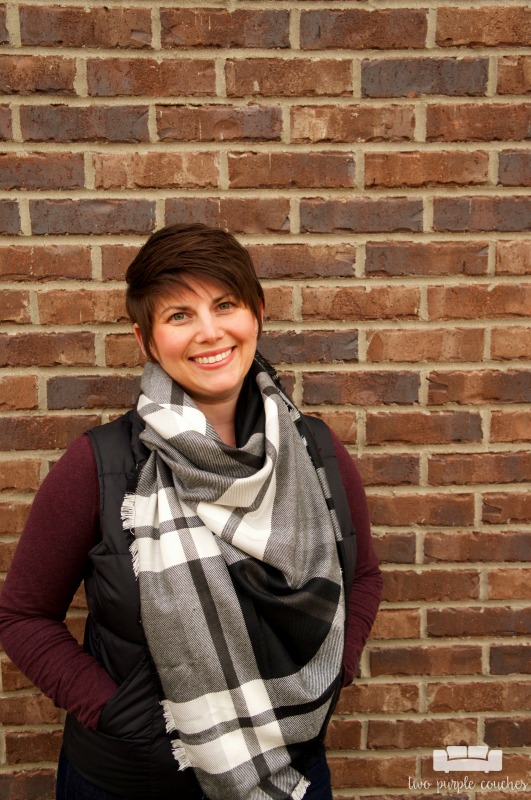
It’s perfect and you’re a great model! I’m going to start whipping these up for next winter. Love that I know how to make them on my own now. Great tutorial.
Thank you so much Amy!
I LOVE this! Oversized scarves are so cute and I love the flannel. it looks so warm and cozy!
Thanks Sarah! It is super cozy!
This is just beautiful and your photos are so pretty! I love this blanket scarf!
Michelle James recently posted…Update An Old Chair With Woven Burlap
Thank you so much, Michelle!
Can I just say how much you are rocking that scarf? It looks amazing! I love the pattern, colors… all of it!
Marie recently posted…Easy DIY Valentine Gift Card Box
Thank you so much, Marie! I am loving it, too!
Pingback: 20 Last Minute Handmade Gift Ideas | Domestically Creative
That is so pretty and looks nice and warm! It is so cold out, I need to make a few of these!
Carlee recently posted…Top 17 posts of 2017
Thanks Carlee! It’s very warm – perfect for the chilly days we’ve had recently!