I often find inspiration while wandering. Which means that sometimes I buy craft supplies because they strike me as something that could be awesome. I don’t have have particular project or vision in mind, but I know that I can do something with it at some point in the future.
Such was the situation in Michaels a few weeks ago. I’d passed by these sets of cork letters on several shopping trips, always stopping to pick up the packages and try to imagine what I might do with them. But I’d always left without them—until this particular trip when most of the store was on sale for 60% – 70% off, including these sets of letters. Waiting sometimes pays off, my friends.
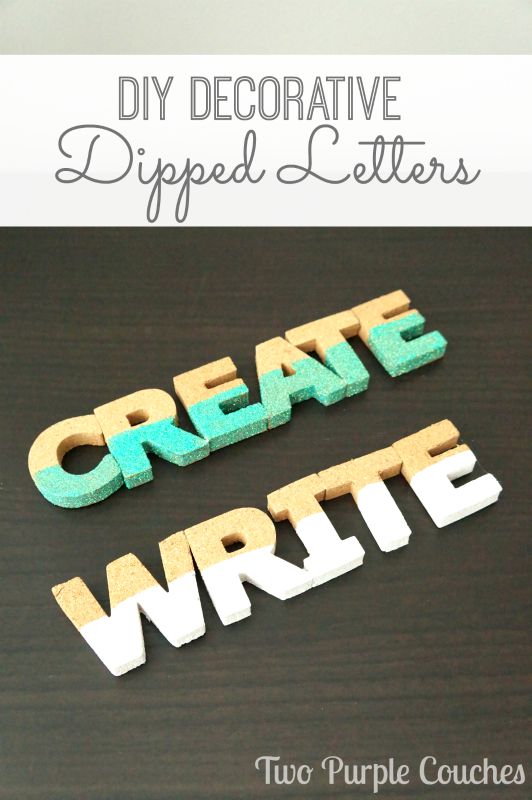
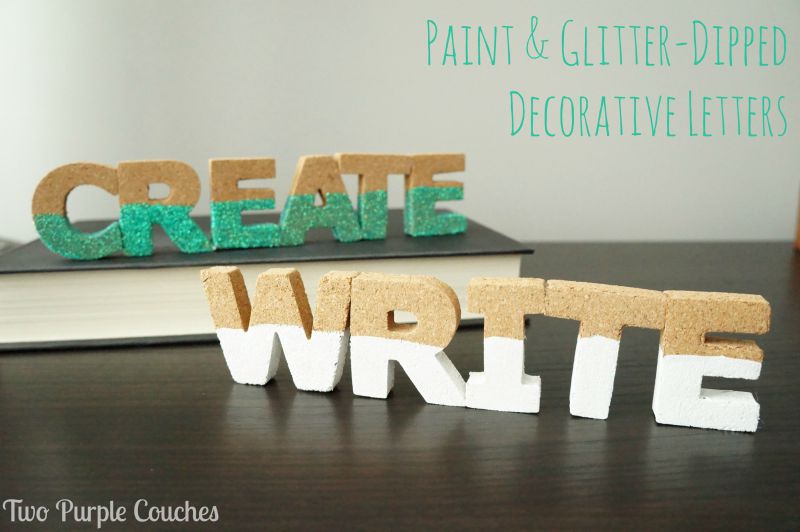
After I got home, I realized that these would be perfect for making some decorative dipped letters. While they’re a bit small for single monograms, glued together they become cute little inspirational words and phrases.
I love any type of art and decor that includes letters and words. I guess it’s the English major and word nerd in me. I could probably craft up stacks of these decorative dipped letters, but I stopped myself after creating these two inspiration word art sets.
These came together in mere minutes. I rummaged through my craft supply stashes and couldn’t decide between paint or glitter, so I did one of each. And I love them both, although I may love the glitter-dipped letters just an eensy bit more.
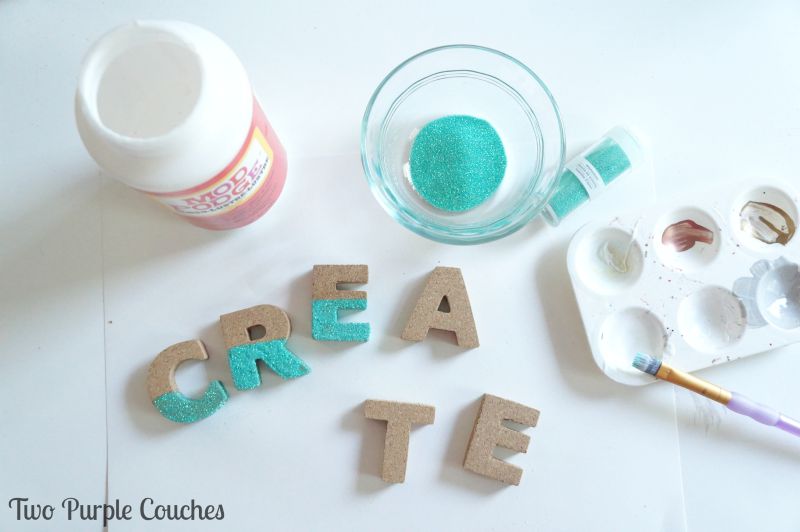
To make your own dipped letters, you’ll need:
- letters in your preferred material and size
- craft paint
- glitter
- Mod Podge
- paint brushes
- hot glue gun
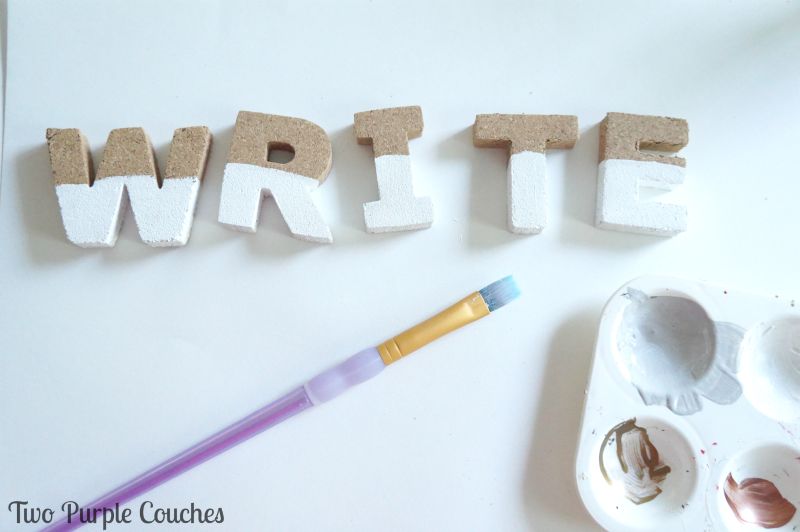
Paint the bottom half-to-two-thirds of each letter. I eyeballed this, but if you prefer a crisp, even line, tape off the section you don’t want covered. If using glitter – coat with Mod Podge, then shake glitter over a bowl until evenly coated. Don’t forget about the sides of each letter! You may need a second coat of paint; mine covered fine with just one.
Once the paint is dry, use hot glue to attach each letter together. A small drop of glue should be plenty! Some letters are trickier than others; I was very careful to hold the “r” and “i” in “write” together for about a minute until the glue began to cool.
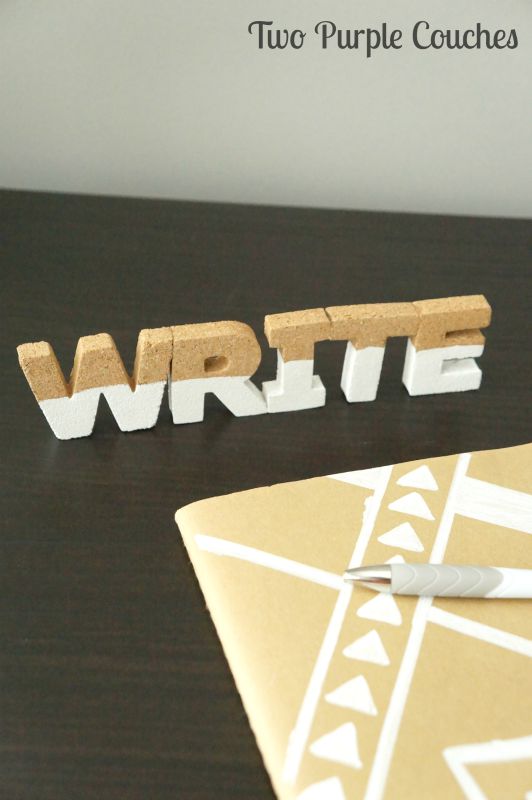
Now your letters and words are ready to display!
I love the range of possibilities of this craft; you could dip a set of letters for a bridal or baby shower, or even a whole alphabet that older kids could use to mix and match as part of a vocabulary exercise! They also make cute, fun reminders to keep on your desk or craft table. How would you use these?
Sharing with: Weekend Retreat

I almost bought those letters the other day! I had picked them up and put them back a few times, too. I just couldn’t think of anything specific to do with them, so I made myself put them back. But this is such a clever and simple idea! I love how they turned out. I think I may just end up getting them next time I’m at Michael’s…
Meredith @ unOriginalMom recently posted…5 Restaurant Waiting Games for Preschoolers
Thank you so much, Meredith! I try not to buy craft supplies without a use for them, but these won me over! My local Michaels still had these sets on sale for 50% off last week… I was tempted to empty the whole bin into my cart, but that felt a little over-the-top!
I love what you did with these letters Emily! I think it would be fun to do a candy cane pattern for Christmas decor.
Kelly Hedgespeth of Simply Kelly Designs recently posted…How To Save Money On Books
Thanks Kelly! A candy cane pattern would be so cute! There are so many ways you could use these for holiday decor!
I spotted these at Michael’s over the weekend and thought they were super cute, but I wasn’t sure what I would do with them. I LOVE your idea….especially the glitter!
Christine | Where The Smiles Have Been recently posted…Yearly Back-to-School Shirt with Handprints for Every Grade!
You can’t go wrong with glitter, am I right?? Haha! My Michael’s still has a bin full of these letters and I am so tempted to clean them out!