Replacing an interior window sill can add lots of character and value to a room. This full tutorial will show how simple this DIY project really is!
One of the first DIY projects we undertook in our home was to replace our builder-grade interior window sills with larger wood ones. This is mainly a cosmetic project—our old sills were functioning just fine—but the results add so much visual interest, as well as value, to our home!
While we were working on upgrading our interior window sills, we also added trim and crown moulding around the windows to give them a more custom look. Click here to see how to trim a window. We also did similar upgrades to the windows in our family and dining rooms—Click here to see our family room; Click here to see our dining room.
Before beginning, remove the old window sills. This can be done by scoring around the old sill and caulk with a blade and carefully prying it up. If for some reason the old will won’t come off, you should be able to attach the new sill directly on top of the old one (depending on the material of the old ones). We did it both ways – removing the old sills and installing the new ones on top of the old ones.
This post contains some affiliate links for your convenience. This means that a purchase made through one of these links earns me a small commission, at no extra cost to you! Thank you for helping to support my site! Click here to read my full disclosure policy.
How to Replace an Interior Window Sill
Materials Needed:
- Poplar boards
- The sizes needed will depend on the length and depth of the new interior window sill.
- Compound Miter Saw
- Router
- 3/8″ Router Bit
- Jigsaw
- Sandpaper or an orbital sander
- Titebond Wood Glue
- Air compressor and brad nailer
- Tape measure
- Irwin clamps
- Alex Flex Caulk
- Paint or stain
Tutorial:
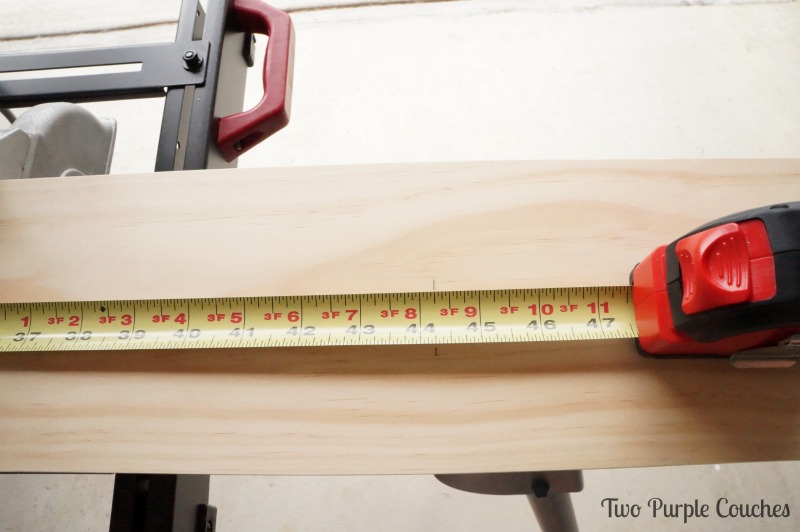
1.) Measure and cut your poplar boards. The actual length depends on two factors: the length of the window sill being replaced and personal preference on style. We wanted our new interior window sills to be longer and deeper than the builder-grade sills, so we extended it about 4.5-inches on either side of the window and chose 6-inch wide poplar boards.
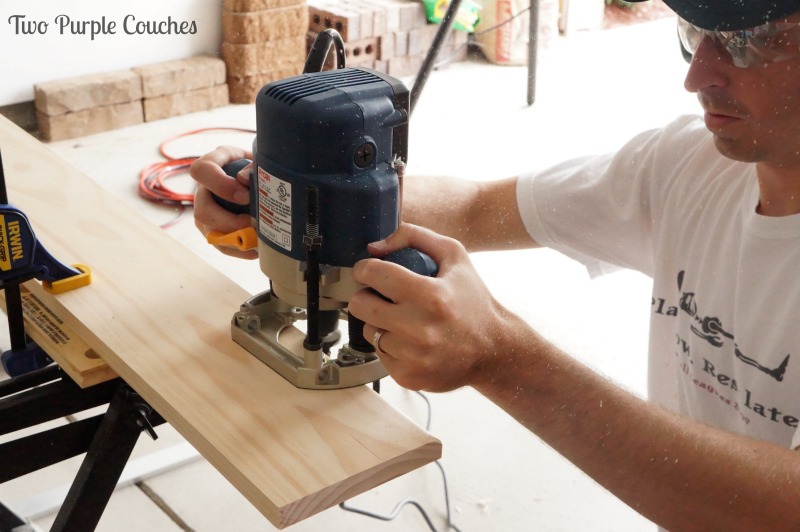
2.) Use the router and 3/8″ router bit to create the window sill edge. Clamp the board to a sawhorse or work table to keep it secure while using the router.
If you’ve never used one before, a router rounds out edges for that nice, smooth, finished look. I’d suggest practicing on a piece or two of scrap wood, especially if this is your first time using a router.

3.) Using a fine grit sandpaper or an orbital sander, sand the sill top and edges until smooth. You might consider starting with a slightly coarser paper, such as 100, and then going back over the new window sill with a finer grit, such as 220.
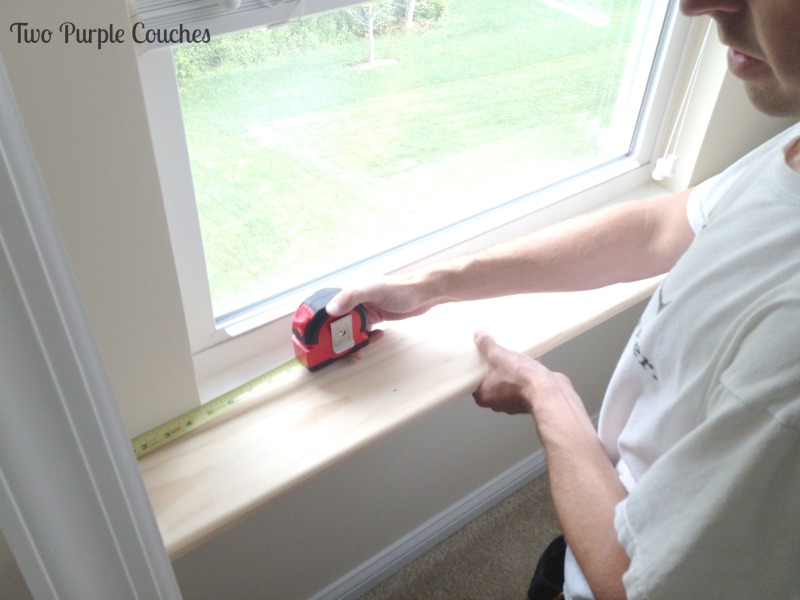
4.) Measure for the cuts needed for the window frame notch. Even up the board so that it extends to the length you prefer on either side of the window. Mark the length, then measure the depth that the sill will need to be. You’ll end up with a little rectangle that you’ll be cutting out in Step 5.
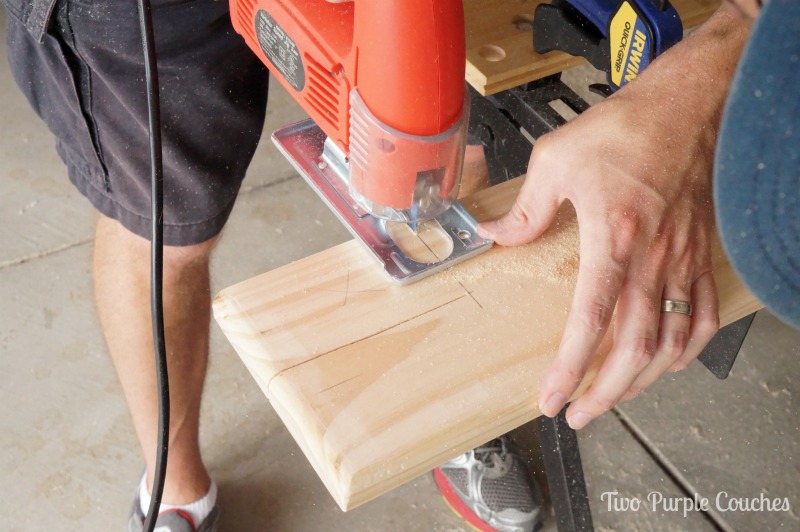
5.) Use a jigsaw to make the cuts for the window sill to fit with the window frame. Err on the side of not cutting enough—you can always go back and take off a little extra, either with the jigsaw or by sanding. You will eventually be caulking this seam once the window sill is installed.
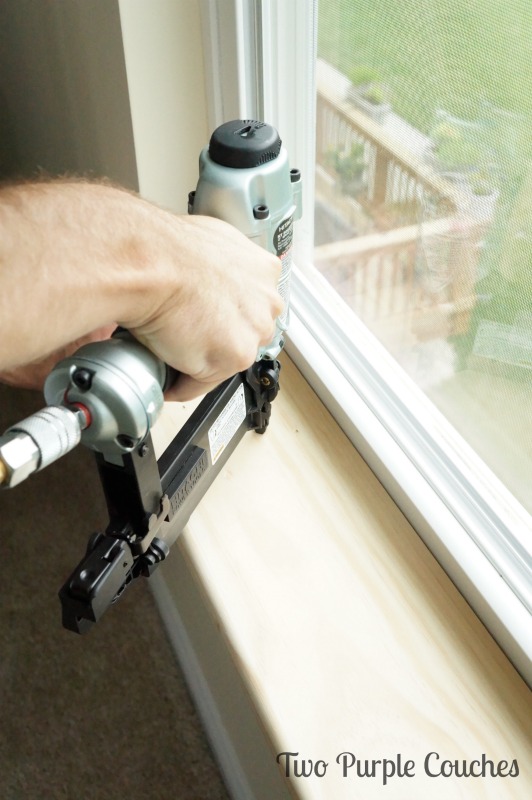
6.) Install the new window sill. Apply wood glue to the bottom of the sill and set in place, then secure with the brad nailer. Hammering the new window sills in by hand could split the wood, so an air compressor and brad nailer is your best bet. If you plan to do a lot of DIY, it’s definitely worth the investment!
7.) Repeat until you’ve replaced all of your window sills. Once finished, caulk all of the seams with Alex Flex and paint (or stain) the new interior window sills to match your existing trim.
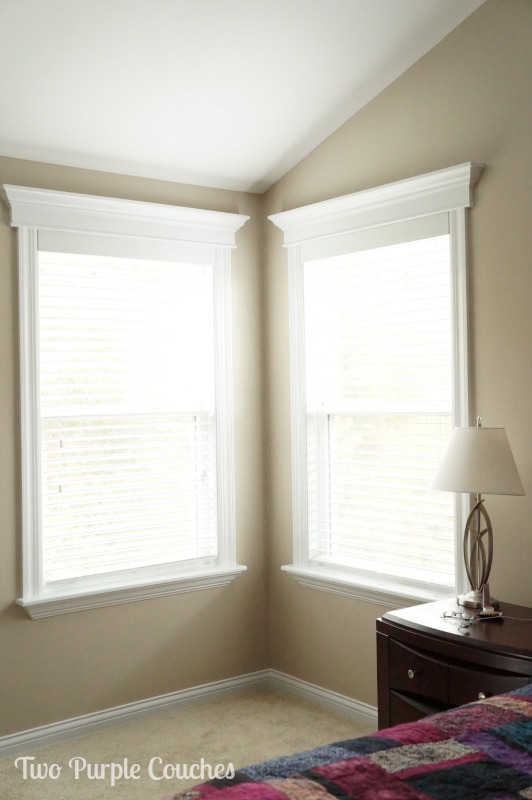
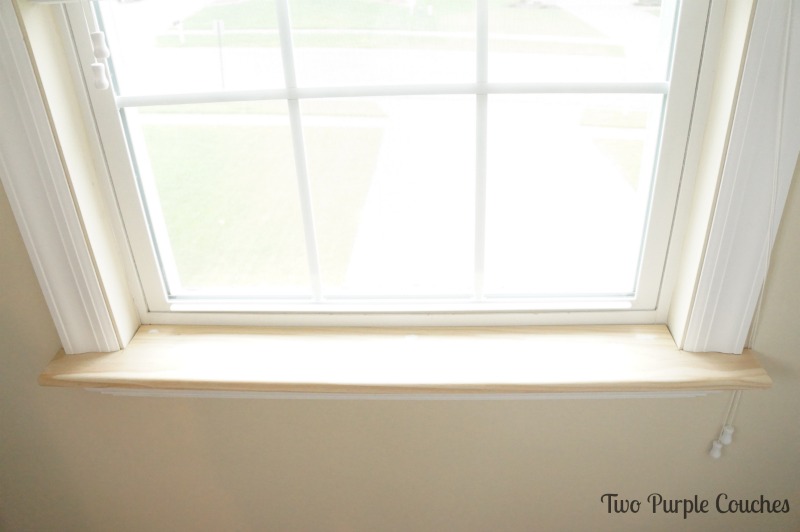
Here’s a look at how our finished windows look with the upgraded interior window sill and trim around the window frame:
Love this? Don’t forget to bookmark or pin it!

You might also like:
How to Trim a Window


Wow great job! You guys sure have been busy with all your projects!
Michelle from Weekend Craft recently posted…Mint Painted End Table Makeover
Thanks Michelle! I think I may have DIY ADD… is that possible??
This is fantastic! We just got a used router and we love it!! You can do so many fun decorative edges with it. We also need to replace a couple of window sills so this is extremely helpful! Thank you 🙂
Thanks Angie! It’s amazing what you can do with a router, isn’t it? Thanks for stopping by 🙂
Did you cover the old sill with crown on the bottom? Just wondering as we had new windows installed and the put them right over the old sills so it would be very difficult to get the old seals out. Should have thought about that before the new windows but didn’t. Would love to extend our sills out the way you did above.
Hi Kevin,
Yes, we added the new sills directly on top of the old ones, then placed a piece of decorative crown underneath the sill to finish it off. You couldn’t see the old sill, as the new ones extend several inches further, but we liked the custom element that the crown added. Hope this helps!
Thanks, sure does.
Wow those look great! I have some window sills that need to be replaced and this is perfect! Good job and thanks for sharing!
Ryan recently posted…Benefits of Fiber Cement Siding
Thank you so much!
Hey Emily,
Those were awesome. Planning to replace my window sill too. Glad that I’ve found your blogs. This will helps! Thanks for this, Such a great job there.
Cheers,
Oliver
Wow, I’ve never tried making and installing my own window sill, but I might have to try this project for my older windows. Thanks for the tutorial!
Love what you’ve done, I would like to do the same but was worried about it not suiting my home. My house is a Victorian home in the uk, I’m struggling to find information to see if this is a England style.
Thank you! If you’re wanting to find a style to suit your Victorian home, you might see if your local historical society or library can provide any references for period-appropriate architecture. Our home is only 6 years old, so we took some creative liberties with adding trims and crown.
Hi Emily,
This is such a great idea to give our home a new look! I am definitely going to try it out. But did you take the old window sill out first? Because that seems like a difficult task to do. Thanks for the lovely tip!
Hi, yes we did remove the old sill/ledge first. Score around it with a blade to help loosen it before prying it off.