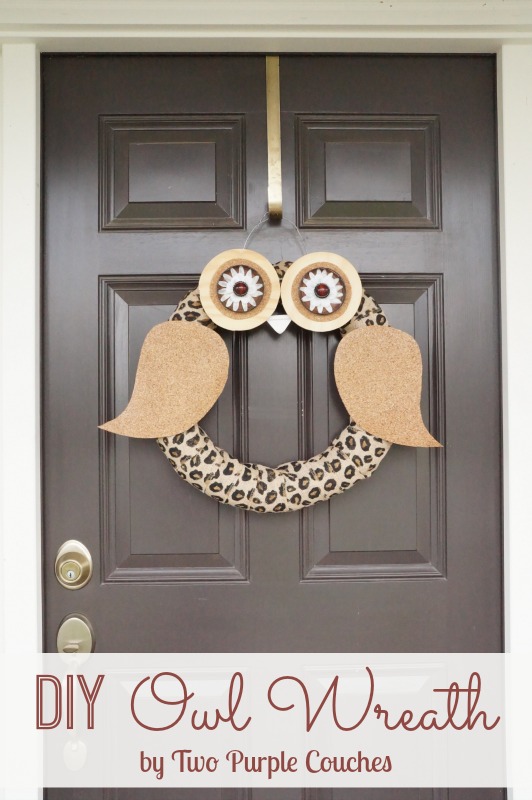
Some seasons, you’re feeling your wreaths, and others, you aren’t. That’s the case this Fall. I’m just not feeling the Fall wreath I made a few years ago. But when I came across an idea for a DIY owl wreath, I knew I’d found my next crafts project!
I love owls. I think we’ve talked about my love for owls here and there. And I think I’ve got at least one owl in nearly every room in our home. So why should my front door miss out on all the fun??
I spotted this owl wreath in the September issue of Country Living Magazine as, appropriately enough, the hubs and I were traveling to Columbus, Ohio for the Country Living Fair. And as soon as I saw it, I knew I’d found my next wreath project.
My twist? I wasn’t going to purchase a single thing to make this wreath. I have so many bins and bags full of crafting supplies, and I was determined to make up my own version without spending a dime. It was a fun challenge, and my wallet is happy to say that I succeeded! I dug through every bin, bag and box I’ve got, and even our pile of scrap wood, to make up my owl buddy.
If you don’t have bins full of craft supplies or a scrap wood pile, no worries! I’ll show you what I used so you can source materials to make your own DIY owl wreath. This post contains some affiliate links for your convenience. Click here to read my full disclosure policy.
How to make a DIY Owl Wreath:
Materials Needed:
- straw wreath
- printed burlap ribbon
- I used a leopard-printed ribbon, but you could use a different printed burlap ribbon or plain burlap ribbon.
- two disks of scrap wood
- scrap piece of window trim
- roll of craft cork
- jar lids
- faux flower petals
- two bottle caps
- two large wooden beads
- hot glue gun and glue sticks
- Outdoor Mod Podge
- If you plan to hang this wreath on your front door or anywhere outside, be sure to get the Mod Podge for Outdoor Use. Regular Mod Podge may not withstand the elements.
Tutorial:
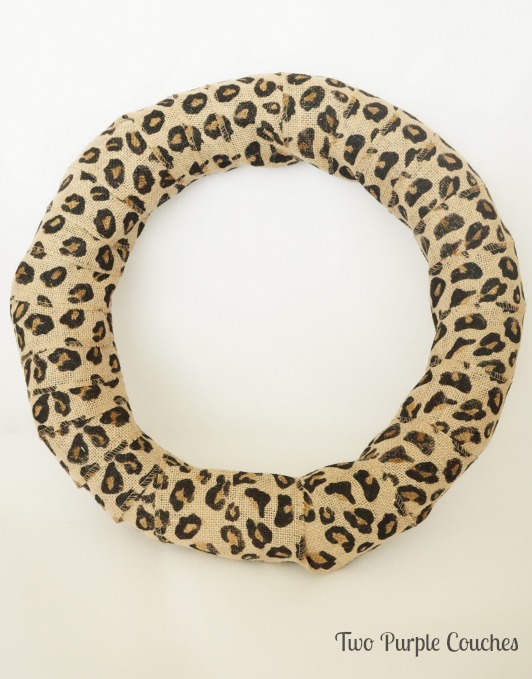
1.) Wrap the wreath in burlap ribbon. Secure the ribbon with a few drops of hot glue as you go. I recently “inherited” a bag full of printed burlap ribbon from Tom’s aunt (Thanks Nancy!!). You saw me put some of the zebra-printed ribbon to use in my Swap It Like It’s Hot project. I thought the leopard-printed ribbon would be sort of a fun take on a Spotted Owl. Tee hee.
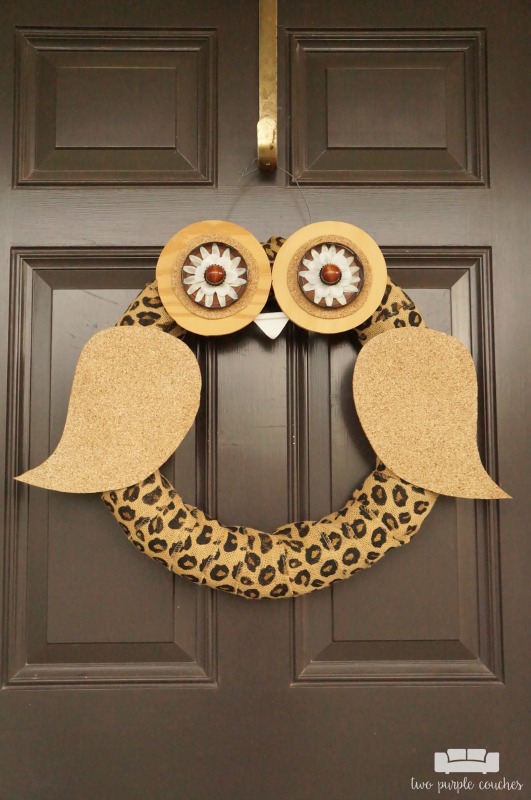
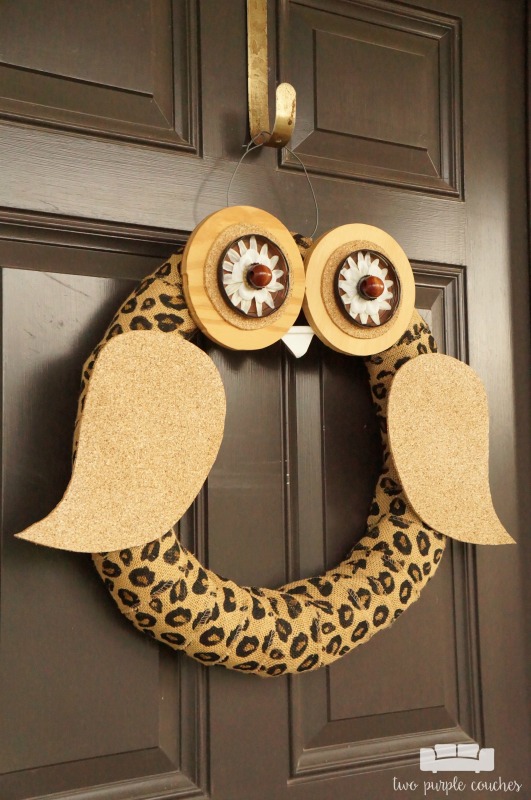
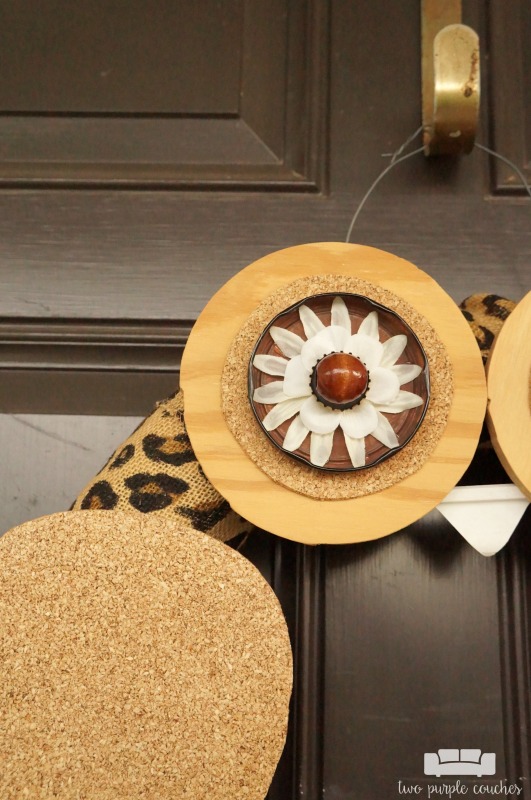
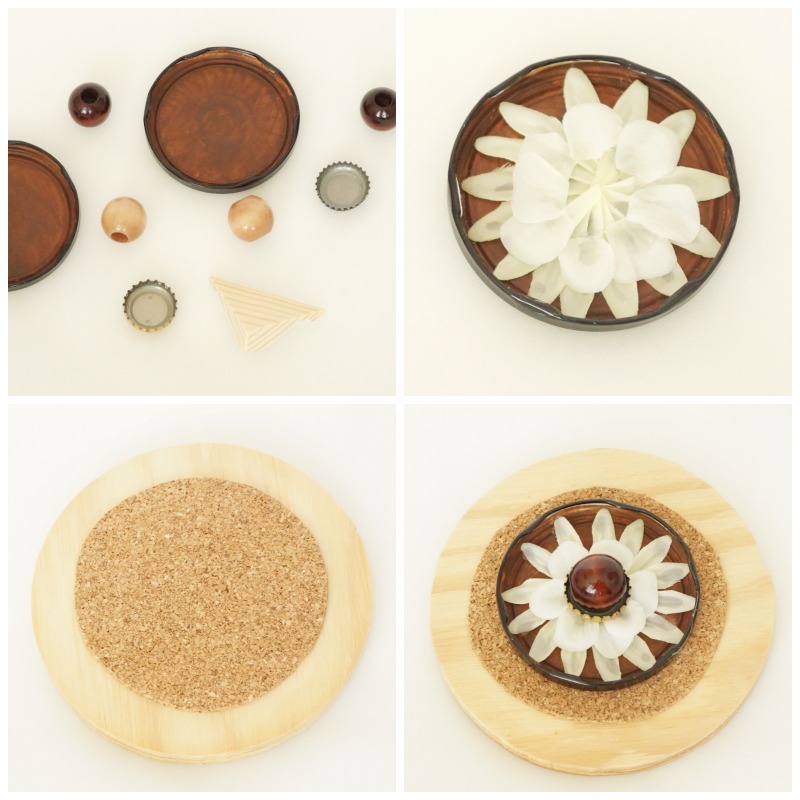
Step 2: Assemble the eyes. This step is really like three steps in one. Start with the eye base by hot gluing the cork disks to the wooden disks. To make the inner eyes, hot glue loose faux flower petals inside each jar lid. I used the lids to salsa jars, but you could use any lid, including a mason jar lid. I glued down the outer circle of petals first—these are from faux gerbera daisies—and then the inner circle of smaller, rounded petals. Once dry, I added a bottlecap and a large wooden bead to each.
Once the inner eye is assembled, hot glue to the cork-and-wood eye base.
Step 3: Add a nose. I used a triangular piece of scrap trim from our master bedroom window project. I love how the ridges of this trim piece sort of look like a beak!
Step 4: Add the wings. Cut each teardrop-shaped wing from a roll or sheet of craft cork. Mine kept curling in on themselves, so I braced the backs by adding a couple of pieces of paint sticks with hot glue. Then I brushed the cork wings with a coat of Outdoor Mod Podge since the front of our house experiences a fair amount of rain and wind, and I want this wreath to last for a while. Use hot glue to attach the wings to the burlap-wrapped wreath.
Once all of the glue is dried and the pieces are securely attached to the wreath, string a wire through the burlap and you’re ready to hang your cute new DIY owl wreath!
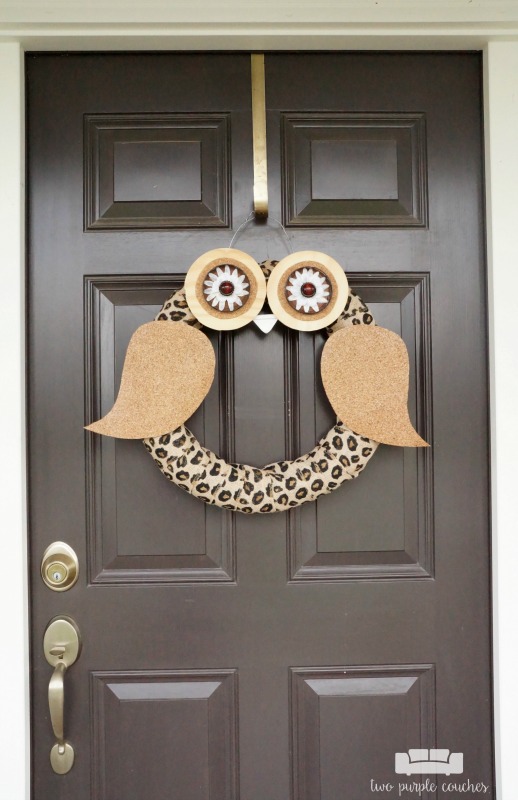
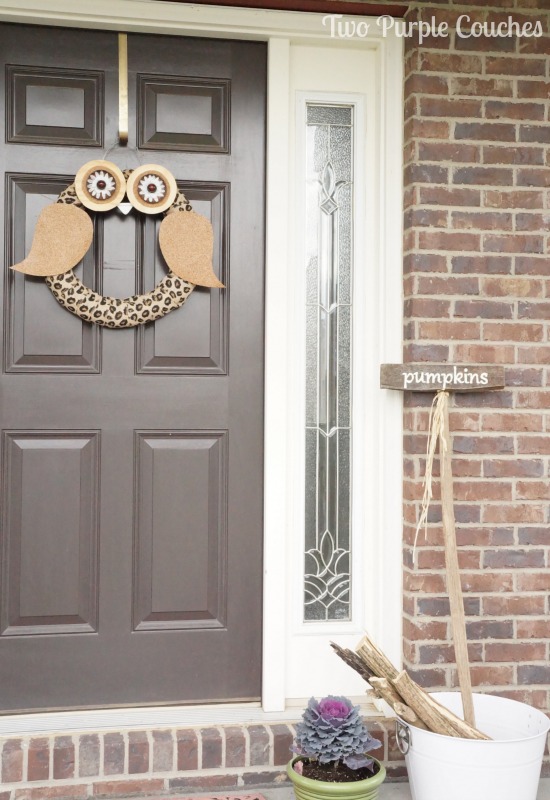
Doesn’t he look perfectly at home on our front door!? I’m seriously tempted to make three more of these: one for winter, spring & summer. Can you imagine an owl wearing a Santa hat at Christmas, or wrapped with brightly-colored burlap ribbon for the summer? Ahhh… the possibilities are endless!
Sharing with: Creative Spark / Work It Wednesday / Outside the Box / Weekend Re-Treat / Share It Sunday / Monday Funday / Submarine Sunday / Dream Create Inspire Link
Love this? Check out more Fall door decor:

Emily,
The owl is sooo cute! You really picked the perfect materials to make it pop! Nice job looks great on your door!
Linda
Thank you Linda! It was fun to dig around for the right materials! We have plenty of wood scraps around here 😉
Found you via the Spark link party – Love your owl wreath. Your version rocks!
Pam – GetSilvered recently posted…Halloween Spider Web Overlay – Free File Friday
Awww, thank you so much Pam! And thanks for stopping over 🙂
Love your version with the burlap! I also had seen this in Country Living Magazine!
Thank you Mary Kay! I couldn’t pass up the printed burlap!
Super cute! BTW, I like your wreath better. I love owls, so it would be fun to try and recreate your craft. Thanks for the inspiration! Please come visit me at simplysantabarbara.blogspot.com
Best,
Michelle
Awww, thanks Michelle! I love owls, too 🙂 I’d love to see your version if you give this craft a go!
Oh my goodness, Emily – – this is SO clever! I love that you were so resourceful with your supplies…and dare say, I much prefer yours to the original. Way to go, girl! Pinning and stumbling and sending so much love your way.
Lauren @ The Thinking Closet recently posted…20 Punny Halloween Costume Ideas for Couples
Awww, thank you so much, Lauren, for all of the shares and crafty love! 😀 I had so much fun re-imagining this guy… I’m actually rather sad that he lives on the front door and I don’t get to see him everyday!
super cute! love this idea.
b
the cape on the corner recently posted…Currently…October
Thank you!!
How fun! I have a slight obsession with owls! Thanks so much for stopping by the creative spark link party hope you will link up with us again today http://bit.ly/12aACNj
Michelle from Weekend Craft recently posted…SPOOK-tacular Silhouette Giveaway
Thanks Michelle! I am a bit obsessed with owls myself! So obviously, I just couldn’t resist this guy!!
This is so cute!! Just saw it over at the Monday Funday party! 🙂
Meredith @ Wait Til Your Father Gets Home recently posted…11 Last Minute Halloween Ideas & Monday Funday Link Party
Thanks Meredith!! Glad you stopped by 🙂
Such a cute wreath! I love the leopard print burlap ribbon!!! I’d love for you to share this cute wreath at this week’s Submarine Sunday Linky Party!
T’onna @ USS Crafty recently posted…30 Day Crochet Challenge Day 27: Favorite Crochet Book(s)
Thank you T’onna!!
Pingback: A Giveaway to Celebrate the One Year Anniversary Share It Sunday {52}
Pingback: 13 Fall Ideas - Crafts, Recipes, and Printables
Pingback: Monday Funday - 11/2/14 - Becoming Martha
Pingback: Fabulous Fall Ideas | Monday Funday | A Night Owl Blog
I just love this wreath! And the leopard burlap is the perfect thing for the owl’s body! Pinned this one!
Thank you so much, Jeanette!
Pingback: Monday Funday - Creatively Living Blog
This is AMAZING! Seriously, great work! I love it with the leopard burlap ribbon you used, too!
Thalita @ The Learner Observer recently posted…One Room Challenge 2014: Week 5
Thanks so much, Thalita!! You can never go wrong with leopard, right?? 😉
Pingback: 13 Steller DIY Wreaths For Fall
Pingback: Fall Decor and Recipes | Monday Funday Link Party - That's What {Che} Said...
I love owls too…can’t wait to make this!
Pingback: Owl Crafts are a Hoot! - Think Crafts by CreateForLess
Emily this looks beautiful! I love how you made the eyes (especially the flowers). Sharing!
Thanks so much Marie! I had a lot of fun finding the materials for this project 🙂
I like your owl wreath way better than the one you used as a model!
Thank you Colleen!
Pingback: 42 DIY Fall Wreath Ideas - 2 Bees in a Pod