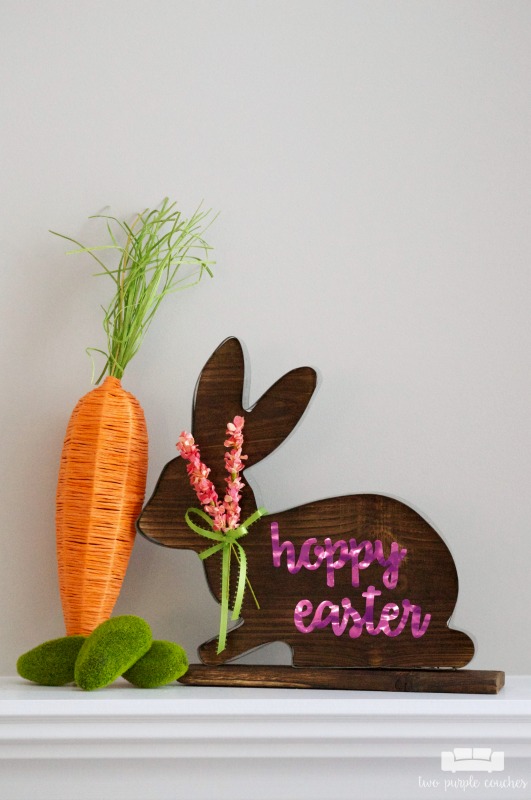
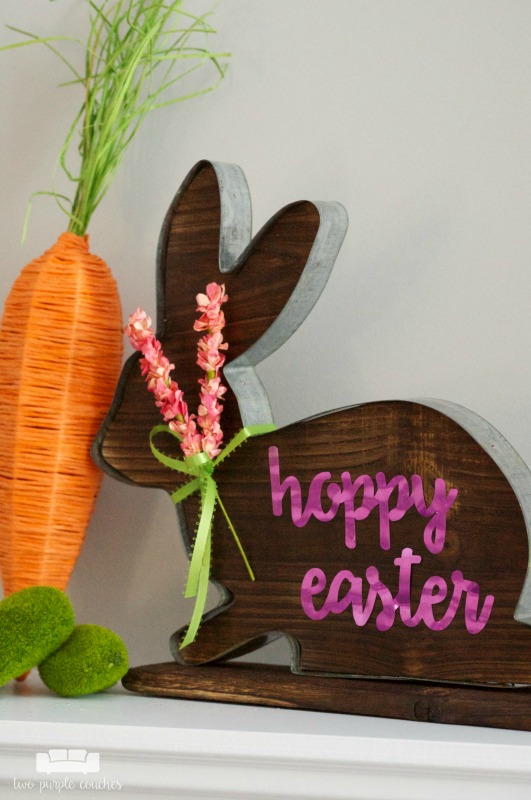
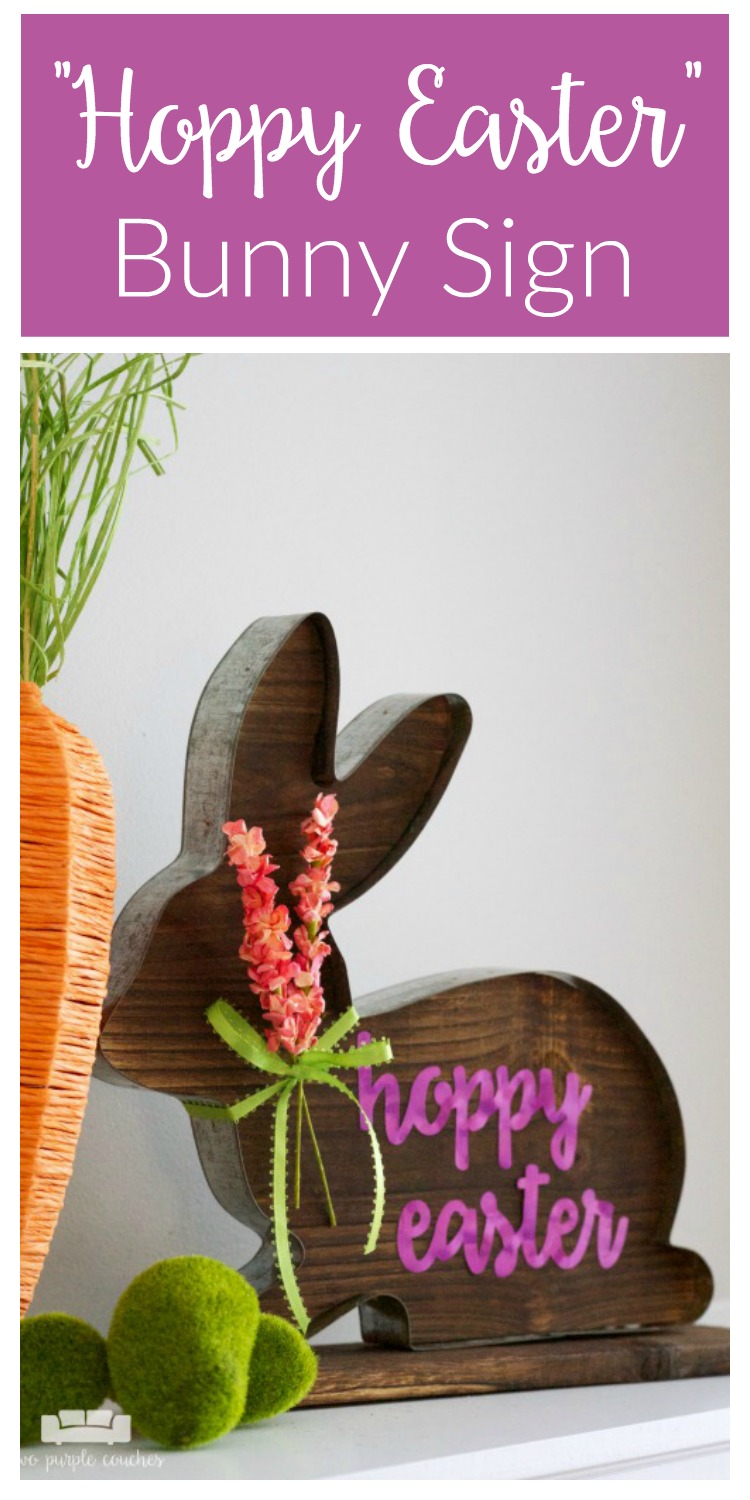
As I’ve been switching out my winter decor for spring-ier items, it’s come to my attention that I don’t own many Easter decorations. So when I came across this wood bunny on a recent craft store trip, I knew it’d be the perfect surface for creating a Rustic Easter Bunny Sign for this month’s edition of the Silhouette Creators Challenge. Add a bit of shimmery vinyl, ribbon and faux flowers, and I’ve got a pretty piece of rustic spring home decor!
This month’s theme is all things Spring, so be sure to scroll to the bottom of this post to find all kinds of springy projects you can create with your Silhouette machine!
I am still getting the hang of working with vinyl, and for this project, I went out on a limb and bought Cricut vinyl, mostly because I liked this shimmery metallic purple and wanted to get all of my project supplies in one trip. I ran into a few challenges, and also discovered that wood is not an optimal surface for applying vinyl (I have since found some tips on applying a clear coat to uneven surfaces to help vinyl adhere better). But I managed to make it work, and I think this rustic bunny sign turned out pretty cute! Let me show you how I made it:
This post contains some affiliate links for your convenience. Click here to read my full disclosure policy.
How to make a rustic Easter Bunny sign:
Materials Needed:
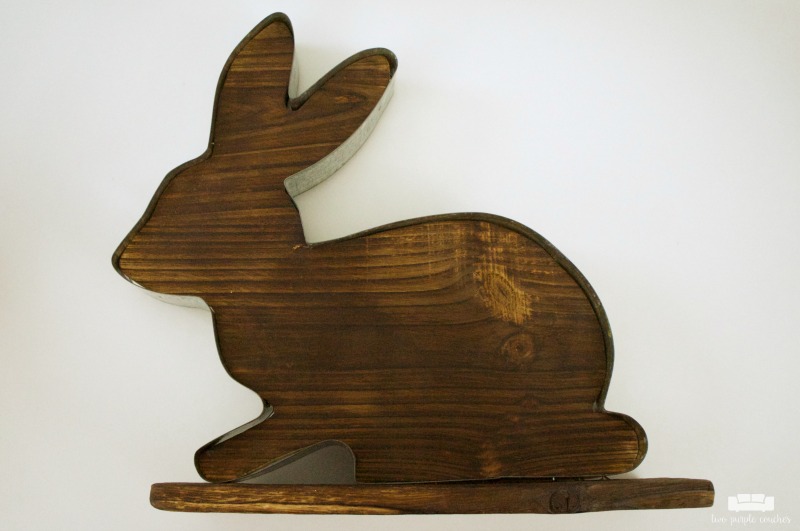
- Wood bunny sign
- I got mine at Michaels. This one is similar, though a little bit smaller.
- Adhesive vinyl
- I used Cricut Adhesive Foil in Stainless Purple
- Cutting mat
- Silhouette Cameo
- Transfer paper
- Ribbon
- Faux flowers
Tutorial:
1.) Design your decal in Silhouette Studio. I went with “Hoppy Easter” because I can’t resist a pun. Make sure the surface of your sign is clean.
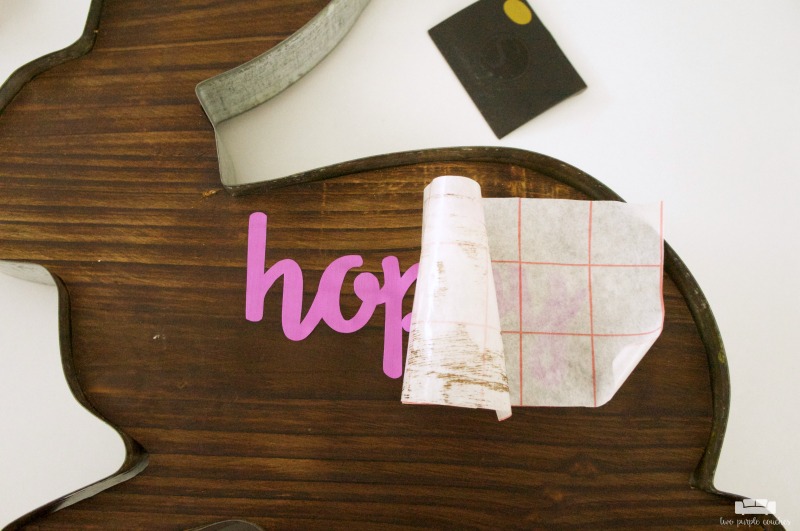
2.) Add vinyl to your cutting mat (with the shiny side up) and send it through your Silhouette machine. Use the transfer paper to carefully pick up your design from your cutting mat. Weed out any unnecessary pieces (like the centers of the “p”s).
3.) Carefully apply the vinyl to the wood bunny sign. I worked slowly, going over each letter firmly with my finger as I peeled back the transfer paper.
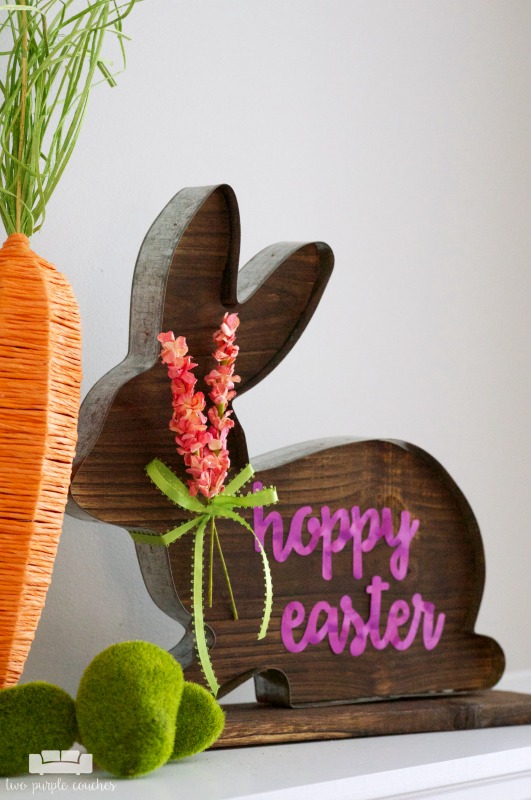
4.) Add any embellishments you like! I opted for a bit of green ribbon and faux flowers. I thought about making a tail out of cotton balls, but decided I preferred it without.
Now that I know the trick about adding a clear coat, I might try to add a spray coat on top of the vinyl so it won’t fall off in the future. I’m a little nervous that a clear coat will add some kind of noticeable gloss or surface to the wood – does anyone have experience with this? I’d love to hear your thoughts!
I’m already looking forward to getting out the rest of my Easter decorations! I feel like this winter was so grey and dreary; I am excited for brighter colors, fresh flowers and greenery!
Love this? Don’t forget to pin it!
Sharing with: Moonlight & Mason Jars
Don’t miss the other creative projects being shared today!

- Michelle James Designs – How to Ruin and Save a Table with a Silhouette Machine
- Two Purple Couches – Rustic Easter Bunny Sign
- Pocketful of Posies – Plastic Easter Egg Makeover with Spring Monogram
- Uncookie Cutter – Wood Slice House Marker
- Rachel Teodoro – Paper Succulent Terrarium
- Dwell Beautiful – Hello Spring Planter

Oh, this is just too sweet! I love that little bunny – it’s the perfect piece of Easter decor! And I can’t resist a good pun either 😉
Thanks Erica!
this is SO SO cute!! do you sell your projects?
Thank you, Amy! And thanks for asking, but I do not have a shop.
This turned out really nice. I have also had issues with the vinyl/wood combo. I am glad you made it work and found a good solution for future projects! I love that vinyl though. It is really pretty!
Thanks Michelle! Unfortunately I wasted a bit of this vinyl, but I’m happy I got it to work! Lessons learned for next time 😉
Awww ! that little bunny is so so adorable. Really appreciate your efforts. Thank you for sharing.
I love this, SO cute! Pinning!
Roxanne recently posted…Get This Look: Open Kitchen Shelves
Thanks Roxanne 🙂
Honestly that bunny is a bit boring without that gorgeous foil vinyl cut accent. It truly just bring the bunny to life! Totally love the foil you chose and the colour just jumps out from the wood. Love it!
Samantha recently posted…Silhouette Curio vs Cameo 3 – Which Vinyl Cutter Should you Buy?
Thank you!
This is adorable, love the foil look against the dark wood!
Thank you!
Pingback: Simply Adorable Easter Bunny Crafts | Domestically Creative