Hello friends! After a few weeks off to enjoy (and let’s be honest, recover from) the holidays, I am back and ready to see what 2017 has in store for us here at Two Purple Couches. I am excited be kicking off the year by joining up with a talented group of bloggers for a fun monthly event—the Create with Me DIY Challenge. Each month we will be crafting and creating based on the materials that you vote for! How cool is that!? So be sure to scroll to the bottom of this post to vote for next month’s material and check out the other projects being shared today!
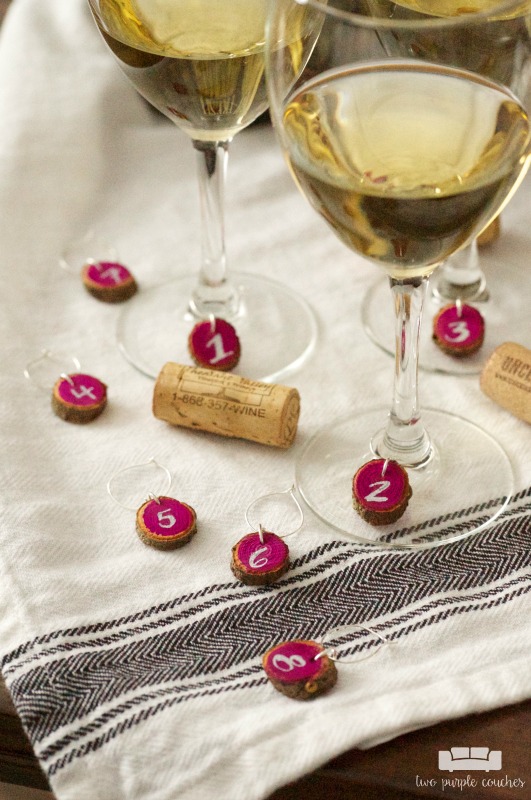
This month, our challenge was to create something with natural wood. I used branches of leftover holiday greenery to create a set of rustic wood slice wine charms!
If you’re like me, you rarely set down your glass of wine. But sometimes at a party it’s hard to juggle on a plate of yummy food *and* drinking wine. Which is why wine charms are the most genius idea ever. Because nothing is worse than losing your glass of wine!
This post contains some affiliate links for your convenience. Click here to read my full disclosure policy.
How to make mini wood slice wine charms:
Materials Needed:
- Mini wood slices
- I cut my own wood disks and they measure about 3/4-inch in diameter.
- Cordless drill
- Compound miter saw
- FolkArt Ultra Dye
- I used Raspberry Beret
- Foam spouncer or brush
- Pen-Touch Metallic Ink Pen
- Jump rings
- I used both 9mm and 12mm rings based on the thickness of my wood slices)
- Hoop earrings
- Chain nose pliers
Tutorial:
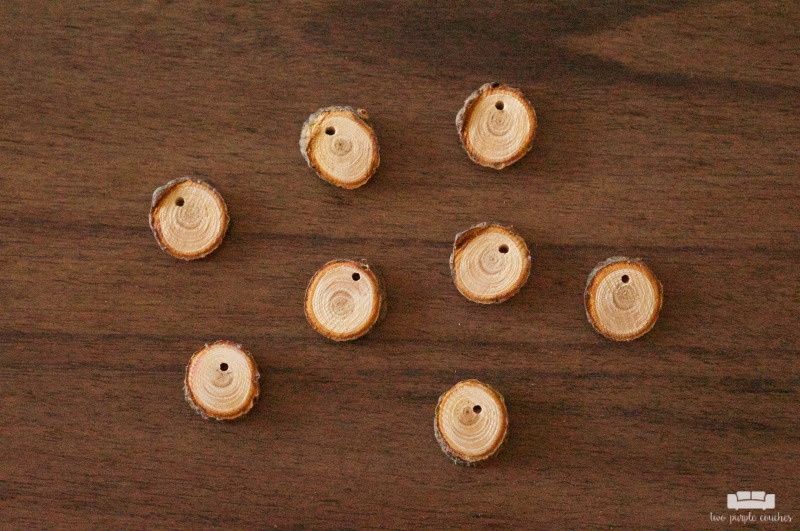
1.) Cut wood into disks. I had a bunch of branches of greenery leftover from the garland I made for our Christmas tablescape, so I decided to make my own wood slices. To do this, I trimmed excess greenery away from the main branch and then cut disks at about 1/4-inch thick using our compound miter saw. Be very careful during this step! Mind your fingers as well as knots along the branch. Trying to cut through a knot will send pieces of wood flying everywhere!
If you’d prefer not to cut your own, these wood slices would be a good option.
2.) Drill a hole in wood disk. Using our cordless drill and a 5/64ths bit, I drilled a hole at the top of each wood slice for the jump rings.
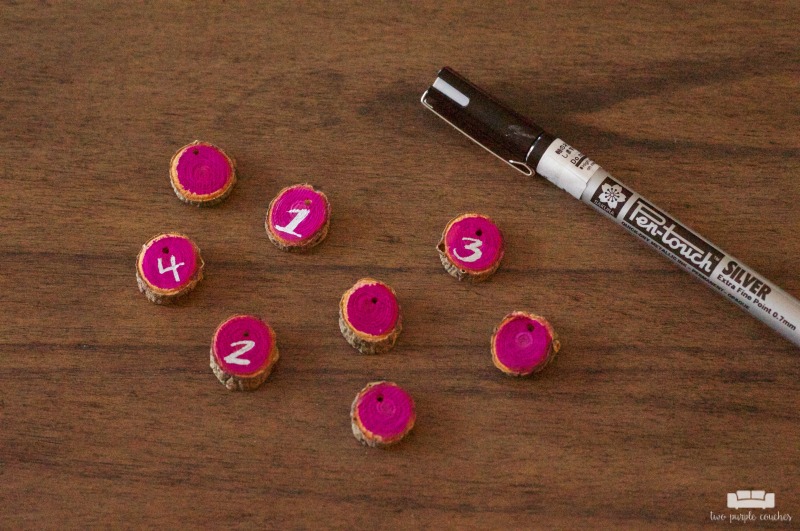
3.) Stain or paint each wood disk. I brought home a bottle of FolkArt Ultra Dye from the Haven Conference that I’ve been anxious to try out. I used a small foam spouncer to brush the dye onto each wood. I waited a few seconds, then wiped off any excess dye with a paper towel. Be sure to read the instructions on the bottle before using, and wear gloves to avoid getting stain on your hands!
4.) Add numbers. Using my metallic Pen-Touch pen, I added a number to each wood slice.
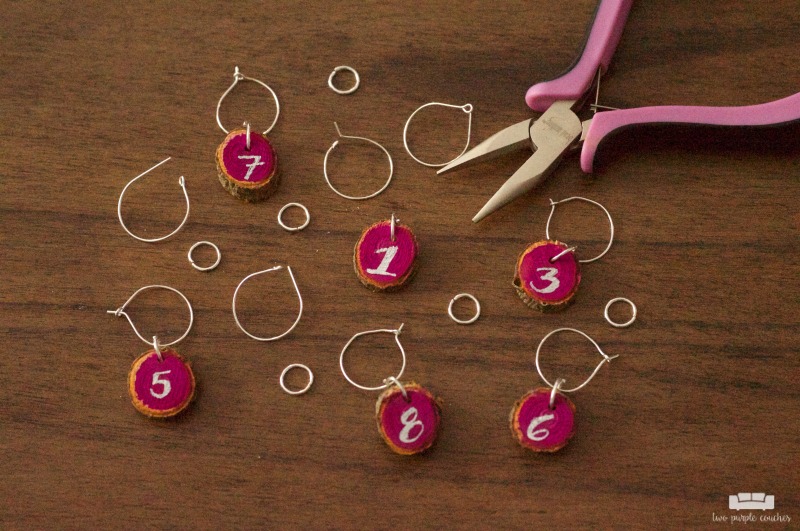
5.) Add jump rings, then thread onto hoops. The final step of making these wine charms is to add a jump ring through the hole of each wood slice (you’ll need the pliers for this), then thread the charm onto a plain hoop earring.
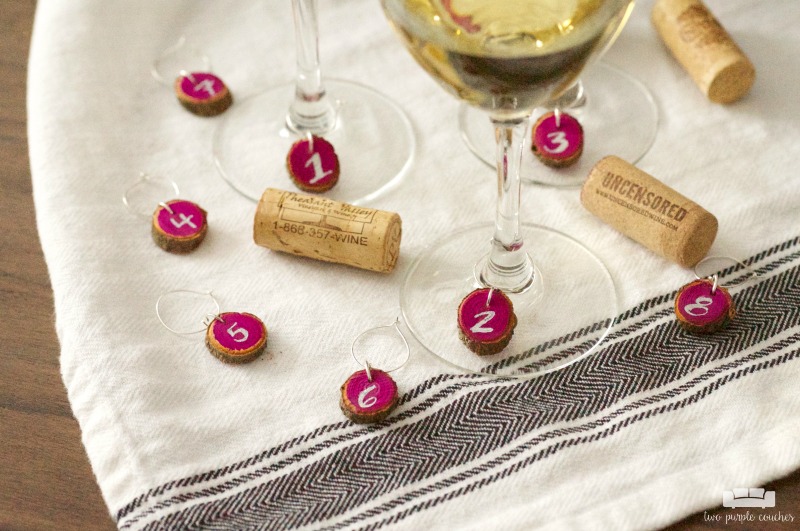
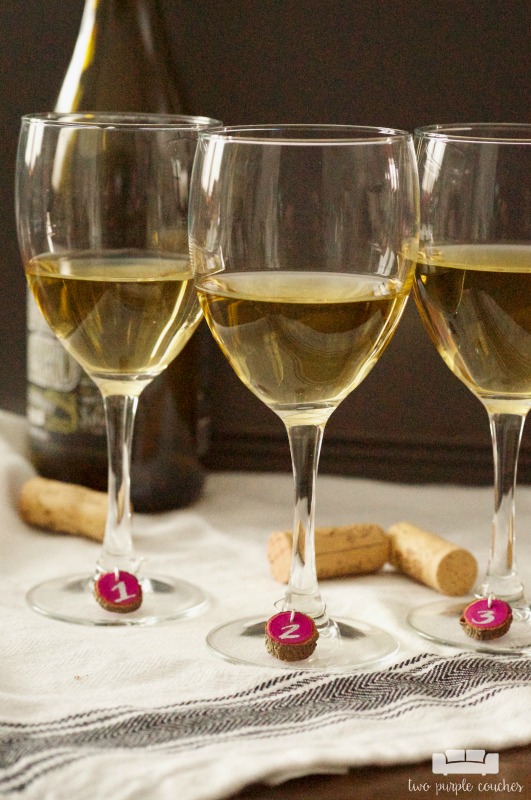
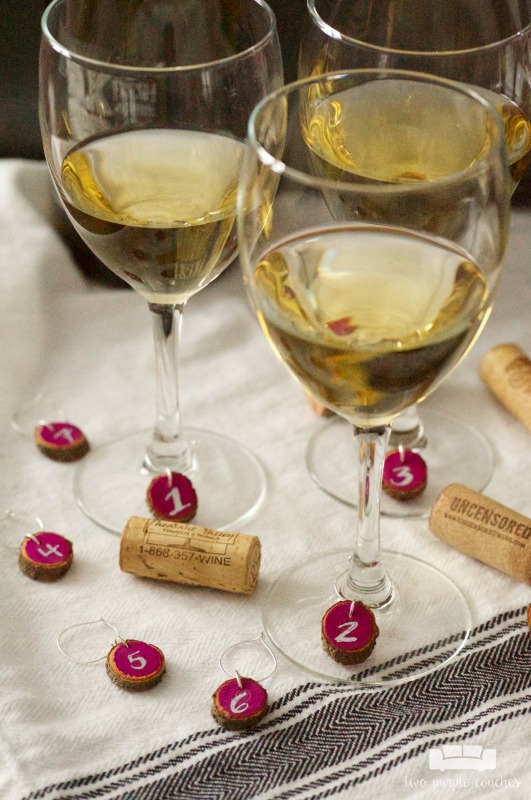
I’ll be adding these to my wine glasses before our next party. They’d make a cute hostess gift idea or bridal shower gift, too!
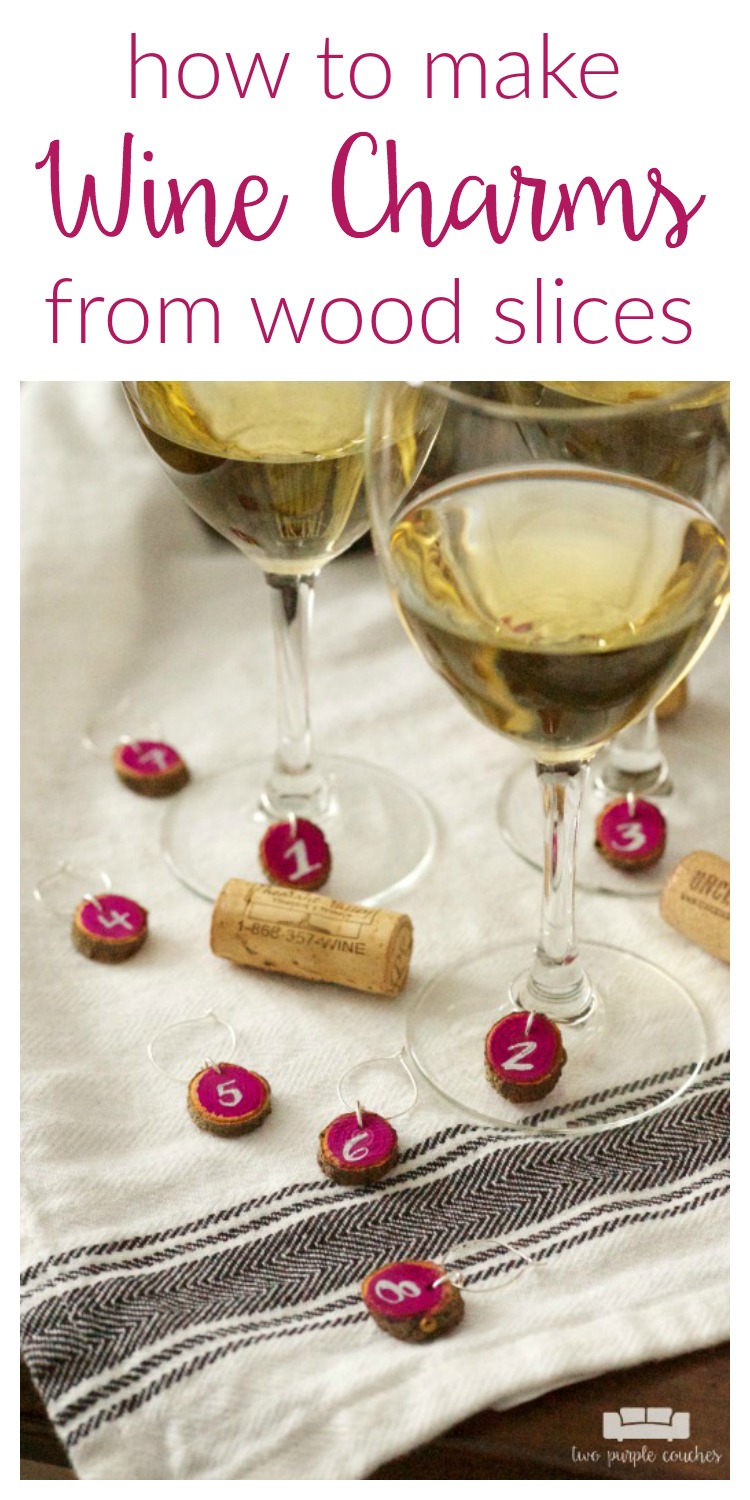
Love this? Don’t forget to pin it!
Sharing with: Moonlight & Mason Jars
Create with Me DIY Challenge
Don’t forget to vote for our next challenge material and visit these lovely ladies to check out more natural wood projects!
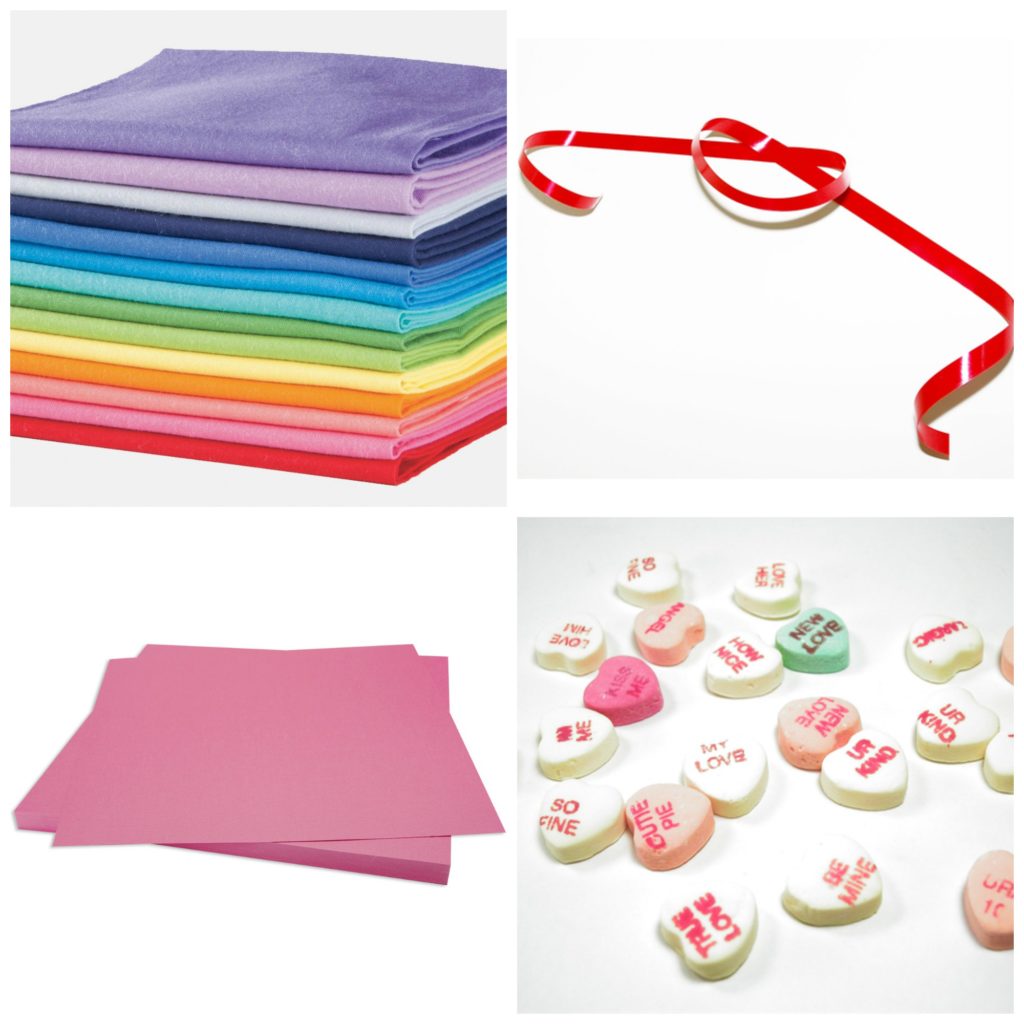
Images via Amazon.com, Joann.com, and Freeimages.com
Create your own user feedback survey
CLICK HERE if you cannot see the survey!
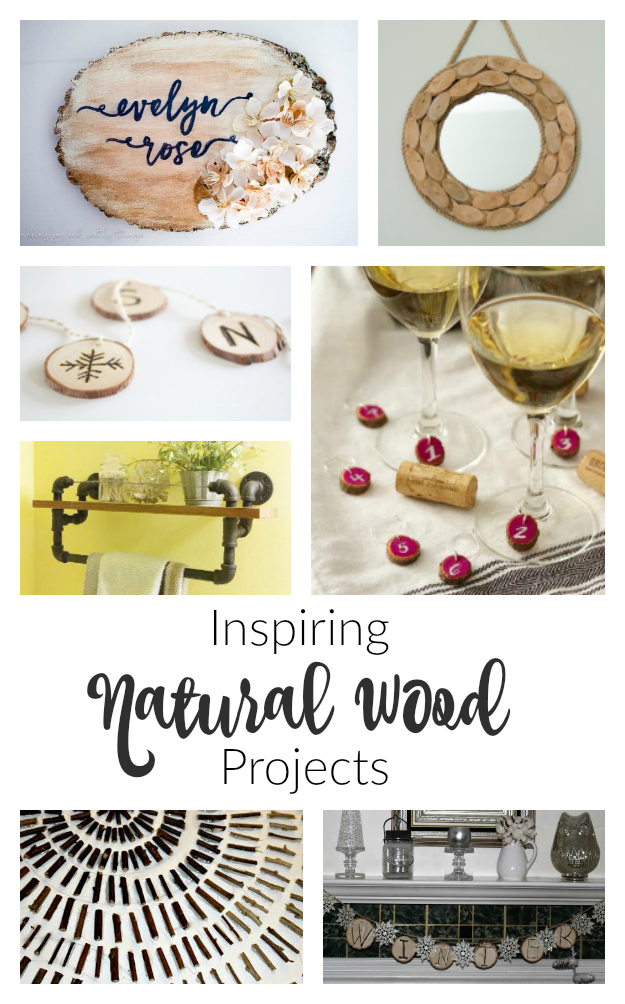
Personalized Nursery Wood Slice Sign- Making Joy and Pretty Things
Driftwood Mirror- Little Bits of Home
Wood Slice Winter Garland- My Life from Home
Natural Wood Shelf- Our House Now a Home
Mini Wood Slice Wine Charms- Two Purple Couches

I seriously love these, Emily! What a fantastic idea. I’m still searching for the right project for my Ultra Dye – Maybe this is it!
Thank you so much, Kim! I am looking for more projects for the dye, too – this stuff is fun to use!
So cute! Love that you made your own mini wood slices. The dye is the perfect color – I love how they turned out!
Sarah recently posted…Personalized Nursery Wood Slice Name Sign
Thanks Sarah!
I love these so much!!! Such a great idea and I love how you dyed them!
Samantha recently posted…Create with Me- DIY Driftwood Mirror
Thanks Samantha!
These are so fun … and smart!
Thanks Lindsay 🙂
These are so cute!! I love them. What a great idea and so practical.
Amy @ my life from home recently posted…Farmhouse Glass Kitchen Sign
Thanks so much, Amy!
I’m a wine charm junkie, so you know I love these!!!
Thanks Megan!