I have a long way to go before I’m a master seamstress, but I’m already starting to get the hang of my new-to-me sewing machine. If nothing else, I may soon hold the title of master seamstress of throw pillow covers. Because I can sew an envelope-style pillow cover with the best of them!
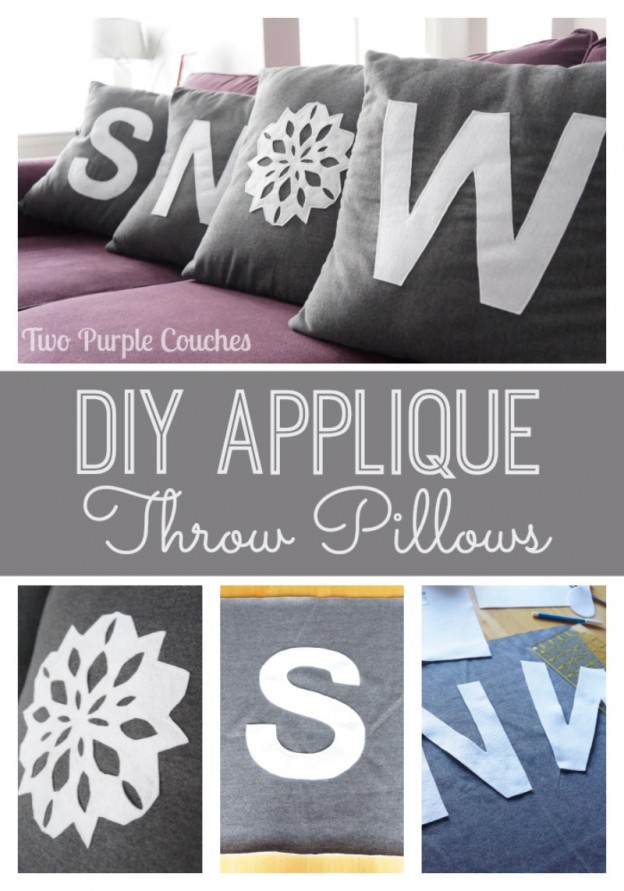
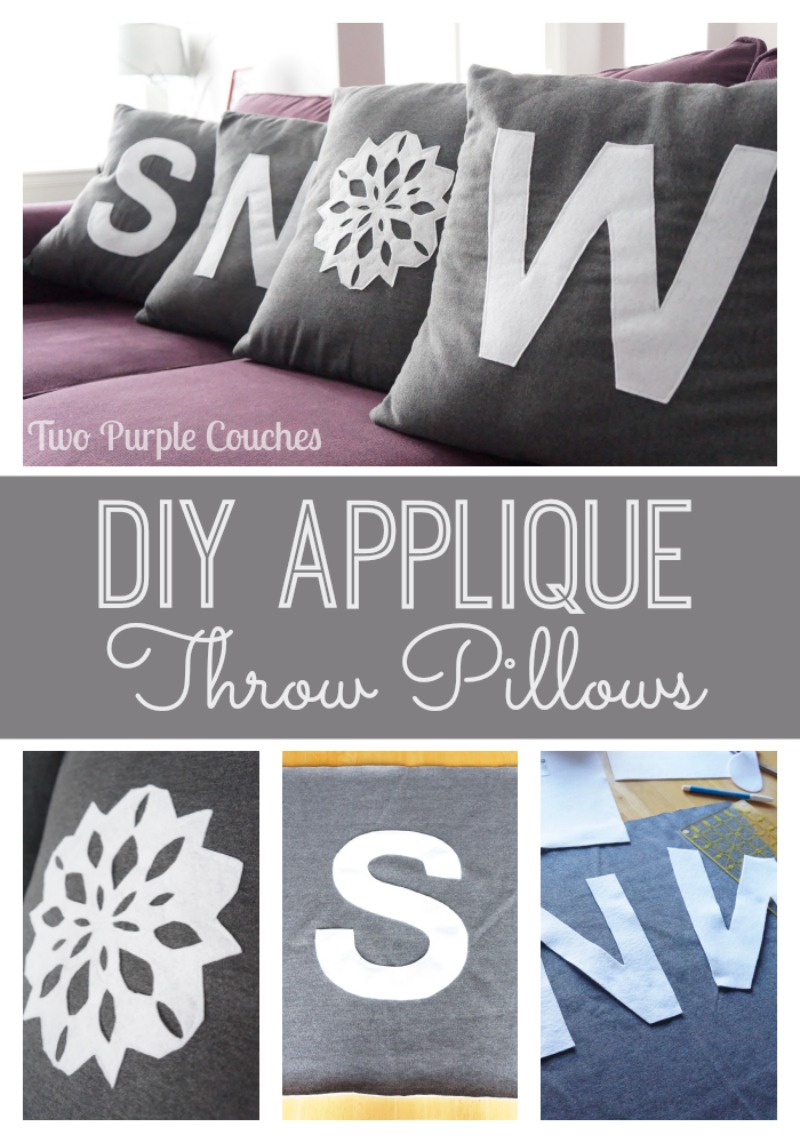
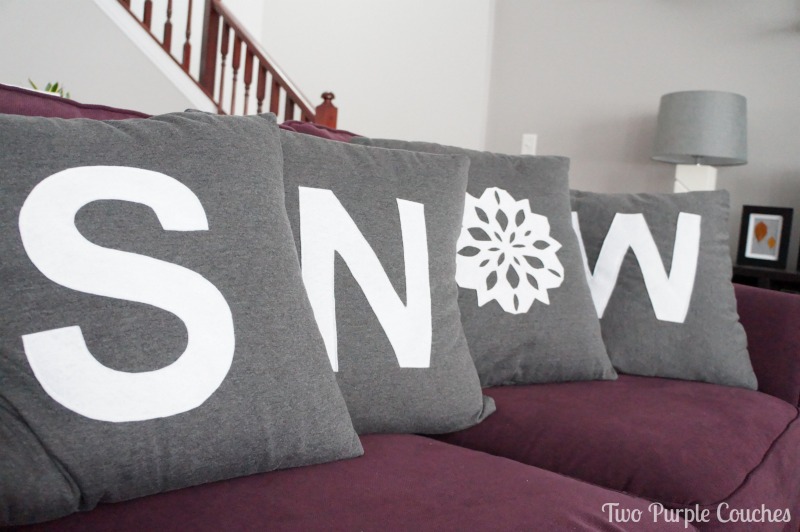
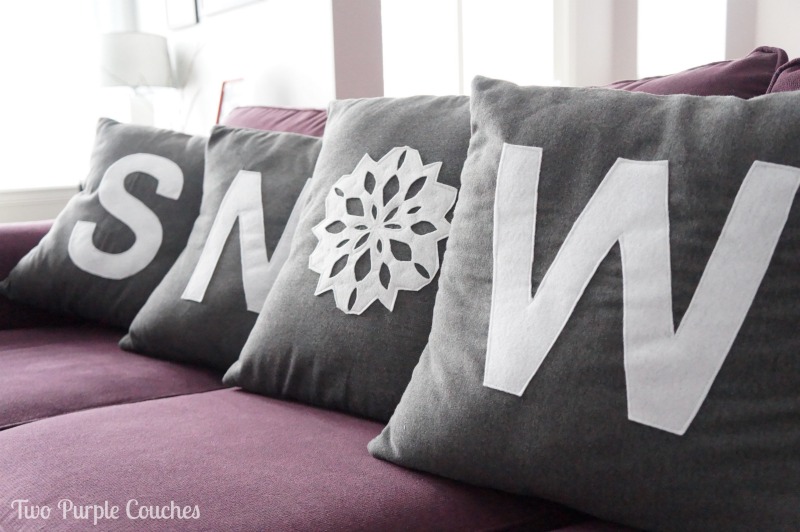
And that’s exactly the method I used to create these cute appliqué throw pillows for our family room couches (yep, the purple ones!).
I was going to wait another week or so to share these with you. But I think Mother Nature was telling me to share them sooner, given the fact that I woke up to these glistening treetops yesterday:
Would you be surprised if I told you these appliqué throw pillows were inspired by the movie White Christmas? The entire movie gives me warm fuzzies, and I love the scene where Judy, Betty, Bob and Phil sing “Snow” in the train car on their way to Vermont.
My mom helped me get these pillows started, mostly where the appliquéd letters were concerned, and then I finished sewing them up myself. She and I have previously made some envelope-style pillow covers together, so I had the pattern memorized (after triple-checking it with her, of course!)
If you’ve never sewed an envelope pillow cover before, I promise, it’s simple!
And once you’ve got the process down, it’s fairy easy to adjust for any pillow size.
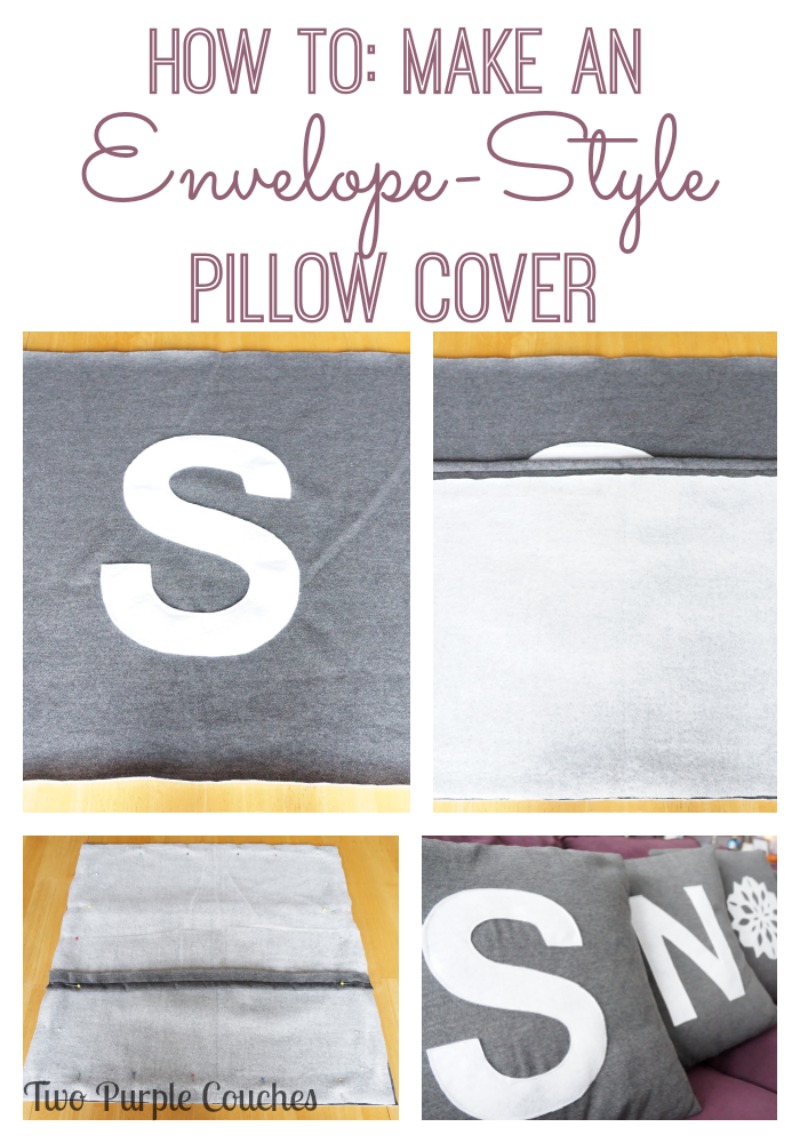
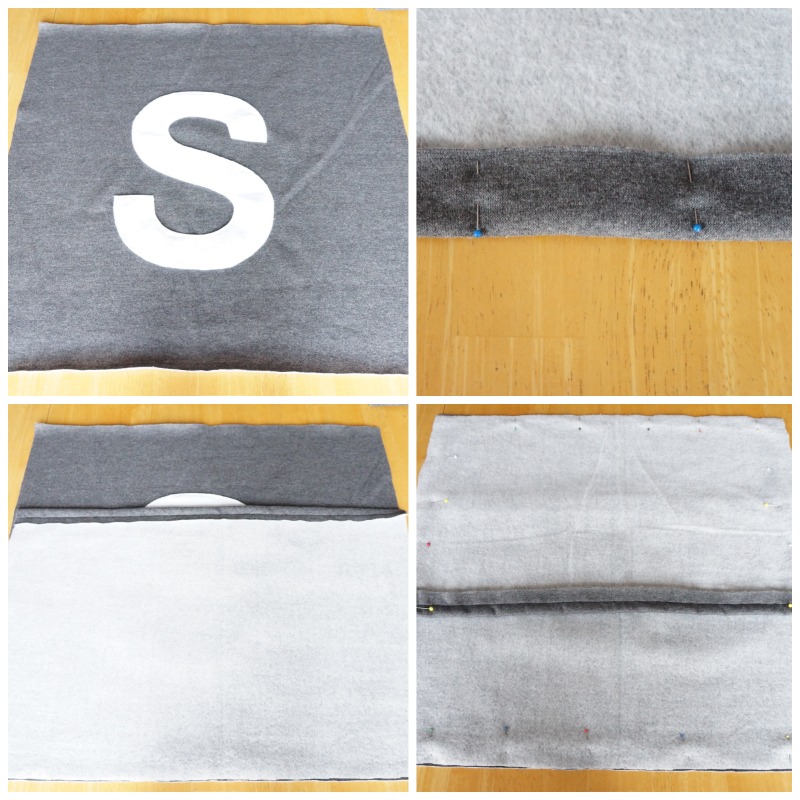
Step 1: Measure and cut for the pillow you’re covering (mine are 18″ x 18″). I cut a 19″ x 19″ piece for the pillow front and two 13″ x 19″ pieces for the back.
Step 2: Sew each edge of the back pieces with a 1/2″ seam. This gives you a clean line, plus helps stop the material from unraveling. If you have a serger, you can also serge the edges.
Step 3: Now you’ll sew all three pieces together by layering them like this: lay the front piece down, facing up. Take one back piece, and lay it front side down, lining up the bottom edges. Then lay the second piece front side down, lining up the top edges. Pin and sew 1/2″ all the way around the edges.
Step 4: Turn the inside out and your new pillow cover is ready to be stuffed with a pillow form!
If you’d like to try an appliqué pillow cover, you’ll do the appliqué portion between Steps 2 and 3, before sewing the entire pillow together.
To make the appliqué letters and shapes:
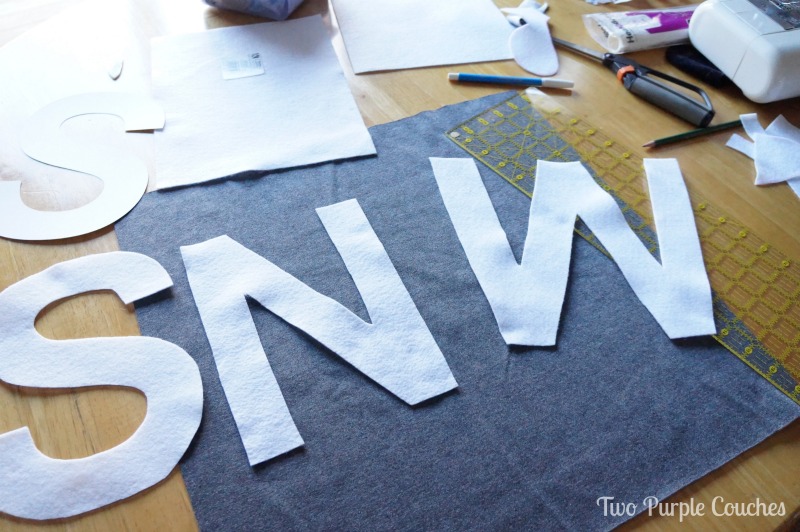
Step 1: Use a large letter stencil, or print and cut your own letters from your computer. You can also use your Silhouette machine to cut large letters.
Step 2: Trace your letter onto a 9″ x 12″ sheet of felt, cut it out and pin to the piece of fabric that will be your pillow front.
Step 3: Sew each letter onto each piece of fabric. I used a clear zigzag foot for this step so that I could see where the edge of my felt letter was.
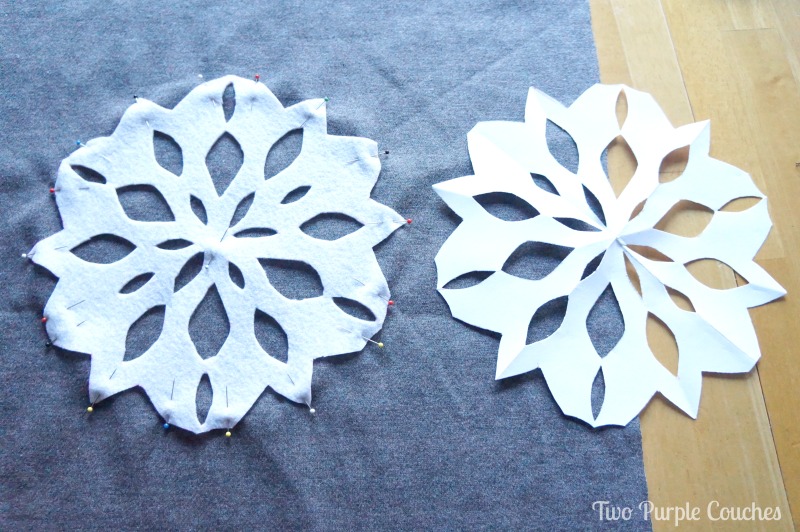
Step 4: For the snowflake, cut a snowflake out of folded paper (this tutorial is easy to follow). Use this as your template and trace it onto a piece of felt. I used glitterized white felt for my snowflake. Carefully cut out your felt snowflake, then pin and sew onto your pillow front. I used some decorative embroidery stitches throughout the intricate parts of the snowflake so that it would be more securely sewn to my pillow cover.
Now you can jump back up to the envelope sewing steps to complete your pillows!
I love how my appliqué throw pillows turned out, and I especially love the soft, cozy feel of the felt and sweatshirt materials! So perfect for this suddenly-wintery weather we’re having!
So, what should I try next with my sewing machine??
Love to DIY your own throw pillow covers? Check out my puffy paint pillow!
Sharing with: Outside the Box / Creative Spark


What an excellent job of explaining how to make the pillow covers. They turned out so nice!!!
Thank you, Mom! Thanks for all of your help and for jotting down the measurements I’d need!
Super cute and how appropriate. Another reason I need to learn to sew. And I do have to say that I love that they are on your purple couch!
Michelle from Weekend Craft recently posted…Rustic DIY Christmas Ornaments and Giveaway
Haha, thanks Michelle! If I’d have known these pillow covers would inspire the snow to fall, I would’ve waited a while longer to make them! Learning to sew hasn’t been as intimidating as I expected it to be, but I definitely need to allow myself time to practice!
This is super cute Emily! Love the gray and white against your purple sofas. 🙂
Thank you, Kathy! I love the gray and purple together, too 😉
I love these Emily! And boy, add about 3 more inches of snow on the trees and that could have been my house today. 😀 Pretty, but brrr I’m not ready for it!
Ursula @ Home Made by Carmona recently posted…Giving Thanks Place Setting
Thank you Ursula! I’m not ready for this cold, either! It’s too early!!
Pingback: Weekend Reflections - Up to Date Interiors
Love you pillows Emily! I dream of sewing and I dream of snow. 🙂
Kelly Hedgespeth of Simply Kelly Designs recently posted…We Wish You A Merry Christmas Glass Block With Free Cut File
Thank you, Kelly! 😀
Look at you, sewing!!!! That’s definitely something I can’t do, so I am always super impressed by those who can, and you definitely can! They look fantastic!!
Thalita @ The Learner Observer recently posted…Art That Matters… In The Bedroom [+ GIVEAWAY]
Awww, thanks Thalita! I still have a lot to learn, but as long as I can keep sewing pillow covers, I’ll be happy 😉
I want to cuddle up with these they look so soft and inviting! Thanks for sharing, you’re being featured at Outside {the Box}!
Carissa recently posted…Rustic Pine Bough Garland
Aww, thank you so much, Carissa! They are so soft and perfect for snuggling up with on a cold winter’s night!
Pingback: Holiday Craft Party Wrap Up