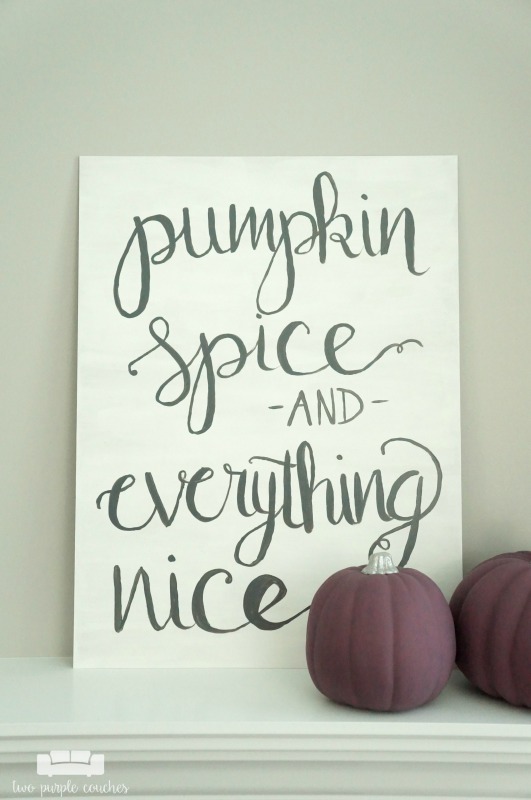
Hello friends! I have a cute and simple DIY hand-lettered art project to share with you today. I know I don’t typically post on Fridays, but I was putting the finishing touches on this piece yesterday and couldn’t wait to share it with you!
I typically prefer to make my own artwork because it’s cheaper and I can get exactly what I want – whether it’s colors, size, sayings, etc. You can see some of my other favorite DIY art projects here, here and here.
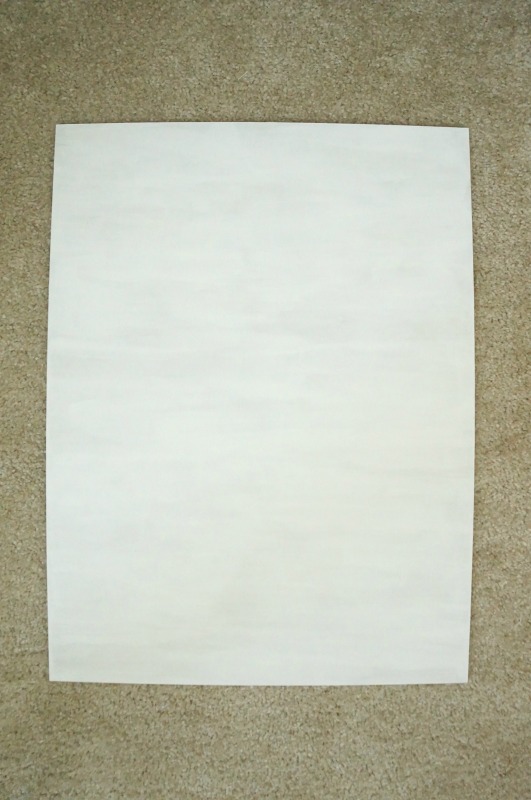
This time around, I tried something new and I think it might be one of the best art “hacks” I’ve come across. Last year, my mom gave me an inexpensive 18″ x 24″ frame that she’d bought and never used. It sat in my craft room closet until earlier this week, when I decided to use the frame by itself for my fall mantel. After looking at the MDF backer for a few minutes, I realized it was practically begging to be turned into a pretty piece of hand-lettered art. And here’s why – it’s large, it’s smooth (it’s a lot trickier to hand-paint words on the textured surface of a canvas!), and since it’s MDF, it can be painted easily. Oh, and it already had hanging hardware on the back!
I decided on a cute fall-inspired saying and chose “Pumpkin Spice and Everything Nice”. It just felt right for the season we’re heading into 😉
This post contains some affiliate links for your convenience. Click here to read my full disclosure policy.
How to make your own pumpkin spice hand-lettered art:
Materials Needed:
- MDF board
- This one is 18″ x 24″, but you can use any size you prefer.
- DecoArt Americana Decor Chalky Finish
- I used Everlasting for the background
- DecoArt Americana Decor Satin Enamels
- I used Charcoal Grey for the lettering
- Paintbrushes
Tutorial:
1.) Start by applying several coats of DecoArt Chalky Finish paint onto the MDF. I really love how this paint covers and adheres well to just about any surface. I applied at least two, maybe three, coats so that none of the MDF was showing through.
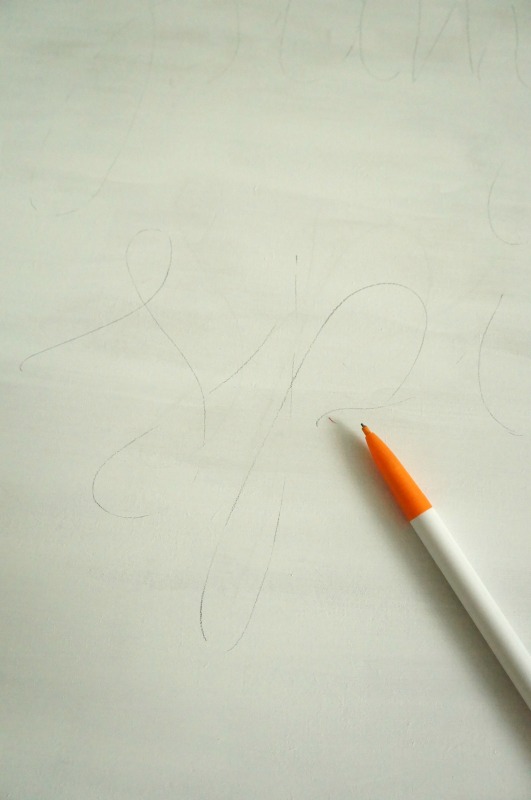
2.) When the last coat was fully dry, I used a pencil to lightly spell out “Pumpkin Spice and Everything Nice”. I like writing out my words in pencil first so I can check the spacing and size before going over it in paint. (I tried to get a picture of this, but it’s hard to capture light pencil lines on a white background!)
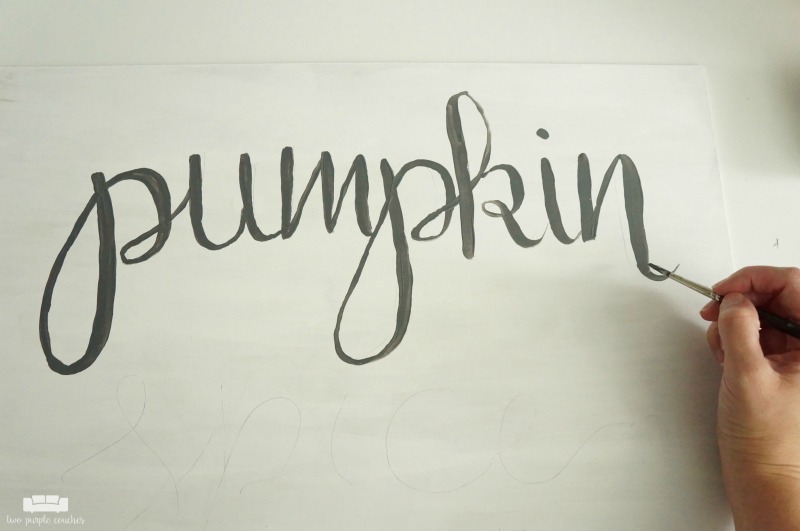
3.) When I was happy with the lettering, I started going over my letters with a small round-tipped paintbrush dipped in the DecoArt Satin Enamels paint. To get the hand-lettered look, I applied the same principle of lettering with a brush pen—thicken on the downstrokes. I painted the whole letter, then went back and did a thicker stroke on the downward portions of the letter, like the stem of the “p”.
4.) The last thing I did was paint “AND” in a simple sans serif. I knew I wanted the focus to be on the other words, and I could just tuck in a small “AND” in the middle somewhere when I was finished.
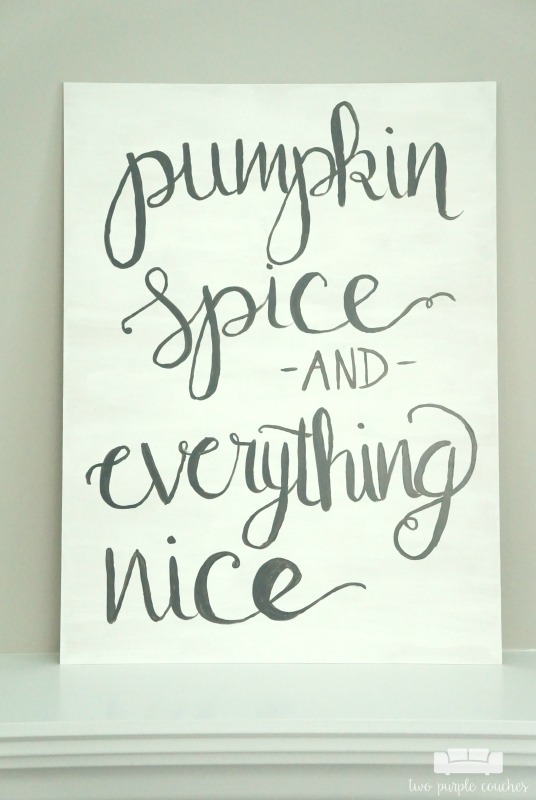
That’s it! Pretty simple, right!?
If you’ve never tried it before, don’t let the idea of hand-lettering scare you off! It’s basically regular handwriting with thickened downstrokes 🙂
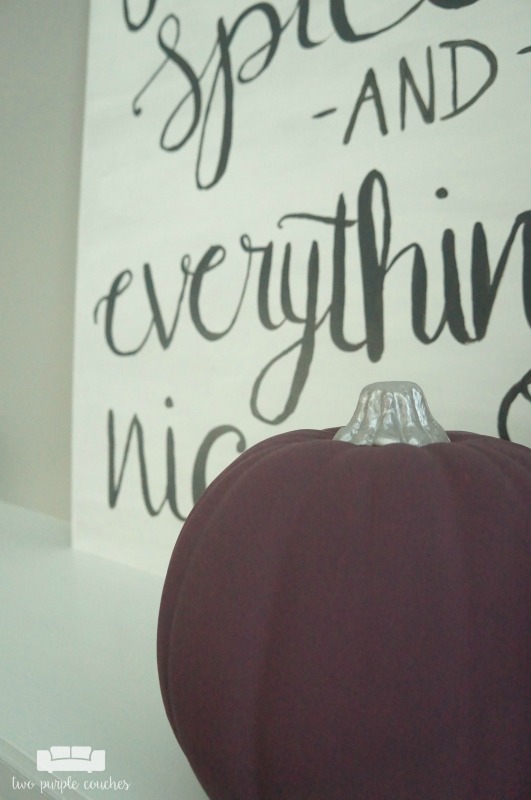
I hope you have a wonderful weekend! I am headed off to the Country Living Fair in Columbus, Ohio today and I am SO excited! I’ll be sharing photos and videos of my finds and adventures, so be sure to follow me on Instagram to stay connected!
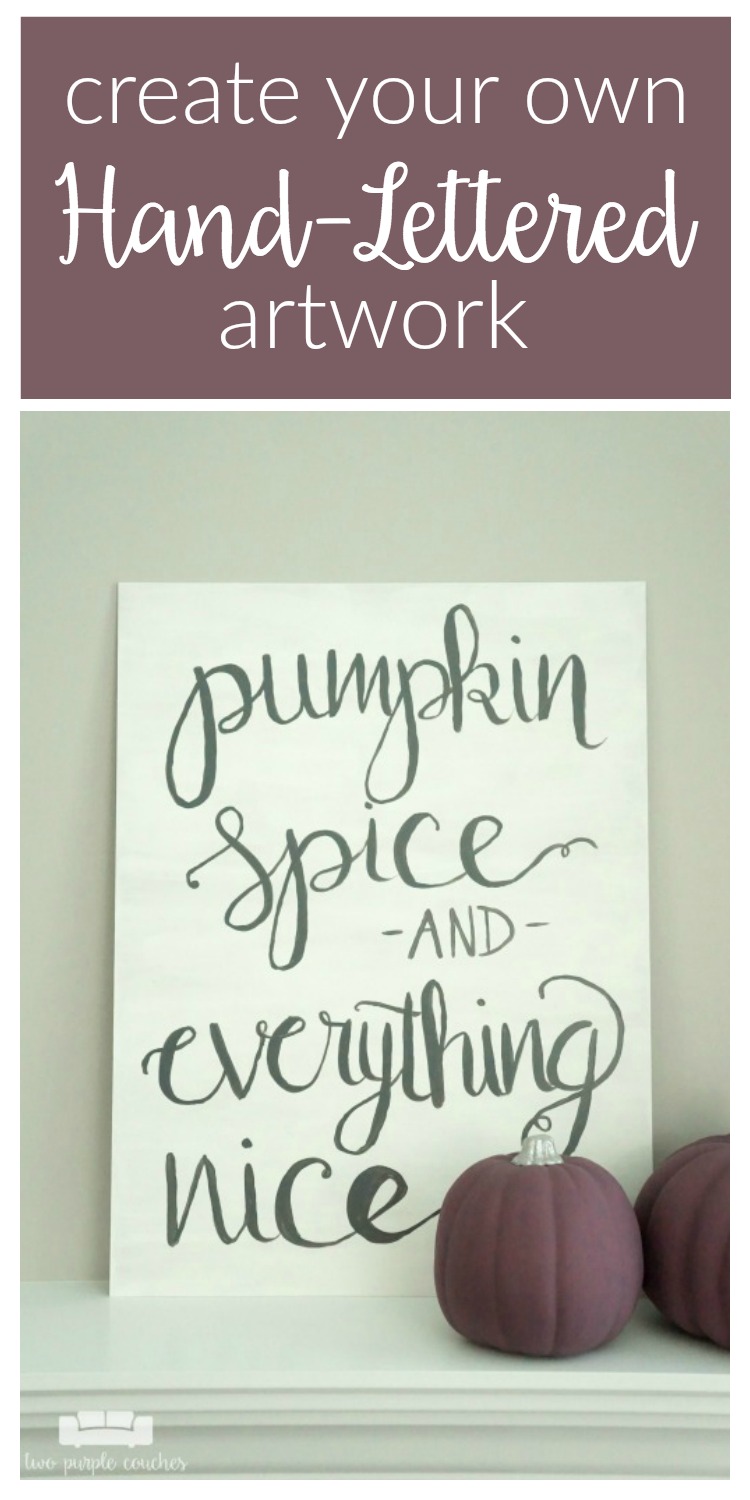
Love this? Don’t forget to pin it!

This is gorgeous! I can’t believe you did that by hand, there’s no way mine would look anywhere near that good!
Thank you so much, Alysha! I practiced a lot on paper before getting my paint out 😉
It’s BEAUTIFUL !!
Even after practicing, I would’be be able to do it.
You certainly have the touch and talent 🙂
Thank you so much! You’re too sweet 🙂
I like it. It’s giving me some ideas for my fall mantel that I haven’t even started yet 🙂
Thanks Erlene!