D. Lawless Hardware provided the knobs and drawer slides for this project. All content and opinions expressed here are my own. Click here to read my full disclosure policy.
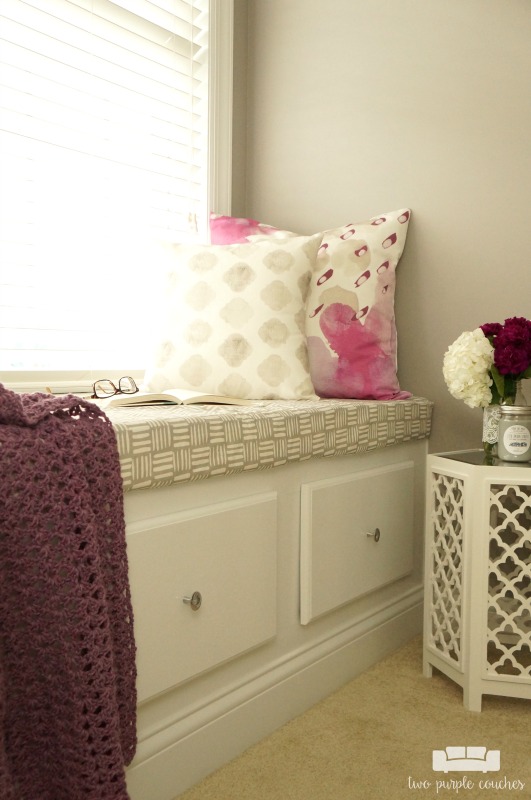
Remember my big office makeover project with the window storage bench that we wrapped up right before the holiday season hit? Well, I’ve been meaning to put this post together with more details on the storage bench and its drawers, but it kept getting pushed back due to the holiday hustle. Today is finally the day! I want to share a tutorial on how to build a drawer, and some tips to help you along the way.
Before we get into the tutorial and the nitty-gritty details, I feel like I need to caveat this post by saying that I am by no means an expert at this. On the contrary, this was the first time the hubs and I have ever attempted to build a set of drawers. We’re not pros. We messed up several times throughout the projects and ran into a few challenges. But we learned a ton, and with hindsight being 20/20 an all that, I thought I could pass along some helpful tips. You know, in case you have the urge to build a set of drawers this weekend.
This post contains some affiliate links for your convenience. Click here to read my full disclosure policy.
How to build a drawer:
Materials Needed:
- ½” Plywood
- Router
- Router Table
- Router Bits:
- Band-It ¾” Melamine Edging
- Iron
- Drill
- Titebond Wood Glue
- Knobs
- I selected these polished chrome knobs from D. Lawless Hardware.
- Drawer Slides
- I selected these soft-close ball bearing slides from D. Lawless Hardware.
- Mounting Brackets
- I selected these mounting brackets designed to work with the slides above.
Tutorial:
I’m going to share a somewhat simplified tutorial. Like I said earlier, we’re not experts at this, so I’m going to point you in the direction of some of the resources and instructions we referred to along the way.
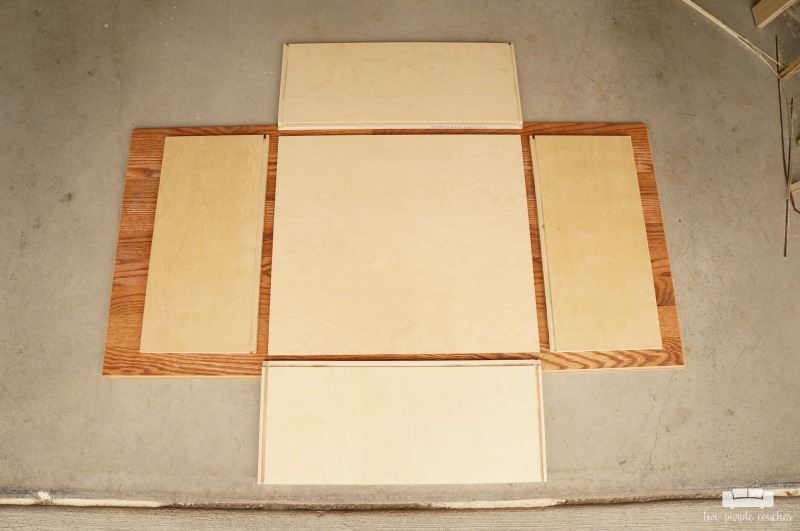
To start with, we cut all the pieces we’d need for each drawer: 4 sides, a bottom and a decorative facing board:
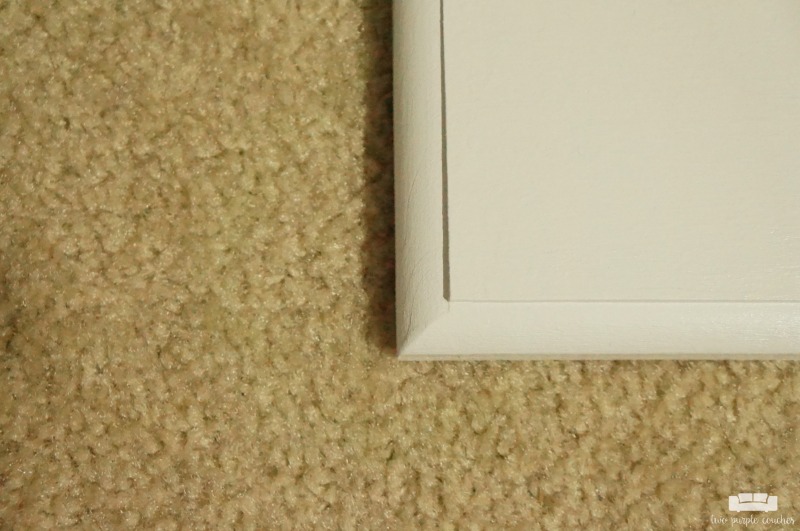
Then we used the Roundover bit, offset by ⅛ of an inch, and our router to give each edge of the facing board a more decorative look. Here’s what the edge looked like after the boards had been painted:
At the suggestion of Tom’s uncle, who is our family woodworking expert, we decided to assemble our drawers using rabbet joints. This tutorial from Sawdust Girl was very helpful in explaining what a rabbet joint is, how they work, and how to create them. We used a router, router table and the Grizzly Straight Bit to cut grooves into each of the side and bottom pieces:
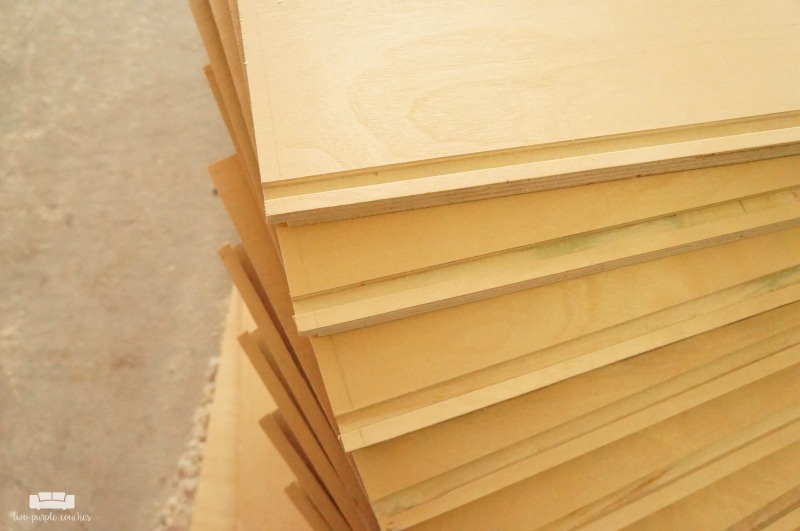
If done correctly, these grooves line up and lock together, creating your drawer compartment. Add wood glue to the grooves before assembling, then secure with brad nails:
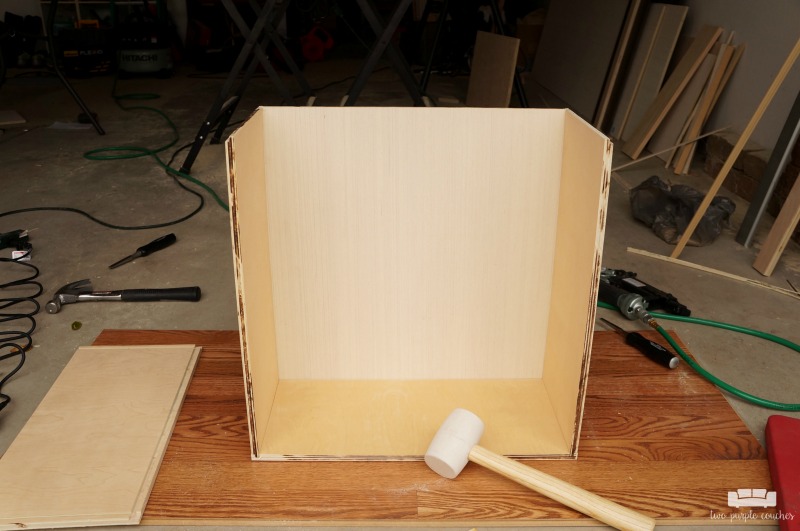
Tip: if you’re using plywood like we did, double-check which side you want showing as the bottom of your drawer before making cuts for the rabbet joints. You can always paint or add a drawer liner, but if you’re not doing this immediately, choose the nicer side that is both smooth and durable.
Once each drawer was assembled, we added the Melamine Edging to finish off the top edge. This covered the unfinished plywood and ensured that the edges were smooth.
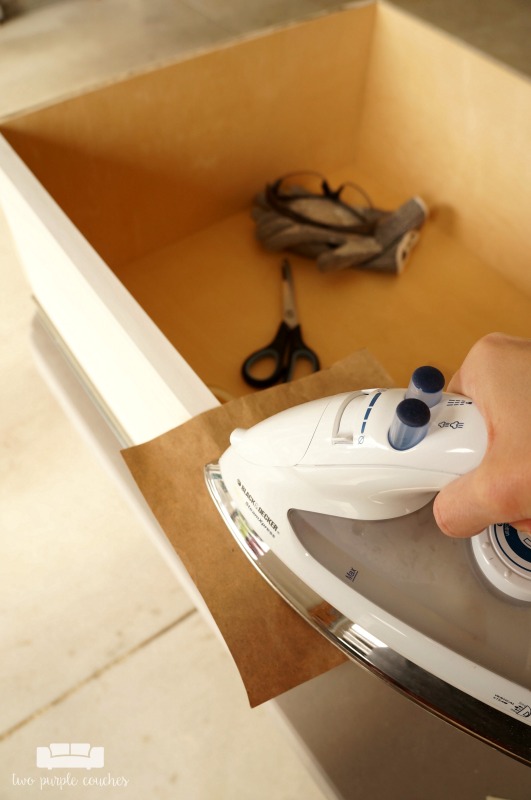
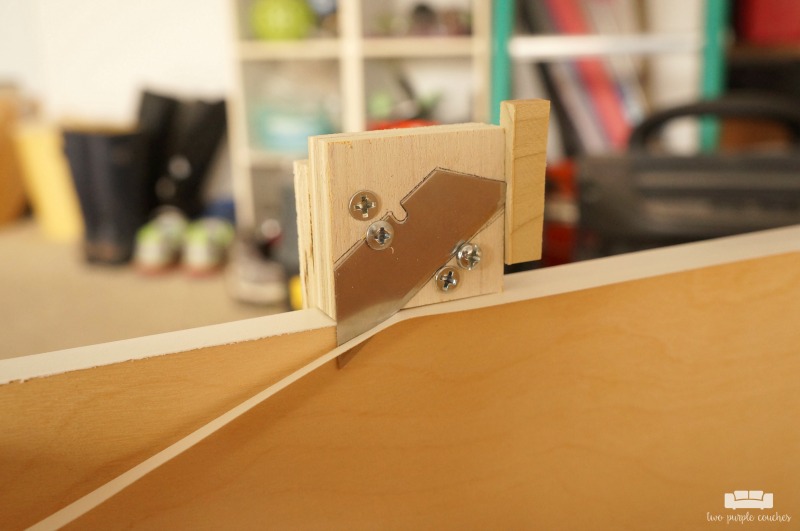
In this case, the edging was wider than the plywood, so we cut off the excess off with a razor blade. You can buy a tool that does this, but it’s much cheaper to use a blade if you already have one!
Once each drawer was assembled, we attached each facing board to the front of each drawer compartment. Then we drilled a hole for and attached the chrome knobs.
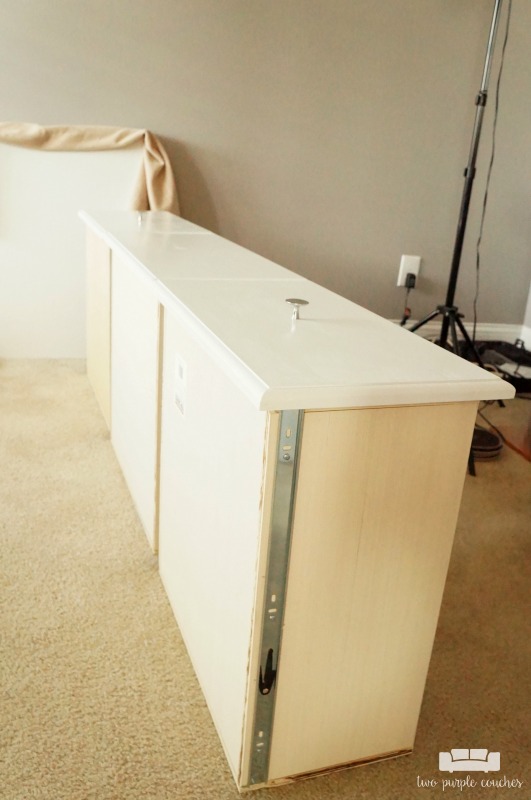
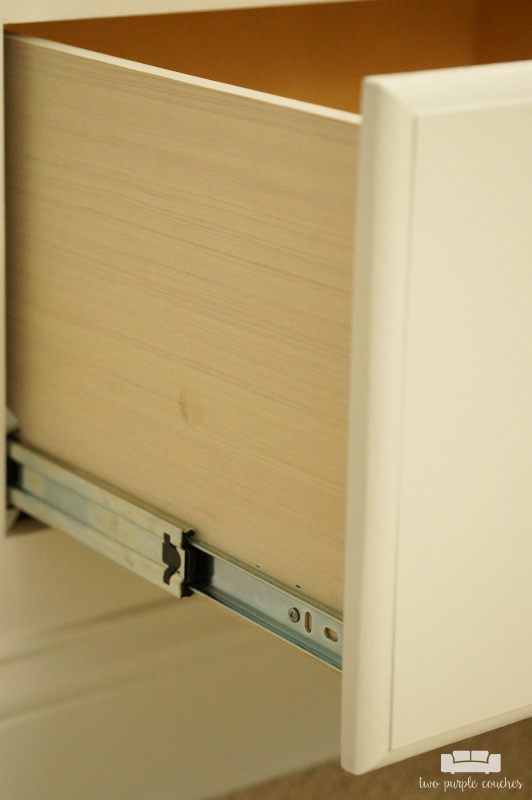
The final, and possibly most tricky step, is attaching and installing the drawer slides. Do not rush through this step! Rushing may or may not cause mistakes to be made! The key to this step is to use a level to ensure each bracket for each slide is level. Obviously, a wonky drawer won’t shut properly. The ball bearing slides we used came with detailed instructions, but essentially, you slide the center portion out and attach this to the drawer, like so:
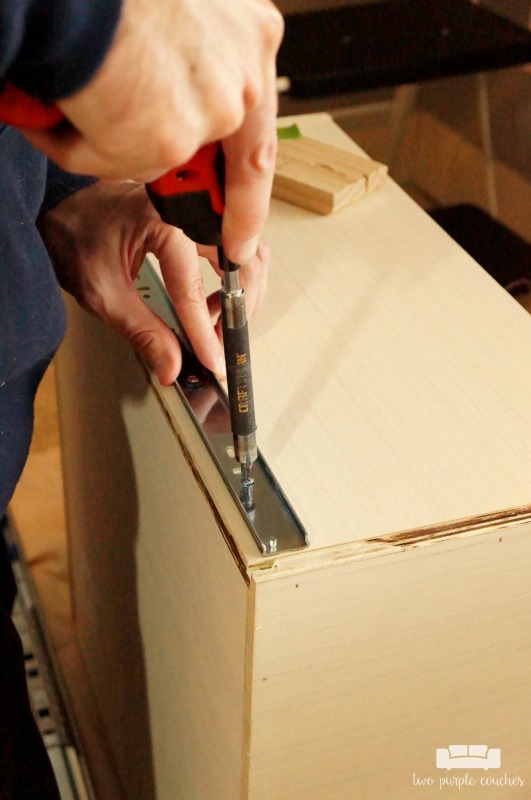
Then, using the mounting brackets, attach the outer portion of the slide to the opening that the drawer will slide into:
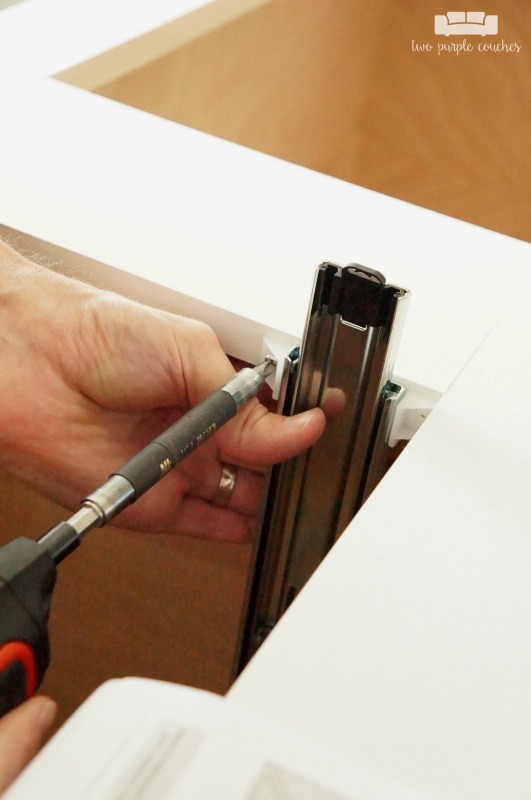
Most brackets have oval-shaped holes in both horizontal and vertical directions, allowing you to do fine adjustments as needed. There will be some trial and error as you adjust the screws and test how each drawer slides, but with a little patience, you’ll get it right!
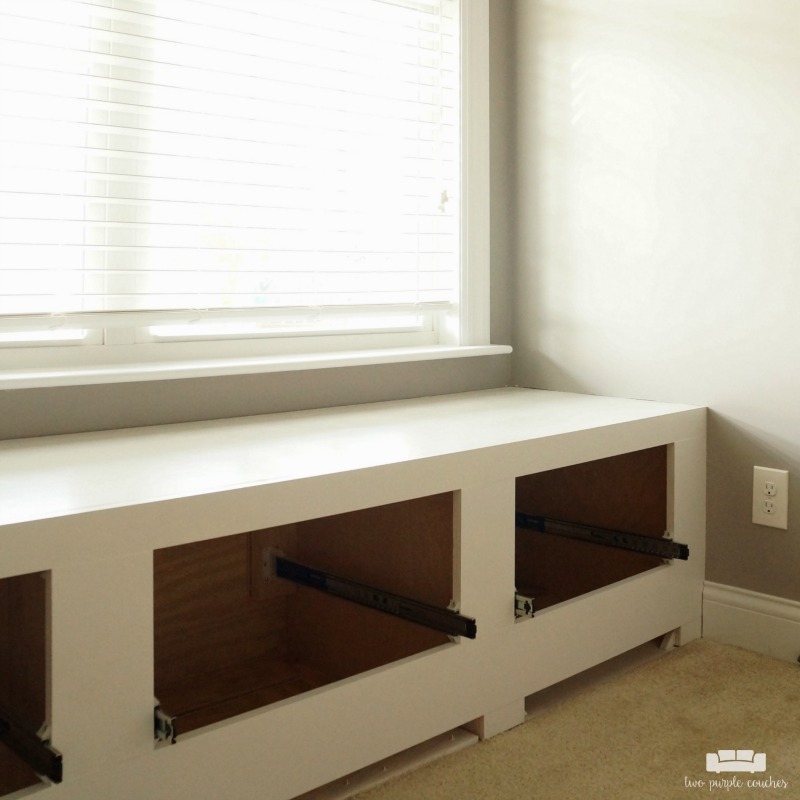
Once we had all of the slide pieces in place, our window bench looked like this:
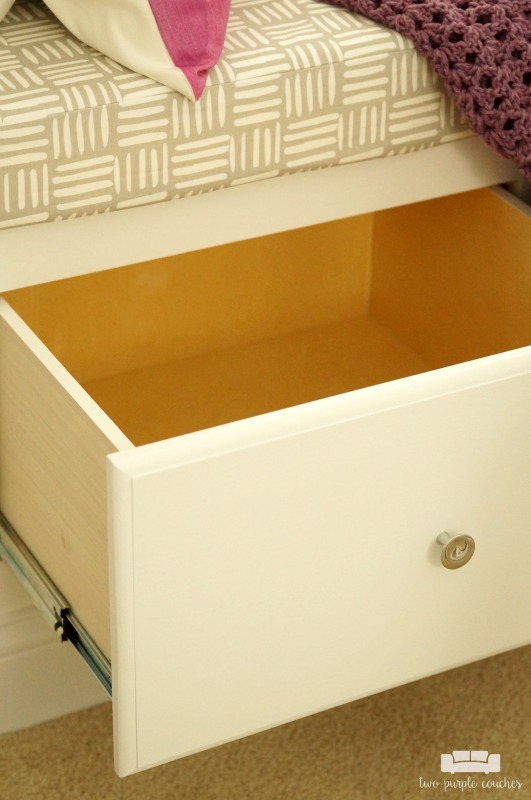
All that was left was to slide each drawer in, and we were done!

Love this? Don’t forget to pin it!
Sharing with: Create Link Inspire / Moonlight & Mason Jars

What a beautiful bench and a perfect spot for it, too! I would love something like this!
Carrie
curlycraftymom.com
Carrie @ Curly Crafty Mom recently posted…Thursday Fashion Files Link Up #95 – Lace it Up!
Thank you Carrie!
OK, I don’t have anything I need to install drawers in at the moment but, so many of the ideas I’ve dreamed up, soooo many, involve drawers! I love seeing how you made them 😀 Also, I need to make that little razor blade tool. Thanks!
Angie ~ ambient wares recently posted…DIY Industrial Light Fixture & Funtastic Friday 111
Thank you Angie! I think now that we’ve done one drawer project, the next will go more smoothly 😉 I feel like we can build just about anything now!
Pingback: The Best Furniture Builds from Some of My Favorite Bloggers! - Uncookie Cutter