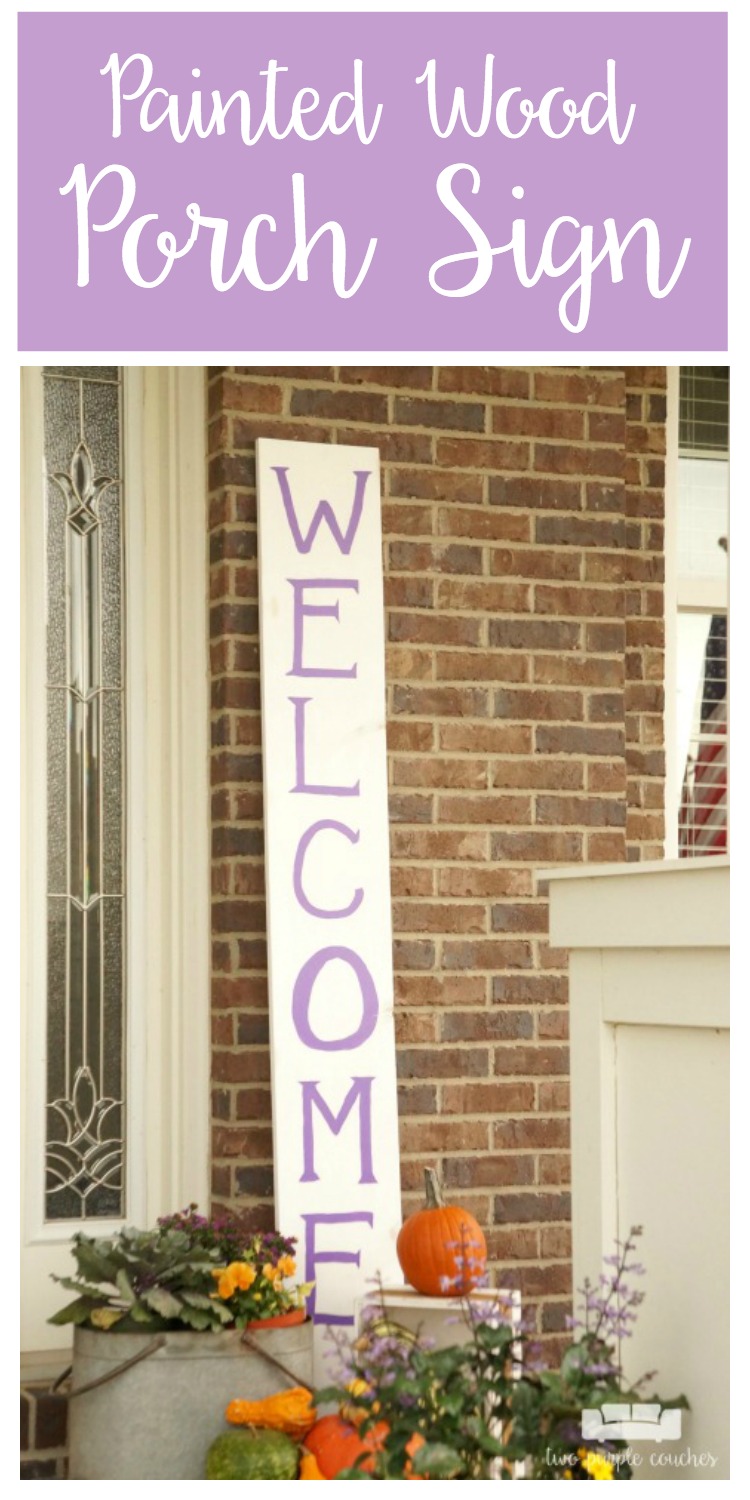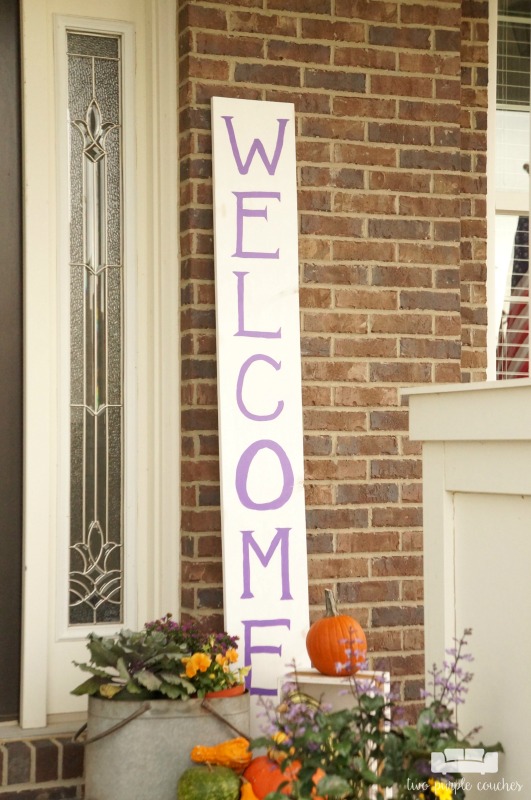
Happy October, friends! This year certainly feels like it’s zipping along, doesn’t it? Or maybe it’s just me. I am busy prepping for a biiiiig project—the Fall One Room Challenge kicks off later this week and I will be spilling the details of which room is getting makeover! (hint – I’ve been talking and dreaming about it forever!)
In the meantime, I thought I’d share this super easy DIY project with you on how to make a large porch sign.
If you saw my fall garden tour last week, you saw the “welcome” sign near my door. I’ve seen these all over blogs and Pinterest for a while and have been wanting to make my own. Now that I’ve done it, I can’t believe I didn’t do it sooner—it was such a simple project! This post contains some affiliate links for your convenience. Click here to read my full disclosure policy.
How to make a DIY Large Porch Sign
Materials Needed:
- DecoArt Chalky Finish paint
- I used Everlasting for the background
- DecoArt Outdoor Living paint
- I used Pansy for the lettering
- pine board
- Mine measures 0.75-inx9.25-inx6-ft; I also bought the cheapest pine option
- paintbrushes
- chalk
- sandpaper
Tutorial:
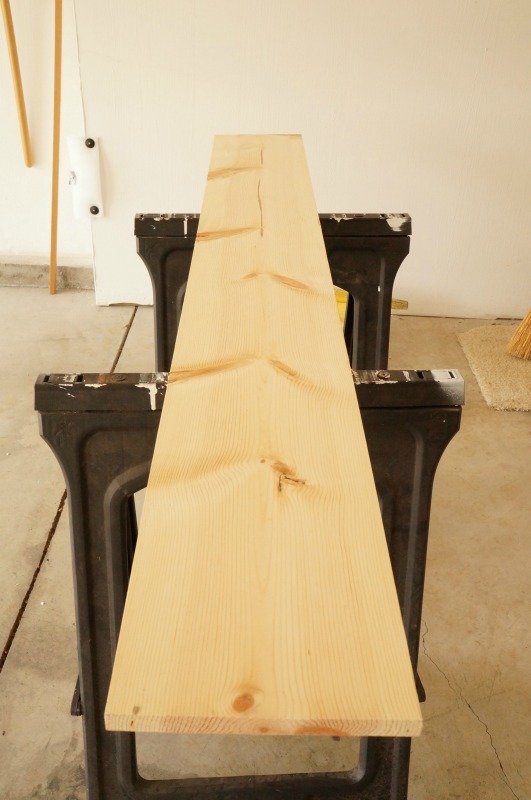
1.) Sand board to remove any splinters or rough patches. You can do this by hand with sandpaper or use an orbital sander. I used our DeWalt Orbital Sander and 80-grit sandpaper to go over the top and all four sides. Then I used a finer-grit sandpaper to smooth over the surface by hand.
2.) Paint the board. I painted the front and sides of the board with two coats of DecoArt Chalky Finish paint in Everlasting.
3.) Sketch letters with chalk. You can use a stencil for this step and the next one, but I am a do-it-by-hand kind of girl. I used a piece of purple chalk to lightly sketch each letter. This way I could tell if they were large enough, evenly spaced out, etc.
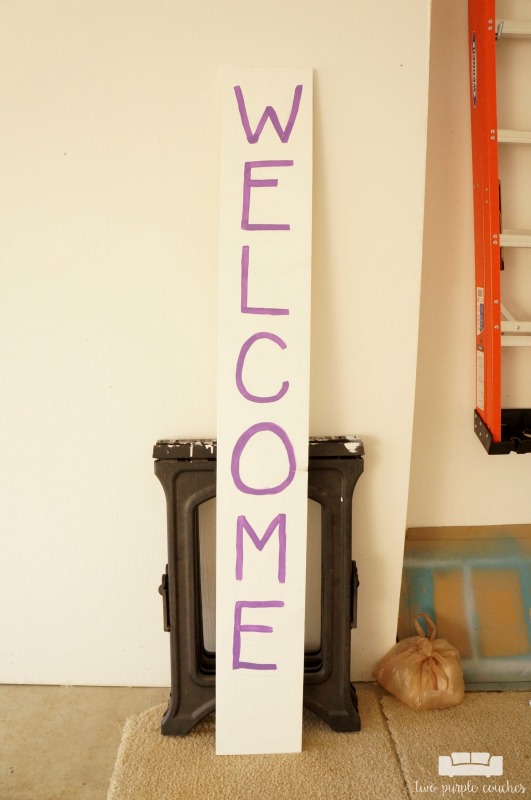
4.) Paint the letters. With my chalk sketches as a guide, I used a smaller paintbrush to paint each letter in DecoArt Outdoor Living paint in Pansy.
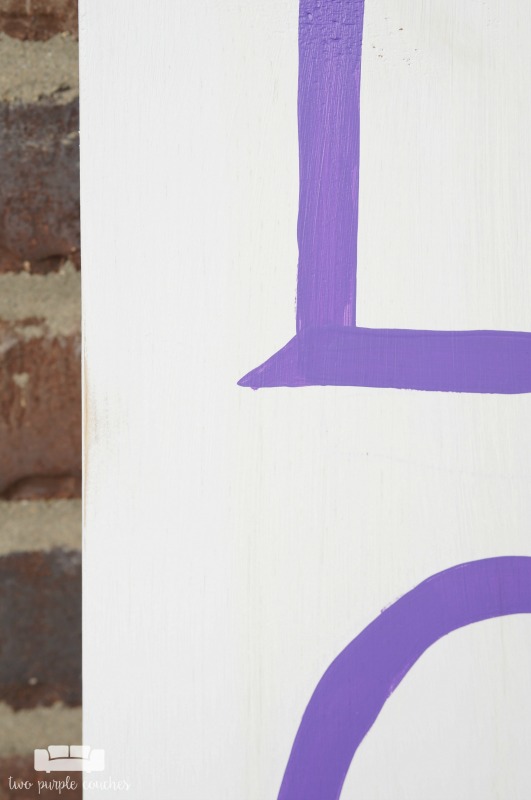
5.) Add detail to letters. This step is optional. Once I finished painting the letters, I realized I wanted them to have a bit more detail. I added serifs, which is a fancy word for the triangular details at the top and bottom of each letter. I used a detail brush for this step.
I would recommend that you give your finished board some kind of protective coating. I haven’t yet, mainly because I would like to paint something else on the reverse side, and I don’t want any kind of sealant seeping around the edges. But I think it would be wise to either use an outdoor paint for both the background and the letters, or seal the finished board with a clear, weather-resistant coating. You know, the whole do-as-I-say-not-as-I-do spiel 😉
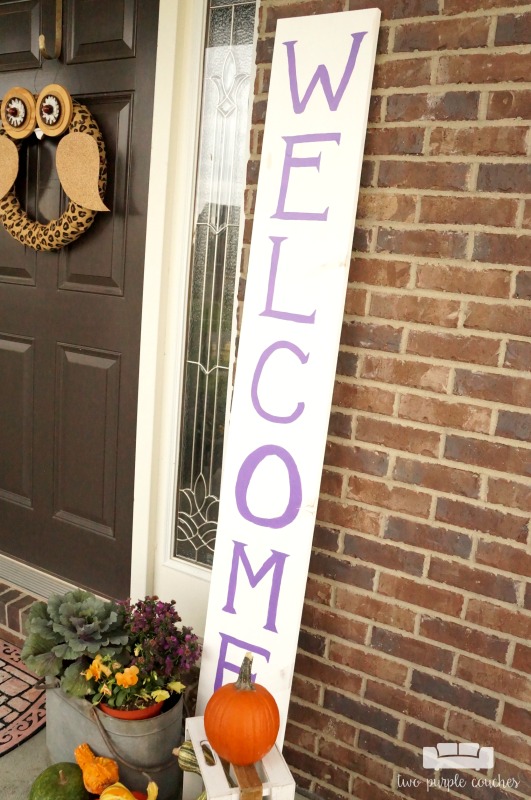
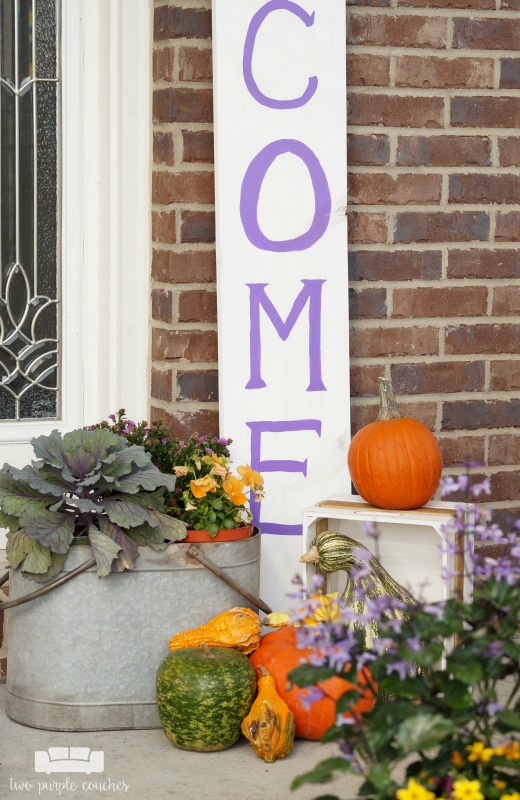
I think our large porch sign adds a delightful dose of color to our fall decor, and I particularly love that the “welcome” message is appropriate throughout the year. I may do a Christmas-themed message on the back, but I will definitely be using this sign next spring and summer!

Love this? Don’t forget to pin it!
