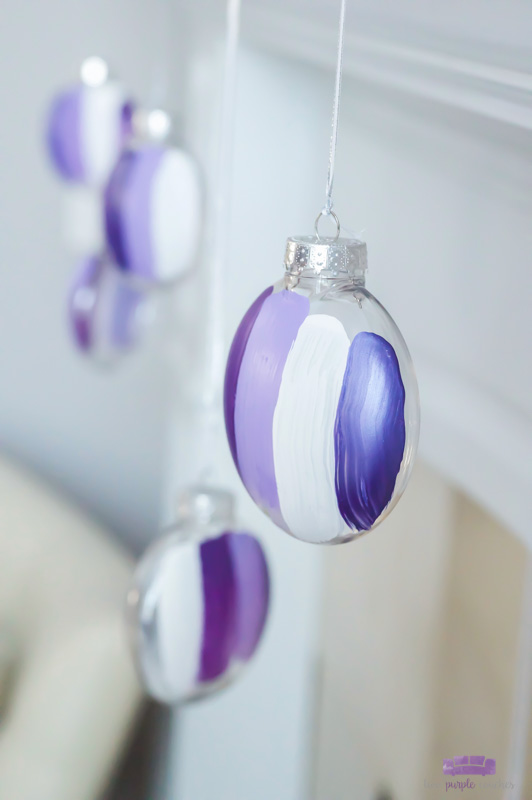
Brush stroke ornaments add a beautiful modern touch to your Christmas decor or Christmas tree. They are simple and easy to make yourself!
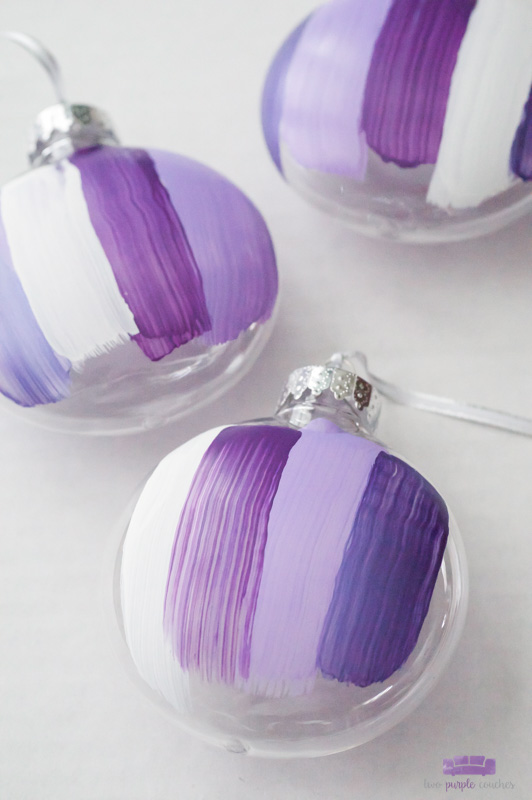
Brush Stroke Ornaments add the perfect touch to my modern Christmas mantel this year. And they were a very simple DIY craft project that I was able to make in an afternoon. Keep reading for the full tutorial!
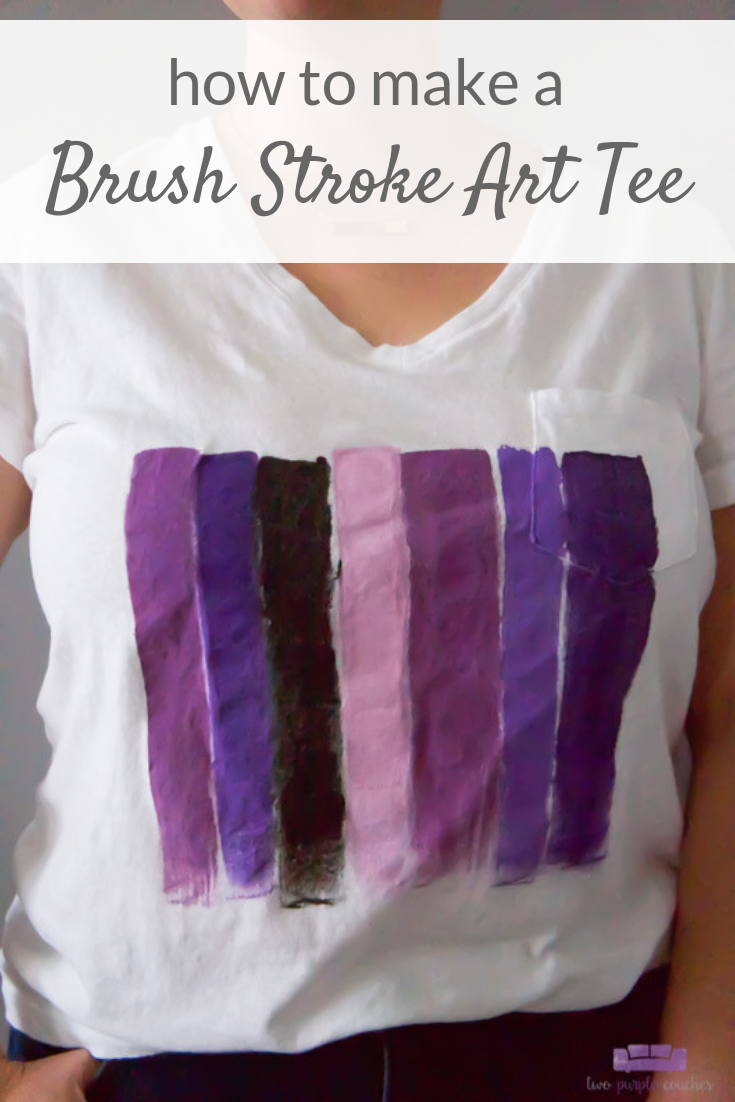
I seem to have been bitten by the brush stroke art bug this year! Back in October, I made this Brush Stroke Art Tee, and now I’m back at it making these abstract brush stroke ornaments.
These brush stroke ornaments seriously could not have been easier to make. And of course, I love that they are easy to customize to your own color preferences. They can be made in all sorts of colors and color-combinations, from traditional red and green to a bold, vibrant rainbow!
Since I decided to finally incorporate purple into my Christmas decorating this year, I knew I wanted to come up with a few simple crafts versus buying a bunch of new decorations. I hung ornaments from our mantel a few years ago (click here to see this rustic Christmas mantel) and loved the look. These brush stroke ornaments add an artistic, modern touch to my Christmas mantel, and they would be equally as stunning on a Christmas tree.
Now, let me show you how simple these are to create!
This post contains some affiliate links for your convenience. Click here to read my full disclosure policy.
How to make brush stroke ornaments
Materials Needed:
- Clear acrylic ornaments (I preferred a disc shape for this project, but you could also use round ornaments)
- DecoArt Americana Paints in assorted colors
- I used: Snow White, Eggplant and Lavender Fields
- DecoArt Extreme Sheen Metallic Paint in Amethyst
- 1-in wide paint brush
Tutorial:
1.) Before I began painting, I wiped each ornament with a cotton ball soaked in alcohol. I wanted to be sure the surface was clean so the paint would adhere better. This is an optional step, but it can’t hurt!
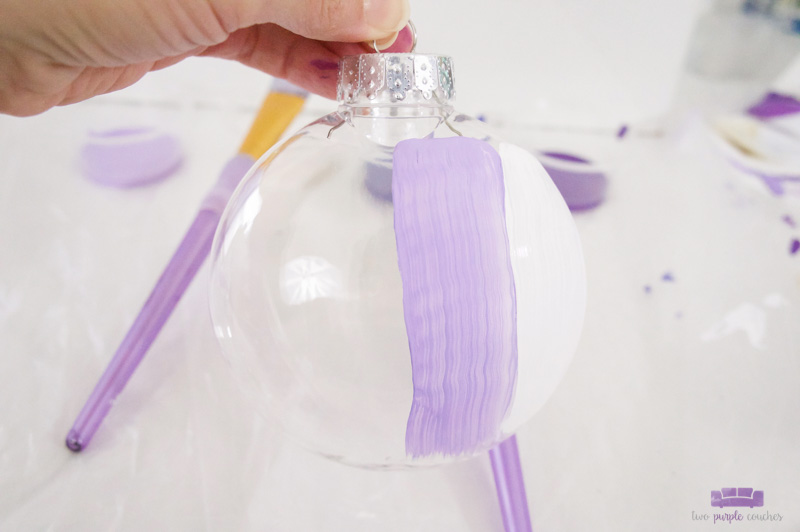
2.) Add one paint color each to small cups or a paint palette tray. Using a 1-in wide paint brush, dip it in one paint and slowly add a brush stroke to one side of an ornament.

3.) Pick up another color on the brush (you can dap the first off onto a paper towel, but don’t rinse it out in water yet) and add another brush stroke. Continue until this side of the ornament is covered. I only painted one side of my ornaments. You can do both sides if you like, but you’ll need to allow the first side to dry before doing the other.
4.) Let brush stroke ornaments dry overnight before using in your decor or hanging on your Christmas tree.
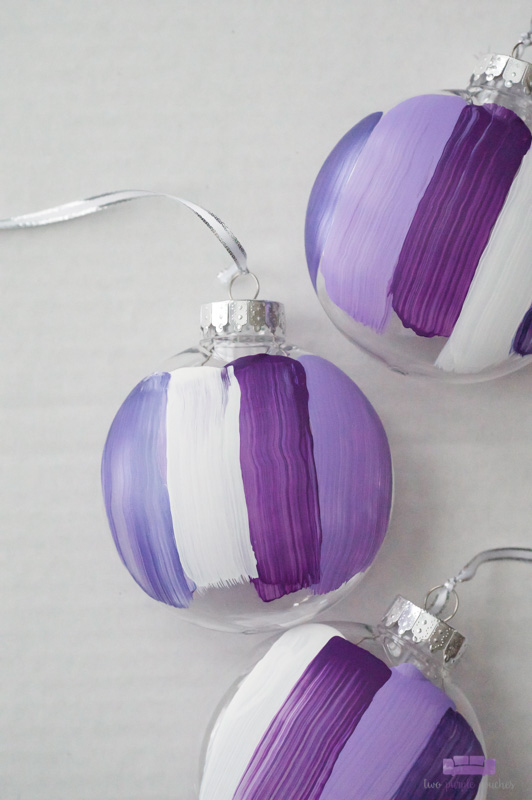
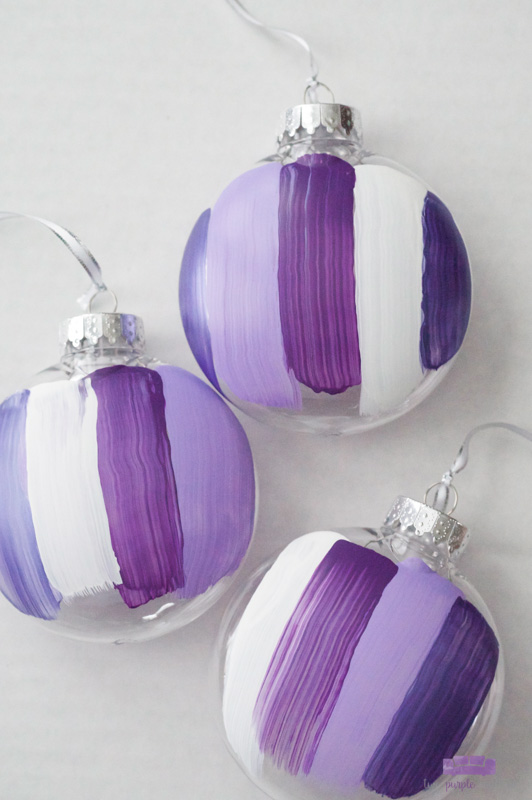
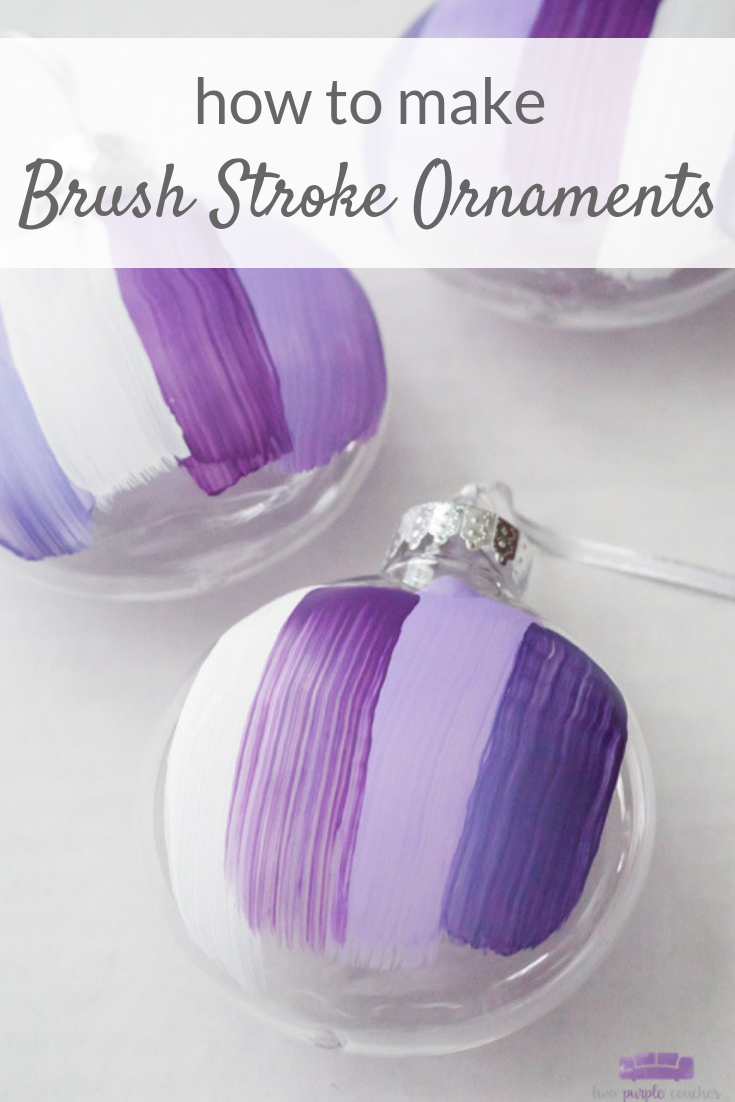
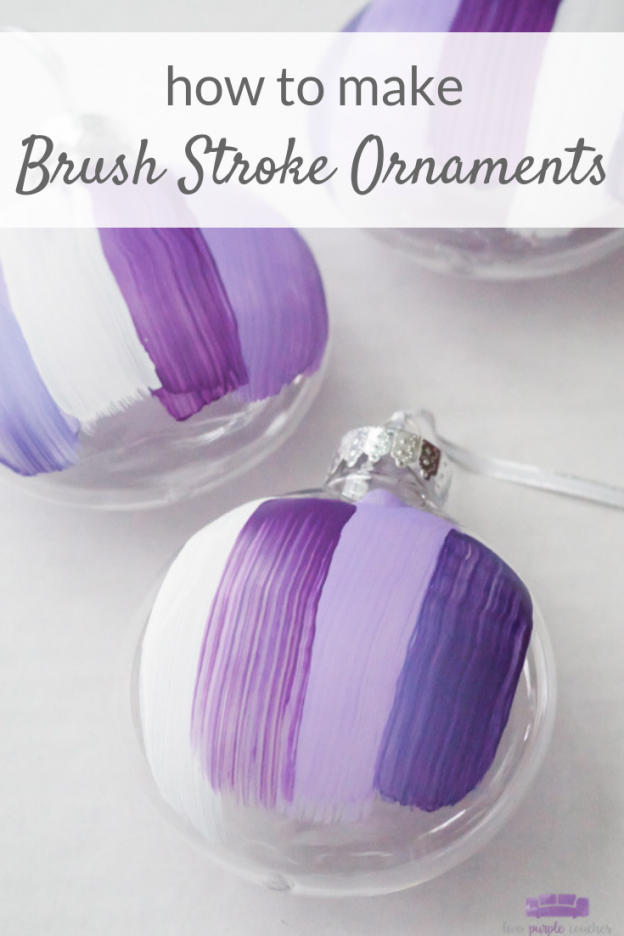
Love this? Don’t forget to pin it or bookmark it!

I love that you always find a way to work purple into your crafts. This is such an easy way to make ornaments to fit any color decor.
Thank you Erlene! Yes, these are a fun way to work any color into your holiday decorating 🙂
Wanna get a T-shirt with this print!
I actually made one! That’s what inspired these ornaments! If you search “brush stroke t-shirt” you can find my tutorial for the shirt 🙂