
Can you ever have too many memo boards? I think not. For one, they’re super useful, and secondly, they’re very easy to make yourself! I created this framed magnetic board by repurposing a piece of artwork that hung in our old house. A simple project that only took an hour to put together!
A few weeks ago, I was browsing at a home decor store in one of Cincinnati’s trendy neighborhoods when I saw a display of framed magnetic memo boards. They were a little fancier than framed sheet metal – the metal was covered with a material that gave it the look of an art canvas, and some were embellished with vinyl words and phrases. I was struck with the idea that one of these would be the perfect addition to my craft room, but those gears came screeching to a halt when I saw the price tag—$115! And they didn’t even come with magnets! Absolutely not. Heck no. Nope. I knew I could make my own version, and for a lot less money.
This framed magnetic board has got to be one of the easiest DIY projects ever. I probably don’t even need to share photos, because it’s pretty self-explanatory. But that’s my job, right? So, follow along and I’ll show you how I did it…
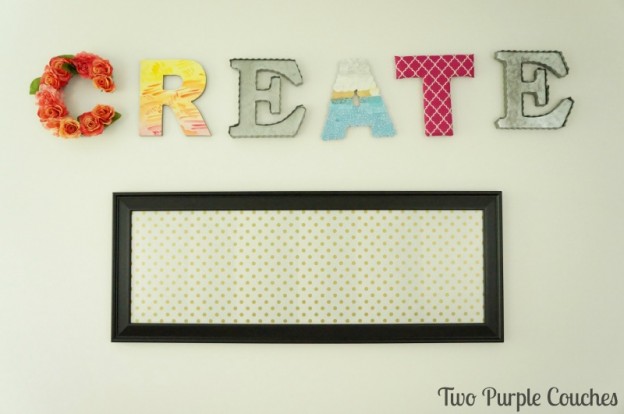
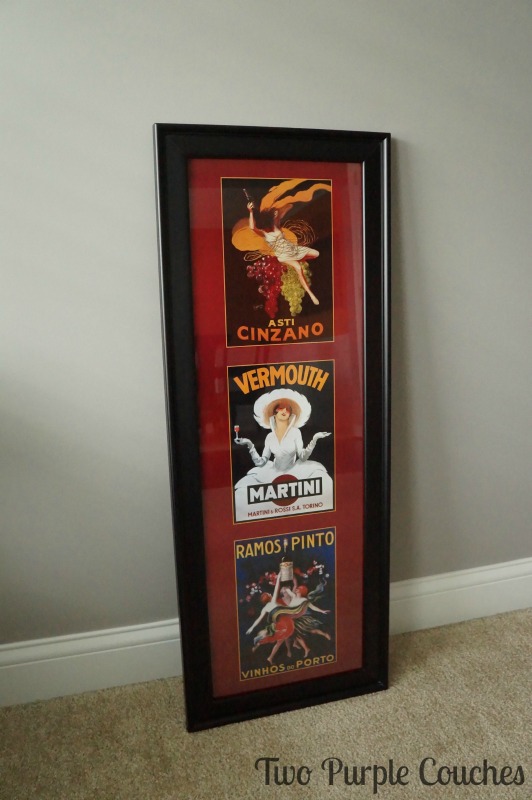
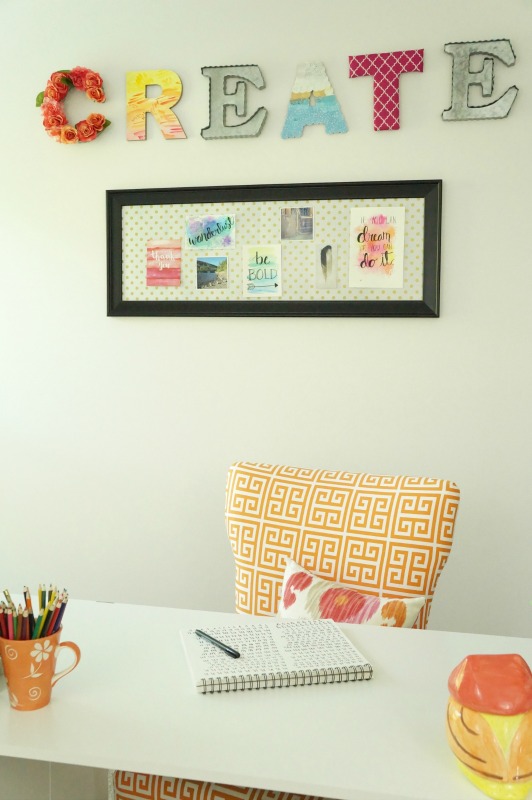
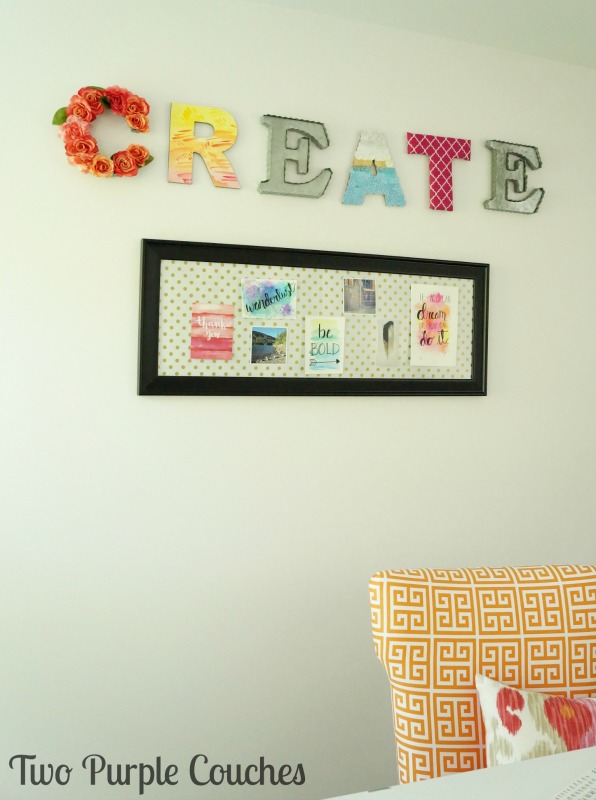
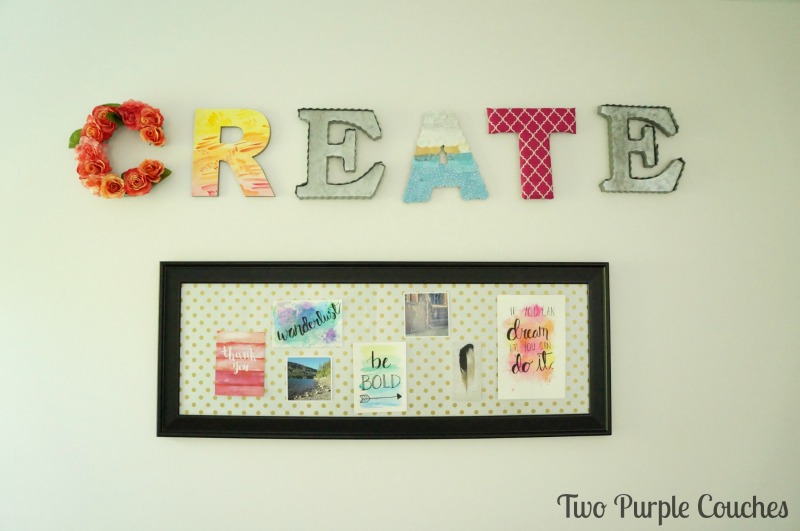
I scoured our house for a for a frame I could repurpose and found the perfect one – a long, rectangular frame that measures 36″x12″. These dimensions are the perfect size to fit beneath the C-R-E-A-T-E letter art in my craft room.
Here’s what I used to make my framed magnetic board:
- picture frame
- sheet metal*
- decorative paper
- spray adhesive
- tin snips
*You can save a lot of money on sheet metal by grabbing it in the HVAC section of the hardware store. We paid under $10 for a 24″x36″ sheet.
How to make a framed magnetic board
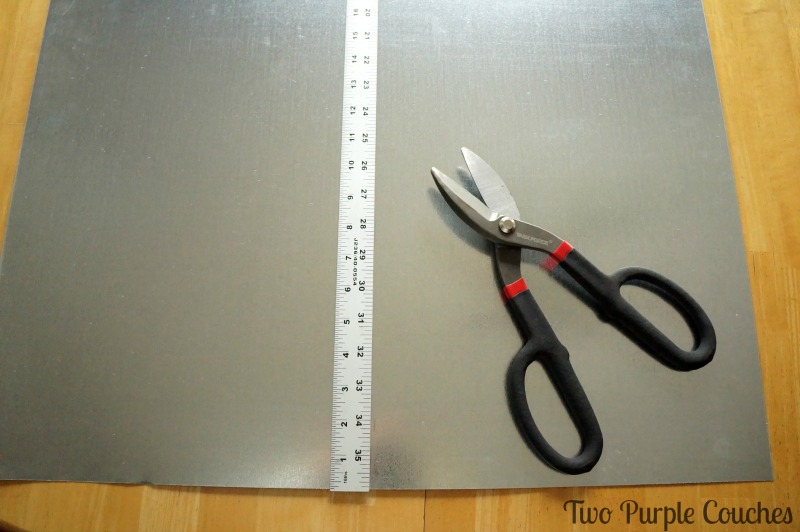
If you have a large piece of sheet metal, like I did, use tin snips to cut it down to the size of your frame. Be very careful working with the sheet metal—the edges are SHARP! I wore a heavy-duty pair of gloves while I was working with the metal and tin snips.
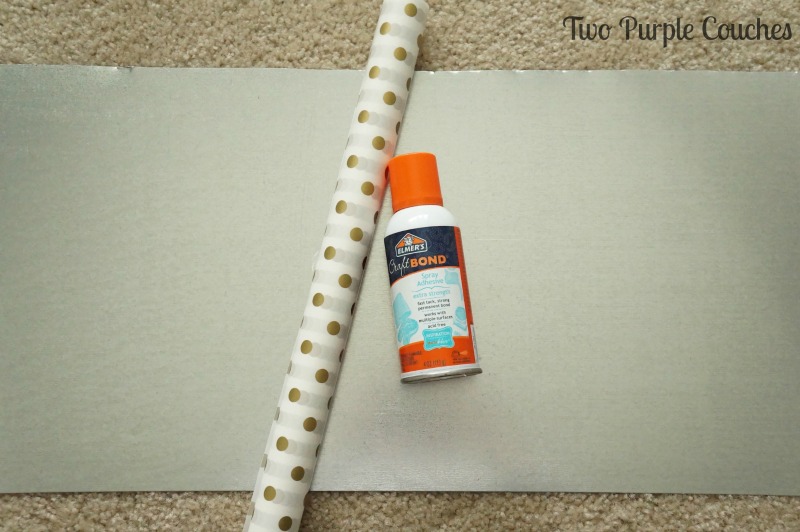
I found a roll of decorative gold polka-dotted paper at Michaels and decided to use this to cover the sheet metal and give my magnetic board a fancier look. If I hadn’t found this, I was planning to get some contact paper. This step is optional, but adds a pretty touch, or can be customized to suit your style and decor.
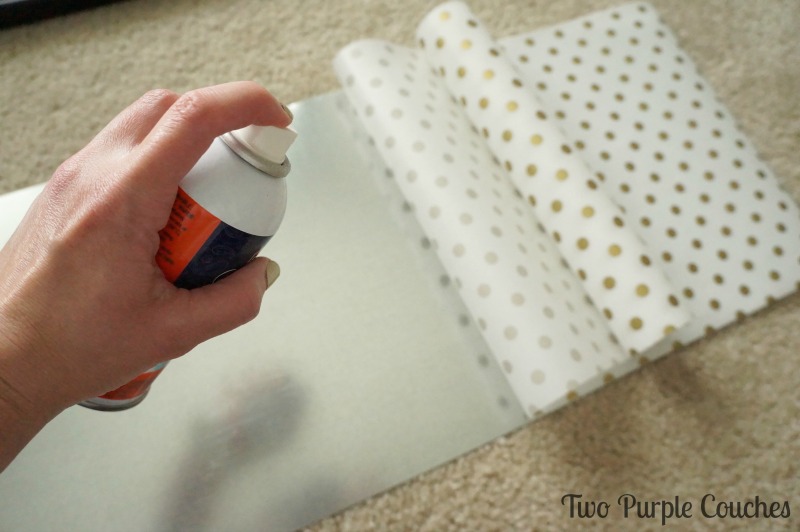
Cut the paper to the size of the sheet metal and use spray adhesive to attach them. I find spray adhesive to be pretty messy, so I did this step in our basement and put the metal on top of a piece of cardboard. Allow glue to dry according to can instructions.
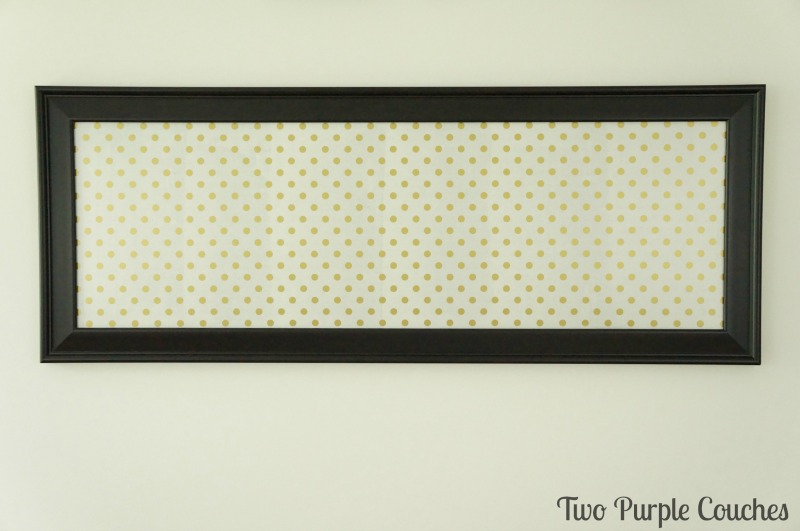
Place the paper-covered sheet metal inside the frame and it’s ready to go! Hang the framed magnetic board on a wall or set it on top of a bookshelf or desk.

I’d also like to note that I spent a whopping $4 on this project. I had all the materials on-hand except for the dotted paper. But even if you had to buy the materials, you could create a similar framed magnetic board for about $30 – $60, depending on the cost of the frame.
I am really pleased with how this turned out. And I love having an easy way to display photos, inspirational quotes and small watercolor projects in my craft room. (psst – if you missed last week’s craft room reveal, you can see the full makeover here!)
I need a wall of these things. Love the good tip about the HVAC section!!
They’re so easy to make, I’m sure this won’t be my last one! And yes – definitely check the HVAC section; the price difference was crazy!
Good work with sheet metal, the smart and creative idea you are using for these type of work. really good.